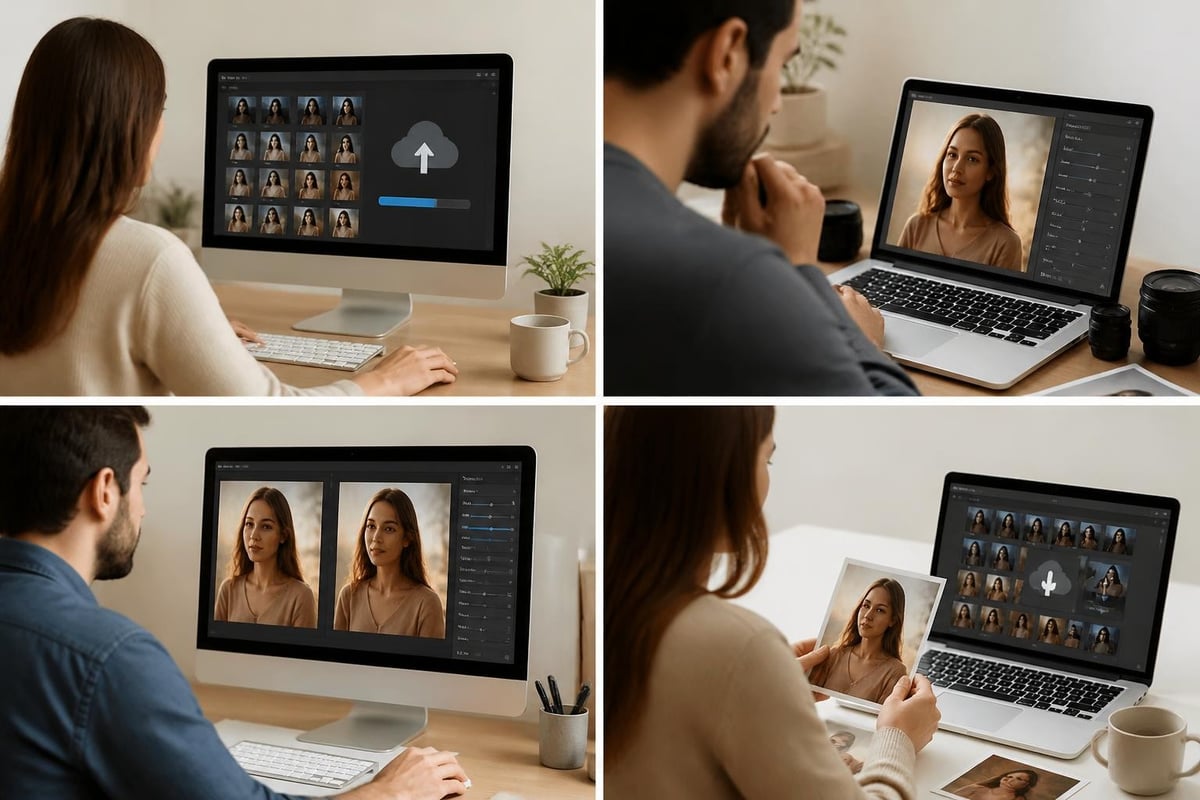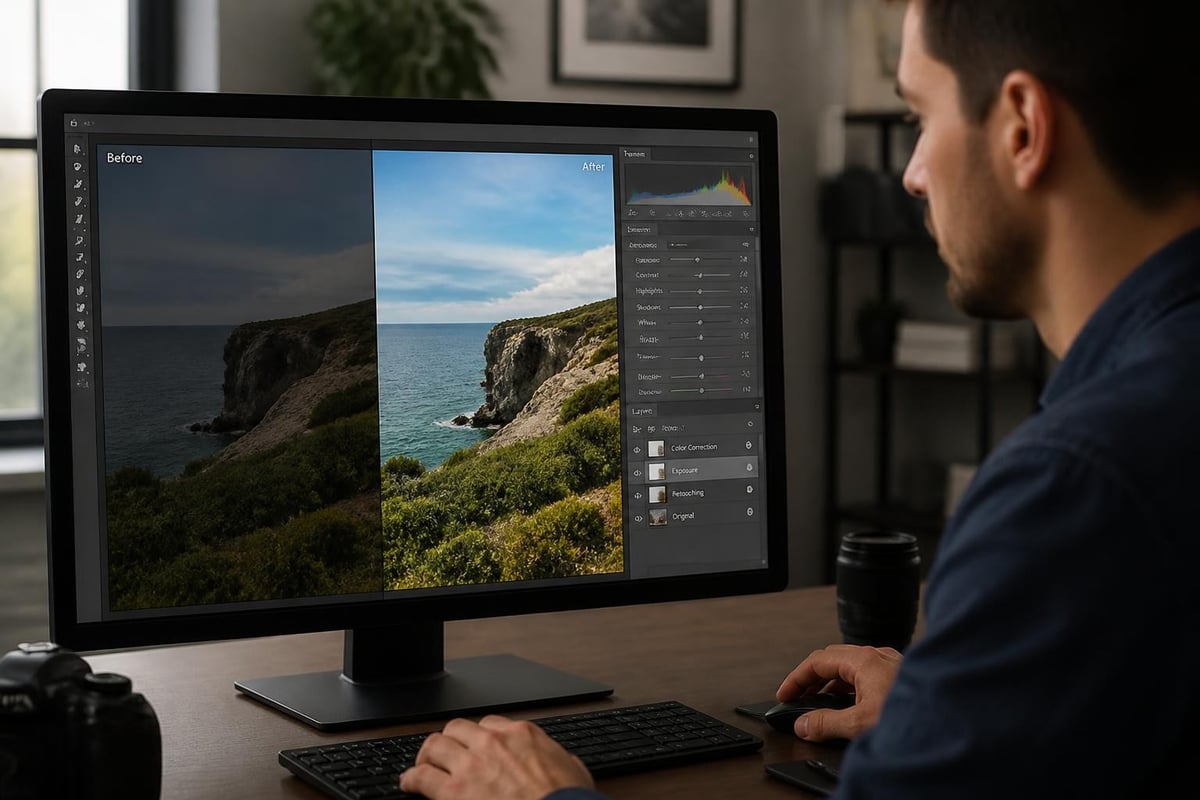
Photo editing has become an essential skill in 2026, whether you're running an online store, building a social media presence, or simply want to improve your personal photos. While professional-grade editing might seem intimidating at first, understanding the fundamentals of photo editing for dummies can transform how you present visual content. This comprehensive guide breaks down everything beginners need to know about editing images, from selecting the right software to mastering essential techniques that deliver professional results without overwhelming complexity.
Understanding the Basics of Photo Editing
Photo editing for dummies starts with grasping what image manipulation actually involves. At its core, editing means adjusting various aspects of a photograph to improve its visual appeal, correct imperfections, or achieve a specific artistic vision.
The fundamental concept revolves around modifying pixels, which are the tiny colored dots that make up every digital image. When you adjust brightness, crop dimensions, or change colors, you're manipulating these pixels in organized ways.
Key Components Every Beginner Should Know
Before diving into software, understanding basic photography concepts helps tremendously:
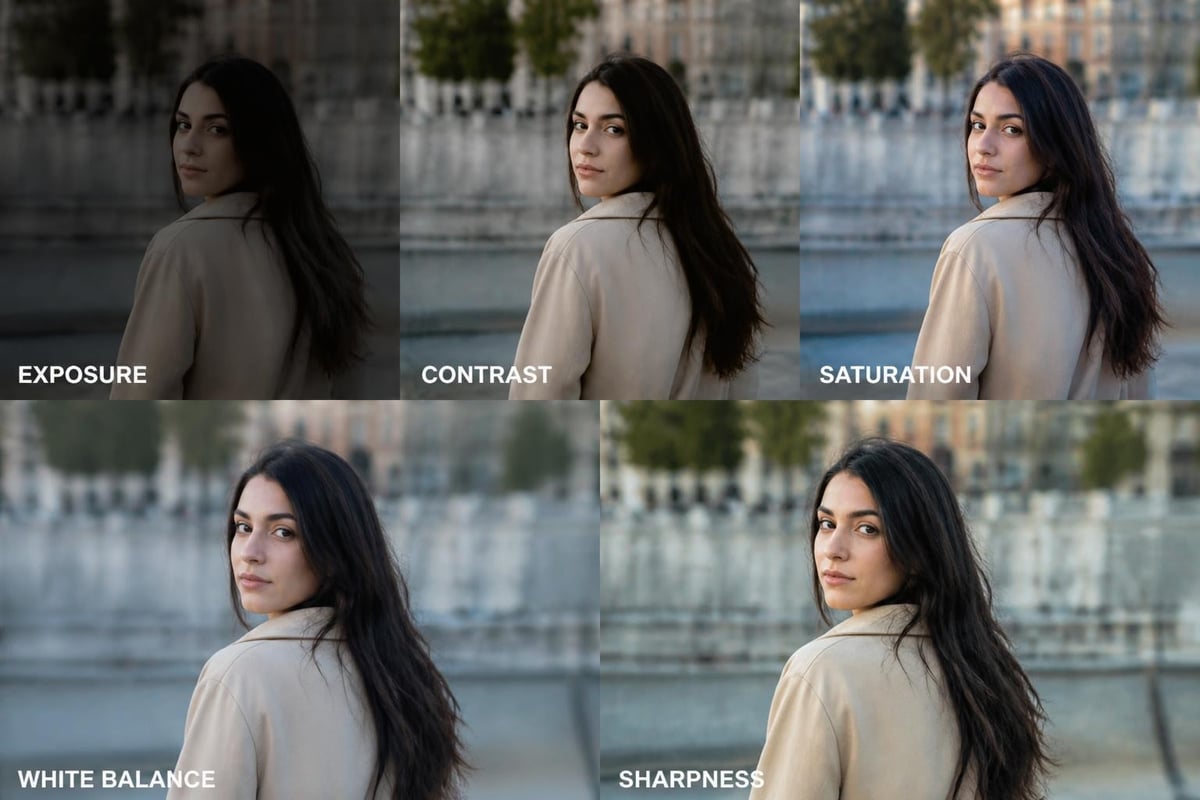
- Exposure: The overall brightness or darkness of your image
- Contrast: The difference between light and dark areas
- Saturation: The intensity of colors in your photograph
- White balance: The color temperature that makes whites appear truly white
- Sharpness: The clarity and definition of details
These five elements form the foundation of most editing work. Adjusting them properly can dramatically improve almost any photograph.
Choosing Your Photo Editing Software
The right tools make photo editing for dummies significantly easier. In 2026, photographers and business owners have access to numerous options across different price points and complexity levels.
| Software Type | Best For | Price Range | Learning Curve |
|---|---|---|---|
| Mobile Apps | Quick edits, social media | Free - $10/month | Low |
| Browser-based | Accessibility, basic edits | Free - $15/month | Low to Medium |
| Desktop Software | Professional work, advanced features | $50 - $55/month | Medium to High |
| AI-powered Tools | Automated enhancements | Free - $30/month | Low |
The best photo editing software available in 2026 caters to different skill levels and specific needs. Beginners typically benefit from starting with user-friendly options before progressing to more complex programs.
Popular Beginner-Friendly Options
Several platforms specifically designed for those learning photo editing for dummies include:
- PicMonkey: Offers intuitive templates and one-click adjustments perfect for newcomers
- Canva: Combines design features with basic photo editing capabilities
- GIMP: A free, open-source alternative to premium software with extensive GIMP tutorials available
- Adobe Lightroom: Industry-standard tool with mobile and desktop versions
- Luminar Neo: AI-assisted editing that automates complex adjustments
Each platform has strengths depending on your specific requirements. Online retailers might prioritize background removal tools, while portrait photographers focus on skin retouching capabilities.
Essential Editing Techniques to Master First
When approaching photo editing for dummies, start with these fundamental techniques that deliver the biggest visual improvements with minimal effort.
Cropping and Straightening
Cropping removes unwanted portions of an image while improving composition. This simple technique often transforms mediocre photos into compelling ones.
The rule of thirds serves as an excellent guide. Imagine dividing your image into nine equal sections with two horizontal and two vertical lines. Position important elements along these lines or at their intersections for balanced, visually appealing results.
Straightening corrects tilted horizons or architectural elements. Most software includes alignment grids that make this process straightforward, even for complete beginners.
Exposure and Brightness Adjustments
Proper exposure ensures your subject is neither too dark nor too bright. Understanding basic photo editing techniques helps you recognize when images need exposure correction.
- Highlights: Controls the brightest areas in your image
- Shadows: Adjusts the darkest regions
- Midtones: Affects the middle-range tones between highlights and shadows
Adjusting these three elements independently provides much more control than simply moving a single brightness slider.
Color Correction Fundamentals
Color correction ensures your images display accurate, natural-looking hues. White balance adjustments fix color casts caused by different lighting conditions.
Professional workflows for photo editing for dummies typically include:
- Set proper white balance first
- Adjust overall saturation to desired intensity
- Fine-tune individual color channels if needed
- Check skin tones appear natural
- Verify neutrals (whites, grays, blacks) look correct
These steps ensure consistency across multiple images, particularly important for product photography and ecommerce applications.
Working With Layers and Non-Destructive Editing
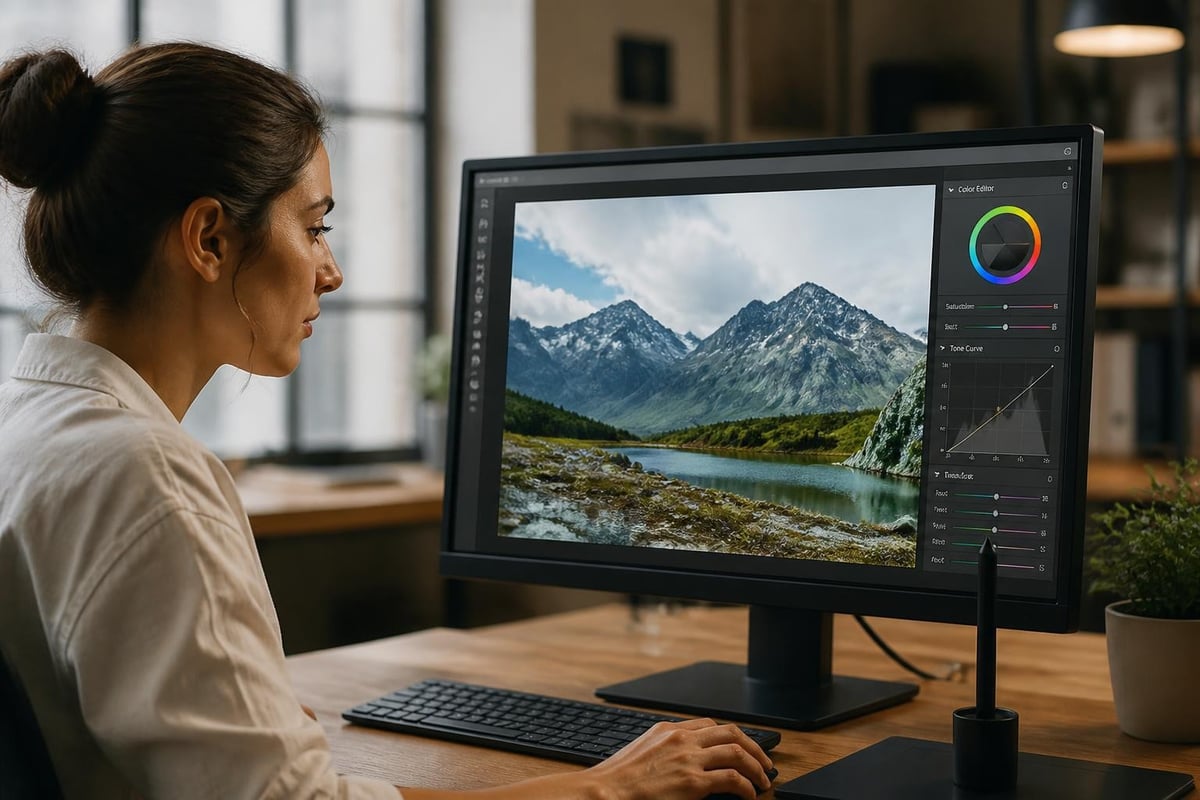
Understanding layers represents a significant milestone in photo editing for dummies. Layers allow you to stack adjustments and elements without permanently altering the original image.
Think of layers like transparent sheets stacked on top of your photograph. Each sheet can contain different adjustments, text, graphics, or effects. You can modify, hide, or delete any layer without affecting others.
Benefits of Non-Destructive Workflows
Non-destructive editing preserves your original file while allowing unlimited modifications:
- Return to any previous state without losing quality
- Experiment freely without risk
- Compare before and after versions instantly
- Maintain maximum image quality throughout the process
- Share original files with clients or collaborators when needed
Most modern software supports non-destructive workflows through adjustment layers, smart objects, or version history. Learning these techniques early prevents future frustration and quality loss.
Background Removal and Clipping Paths
For ecommerce businesses and product photographers, background removal ranks among the most requested photo editing tasks. This technique isolates subjects from their backgrounds, typically replacing busy or distracting surroundings with clean white or transparent backgrounds.
Manual Selection Techniques
Photo editing for dummies includes several selection methods:
- Magic Wand Tool: Selects areas based on similar colors
- Lasso Tools: Allow freehand or polygonal selections
- Pen Tool: Creates precise vector paths around subjects
- Quick Selection: Intelligently detects edges and boundaries
Each method suits different subject types and background complexities. Hard-edged products work well with pen tools, while the magic wand excels with high-contrast subjects.
Professional ecommerce photo editing services often combine multiple techniques for optimal results, particularly when dealing with complex products like clothing with intricate details or reflective surfaces that require specialized attention.

AI-Powered Background Removal
In 2026, artificial intelligence has revolutionized background removal for beginners. AI algorithms analyze images, identify subjects, and generate accurate masks in seconds. While not perfect for every scenario, these tools handle 80-90% of common background removal tasks effectively.
When comparing AI and manual photo editing, consider the trade-offs between speed and precision for your specific needs.
Retouching Techniques for Portraits and Products
Retouching enhances images while maintaining natural appearances. Photo editing for dummies covers basic retouching that improves photos without creating obviously manipulated results.
Portrait Retouching Basics
- Blemish removal: Eliminate temporary imperfections like acne or dust
- Skin smoothing: Reduce texture while preserving natural appearance
- Eye enhancement: Brighten whites and sharpen iris details
- Teeth whitening: Subtle corrections for natural-looking smiles
The key principle: less is more. Over-retouching creates artificial-looking results that viewers immediately recognize as heavily edited. Professional skin retouching maintains texture and natural characteristics while removing distractions.
Product Photo Enhancement
Product images require different retouching approaches focused on accurate representation:
| Technique | Purpose | Difficulty Level |
|---|---|---|
| Dust and scratch removal | Clean presentation | Easy |
| Symmetry correction | Professional appearance | Medium |
| Reflection management | Balanced highlights | Medium |
| Color accuracy | Honest representation | Medium to Hard |
| Perspective correction | Proper proportions | Medium |
These techniques ensure products appear appealing while accurately representing what customers will receive. According to photo editing techniques guides, consistency across product catalogs builds customer trust and reduces returns.
Understanding File Formats and Resolution
Photo editing for dummies must address technical specifications that affect image quality and usability. Different file formats serve specific purposes and understanding them prevents common mistakes.
Common File Formats
JPEG (JPG): The most common format for photographs, using lossy compression that reduces file size while sacrificing some quality. Ideal for web use and sharing but not recommended for ongoing editing work.
PNG: Supports transparency and uses lossless compression. Perfect for graphics, logos, and images requiring transparent backgrounds. Larger file sizes than JPEG.
TIFF: Professional format maintaining maximum quality without compression. Used for archival purposes and high-end printing but creates very large files.
RAW: Unprocessed camera sensor data containing maximum information for editing. Requires conversion to other formats for sharing but offers greatest editing flexibility.
PSD: Adobe Photoshop's native format preserving layers, adjustments, and all editing data. Essential for maintaining editable project files.
Resolution Considerations
Resolution determines image detail and appropriate uses:
- 72 DPI: Standard for web and screen display
- 150 DPI: Minimum for acceptable printing
- 300 DPI: Professional print standard for magazines and marketing materials
- 600+ DPI: High-end art reproduction and large format printing
Understanding these requirements prevents creating images too small for intended uses or unnecessarily large files that slow workflows.
Creating Efficient Editing Workflows
Developing systematic approaches to photo editing for dummies dramatically improves speed and consistency. Professional editors follow repeatable processes that ensure nothing gets overlooked.
Standard Editing Sequence
- Import and organize images by project or session
- Perform initial culling to identify keeper images
- Apply batch corrections to similar photos
- Make individual adjustments to specific images
- Perform detailed retouching as needed
- Export in appropriate formats and resolutions
- Backup original and edited files
This workflow prevents wasted effort on images that won't be used while maintaining organization throughout projects. Daily photo editing tips emphasize developing habits that compound over time into significant efficiency gains.
Batch Processing Capabilities
When editing multiple similar images, batch processing saves tremendous time. Most photo editing software allows applying identical adjustments to entire folders:
- White balance corrections for event photography
- Cropping and resizing for product catalogs
- Watermark application for copyright protection
- File format conversion for different platforms
- Preset application for consistent styling
Learning batch techniques transforms hours of repetitive work into minutes of automated processing.
Common Mistakes Beginners Should Avoid
Photo editing for dummies includes learning from common pitfalls that compromise image quality or waste time. Recognizing these mistakes helps beginners develop better practices from the start.
Over-Processing Images
The most frequent beginner error involves excessive adjustments that create unnatural-looking results. This includes:
- Over-saturated colors that appear cartoonish
- Excessive sharpening creating halos around edges
- Heavy-handed skin smoothing removing all texture
- Extreme contrast producing blocked shadows or blown highlights
- Inappropriate filter application for trendy but dated looks
Professional guides like black and white photography editing techniques emphasize restraint and purpose in every adjustment.
Technical Errors
- Working from JPEGs instead of RAW files: Limits editing flexibility and compounds quality loss
- Editing at low resolution: Discovers images are too small for intended use after hours of work
- Skipping file backups: Risks losing both originals and edited versions
- Using destructive editing: Makes corrections impossible without starting over
- Ignoring color calibration: Results in prints or displays that don't match screen appearance
Workflow Inefficiencies
Beginners often waste time through disorganization:
- Failing to organize files systematically
- Repeating identical adjustments manually across similar images
- Not saving preset adjustments for reuse
- Working without clear goals for final output
- Neglecting keyboard shortcuts that accelerate common tasks
Advanced Features to Explore Later
While mastering basics remains priority for photo editing for dummies, understanding available advanced capabilities helps set learning goals.
Frequency Separation
This sophisticated technique separates texture from color and tone, allowing independent editing of each. Professional retouchers use frequency separation for flawless skin while maintaining natural texture.
Luminosity Masks
Advanced selection techniques based on brightness values enable targeted adjustments to specific tonal ranges. This creates natural-looking enhancements impossible with simpler methods.
Focus Stacking
Combining multiple images with different focus points creates photographs with extended depth of field. Product photographers frequently use this technique for items requiring sharpness throughout.
HDR Merging
High Dynamic Range imaging combines multiple exposures to capture detail in both shadows and highlights that exceed single-shot capabilities. This technique excels for architectural and landscape photography.
Learning when and how to apply these advanced methods comes naturally after mastering foundational skills covered in photo editing for dummies resources.
Building Your Photo Editing Skills
Consistent practice remains the most effective path to proficiency. Photo editing for dummies provides frameworks, but hands-on experience develops genuine competence.
Recommended Practice Approaches
Daily editing challenges: Spend 15-30 minutes editing different image types to build diverse skills.
Before and after comparisons: Save original and edited versions to track improvement over time and understand what adjustments create specific effects.
Recreate professional edits: Study work you admire and attempt to recreate the look, teaching you techniques through reverse engineering.
Seek constructive feedback: Join online communities where experienced editors provide helpful critiques of your work.
Study professional workflows: Observe how professional editing services approach various image types and challenges.
Resource for Continued Learning
Multiple platforms offer photo editing tutorials for beginners that expand on fundamental concepts:
- YouTube channels dedicated to specific software
- Online course platforms with structured curricula
- Software manufacturer tutorials and documentation
- Photography forums with editing sections
- Professional retoucher blogs sharing techniques
Combining theory from guides like this with hands-on practice creates the fastest learning curve. Many successful editors recommend editing at least 100 images before evaluating your progress, as initial attempts rarely reflect eventual capabilities.
Integration With Business and Marketing Needs
Photo editing for dummies extends beyond personal photography into essential business skills. In 2026, visual content quality directly impacts conversion rates, engagement metrics, and brand perception.
Ecommerce Applications
Online retailers require consistent, professional product images across entire catalogs. Skills in background removal, color correction, and perspective adjustment directly impact sales performance.
Studies consistently show professionally edited product photos increase conversion rates by 30-40% compared to unedited smartphone snapshots. The investment in learning photo editing for dummies pays immediate dividends for online sellers.
Social Media Content
Platform-specific requirements demand different editing approaches:
- Instagram: Square crops, vibrant colors, consistent filters
- Pinterest: Vertical orientations, clear text overlays, optimized brightness
- Facebook: Balanced colors, readable thumbnails, attention-grabbing compositions
- LinkedIn: Professional tone, minimal effects, business-appropriate styling
Understanding these nuances ensures edited images perform optimally on each platform.
Marketing Collateral
Brochures, websites, advertisements, and presentations all benefit from polished, professionally edited photography. Brand consistency requires applying similar editing treatments across all visual materials.
Measuring Your Editing Improvements
Tracking progress helps maintain motivation and identifies areas needing additional focus. Photo editing for dummies should include methods for objective skill assessment.
Quantifiable Metrics
- Editing speed: Time required for standard corrections
- Consistency: Variation between similar images in batches
- Technical accuracy: Proper resolution, color space, and format selection
- Client satisfaction: Feedback from actual users of edited images
Qualitative Assessments
Beyond numbers, evaluate whether your edited images achieve intended goals. Do portraits look natural yet polished? Do product photos accurately represent items while appearing professionally shot? Does your work match the quality standards in your industry?
Comparing recent work against images edited months earlier provides clear evidence of skill development and helps identify persistent weaknesses requiring targeted practice.
Mastering photo editing fundamentals opens tremendous opportunities for personal creative expression and professional advancement. The techniques covered in this photo editing for dummies guide provide a solid foundation, but consistent practice and continued learning transform basic competence into genuine expertise. When you need professional results without the learning curve, Photo Editing Company delivers expert retouching, color correction, background removal, and comprehensive editing services for businesses worldwide, ensuring your images always meet the highest professional standards.