
Shadow Creation for Remarkable Jewelry
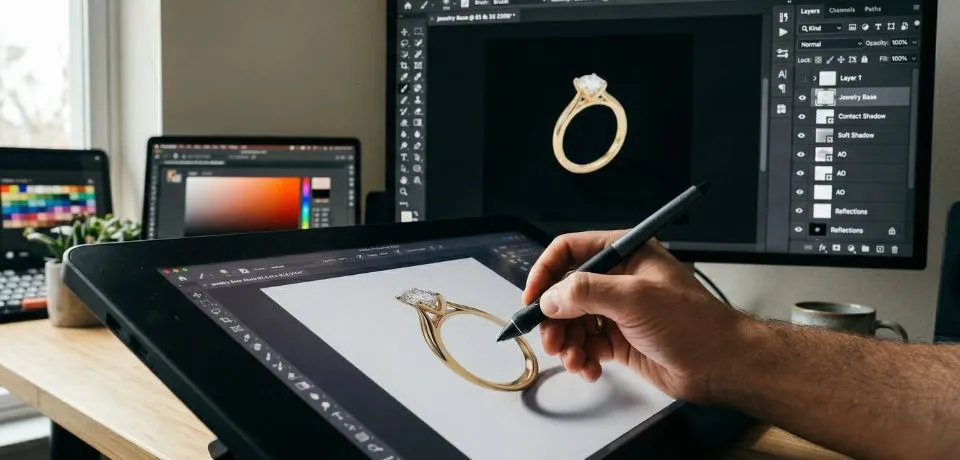
Shadow Creation for Remarkable Jewelry is a delicate process for high-end jewelry because the metal and gemstones interact with light differently. To achieve a high-end, “remarkable” look, you need a combination of a sharp contact shadow and a soft environmental shadow. Consequently, you can improve your jewelry edits by using these specific tips for professional Shadow Creation.
Improve your jewelry edits with these tips for professional Shadow Creation for Remarkable Jewelry
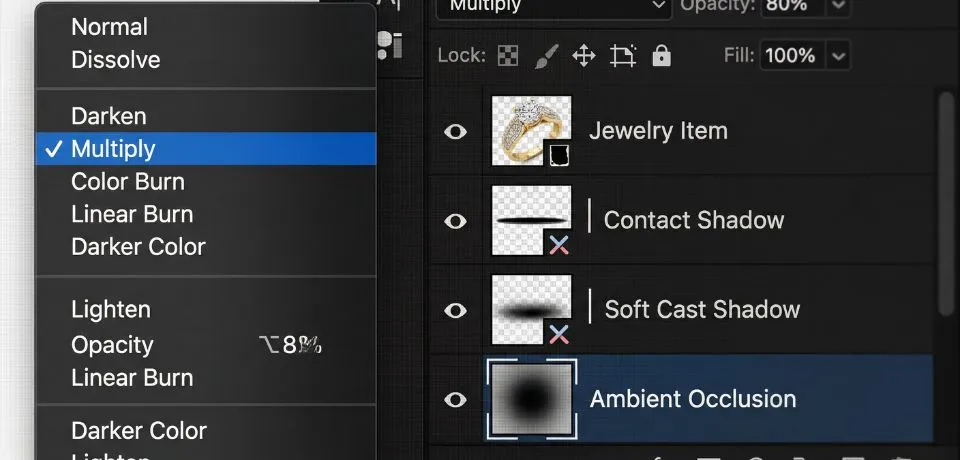
1. The Three-Layer Shadow Technique
For the best results, don’t use a single “Drop Shadow” layer. Instead, build the shadow in three distinct parts to ensure the result looks natural:
|
Shadow Type |
Purpose |
Appearance |
|
Contact Shadow |
Grounds the piece. |
Very dark, thin, and sharp. Placed exactly where the metal touches the surface. |
|
Soft Cast Shadow |
Shows light direction. |
Slightly larger, blurred, and lower opacity (20–40%). |
|
Ambient Occlusion |
Adds depth. |
A very soft, broad “glow” of darkness around the base of the item. |
2. Professional Photoshop workflow for Shadow Creation for Remarkable Jewelry
If you are working in Adobe Photoshop 2024, you should follow these steps for a “floating” or “grounded” jewelry look. Furthermore, using a layered approach allows for much more control over the final image.
Step 1: The contact Shadow Creation
- First, create a new layer under your jewelry.
- Next, use a small, hard Brush (B) (approx. 80-90% hardness).
- Then, paint a very thin line only where the ring or earring base touches the ground.
- Finally, set the Layer Opacity to 70% and use Multiply mode.
Step 2: The soft cast Shadow Creation
- To begin, create another layer.
- Afterward, use a large, soft Brush (B) (0% hardness).
- Click once to create a soft “blob” of black.
- Following this, press Ctrl+T (Command+T) and squash it vertically to create a flat oval.
- In addition, go to Filter > Blur > Gaussian Blur to soften the edges further.
Step 3: Shadow Creation Reflection (Optional)
For jewelry, a subtle reflection often looks more “remarkable” than a shadow alone.
- Duplicate your jewelry layer.
- Go to Edit > Transform > Flip Vertical.
- Position it below the original piece.
- Add a Layer Mask and use a Gradient (G) (Black to White) to fade the reflection out.
- Lastly, lower the opacity to 10–15%.
3. Quick Camera Raw Adjustment
If you are processing the entire image, use these settings in the Basic or Effects panel to make the shadows pop without losing detail. Moreover, these tweaks help the viewer focus on the intricate details of the jewelry.
- Shadows: $-10$ to $-20$ (Adds depth to the dark areas).
- Blacks: $-5$ (Ensures the deepest part of the shadow is true black).
- Clarity: $+15$ (Helps define the edge where the shadow meets the jewelry).
CONCLUSION
Adding professional depth to your jewelry photos is one of the best ways to make your products stand out from the crowd. These simple steps for Shadow Creation for Remarkable Jewelry help your items look more realistic and expensive to every person who sees them. In addition, you do not need expensive gear or years of practice to start seeing better results in your editing workflow today. When you take the time to build layers and adjust your dark tones, your work looks much more natural and polished.
Moreover, I would love to hear which part of this process you find the most helpful for your own photo projects. Therefore, please drop a message in the comments below to share your favorite trick or ask a question about your current edits!
Read Next: 8 Tips for Amazing Photoshop Tricks in Jewelry Photography