
7 Top Tips to Improve Real Estate Photography
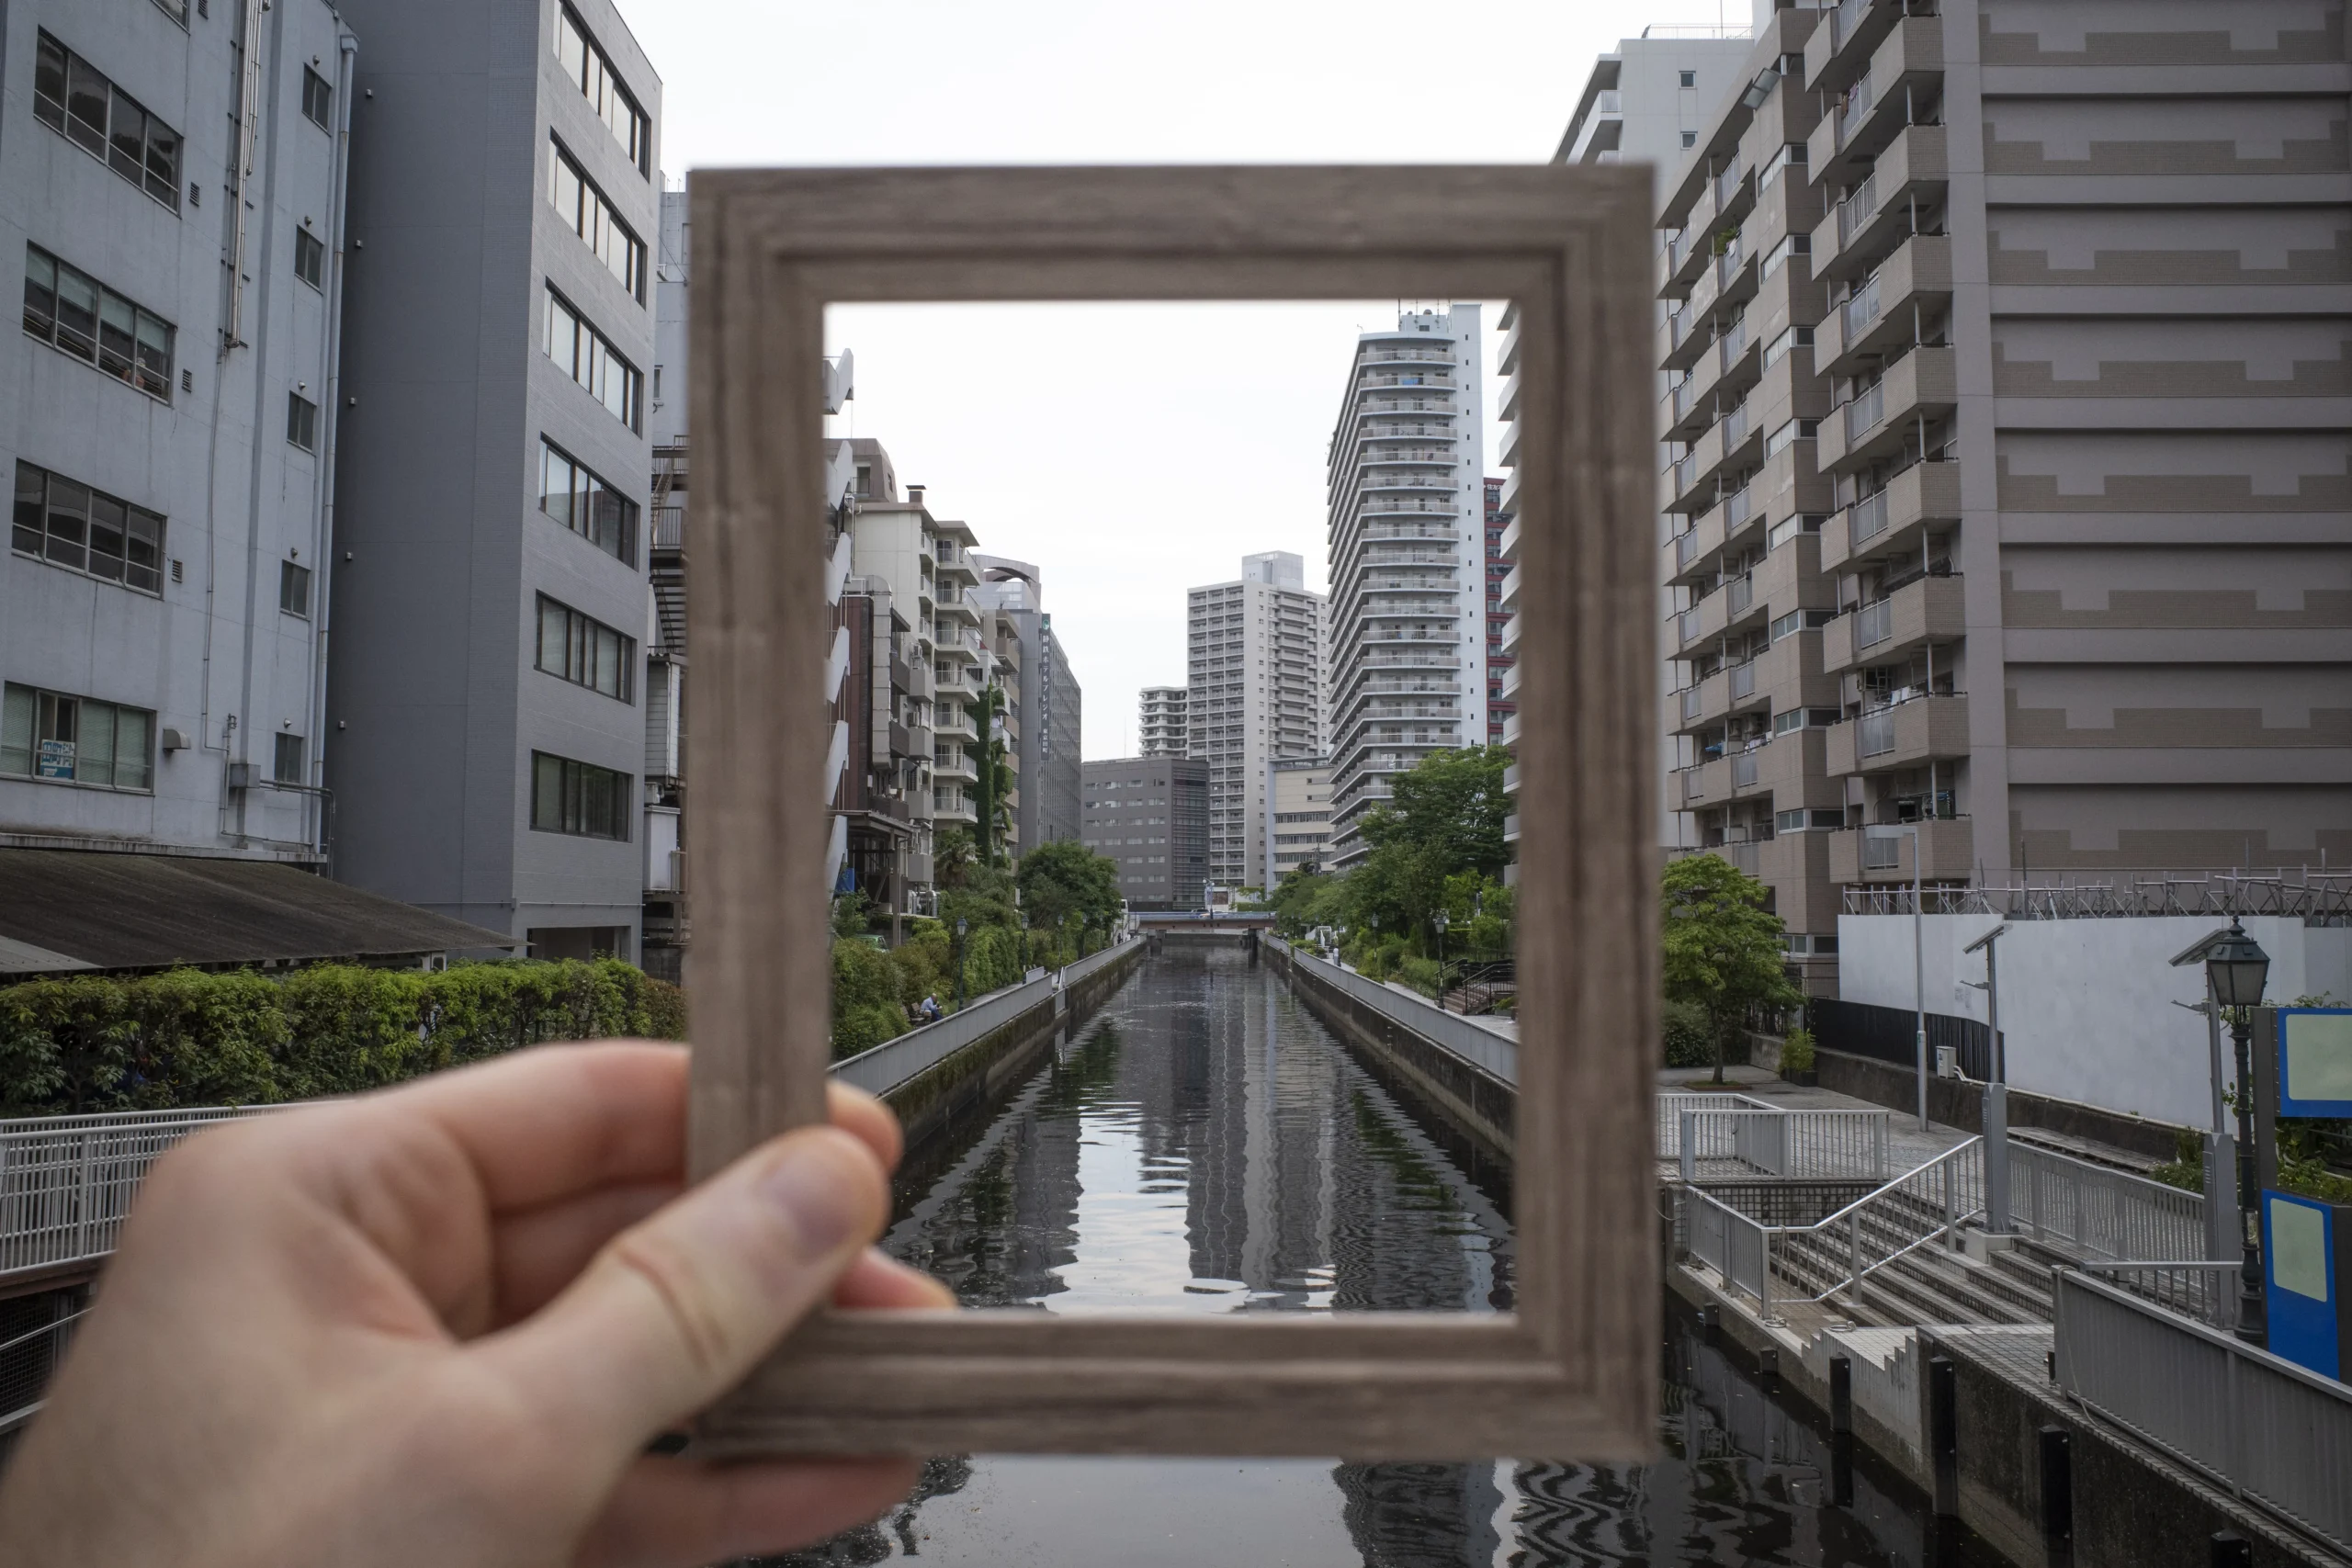
Real Estate Photography Tips
How many times have you scrolled past a listing because the pictures looked dark, cramped, or just plain messy? In the fast-paced world of property sales, Real Estate Photography Tips are essential because your first impression is almost always digital. Consequently, if a home does not look inviting on a screen, potential buyers will never bother to visit in person. This is why high-quality imagery is the secret to moving properties in a crowded market. Specifically, it acts as a silent salesperson, working around the clock to generate interest and get people through the front door.
Building a solid reputation as a photographer comes down to one thing: results. In fact, there is a direct link between great visuals and client trust. When a real estate agent sees that your work consistently makes their listings look like a million dollars, they will keep coming back to you. Furthermore, they need to know that you can handle a dim hallway or a small kitchen and still make it look spacious and bright.
By applying these seven Real Estate Photography Tips, you can turn a basic walk-through into a professional gallery. In the following sections, we will look at everything from timing the sun to choosing the right gear to ensure every room tells a story. Let’s get started on making your next project a standout success.
External Real Estate Photography Tips for Perfect Lighting

The way a house looks from the street is the first thing a buyer sees. If the sun is too high, you get harsh shadows that hide the architectural details. When looking for effective real estate photography tips, understanding that timing is everything is crucial.
Pro Tip: Using the hour before sunset for a soft, warm glow is a favorite trick among professionals. The low angle of the sun paints the home in a gold light that feels welcoming. It turns a standard driveway into a space that feels high-end and cozy.
Before you even load your gear, check weather forecasts to ensure blue skies is a must. A gray, flat sky makes a beautiful property look dull. You want a backdrop that feels like a perfect afternoon. If the clouds are too thick, it might be worth rescheduling to get those crisp shots that grab a buyer’s attention.
- Angle Matters: Positioning the sun to highlight the home’s facade prevents it from looking like a dark silhouette.
- Shadow Control: Find the best angle for the light to show off the textures of the siding and the true colors of the front door.
- Consistency: A little planning goes a long way in making a property stand out against its neighbors.
The Art of Interior Prep
A clean space allows the architecture of a home to be the star. One of the most practical real estate photography tips you can follow is clearing personal clutter to create a blank canvas before you snap a single frame. When a buyer looks at a photo, they should see a home, not someone else’s life. Removing stacks of mail, pet bowls, or rows of shoes helps them envision their own furniture in the room.
How a Clean Space Helps Buyers Visualize Their Own Lives
Quick fixes for furniture placement and room flow:
- Straighten Up: Align chairs with the table and fluff sofa pillows for a crisp look.
- Clear the Path: Move bulky footstools or ottomans that block the natural walk-through of the area.
- Uniformity: Ensure all blinds are at the same height and rugs are perfectly flat.
A tidy room feels more inviting. Even a small kitchen looks twice as big when the counters are bare, and the sink is empty. If a space is too busy, the eye gets stuck on the objects instead of the layout. By following these steps, you provide enough room for a buyer’s imagination to fill in the gaps.
Using a Tripod for Stability and Real Estate Photography Accuracy
A tripod is a must-have for professional work because it eliminates the risk of blurry results in low light. When you are shooting indoors, shutter speeds often drop, making it nearly impossible to hold the camera steady by hand. Using a firm base ensures every detail, from the texture of the floor to the grain of the wood, remains sharp and clear.
Setting the Right Camera Height: Aim for a natural perspective by positioning your lens around chest or doorknob level. This height prevents the furniture from looking like it is “looming” over the viewer.
Why Straight Walls are a Hallmark of Professional Work
One of the fastest ways to spot an amateur photo is by looking at the vertical lines. If the camera tilts up or down, the walls appear to lean, which creates an unsettling feeling for the viewer. To maintain a polished look, focus on these three things:
- Horizontal Alignment: Use the built-in level on your tripod to ensure the camera is perfectly flat.
- Grid Lines: Turn on the grid on your camera screen to align the edges of walls or doorframes with vertical markers.
- Final Edits: While a tripod does most of the heavy lifting, you can still perform minor shifts during the editing process to get those lines perfectly upright.
Keeping your verticals straight shows that you have an eye for detail. It gives the property a solid, well-built feel that inspires confidence in potential buyers. When the architecture looks balanced, the entire listing feels more high-end.
Choosing the Right Focal Length
Capturing the layout of a room requires a specific lens choice to tell the full story. For most interiors, the benefits of a wide-angle lens (around 16mm to 24mm) are unmatched. This equipment helps smaller rooms look larger and gives the viewer a sense of how one area leads into the next. It is the best way to show off a spacious open-plan living area or a compact guest suite.
Balancing Space and Realism
While you want to showcase the room, you must avoid the “fish-eye” effect to keep sizes realistic. If you go too wide, the corners of the photo will begin to curve, and furniture near the edges will look stretched. The goal is to make the home look its best without misleading the buyer about the actual square footage.
Visual Mapping: A well-chosen focal length shows how different areas of the house connect. By standing in a doorway, you can capture the flow from the kitchen into the dining room, giving the buyer a mental map of the floor plan.
- 16-24mm: Ideal for standard bedrooms and living areas.
- 35mm: Great for tighter detail shots or medium-sized bathrooms.
Keep it Level: A wide lens exaggerates any tilt, so double-check your tripod before you click the shutter
Choosing the right lens is about more than just fitting everything into the frame. As far as foundational real estate photography tips go, this ensures you create a view that feels natural to the human eye while highlighting the true potential of the property.
Balancing Light Across Windows
Getting the light right is one of the toughest parts of property photography. The main hurdle is the challenge of bright windows vs. darker interiors. If you focus on the indoor furniture, the view outside often becomes a wall of white light. If you focus on the garden, the living room turns into a dark cave. Finding a middle ground is what separates a snapshot from a high-quality result.
The Exposure Bracketing Method
Instead of taking just one photo, many pros take 3 to 5 shots of the same room at different brightness levels. This technique allows you to see the view and the room at the same time.
- Under-Exposed (-2 stops)
- This darkens the image to show the details of the backyard and the sky.
- It prevents the window view from looking like a white void.
- Neutral (0 stops)
- This captures the middle tones of the walls and flooring accurately.
- It serves as the base for your final image.
- Over-Exposed (+2 stops)
- This brightens the shot to bring out details in dark corners or under cabinets.
- It ensures the shadows do not look muddy or black.
The Final Polish: Merging these layers for a clear, balanced final image gives the viewer a realistic look at the property. It mimics how the human eye naturally adjusts to light, making the home feel open and full of life.
By balancing these light sources, you ensure that a 180° view or a manicured lawn is just as visible as the granite countertops. This level of detail builds trust with buyers, as they can see every part of the home.
Highlighting the Home’s Character
Every property has a story to tell through its unique features. While wide shots are necessary for the layout, focusing on custom details like handcrafted fireplaces or ornate crown molding gives the listing a premium feel. These small touches often represent the quality and care put into the home, making it stand out in a sea of standard listings.
Why “Hero” Shots Create an Emotional Bond
When a buyer sees a close-up of a high-end appliance or a sun-drenched reading nook, they start to imagine their daily life in that space. These “hero” shots act as focal points that trigger an emotional connection.
- Find the Heart of the Room
- Look for the one thing that makes the space special, such as a custom backsplash or a built-in bookshelf.
- Use a Shorter Depth of Field
- Slightly blurring the background can make the specific feature “pop” and feel more intimate.
- Tell a Story
- A shot of a soaking tub or a garden bench suggests relaxation and comfort, which are huge selling points.
Finding the unique selling points of every property: Take a moment to walk through the house without your camera first. Notice what catches your eye, whether it is the view from a specific window or the texture of a stone wall, and make sure to capture it.
By highlighting these character-filled spots, you move beyond just documenting a building. You are showcasing a lifestyle. This attention to detail is what makes a portfolio truly memorable and helps agents sell homes faster.
Next Steps for Growth
Actionable Advice: Review your current portfolio for these seven points. Are your lines straight? Is the lighting balanced?
Community Engagement: What is your biggest challenge on a shoot? Share your thoughts in the comments below!
Support: If you need help with the technical side, reach out to us for professional editing support to give your photos a final polish.
Ready to Upgrade Your Portfolio?
Applying these real estate photography tips will help you move from basic snapshots to the high-quality images that agents love. If you want to see how these tips look in action, view our latest real estate gallery for inspiration.
What is your biggest challenge on a shoot? Let us know in the comments below or reach out to us for professional editing support to give your photos a final polish!