
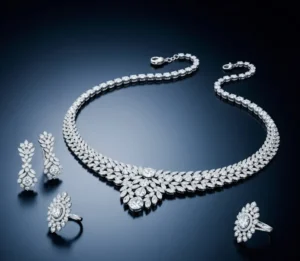
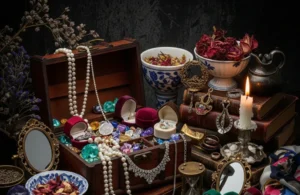
How to Take Jewelry Photos: Jewelry Photography Guide
Jewelry photography requires skill and the right equipment. This guide will show you how to take gorgeous jewelry photos, covering the equipment you’ll need and tips to capture professional looking shots. By the end, you’ll know how to create high value images of jewelry. Karl Taylor says you don’t need many lights or expensive gear a single light source can do the job.
To start jewelry photography, there’s a need for the right equipment that helps you to capture high value and professional looking photos. So here are some of the necessary equipment required in jewelry photography:
Jewelry Photos: Equipment Needed
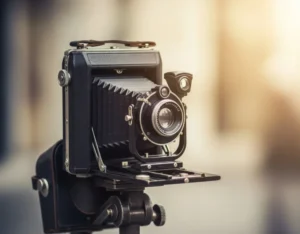
1. Camera
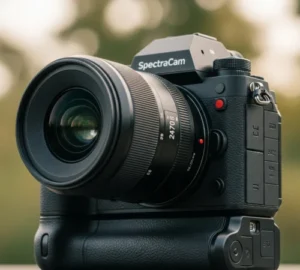 A good camera is key for taking jewelry details. You don’t need an expensive one; a DSLR or even a smartphone with a good camera that can work. The focus should be on details and clarity.
2. Tripod
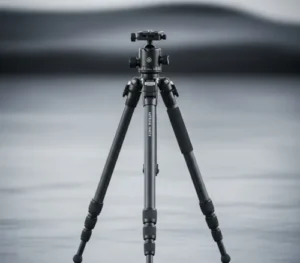 A tripod is very helpful in jewelry photography. It keeps your camera steady, reducing the chance of taking blurry photos and helping you take clear, steady shots.
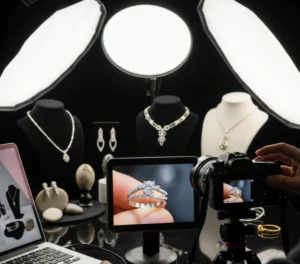
3. Lighting Kit
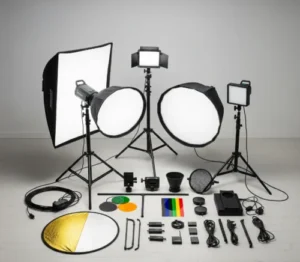 Lighting is super important in jewelry photography. If you’ve got good natural light, shooting near a window works great. Otherwise, a lighting kit with a lightbox, umbrella, or ring light can help set the right vibe. These tools let you control the light, cut down on shadows, and make the jewelry details pop.
4. Table
 You’ll need a basic table to set up your jewelry. A 24 to 27 inch table works well for standard jewelry photography.
5. Macro Lens
 If you’re using a DSLR for jewelry photos, you’ll want a macro lens to catch all the tiny details and make the jewelry look its best.
6. Tape or Clamps
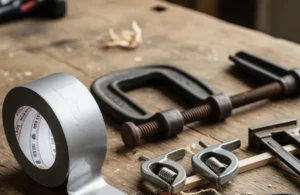 Tape or Clamps are useful things used to hold the jewelry in a fixed position while doing jewelry photography.
7. White Background and Foam Boards
 A plain white background is used for jewelry photography to only focus on the jewelry without distracting background objects. Similarly, you can use foam boards with white paper to create a smoother white background for jewelry photography.
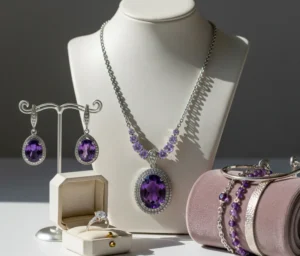
8. Mannequin and Strings
 Mannequins and strings are specially used to showcase the jewelry in the most attractive manner, which makes the jewelry photos more realistic for customers. In addition, strings can add a floating effect in jewelry photos, making them more appealing and attractive.
How to Photograph Jewelry? (Step by Step Process)
Here’s the step by step process to capture impressive jewelry photos with your equipment. Let’s begin!
- Setup your Table
- Position your Lighting
- Clean the Jewelry
- Adjust the Camera Position
- Taking Shots
- Retouch and Finalize
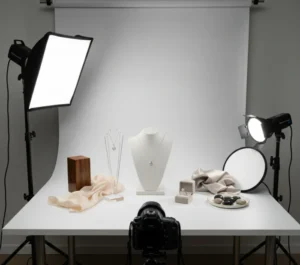
Step 1. Setup Your Table
 Before you start photography jewelry, set up your table first. It depends on your lighting – if you’re using natural light, place the table near a window. If you’re using a lighting kit, you can set up anywhere with a plain, smooth surface and add white paper for the background.
Step 2. Position your Lighting
 If you’re using natural light, make sure the table is near a window with a plain or white wall in the background. For a lighting kit, place a lightbox or white paper behind the jewelry to spread the light evenly. If the lightbox causes shadows, adjust its angle until the lighting looks right.
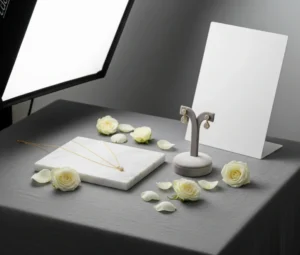
Step 3. Style the Jewelry
 Once your table and lighting are set, you can start styling the jewelry. You can keep it simple with a plain white background, or get creative with options like a marble slab, textured ring holders, or photos of multiple pieces together. Start by deciding how you want to style and present the jewelry.
Step 4. Clean the Jewelry
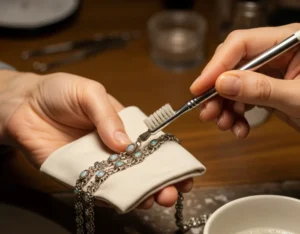 Now, clean the jewelry to remove any dirt or dullness, making it shiny and ready for the shoot. Once it’s clean, place it in the lightbox at the right angle. You can use a mannequin, ring holder, string, or other props to display the jewelry. Plan how you want to present it and arrange it carefully.
Step 5. Adjust the Camera Position
 Next, set up your camera and tripod in front of the jewelry, making sure it’s positioned to capture all the details. Once in place, adjust the camera settings: set the aperture to f/10 or higher and the ISO to 100.
Step 6. Taking Shots
 Now, take some beautiful shots of the jewelry from different angles and positions. Make sure to capture all the details and adjust settings if needed to get the perfect shot.
Step 7. Retouch and Finalize
 Go through your photos and pick the best ones. Then, apply some retouching to improve the merit, making them look more attractive and professional.
Jewelry photo retouching is more difficult than it looks. It requires skilled editors, expensive software, and lots of testing to get the best results. That’s why many jewelry businesses choose to outsource retouching to professionals, ensuring high value, flawless photos delivered on time.
By following the step by step process, you can capture high standard Jewelry photos like professionals. Watch this video that shows our jewelry photography setup.
Common Mistakes to Avoid
Here are some of the most common mistakes that you need to avoid while doing Jewelry photography:
1. Not Cleaning the Jewelry
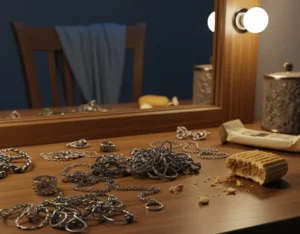 One of the most common mistakes many jewelry photographers must notice is cleaning the jewelry before starting photography. So first, you need to clean the jewelry piece, remove dirt, dullness, or smudges and ensure it looks shiny and attractive. It helps you to boost the jewelry’s clarity and take the details of the jewelry.
2. Using Incorrect Lighting
 As a professional photographer, you must manage the lighting part and ensure that you’re using the lighting properly while doing jewelry photography. Having harsh or direct light can cause glare or shadows that reduce the jewelry’s beauty. So ensure you have a smoother lighting setup to highlight the jewelry pieces.
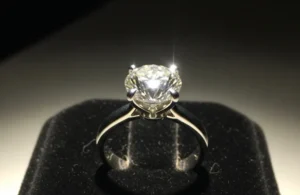
3. Wrong Background
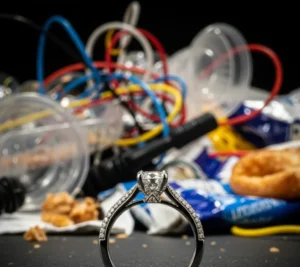 A wrong background can be a big distraction and take customers’ eyes away from the jewelry pieces. So make sure you have a simple, plain, and clean background that doesn’t distract customers from the jewelry and makes jewelry more appealing and attractive.
4. Using too Many Props
 Sometimes using too many props in Jewelry photography can lower the perception and appearance of the jewelry. So make sure you’re using a few enough props to showcase the jewelry most appealingly.
5. Inconsistent Image Size
 Inconsistent image sizes can make jewelry photos look unprofessional and unattractive, which may turn customers away. Make sure your e commerce store uses the right image size and format, so it looks clean and appealing. This will help customers browse easily and make quicker buying decisions.
Jewelry Photography Tips
Here are some most valuable tips that will help you to become a professional jewelry photographer:
1. Keep Background Simple & Plain
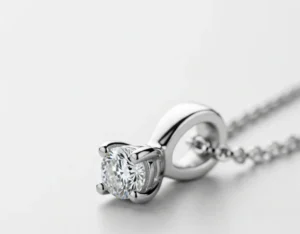 When doing jewelry photography, make sure the background is simple and plain so it doesn’t distract from the jewelry. Check this video for a tutorial on how to remove the background of your jewelry photos. A clean, white background helps showcase the jewelry in the most visually appealing way, allowing customers to focus solely on the pieces.
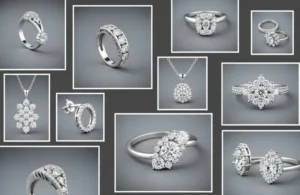
2. Take Multiple Photos from Different Angles
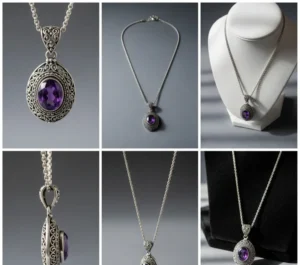 It’s one of the greatest secrets of many professional photographers. So when you do jewelry photography, record so many jewelry photos from different angles that cover the jewelry from all sides and effectively showcase the features. So many photos allow you to filter the most beautiful photos from the collection and finalize the jewelry catalog. Sometimes experiments in jewelry photography can bring out some amazing photos.
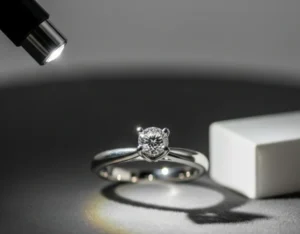
3. Eliminate Reflection and Glare
 Reflections and glare can mess up the look of jewelry photos, making them harder to see clearly. To keep the jewelry looking shiny and attractive, adjust the angle to avoid unwanted reflections and glare, and shoot the jewelry’s beauty and details.
4. Focus on the Details
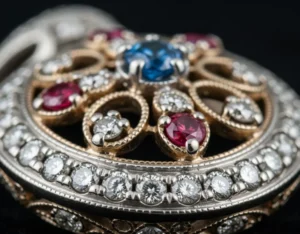 To become a professional in Jewelry photography, focus on the details of the jewelry design and snap with the macro lens. Such high caliber jewelry photos with recording details seem standard and stand out.
5. Manage Lighting Properly
 Lighting plays a key role while doing Jewelry photography. It can make or break the beauty of jewelry photos. So, make sure when doing a jewelry photography shoot that the lighting must be well managed and does not show any reflection or shadow. Using an artificial lighting kit, you can manage the tone and amount of light to highlight the beauty of the jewelry and frame beautiful Jewelry shoots.
6. Retouching the Photos
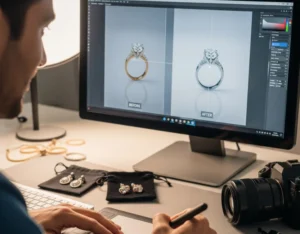 Jewelry photos often have imperfections like dirt, dullness, unwanted background objects, and poor lighting that can affect their look. With jewelry photo retouching, these flaws can be easily removed, making the photos more attractive and eye catching, which helps encourage buyers to make decisions faster.
Jewelry Photography FAQs
Q.1 What type of Camera should I use for jewelry photography?
Ans: You can prefer a DSLR camera with a macro lens or any smartphone with a good standard camera that takes the details.
Q.2 What Lighting should I use for jewelry photography?
Ans: Use soft and diffused lighting that you can get from a lightbox or natural lighting through a diffuser. Avoid harsh or direct lighting to remove glare & reflection.
Q.3 What background should I use for jewelry photography?
Ans: A simple, clean background like white or black works best for jewelry photos, so the jewelry stands out without any distractions.
Q.4 What Camera setting should I use for jewelry photography?
Ans: For jewelry photography, your camera settings play a big role in capturing sharp, detailed, and appealing images.
Conclusion:
Jewelry photography is a rewarding field that requires patience, skill, equipment, and knowledge to become a pro. This guide covered the key aspects, critical equipment, and step by step processes to record beautiful jewelry photos. Once you’ve taken the shots, retouching is important. You can either hire a retouching team and invest in expensive software or outsource the job to a top service provider like Photo Editing Company, ensuring high caliber work delivered on time. Contact us today to try our jewelry photo retouching services at an affordable price.
Read Next: How to Choose the Perfect Lens for Jewelry Photography