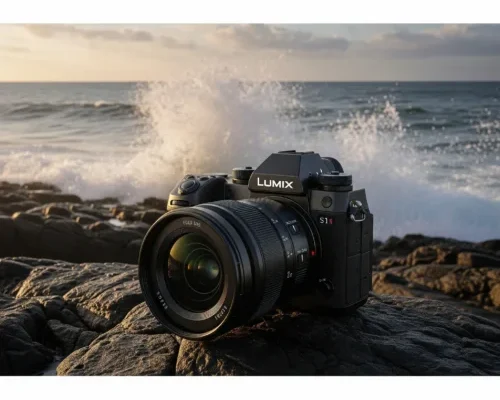
Discovering the right camera settings for product photography is important to taking clear and detailed images. Proper settings help highlight your product’s features and make the photos look more professional. Understanding basics like aperture, shutter speed, and ISO can make a big difference in the final result.
Using the right settings makes sure that colors are accurate, details are sharp, and lighting is balanced. By trying different settings and making small changes, you can create great product photos. These photos will attract customers and boost sales.
Understand Your Camera Mode
Knowing your camera modes is important for taking great product photos. Most cameras offer different modes like Manual (M), Aperture Priority (A/Av), Shutter Priority (S/Tv), and Program (P). Manual mode lets you control all settings. You can change the aperture, shutter speed, and ISO for the best shot. Aperture priority lets you control how much of the scene is in focus. You set the aperture, and the camera changes the shutter speed. Shutter Priority helps you take motion by setting the shutter speed, with the camera adjusting the aperture. Program mode automatically selects the best settings but still gives you some control over adjustments.
For product photography, manual mode is usually the best option. It gives you full control over the photo’s appearance. However, aperture priority can be useful when you want to blur the background slightly and make the product stand out. Shutter priority is less commonly used in product photography but can help when shooting moving objects. Finding the right camera settings helps you pick the best one for each situation. This leads to high-quality product photos. By improving your camera settings, you can take great pictures. These images will show your product’s details and attract customers.
Set the Right Aperture
Aperture controls how much light enters the camera and affects how much of the image is in focus. It is measured in f-stops, such as f/2.8, f/5.6, or f/11. A lower f-stop (like f/2.8) lets in more light and creates a blurred background, making the product stand out. This is useful when you want to highlight the product and remove distractions. A higher f-stop, like f/11 or f/16, lets in less light. However, it keeps more of the image in focus. This is great for taking sharp and detailed product photos.
For most product photography, an aperture of f/8 to f/11 is best. This setting keeps the whole product sharp and gives a clean look. If you are taking pictures of small items like jewelry or accessories, use a higher f-stop. This helps keep tiny details clear. If you want a soft background for lifestyle product shots, use a lower f-stop. This will create a nice blur. Understanding how aperture affects your photos allows you to choose the right setting for different types of products. By perfecting aperture control, you can produce high-quality images that highlight your product’s best features.
Adjust Shutter Speed for Clarity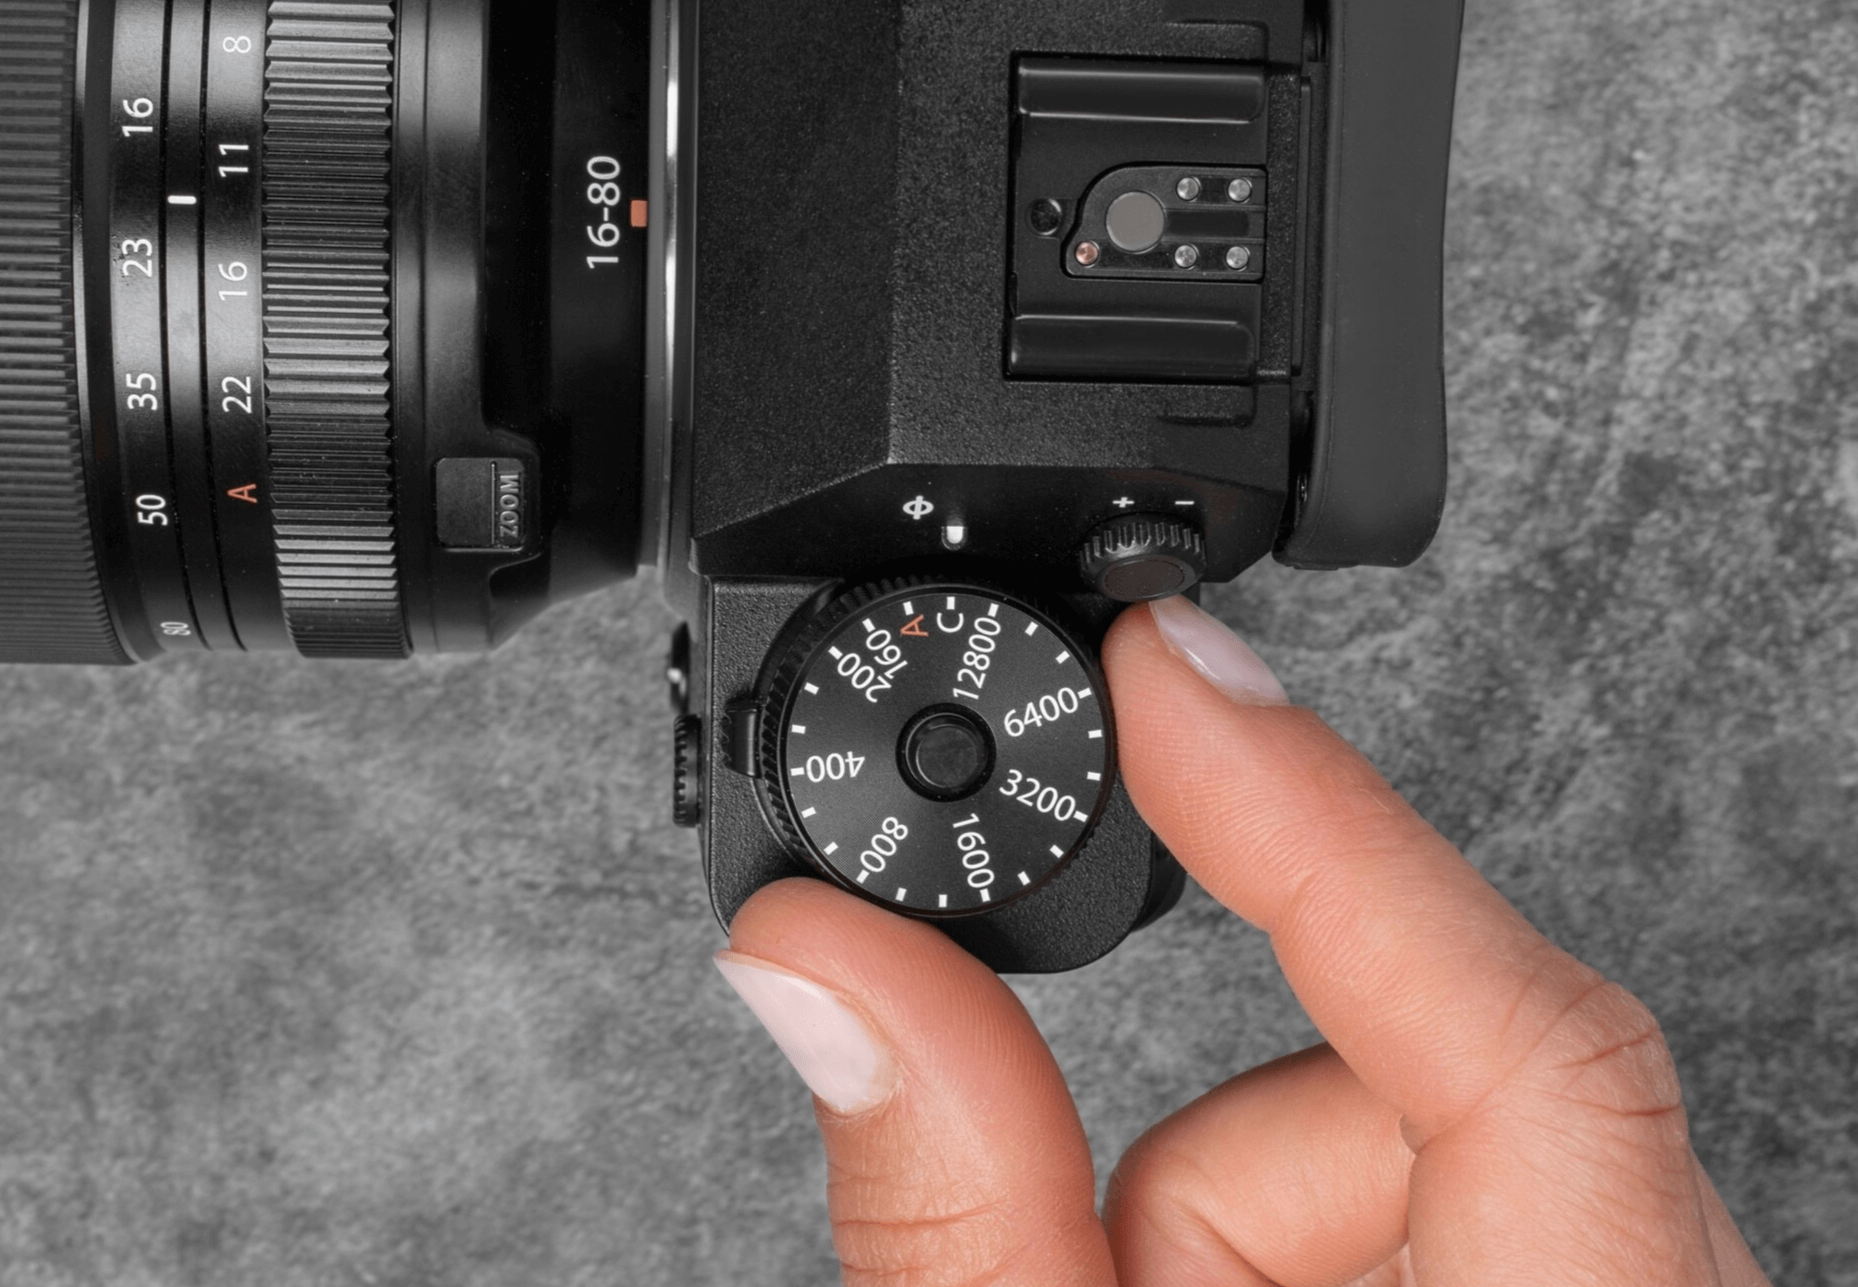
Shutter speed controls how long the camera’s sensor is exposed to light. It is measured in seconds or fractions of a second, such as 1/60, 1/125, or 1/500. A faster shutter speed (like 1/500) takes quick movements and reduces blur, making it perfect for moving objects. A slower shutter speed (like 1/60) allows more light but can result in motion blur if the camera or subject moves.
For product photography, a shutter speed between 1/125 and 1/200 is usually ideal. This makes sure that the product remains sharp and clear while preventing any camera shake. If you are using a tripod, you can use a slower shutter speed to let in more light without worrying about blur. However, if you’re shooting handheld, a faster shutter speed helps maintain sharpness. By adjusting the shutter speed carefully, you can create crisp and professional-looking product photos.
Use Low ISO for Better Quality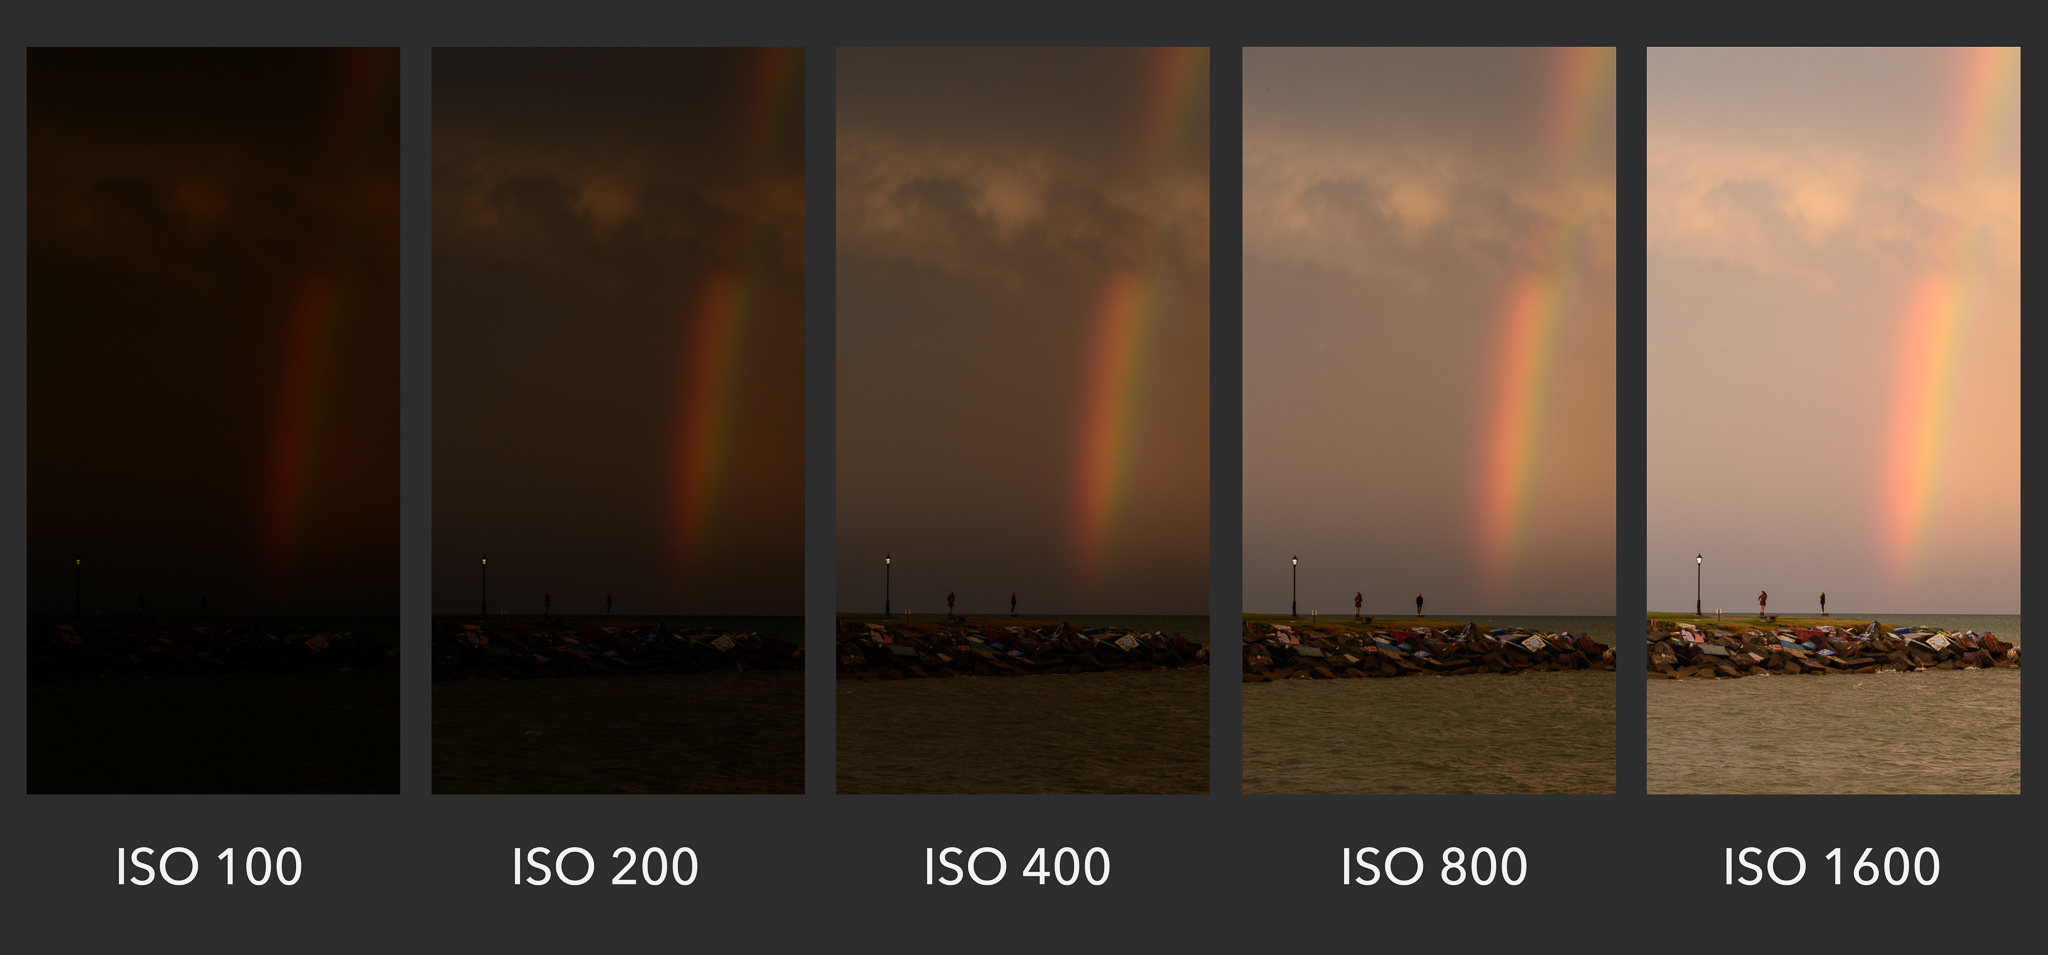
ISO controls the camera’s sensitivity to light. A low ISO, such as 100 or 200, takes clear and sharp images with minimal noise or grain. A higher ISO, such as 800 or 1600, makes the camera more sensitive to light. However, it can also add unwanted grain, which makes the image look less professional. For product photography, it’s best to use a low ISO because it keeps the image clean and detailed.
Since product photos are often taken in bright light or with studio lights, a low ISO is enough for a great shot. If the scene is too dark, it’s better to adjust the aperture or shutter speed instead of raising the ISO. Using a tripod can help in low light. It lets you use a lower ISO without worrying about camera shake. Keeping the ISO low ensures that colors remain accurate and the fine details of your product stand out. By perfecting ISO settings, you can consistently produce high-quality product photos that look professional and appealing.
White Balance for True Colors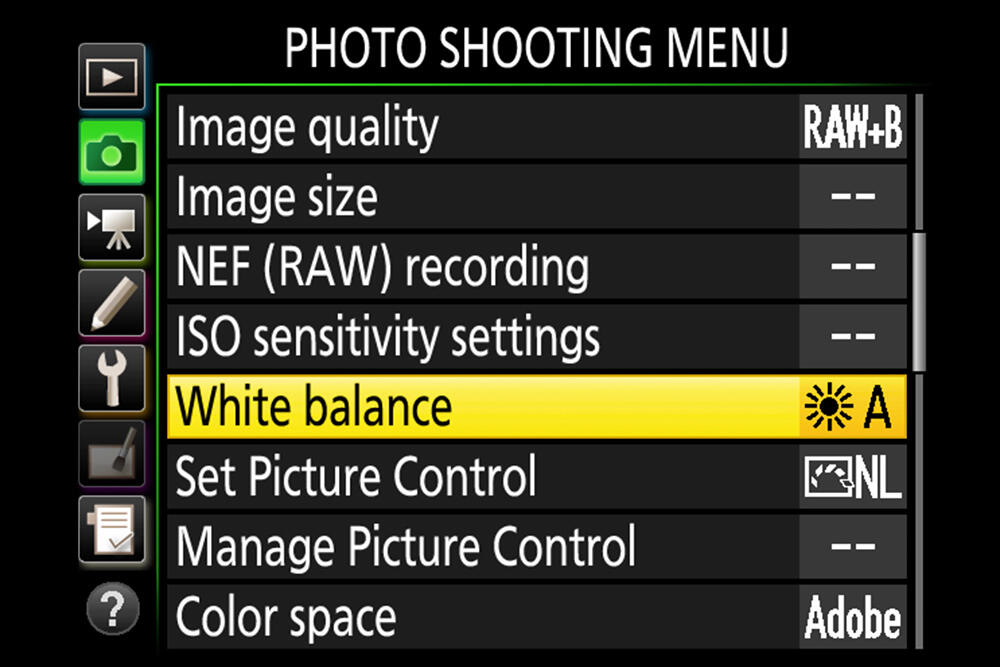
White balance makes sure that the colors in your photos look natural and true to life. It adjusts the color temperature of the image to remove any unwanted color casts caused by different light sources. For example, indoor lighting may create a yellow or orange tint, while natural daylight can add a blue tone. If the white balance is not set correctly, your product may look different from its actual color.
To get true colors, use your camera’s white balance settings. Choose from daylight, cloudy, tungsten, or fluorescent based on the light. For product photography, setting a custom white balance or using a gray card helps ensure the most accurate results. If you’re unsure, shooting in RAW format allows you to adjust the white balance during editing. Correct white balance highlights the true colors of your product, making the photos look professional and trustworthy. By perfecting white balance, you can prevent color distortions and make sure your product looks exactly as it should.
Focus for Sharp Details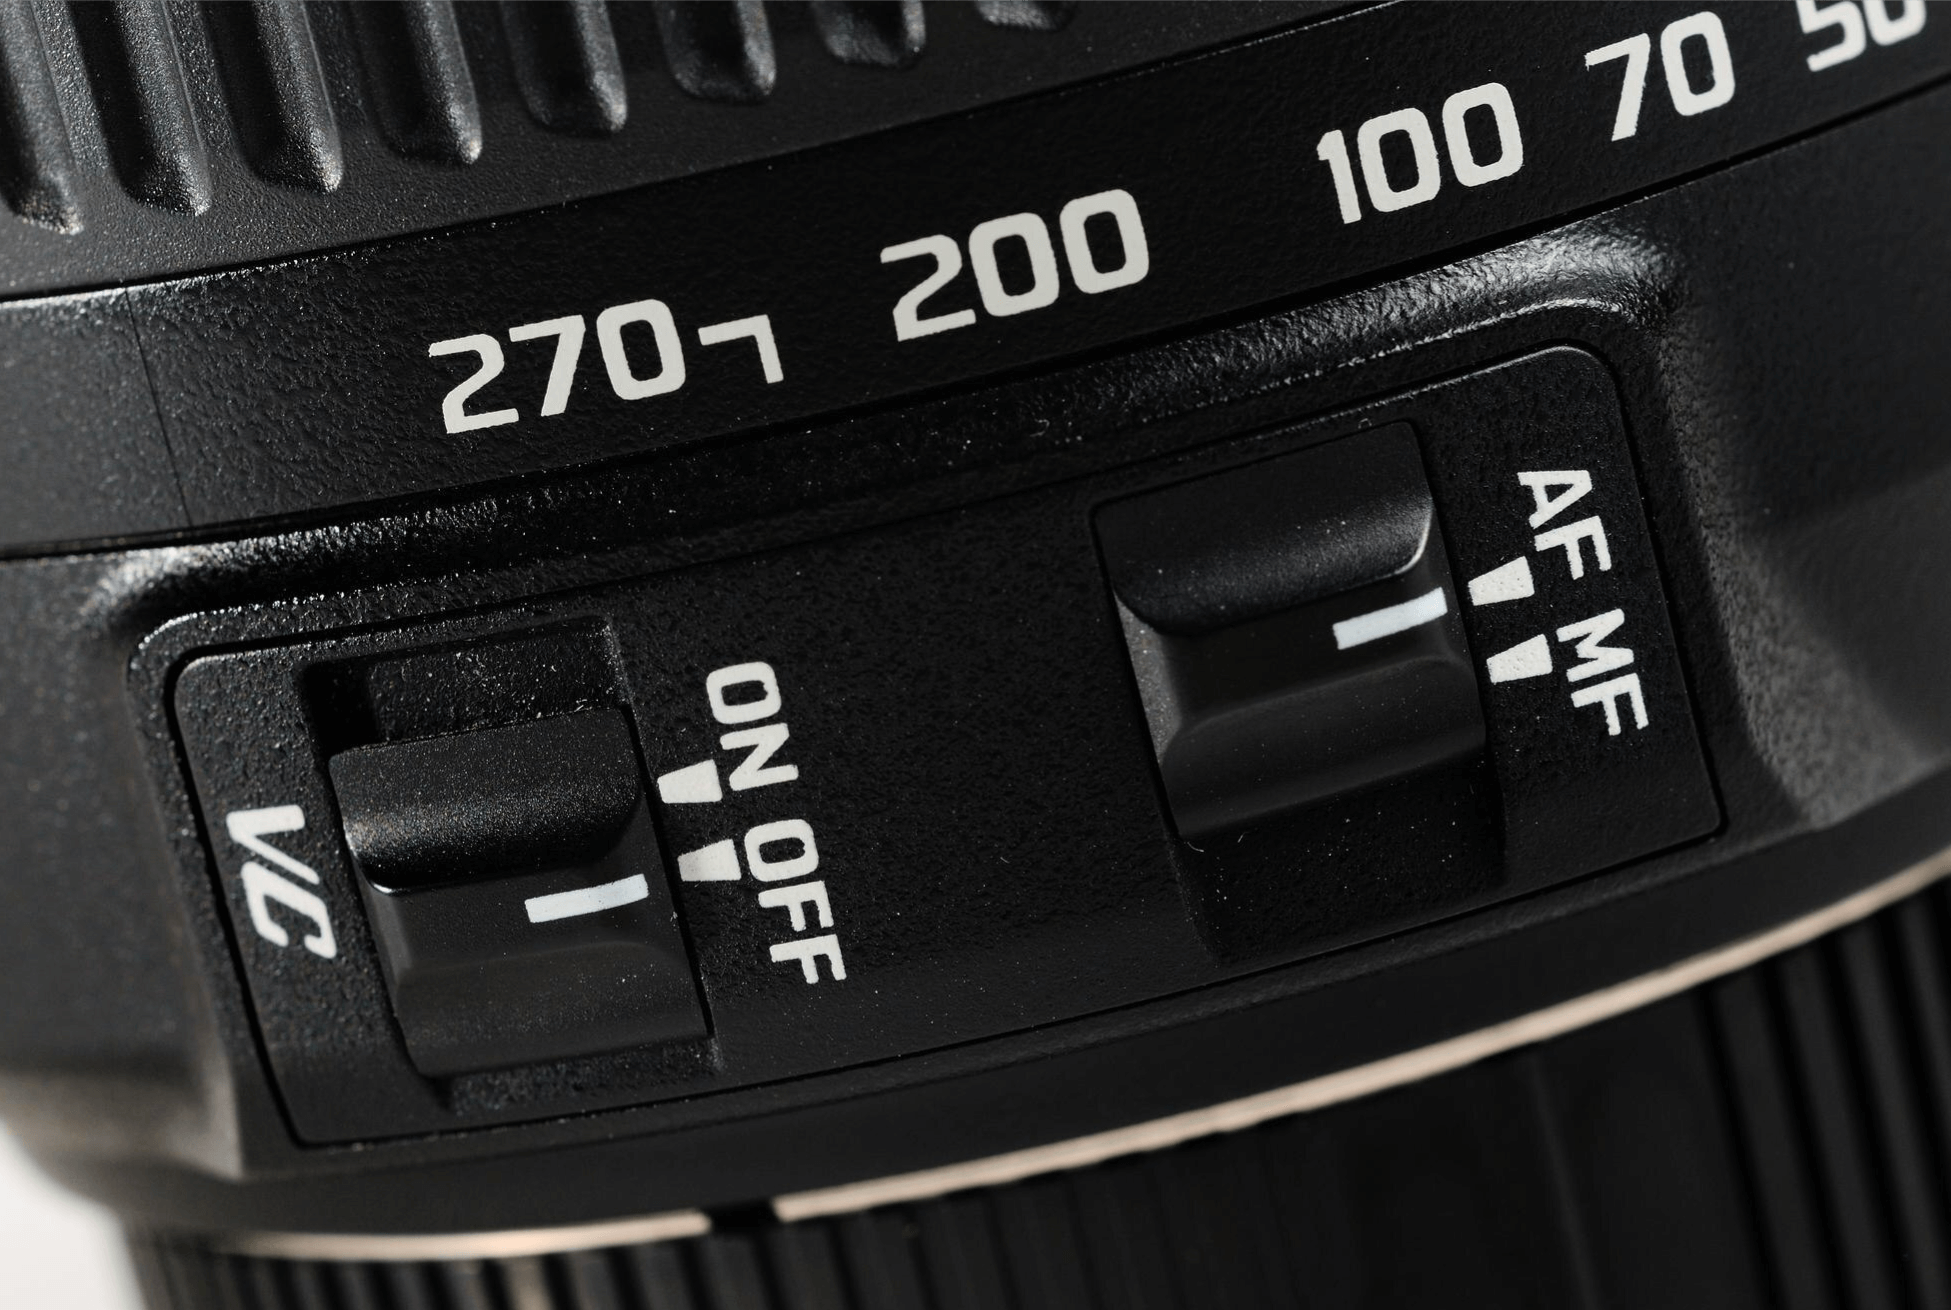
Focusing makes sure that your product photos are sharp and clear, highlighting all the important details. Proper focus draws attention to the product and makes the image look more professional. Most cameras offer autofocus (AF) and manual focus (MF) options. Autofocus is fast and easy to use. However, for close-up shots or small objects, manual focus offers better control and accuracy.
For product photography, it’s best to focus on the main part of the product, such as a logo, texture, or key feature. Using a smaller aperture (like f/8 or f/11) helps keep the entire product in focus, especially for larger items. If you are taking pictures of small objects or doing close-ups, focus stacking can help. It combines several images to make sure all parts of the product are sharp. Using a tripod can also prevent slight movements that might affect focus. By improving your focus techniques, you can take clear and detailed product photos. These photos will attract customers and show off your product’s best features.
Use a Tripod for Stability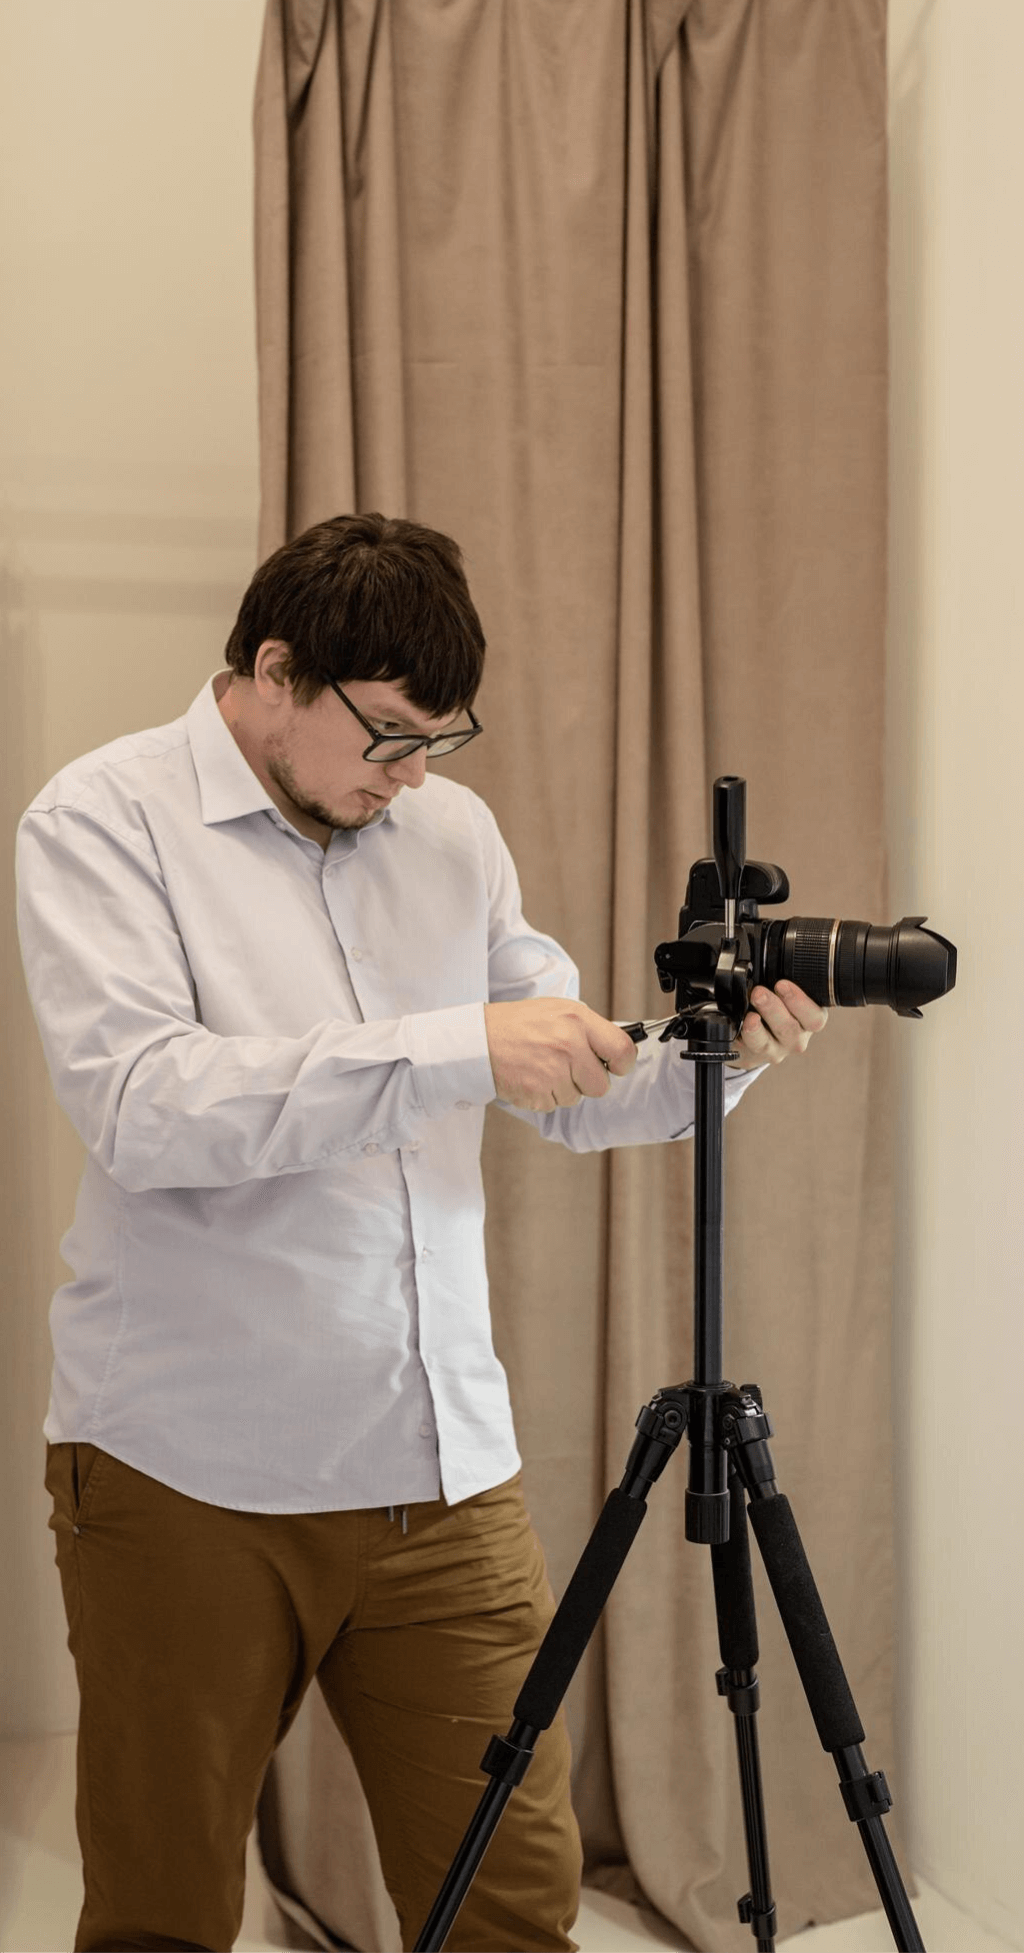
A tripod keeps your camera steady, preventing any unwanted movement that can cause blurry photos. It keeps the camera steady. This helps you take sharp and clear pictures, even in low light or with slower shutter speeds. For product photography, using a tripod makes sure that every shot is consistent and professional-looking.
When shooting small or detailed items, even slight hand movements can affect the sharpness of the image. A tripod eliminates this risk and helps maintain focus on the product. It also lets you make small changes to the product’s position or lighting without moving the camera angle. If you use a higher f-stop or slower shutter speed for more detail, a tripod keeps the photo sharp. By using a tripod, you can create high-quality product photos that are clear, consistent, and visually appealing.
Experiment and Review Settings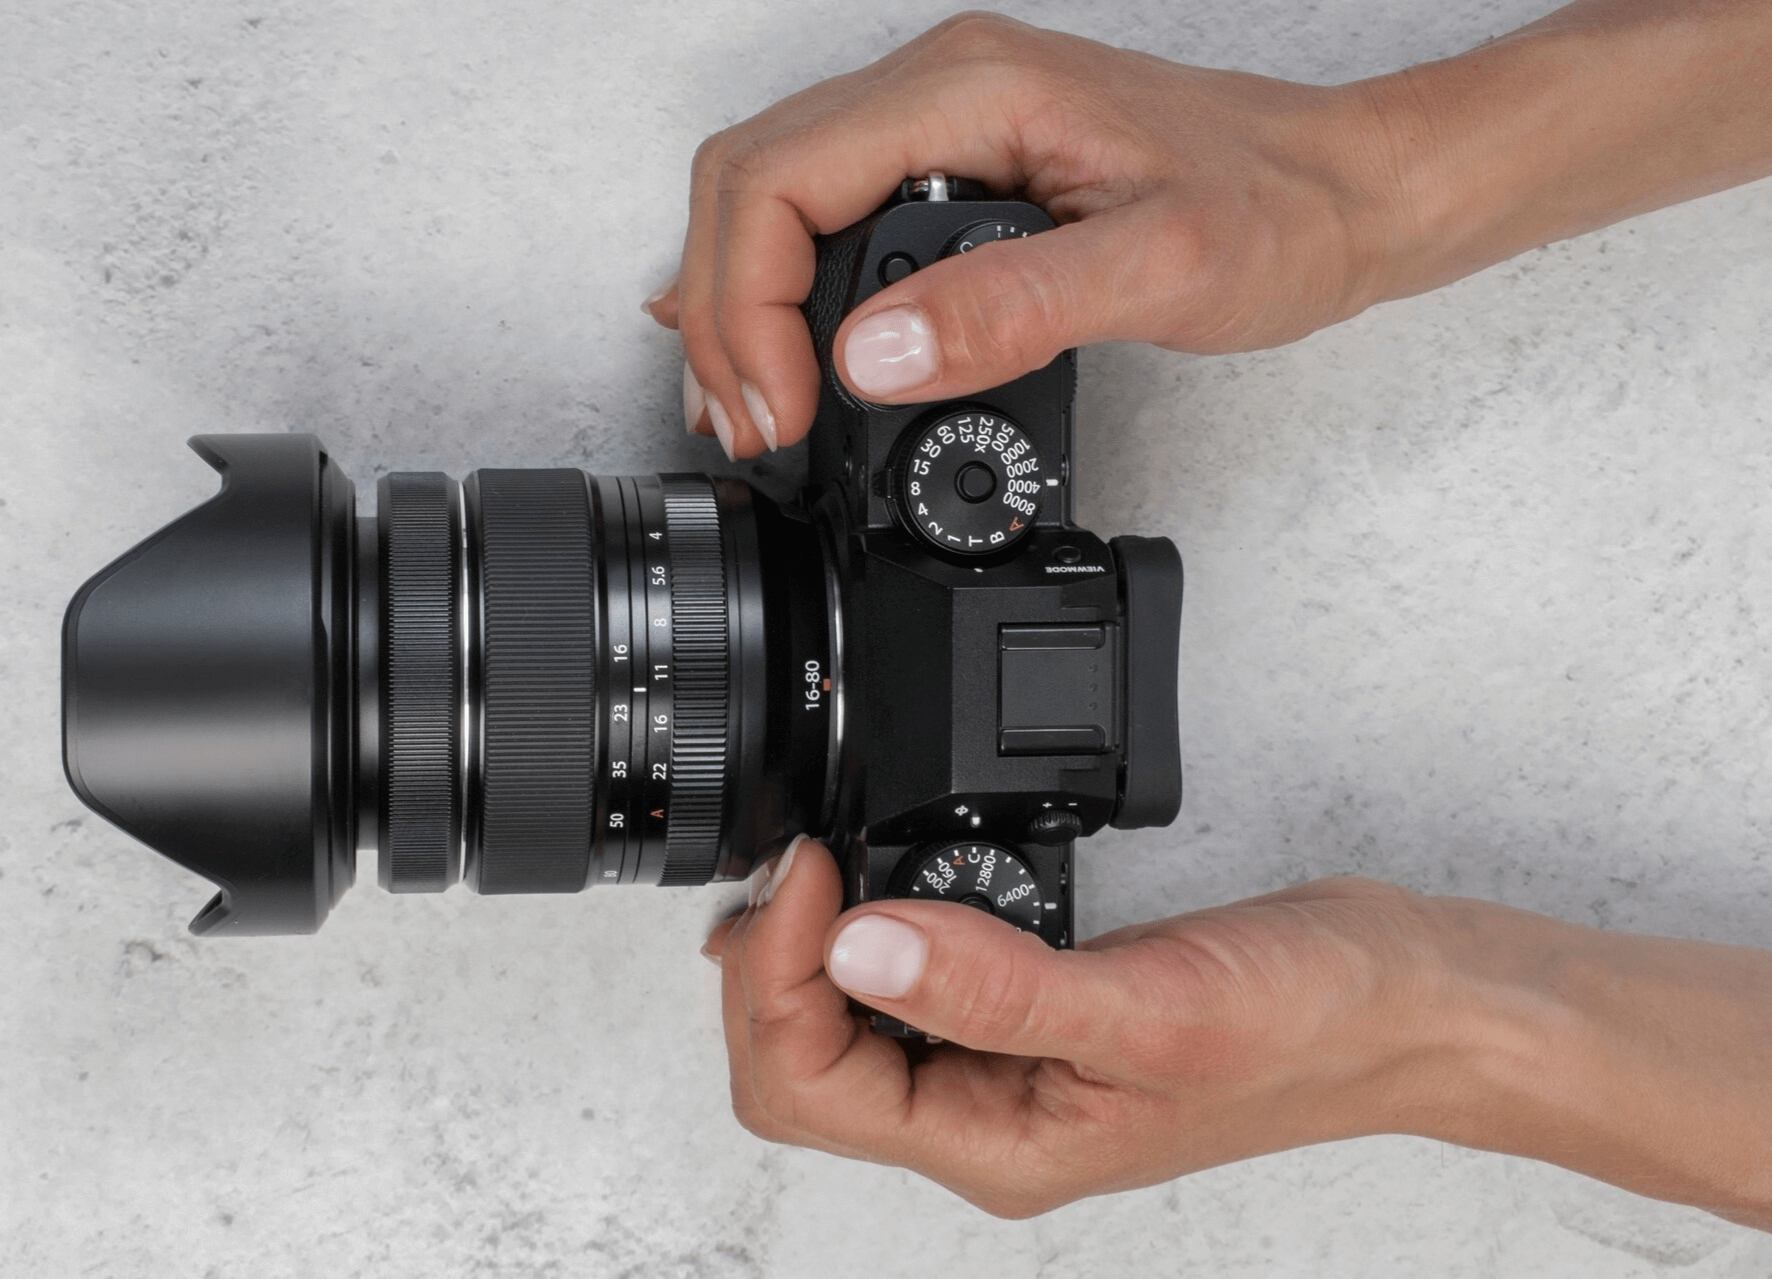
Experimenting with different camera settings helps you find the best combination for taking high-quality product photos. Try adjusting the aperture, shutter speed, and ISO to see how each change affects the image. A wider aperture, such as f/2.8, can blur the background. In contrast, a higher f-stop, like f/11, keeps the whole product in sharp focus.
After taking a few shots, review the images carefully to check for sharpness, color accuracy, and lighting. Zoom in to see if any details are missed or if adjustments are needed. If something looks off, tweak the settings and try again. Reviewing your settings allows you to make improvements and makes sure that your product photos look smooth and professional. With practice, experimenting and reviewing will help you perfect your camera settings and produce consistent, high-quality images.
Conclusion
Choosing the right camera settings for product photography is key to taking sharp, detailed, and professional images. By learning about aperture, shutter speed, ISO, white balance, and focus, you can show off your product’s best features. Using a tripod and experimenting with different settings also helps improve the quality of your photos. With practice and some adjustments, you will create great product photos. These photos will attract customers and show your products well.
Read Next: 5 Professional iPhone Settings For Photography
Related