Impact of beautiful product photography: it’s not just about looking good; it shares your story,…

How to Easily Improve Product Photos for Online Stores
To easily improve product photos, they are often the first thing customers notice. Good images can boost credibility and sales, while bad ones can drive buyers away. The good news? You don’t need to be a professional photographer to improve your product photos.
With just a few easy adjustments and tools like Photoshop, you can make your products stand out, look more appealing, and drive more conversions. In this guide, we’ll show you simple ways to improve your product photos and make a lasting impression on your customers.
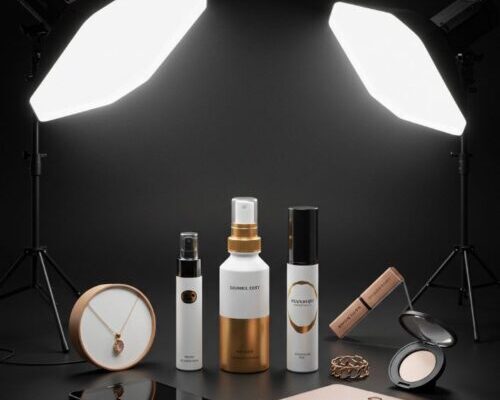
Use Proper Lighting
Lighting plays a huge role in product photography. It can make the difference between a photo that looks dull and one that grabs attention. Proper lighting helps bring out the true colors, texture, and shape of your product, making it look more appealing and professional. Natural light, like sunlight from a window, is a great option for beginners because it’s soft and flattering. If shooting indoors or at night, use softboxes or ring lights to create even lighting without harsh shadows. By applying this method, this can easily improve product photos.
Avoid using your camera’s flash directly on the product, as it often creates unwanted reflections or overexposure. Instead, try diffusing the light by placing a thin white cloth or diffuser between the light source and the product. This helps soften the shadows and create a more natural look. Also, make sure the light direction is consistent. Lighting from the front highlights the entire product, while side lighting can add depth and dimension.
Choose a Clean Background
A clean background helps your product stand out and keeps the focus where it should be: on the item you’re selling. Busy or cluttered backgrounds can distract customers and take attention away from the product. The most common choice is a plain white background, as it looks professional and works well on most eCommerce platforms. It also makes your product look sharp and helps with consistent branding across all listings.
Using a solid color or neutral tone is another great option, especially if it complements your product. Some sellers use light gray or beige for a softer look that still keeps things clean. Avoid using patterns, textures, or unrelated props unless they add value or context to the product. For example, lifestyle shots with props can work well if they show the product in use, but they should still look neat and intentional.
Focus on High Resolution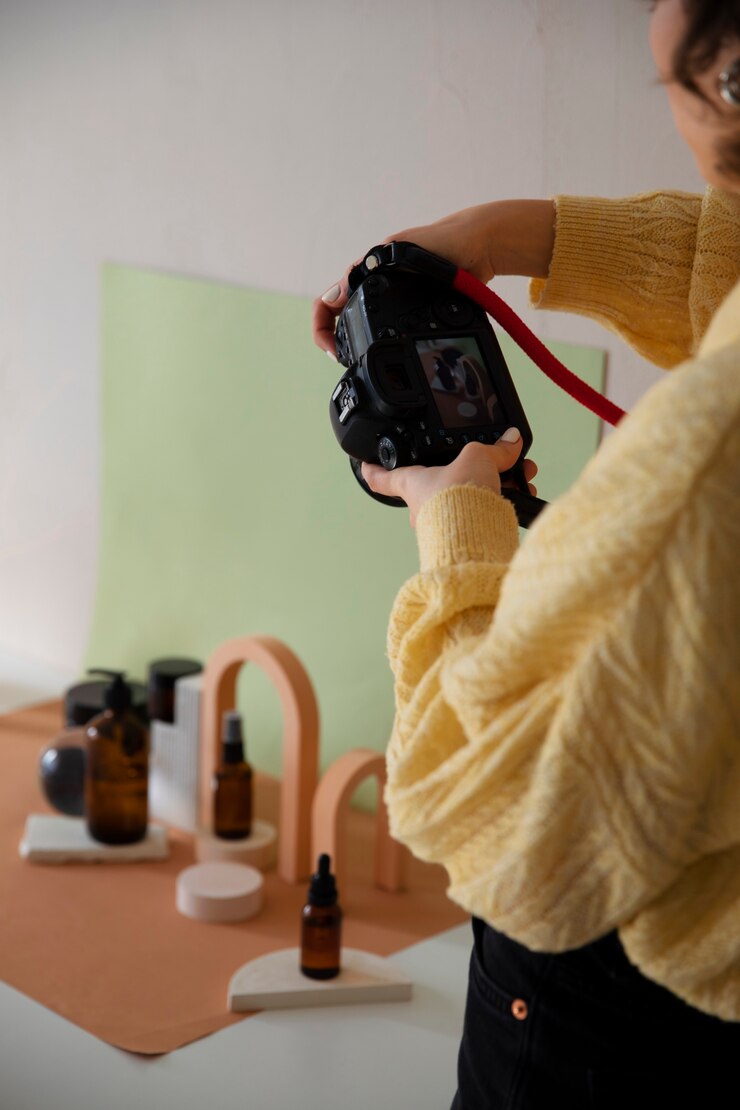
Show Different Angles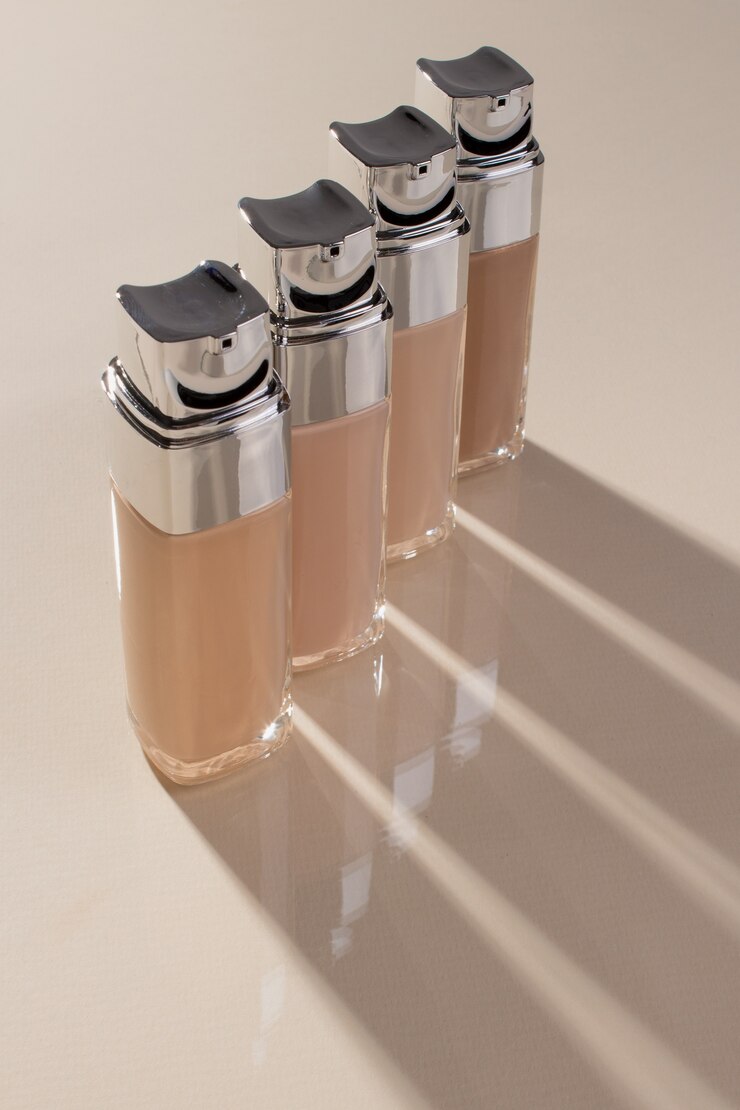
Showing different angles means taking pictures of a subject from various viewpoints for a better and more interesting look. If you’re photographing a product, a person, or a space, showing different angles helps highlight features that might be missed in just one shot. It adds depth, variety, and context to your visuals, making them more engaging for viewers.
This technique is especially useful in photography, videography, design, and marketing. For example, showing a product from the front, side, and back can help customers better understand its look and function. In portraits, changing angles can reveal different moods or highlight the subject’s best features. Showing different angles makes the product more interesting and gives a better view.
Keep Colors True to Life
Keeping colors true to life means making sure the colors in your photos or visuals match how they appear in real life. Accurate color helps build trust and shows a true version of the subject. It avoids making things look too dull, too bright, or completely different from their natural appearance. You can also use a plain background to avoid color reflections. Editing tools should only be used to fix small things like brightness or shadows, not to change how a product looks.
Getting the color right in product photos, real estate, and portraits is key because it shapes how people see the item or space. Proper lighting, camera settings, and color correction during editing can help maintain true-to-life colors. Avoiding heavy filters or over-editing also keeps your images looking natural and professional. In short, keeping colors true to life helps your photos feel authentic, honest, and visually pleasing.
Remove Distractions and Imperfections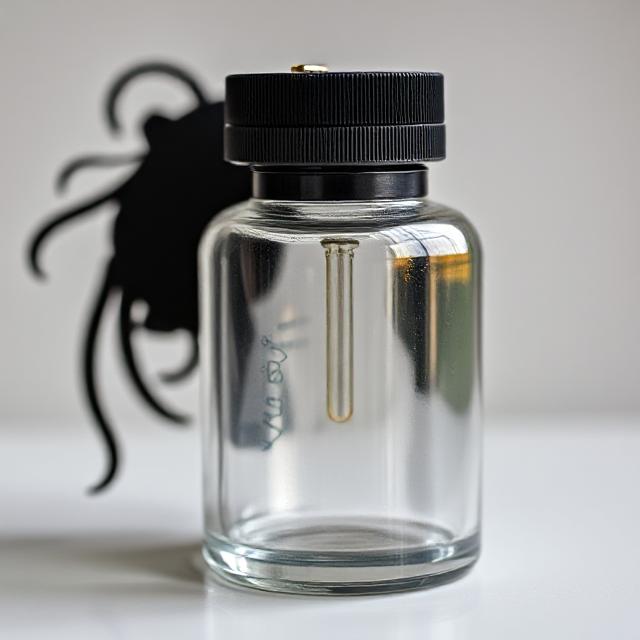
Removing distractions means getting rid of things in the image that distract from the main subject or make it look messy. This can include background noise, stray objects, or unwanted marks that make the photo look messy or unprofessional. Removing distractions helps the viewer focus on the important parts of the image, like a product, person, or scene. It also shows that you care about quality and presentation. In the end, fewer distractions mean a stronger focus on what you’re really selling.
In photography and editing, you can remove things like blemishes and distractions to make the image look nicer. This not only improves the overall aesthetic but also improves the quality of the image. By removing distractions and flaws, you make the main subject stand out and look better. It’s also important to check the product itself for dust, fingerprints, or damage before taking photos.
Use Consistent Sizing and Framing
Using consistent sizing and framing means keeping the size and position of subjects the same in your photos. This helps create a balanced, professional look, especially in product photography and branding.
For example, in product photography, keeping products the same size in the frame helps them look aligned and easy to compare. In portraits, using the same framing for all photos makes the collection look more balanced. Consistent sizing and framing make your images look more cohesive and appealing.
Add Simple Shadows or Reflections
means incorporating soft shadows or reflections to improve the depth and realism of your images. Shadows help create a sense of dimension by grounding the subject and making it appear more lifelike. They can also add mood or drama to a scene, especially when positioned in a way that highlights certain features. Reflections make the photo more interesting by showing the product’s image on surfaces like glass or water.
These elements should be simple and not overpower the main subject, as they are meant to complement rather than distract. In product photography, adding light shadows or reflections can make the product look more realistic and professional.
Highlight Product Details
Highlighting product details means focusing on the unique features of a product to make them stand out clearly in your photos. This involves taking close-up shots or emphasizing textures, colors, and materials that set the product apart. Showing details like stitching, shine, or design helps customers understand what they’re buying better.
Save Images in Web-Friendly Formats
Save images in the right file types so they load fast and look good on websites without losing quality. Common web-friendly formats include JPEG, PNG, and GIF, each serving different purposes. JPEG is ideal for photographs and images with many colors, as it offers good compression while maintaining quality. PNG is great for images that need transparency, such as logos or icons, and makes sure of sharp, clean edges. GIF is often used for simple graphics or animations.
Related Posts