
Editing Makeup Pictures with Techniques
When editing makeup pictures, the most effective approach combines technical precision with a light touch to preserve the makeup artist’s original work. Moreover, because you are often utilizing natural light for photographs, it is vital to balance the ambient glow with the specific textures of the cosmetics. Consequently, following a structured workflow ensures that the final image remains professional rather than artificial.

Here are some tips for editing makeup pictures
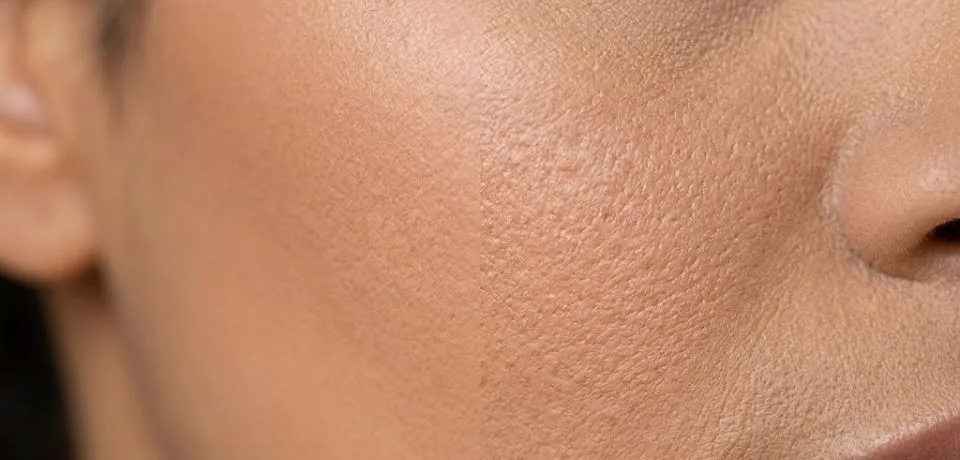
Phase 1: Refining Skin and Foundation in Editing Makeup Pictures
To begin with, high-end skin retouching is the foundation of any beauty edit. Instead of simply blurring the face, use Frequency Separation to isolate the texture from the color.
- Furthermore, by using a soft Mixer Brush on the color layer, you can smooth out uneven foundation transitions.
- In addition, this method allows you to remove minor blemishes on the texture layer while keeping the skin’s natural grain intact.
- As a result, the makeup looks like it is part of the skin rather than a digital mask.
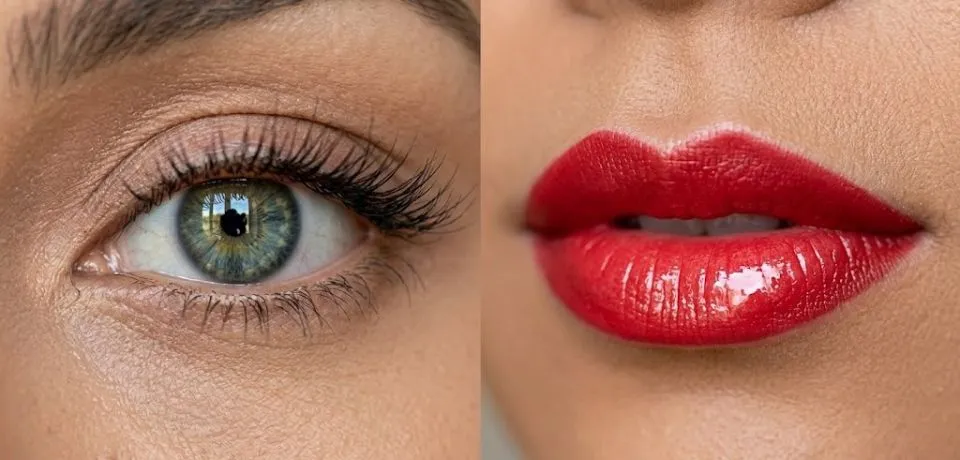
Phase 2: Enhancing Eyes and Lips in Editing Makeup Pictures
Moving forward, the focal points of any beauty shot, the eyes and lips, require extra attention.
- For instance, you can use a Hue/Saturation adjustment layer to subtly brighten the iris.
- Likewise, applying a “Linear Dodge” layer with a tiny white brush can make lip gloss or eye shimmer appear more vivid.
- On the other hand, if the natural light for photographs has caused the lipstick to appear slightly orange, you can use a Selective Color adjustment to pull the yellow out of the reds.
Phase 3: Sculpting with Light
Additionally, cameras often flatten the natural contours of the face. Therefore, performing a manual “Dodge and Burn” is a necessary step to bring back three-dimensional depth.
- Specifically, you should lighten the high points where the highlighter was applied, such as the cheekbones and the bridge of the nose.
- Conversely, darkening the hollows of the cheeks and the jawline will provide a more defined, editorial look.
- Ultimately, this step mimics professional studio lighting even if the original shot was taken outdoors.

Workflow Comparison Summary
| Focus Area | Primary Technique | Expected Outcome |
| Complexion | Frequency Separation | Smooth skin without losing pore detail. |
| Details | High-Pass Sharpening | Crisp eyelashes and defined lip lines. |
| Dimensions | Micro Dodge & Burn | Sculpted facial features and depth. |
CONCLUSION
Putting these techniques into practice will change the way you look at editing makeup pictures forever. Even if you only have natural light for photographs, you can still create a professional look by focusing on small details like skin texture and color balance. It is all about finding that perfect middle ground where the skin looks real, but the makeup looks flawless. To do this, try using some of the layer tricks we discussed to make the highlights pop and the shadows look deep. This simple shift in your workflow helps you get those high-end results without needing a big studio setup.
Now, I would love to hear from all the editors and photographers out there in our community. Which of these steps do you find the most helpful for your own beauty shots? Please share your best retouching secrets or any questions you have in the comments below!