
Gentle Skin Smoothing Techniques
Skin smoothing techniques are the best way to achieve a natural, “skin-like” texture while removing blemishes, which is truly the holy grail of photo editing. Because the main goal is to avoid the dreaded “plastic” look, you should focus on preserving the underlying pore structure. Consequently, using the right workflow is vital. Check out these pro skin smoothing techniques for your photo edits to get started.
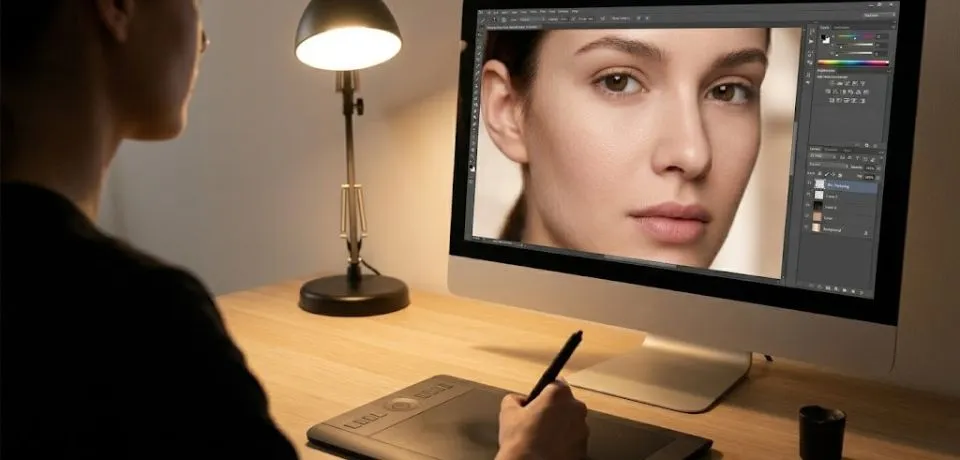
Check out these pro skin smoothing techniques for your photo edits
1. Frequency Separation (The Gold Standard)
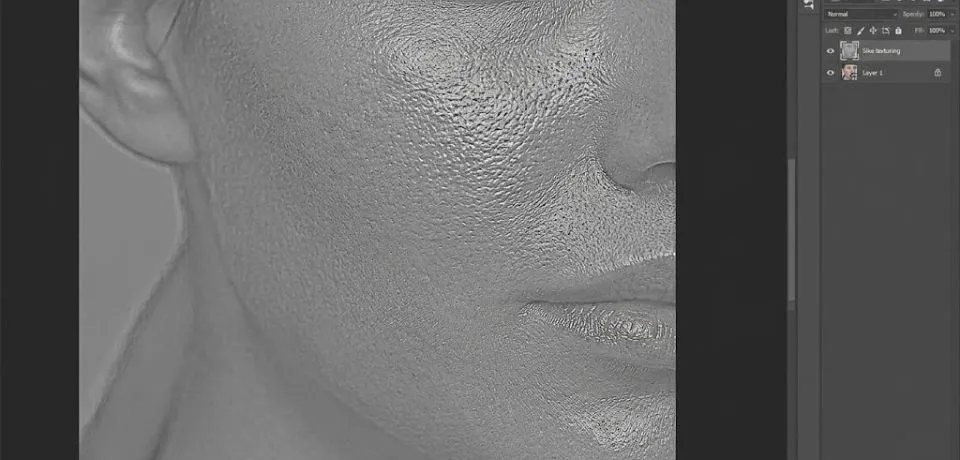
This is widely considered the gold standard because it effectively splits the image into two distinct layers: High Frequency (texture, pores, fine lines) and Low Frequency (color, tones, shadows).
- How it works: First, you can blur the Low Frequency layer to even out skin tones. Meanwhile, you will not lose a single pore on the High Frequency layer.
- Best for: It is especially useful for commercial portraits, headshots, and high-end fashion where realism is non-negotiable.
- Pro Tip: Additionally, try using the Mixer Brush on the Low Frequency layer for the smoothest possible transitions between light and shadow.
2. Inverted High Pass skin smoothing techniques
Alternatively, this is a much faster option that creates a soft, glowing “airbrushed” effect while still keeping some important texture.
- Step 1: To begin, duplicate your layer and convert it to a Smart Object.
- Step 2: Next, apply a High Pass filter and adjust it until the skin looks “peely.”
- Step 3: Afterward, invert the layer ($Ctrl/Cmd + I$).
- Step 4: Then, change the Blending Mode to Overlay or Vivid Light.
- Step 5: Subsequently, apply a Gaussian Blur to the Smart Object to bring back the texture detail.
- Step 6: Finally, use a Black Mask and paint the effect only onto the skin area.
3. The “Check Layer” (Dodge & Burn)
Before you even start smoothing, pros often use a “Check Layer” to fix luminosity inconsistencies through Micro Dodge & Burn.
- The Setup: For instance, create a Black & White adjustment layer and darken the Reds/Yellows so that skin blotchiness stands out.
- The Fix: Following this, use a very low flow brush (1-2%) to lighten dark spots. As a result, this creates smoothness through light manipulation rather than simple blurring.
4. AI-Assisted skin smoothing techniques
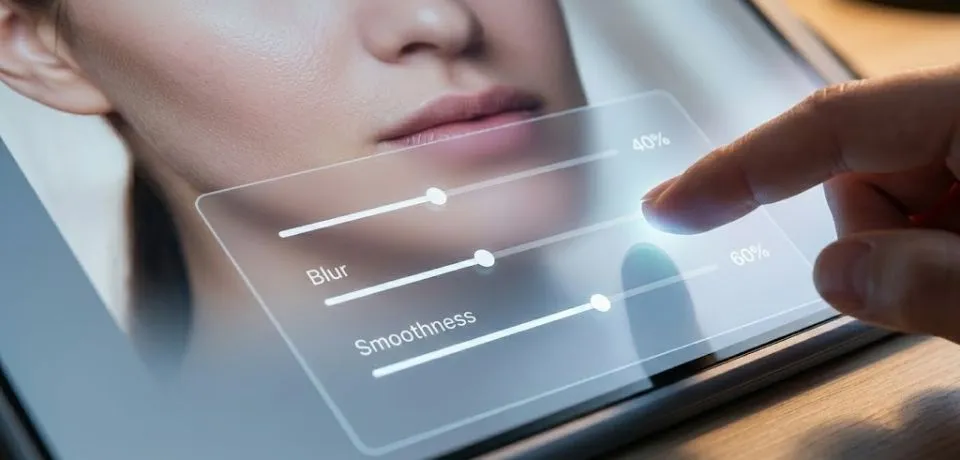
Furthermore, modern tools have made gentle smoothing much faster, provided that you do not overdo the sliders.
- Neural Filters (Photoshop): This specific tool allows you to adjust “Blur” and “Smoothness” independently for a custom look.
- Lightroom/Camera Raw: Similarly, using a negative Texture or Clarity value on a masking brush is great for making quick, global adjustments.
Comparison of skin smoothing techniques
| Technique | Difficulty | Speed | Texture Retention |
| Frequency Separation | High | Slow | Excellent |
| Inverted High Pass | Medium | Medium | Good |
| Dodge & Burn | High | Very Slow | Perfect |
| AI Neural Filters | Low | Fast | Fair |
CONCLUSION
Finding the right balance between a clean look and a realistic feel is what separates a great edit from a fake one. These skin smoothing techniques help you clean up spots and uneven tones while keeping those important tiny details like pores and freckles in place. It takes a little practice to get it right, but your photos will look much more professional once you find a method that fits your personal workflow.
I would love to hear which of these methods you think works best for your specific style of photography. Do you prefer the deep control of frequency separation or do you like using quick tools to get the job done fast? Please share your thoughts and any cool tricks you use in the comments below so we can all learn together. Your feedback helps everyone in the community grow and improve their editing skills.