
Guide to Setting Up a Studio Photoshoot
A guide to setting up a studio for professional photoshoots focuses on combining technical precision with creative preparation. To begin with, the goal is to create a controlled environment where every element is intentional, especially when you are working on high-end product shots or portraits.

Get ready with this guide to setting up a studio and professional tips
1. Pre-Production and a guide to setting up a studio concept
Before touching a camera, you must define the visual language of the shoot.
- Mood Board: Collect reference images so that you can align on lighting style, color palettes, and composition.
- Shot List: Create a granular list of every angle needed. As a result, you can confirm that no specific frames are missed during the session.
- Equipment Audit: Furthermore, check that you have the correct lenses, like a 100mm macro for jewelry, as part of your guide to setting up a studio workflow.
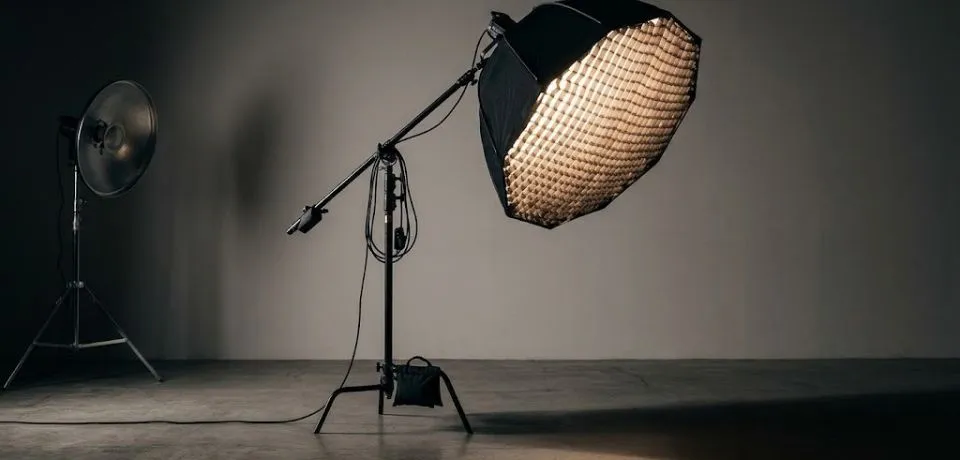
2. The lighting foundation for your guide to setting up a studio
In a studio, you are “painting” with light. Initially, start with just one light and then build complexity as needed.
- The Key Light: This is your primary source. For instance, a large soft box creates soft shadows, whereas a beauty dish provides more contrast.
- Fill & Rim Lights: In addition, use a fill light to soften deep shadows. A rim light helps by creating separation from the background.
- Background Control: Meanwhile, if you use a paper backdrop, keep the lighting even to prevent unwanted gradients.
3. Technical calibration for every guide to setting up a studio
Consistency is the hallmark of professional studio work. Therefore, you should calibrate your settings early to follow a proper guide to setting up a studio.
- Manual Mode: Set your camera to Manual. Specifically, a common starting point is ISO 100 with a narrow aperture for sharpness.
- Custom White Balance: Use a gray card. By doing this, you save significant time because colors will be accurate from the start.
- Tethered Shooting: Moreover, connect your camera to a laptop if possible. This allows you to spot tiny issues that are invisible on a small screen.
4. On-set workflow to complete your guide to setting up a studio
Finally, focus on the small details that happen during the actual shoot to make your guide to setting up a studio complete.
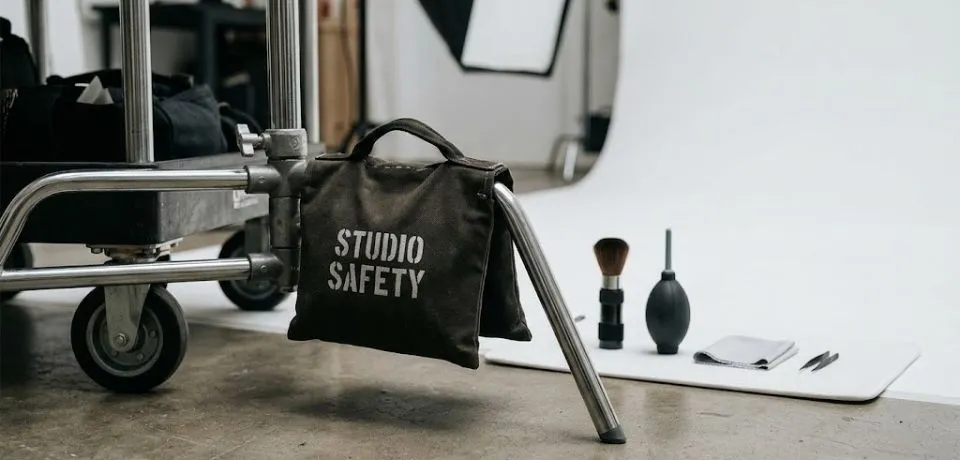
- Styling: Keep a “hero kit” nearby. Consequently, removing dust on set is much faster than retouching it later.
- Composition: Utilize the Rule of Thirds. However, do not be afraid of symmetrical layouts for a modern look.
- Safety: Above all, secure your stands with sandbags to keep everyone safe.
CONCLUSION
Getting your own space ready for professional work takes some time, but the results are worth the effort. Once you have your lights and backdrops in the right spot, you will see a big change in how your pictures look. Every new shoot is a chance to try a different layout or a fresh color palette to see what works best for your style.
I would love to hear how this guide to setting up a studio helped you with your own projects. Do you prefer a simple look with one light, or do you like to use many reflectors to get the look just right? Please share your best tips or tell us about your favorite equipment in the comments below. Your ideas might help someone else who is just starting their creative journey today.