Taking clean and professional white product photos can seem tricky, especially when you're working with…

7 Professional Photo Editing Tips to Boost Product Sales
In today’s online market, first impressions happen fast, and they usually start with a photo. No matter how great your product is, poor images can drive customers away. That’s where professional photo editing comes in. It helps your product stand out, look more polished, and build trust with potential buyers. Clean, clear, and eye-catching images can make all the difference when someone is deciding to click “buy.”
You don’t need to be a design expert to improve your product photos. With the right editing tips, you can highlight key details, correct lighting, and create a consistent look across your store or website. These simple changes can instantly make your products more appealing and boost your chances of making a sale. In this guide, we’ll walk you through 7 easy and effective photo editing tips to take your product images to the next level.
Here Are 7 Professional Photo Editing Tips
 Use High-Resolution Images
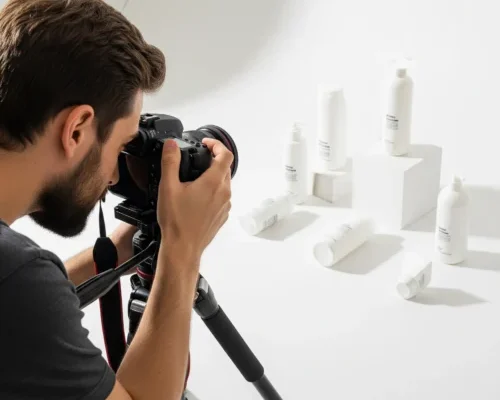
Using high-resolution images is one of the most important steps in professional photo editing. High-resolution photos are clear, sharp, and detailed, which helps your products look more appealing and trustworthy to customers. When images are blurry or pixelated, they can make your product seem cheap or low-quality. A crisp image shows off every detail, giving buyers a better idea of what to expect. This can increase their confidence in making a purchase.
To get the best results, always start with the highest quality photo possible before editing. Avoid stretching or enlarging small images because this reduces quality.
Here are some tips for working with high-resolution photos:
- Use a good camera or smartphone with a high megapixel count
- Shoot in good lighting to take clear details
- Save images in formats like PNG or TIFF that keep quality intact
- Avoid compressing files too much before uploading
- Zoom in during editing to check sharpness and fix any blurriness
 Adjust Brightness and Contrast
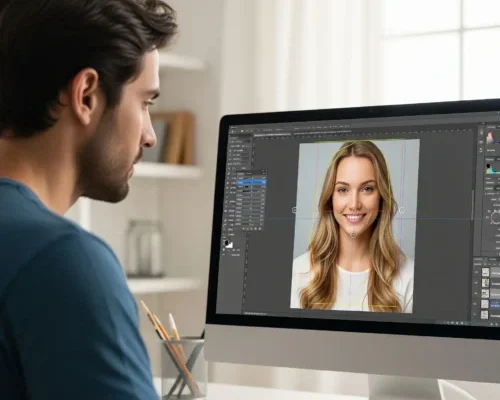
Adjusting brightness and contrast is a simple but powerful way to improve your product photos. Brightness controls how light or dark your image appears, while contrast adjusts the difference between the light and dark areas. If your photo is too dark, your product might be hard to see. On the other hand, if it’s too bright, you might lose important details. A well-balanced image makes your product look clean, sharp, and more appealing to buyers.
Small adjustments can make a big difference without changing how your product really looks. It’s important not to overdo it; your goal is to enhance, not distort.
Here are some easy tips when adjusting brightness and contrast:
- Brighten dark photos slightly to reveal hidden details
- Increase contrast to make edges and shapes more defined
- Use editing tools with a preview option so you can see changes before saving
- Check your image on different screens to make sure it looks good everywhere
- Keep your edits consistent across all product images for a professional look
 Correct Color for Realistic Results
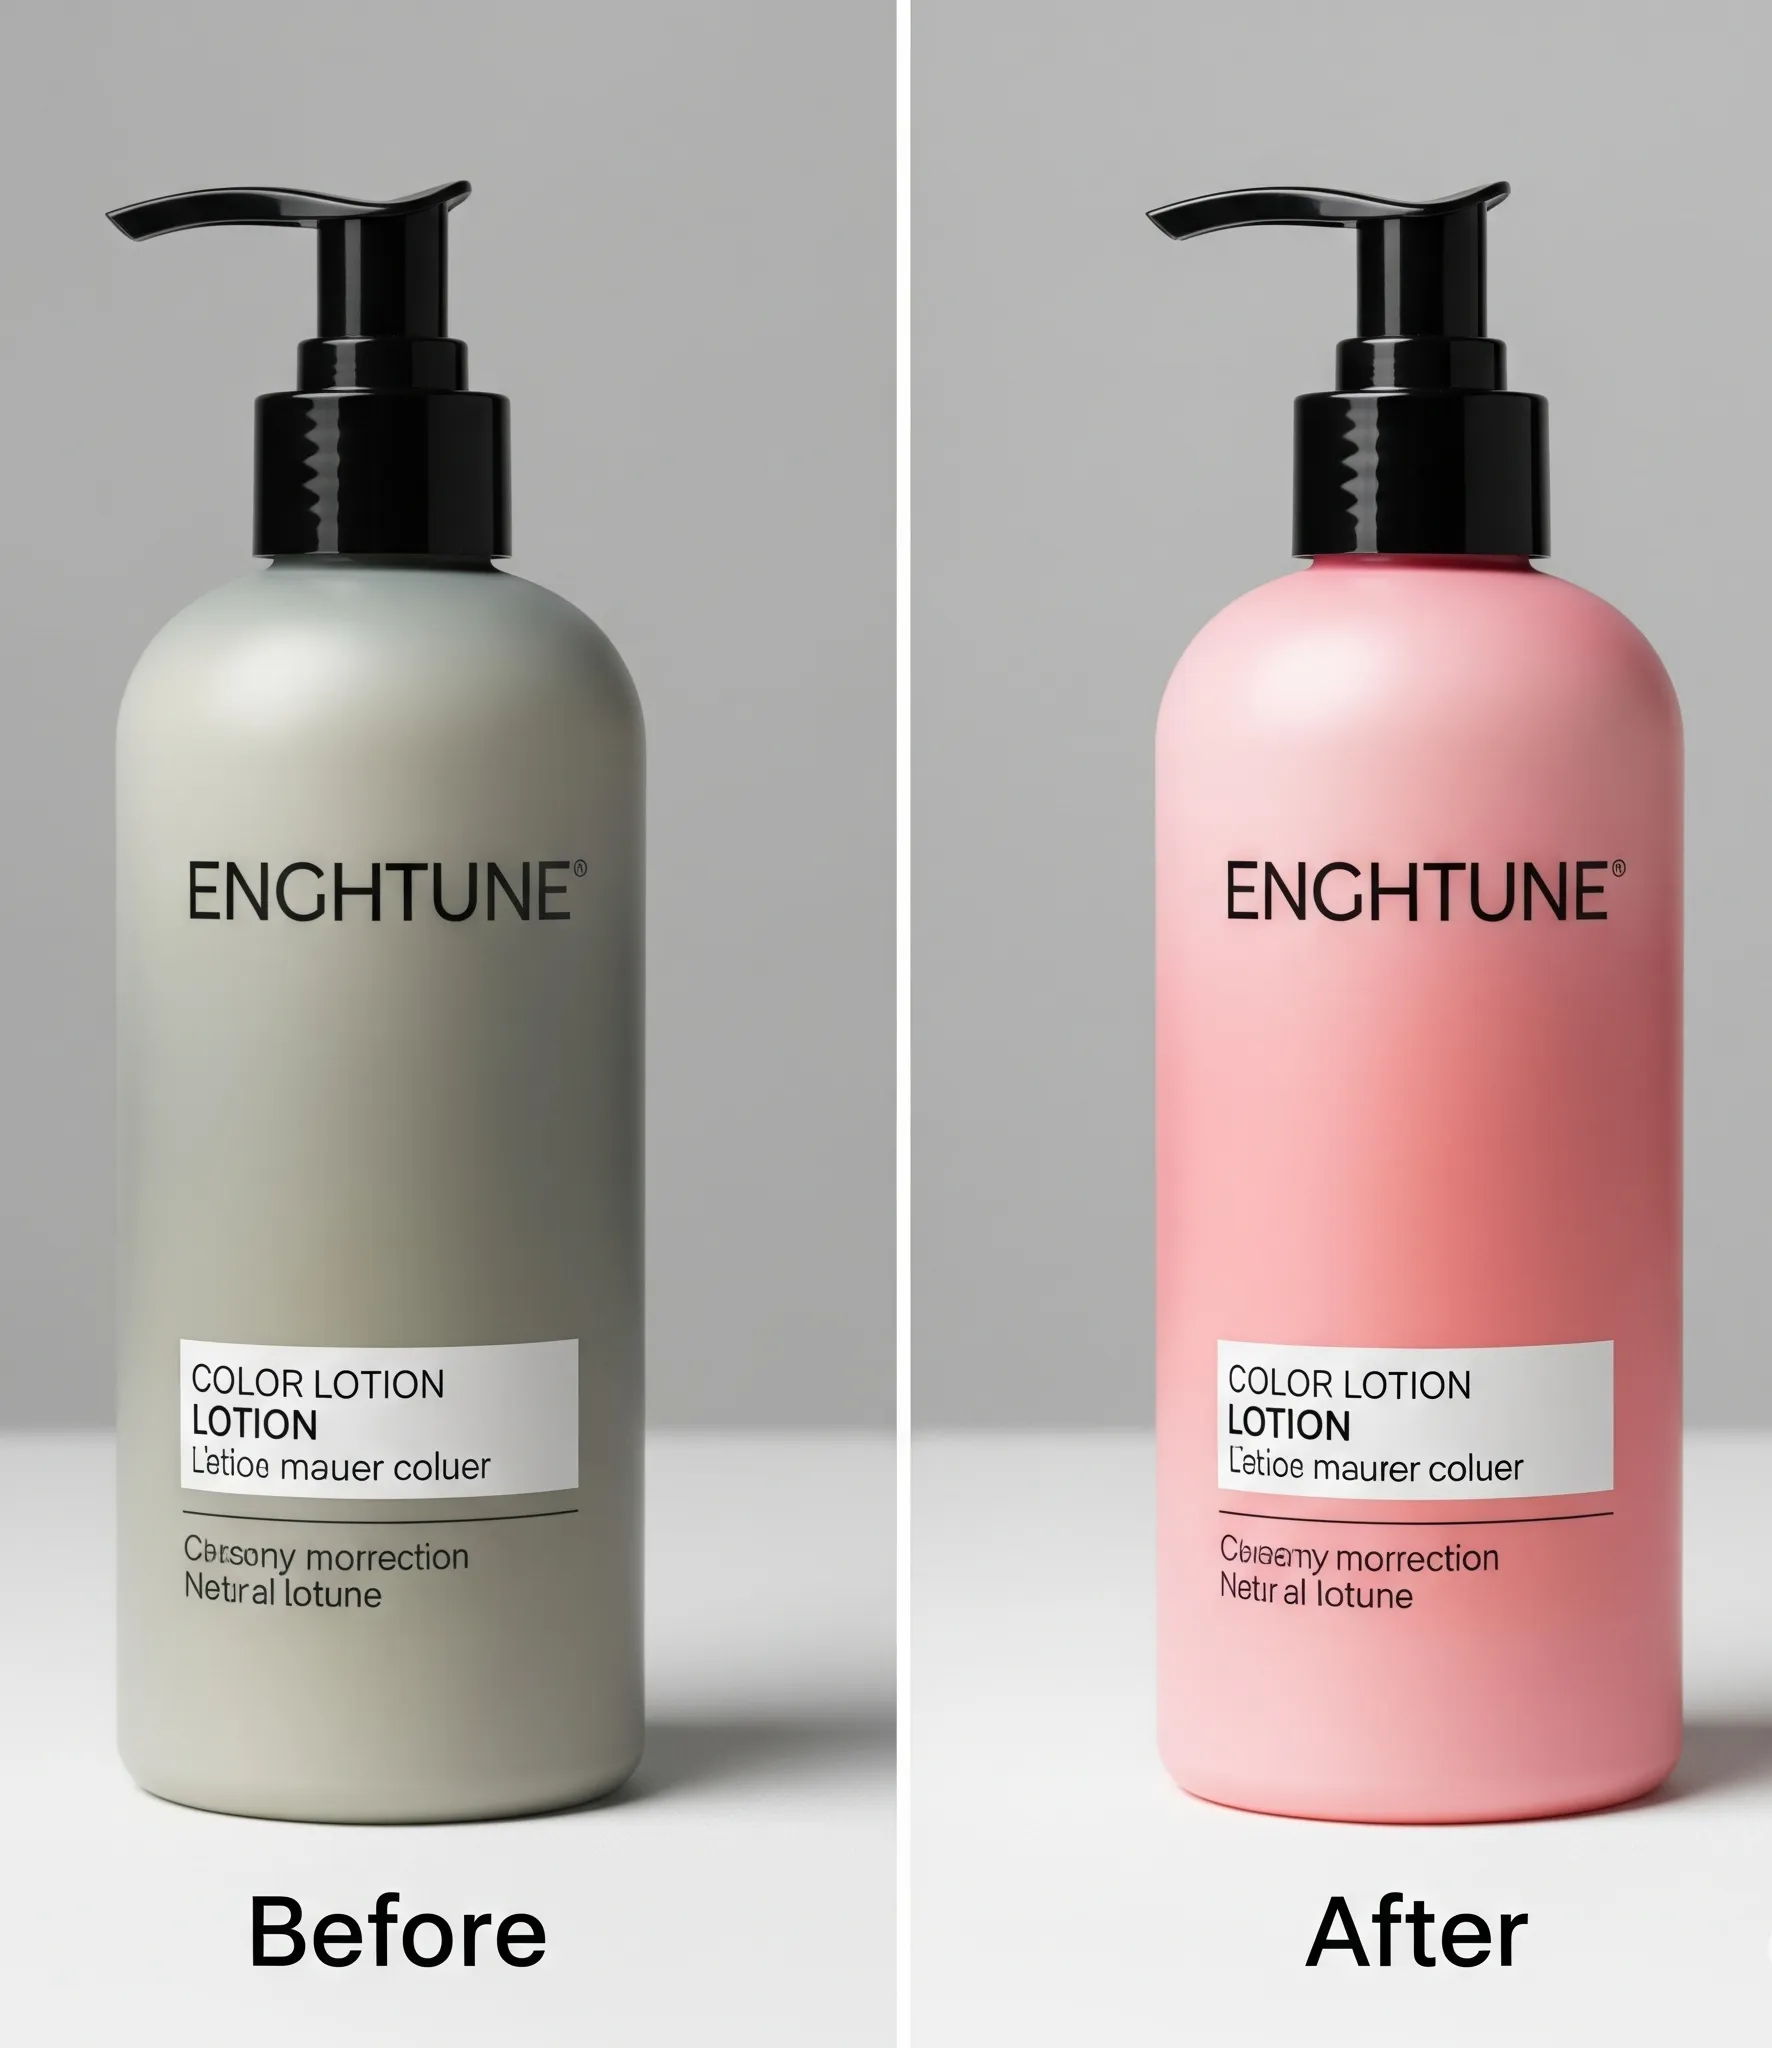
Getting the colors right in your product photos is very important. When the colors are accurate, customers can trust that what they see is what they’ll get. Poor lighting, camera settings, or editing can change the way colors look, making a red shirt appear orange. This can lead to disappointed buyers and more returns. Correcting color ensures your product looks realistic and stays true to life, which builds trust and boosts your sales.
To achieve realistic colors, you can use color correction tools in most photo editing apps. Adjust the white balance, fix color temperature, and check saturation levels. If you’re editing in batches, make sure all photos have the same color tone to keep things consistent.
Here are some helpful tips:
- Use natural lighting whenever possible to take true colors
- Adjust white balance to remove yellow or blue tones
- Don’t oversaturate; keep colors looking natural
- Compare the edited photo with the real product before publishing
- Use color calibration tools if you’re editing on a computer screen
 Remove Background Distractions
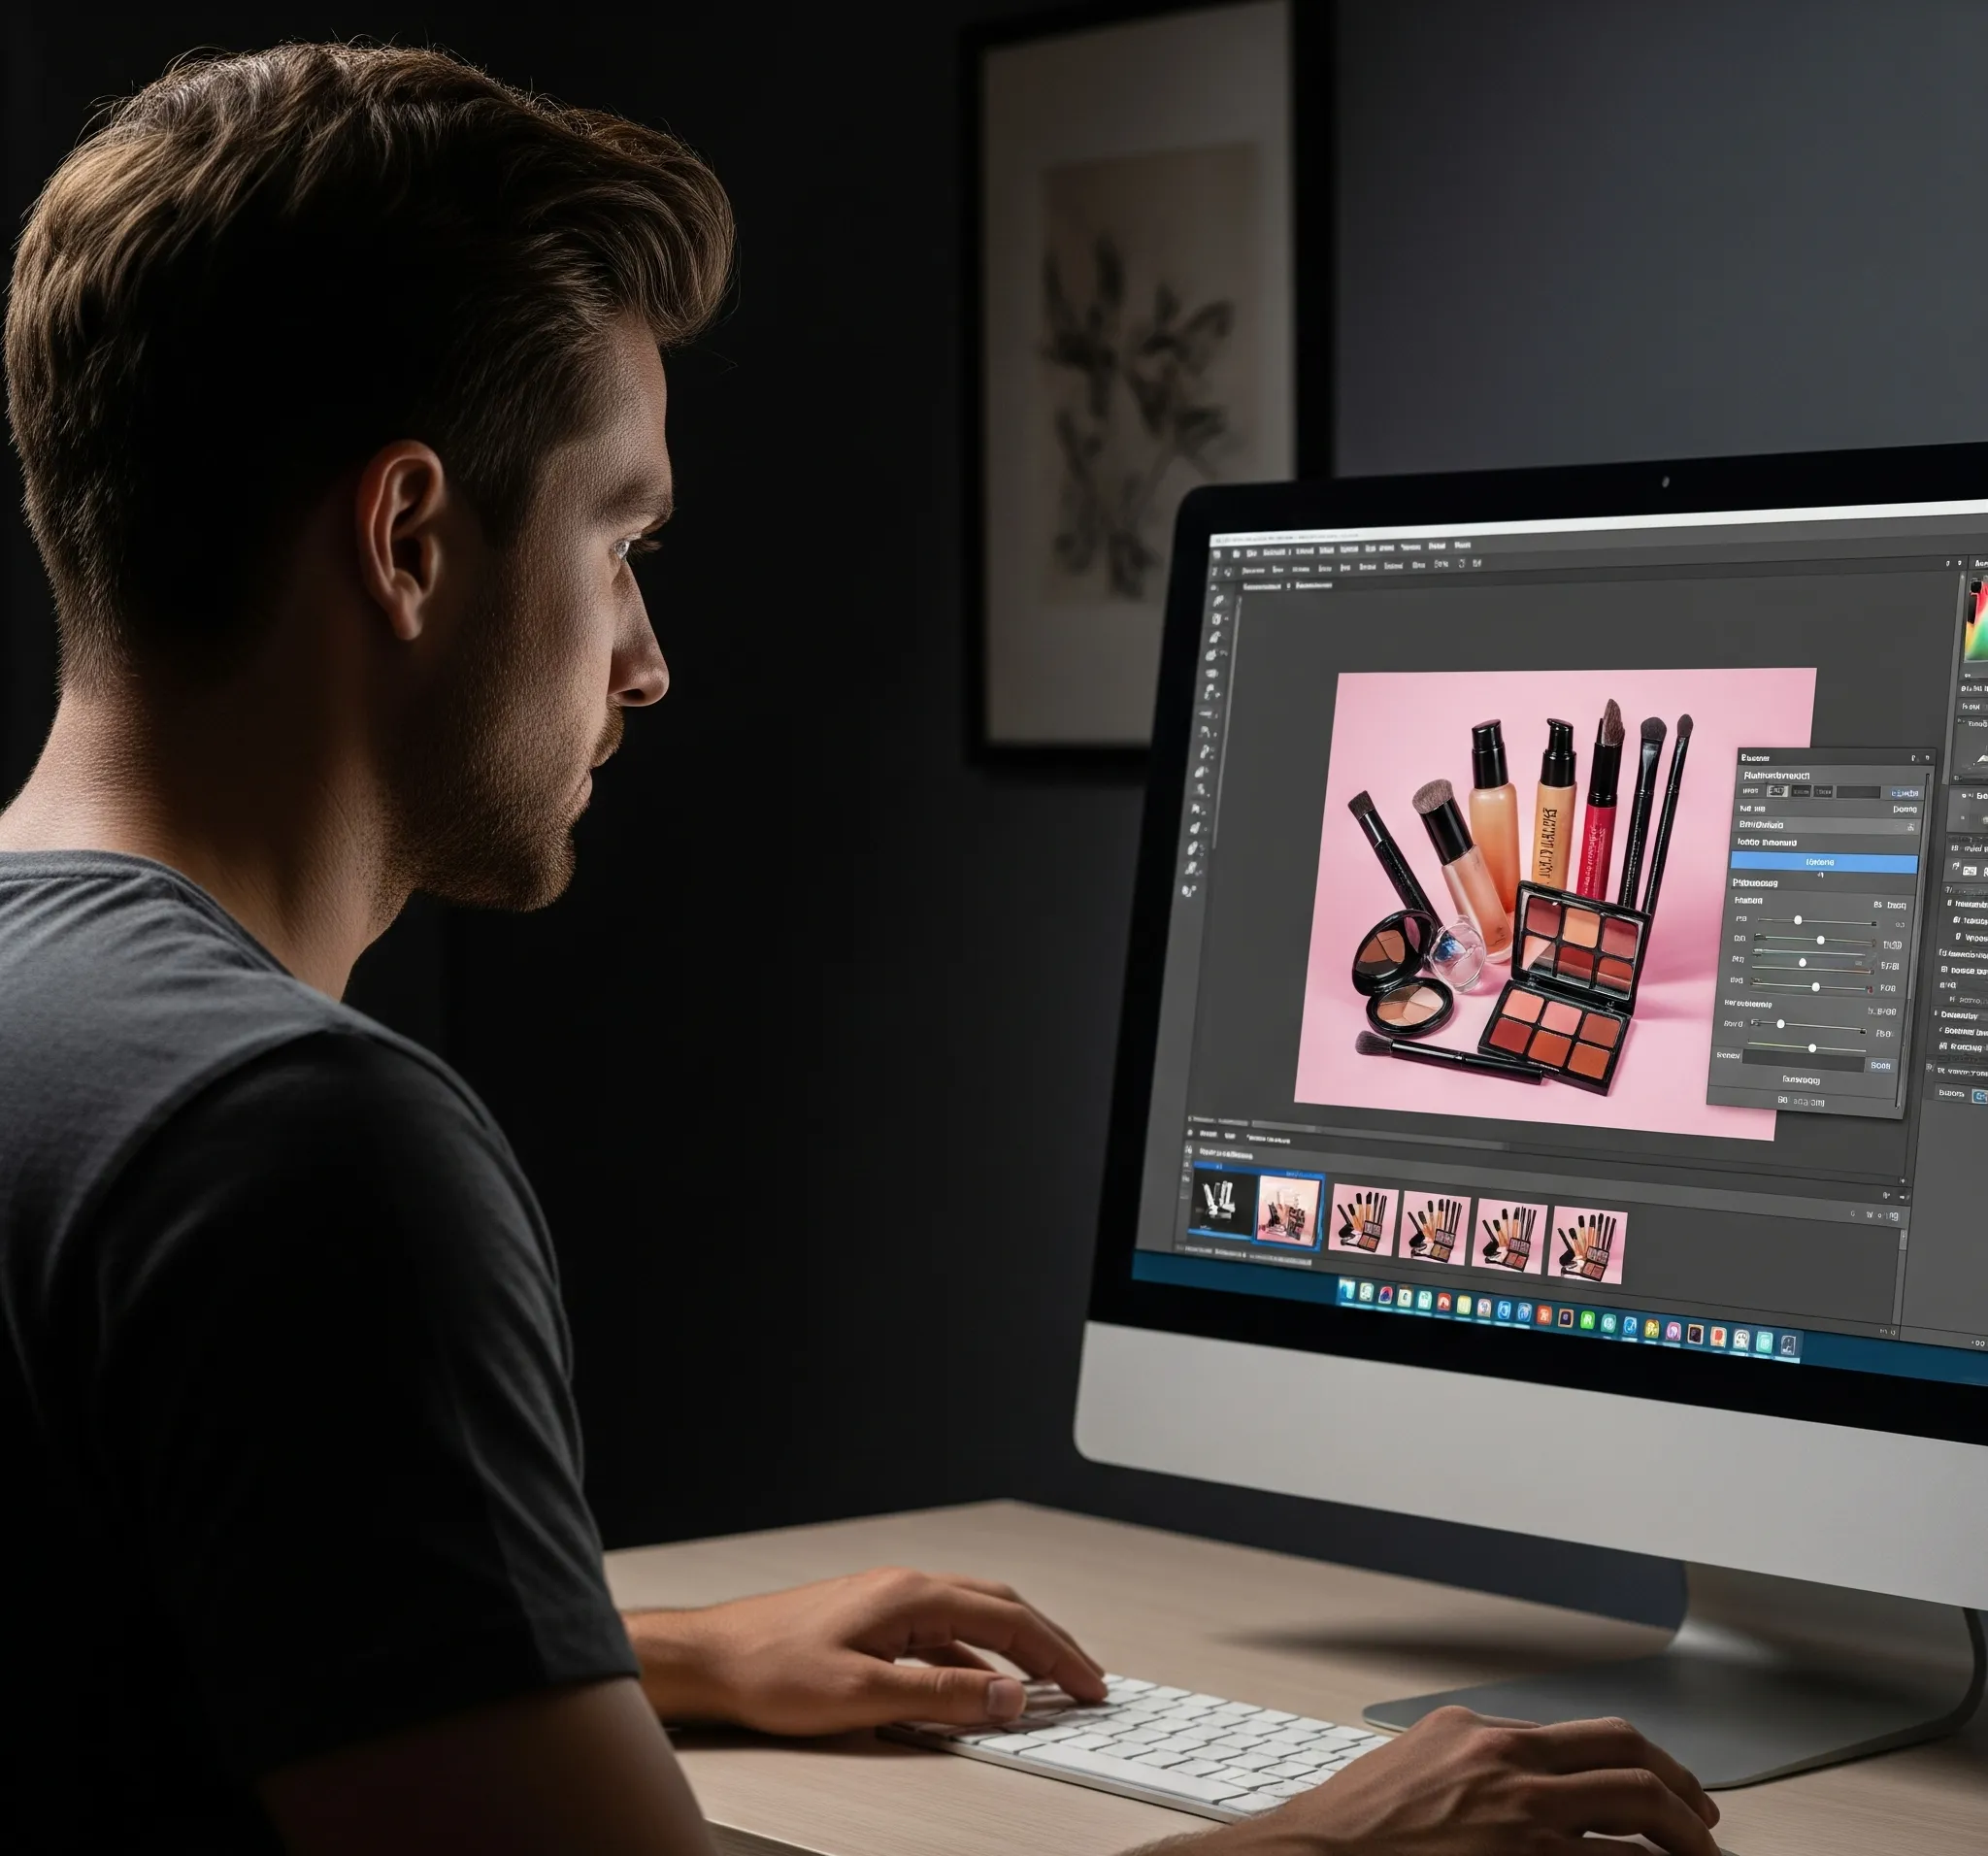
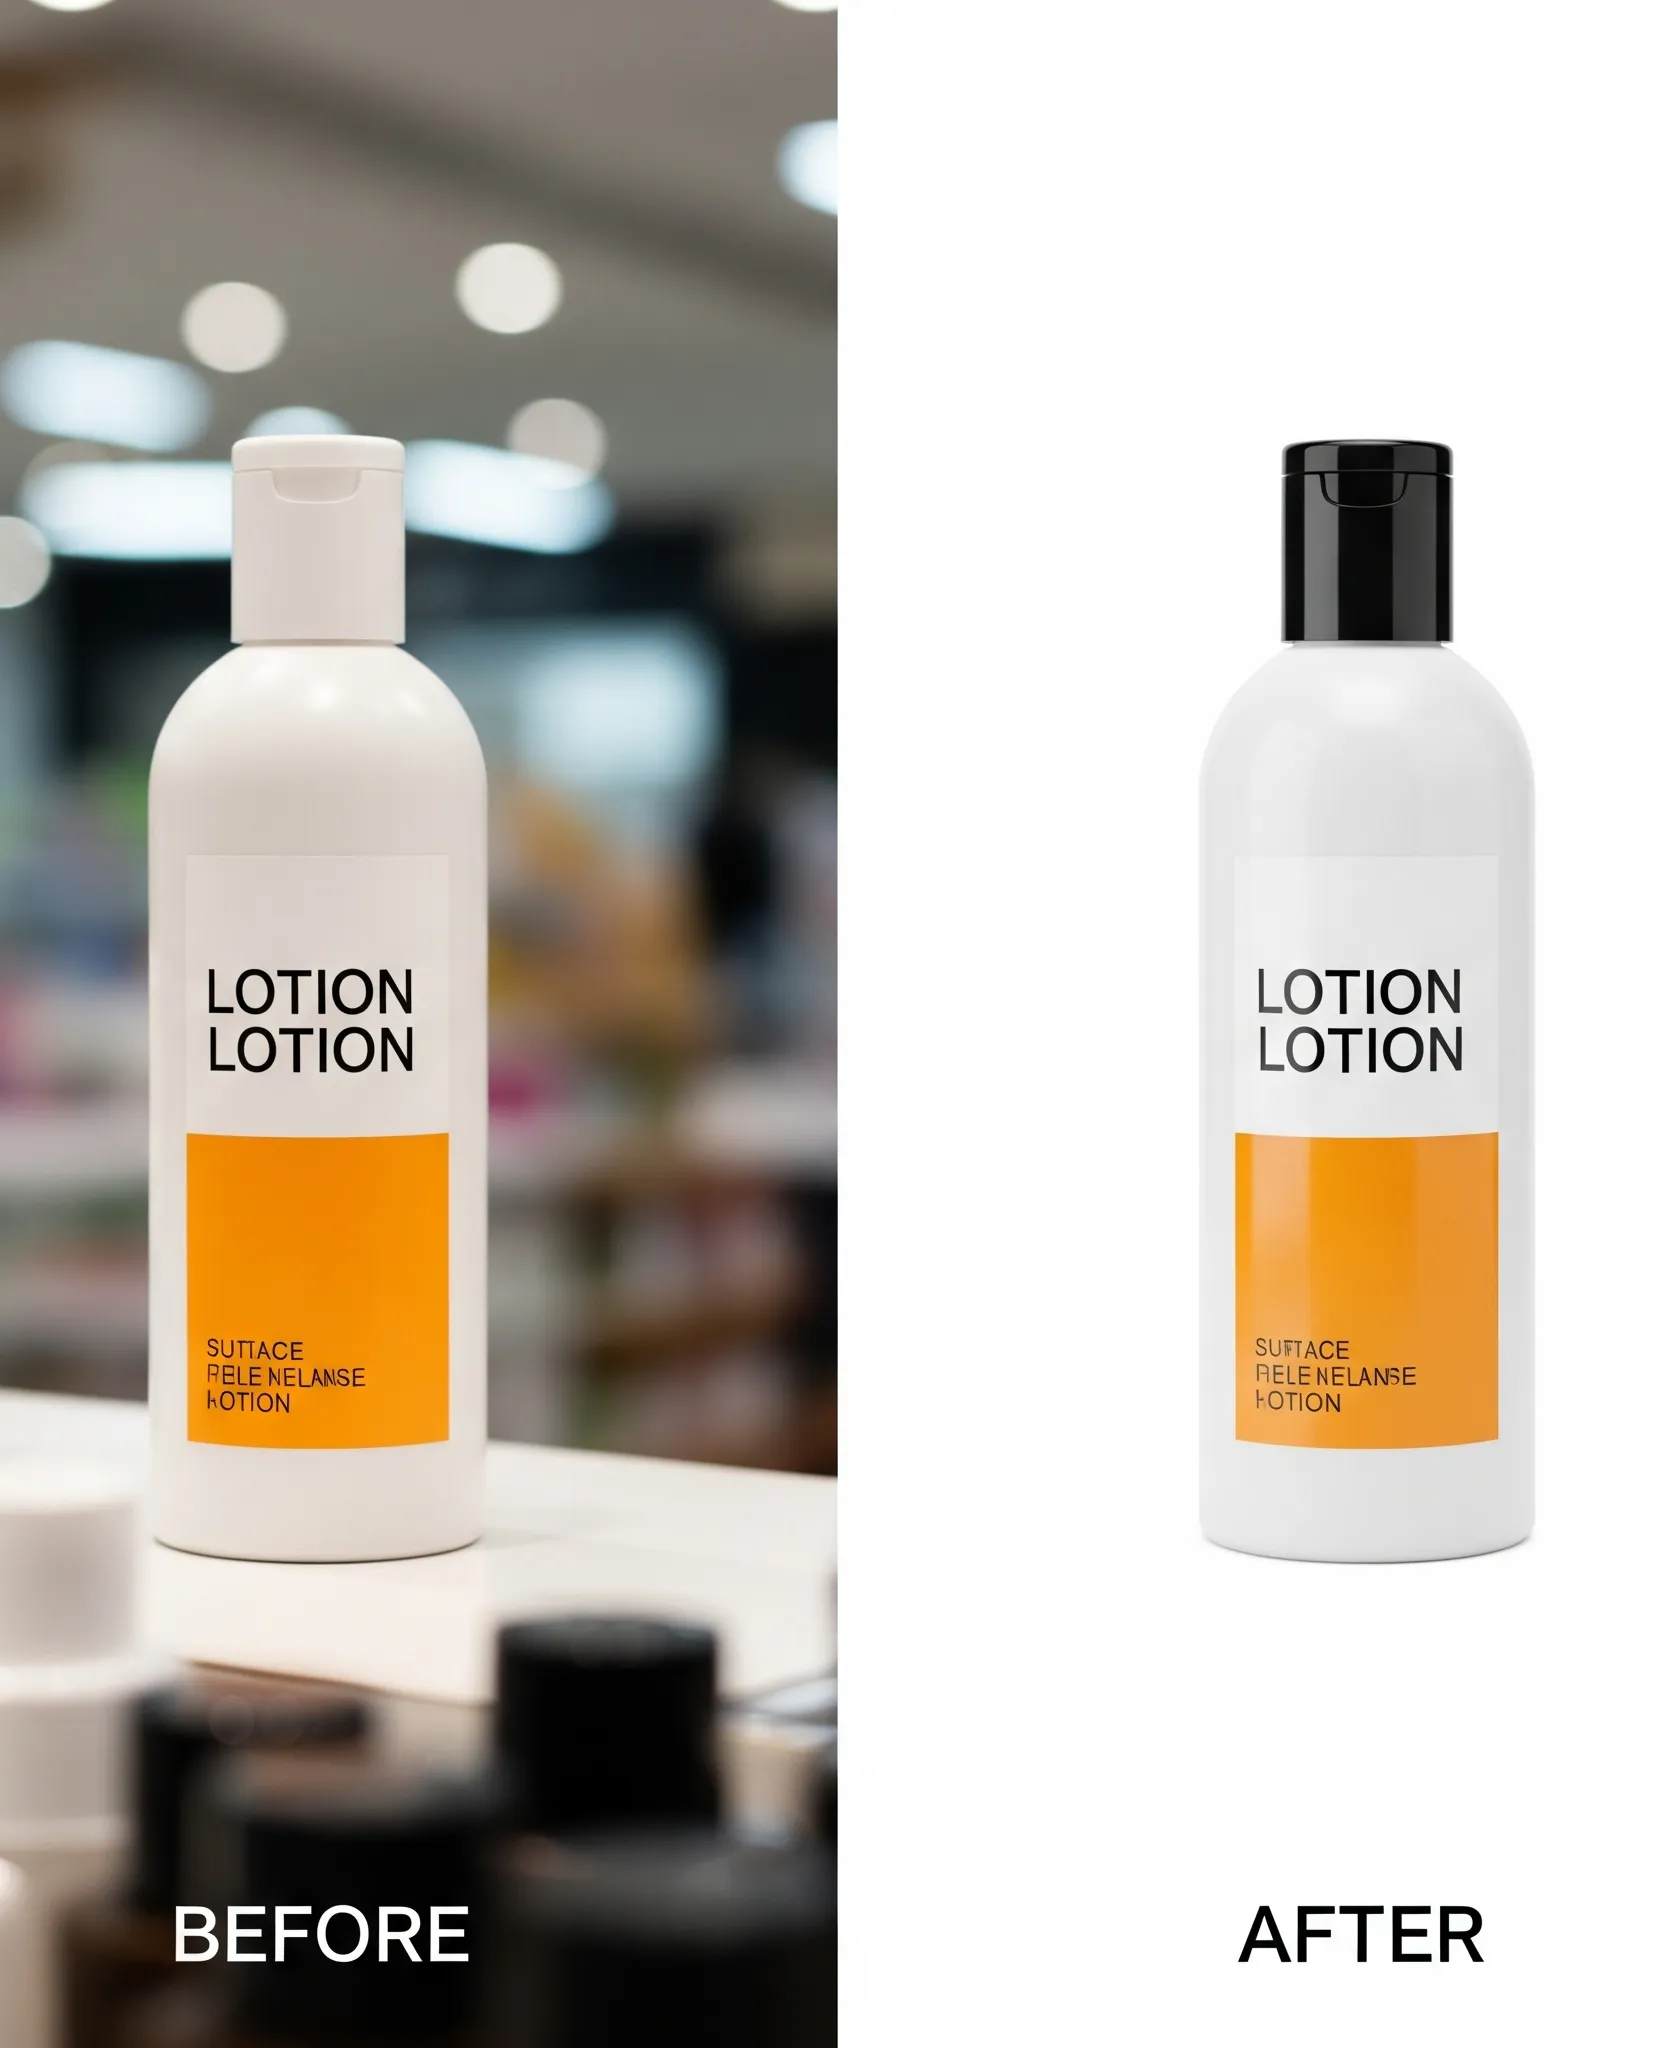
Removing background distractions is a simple but important step in making your product photos look clean and professional. A busy or messy background can take attention away from the product and confuse the viewer. By using a plain background, like white, light gray, or soft neutral tones, you make your product the focus. This helps shoppers see the details clearly and makes your images look more polished. Clean backgrounds help your photos fit better on websites and online stores, which often prefer a simple, uniform look.
There are many tools available to help you remove or blur distracting backgrounds quickly. Even free apps and online editors can give you great results without needing advanced skills. The key is to keep the look consistent across all your product photos.
Here are a few helpful tips:
- Use a white sheet or poster board behind your product during photoshoots
- Try background remover tools like remove.bg or Canva’s background eraser
- Avoid placing products near clutter, furniture, or harsh shadows
- Keep lighting soft and even to avoid harsh edges around your product
- Match your background style across all product images for a neat, branded look
 Use Natural Shadows and Reflections
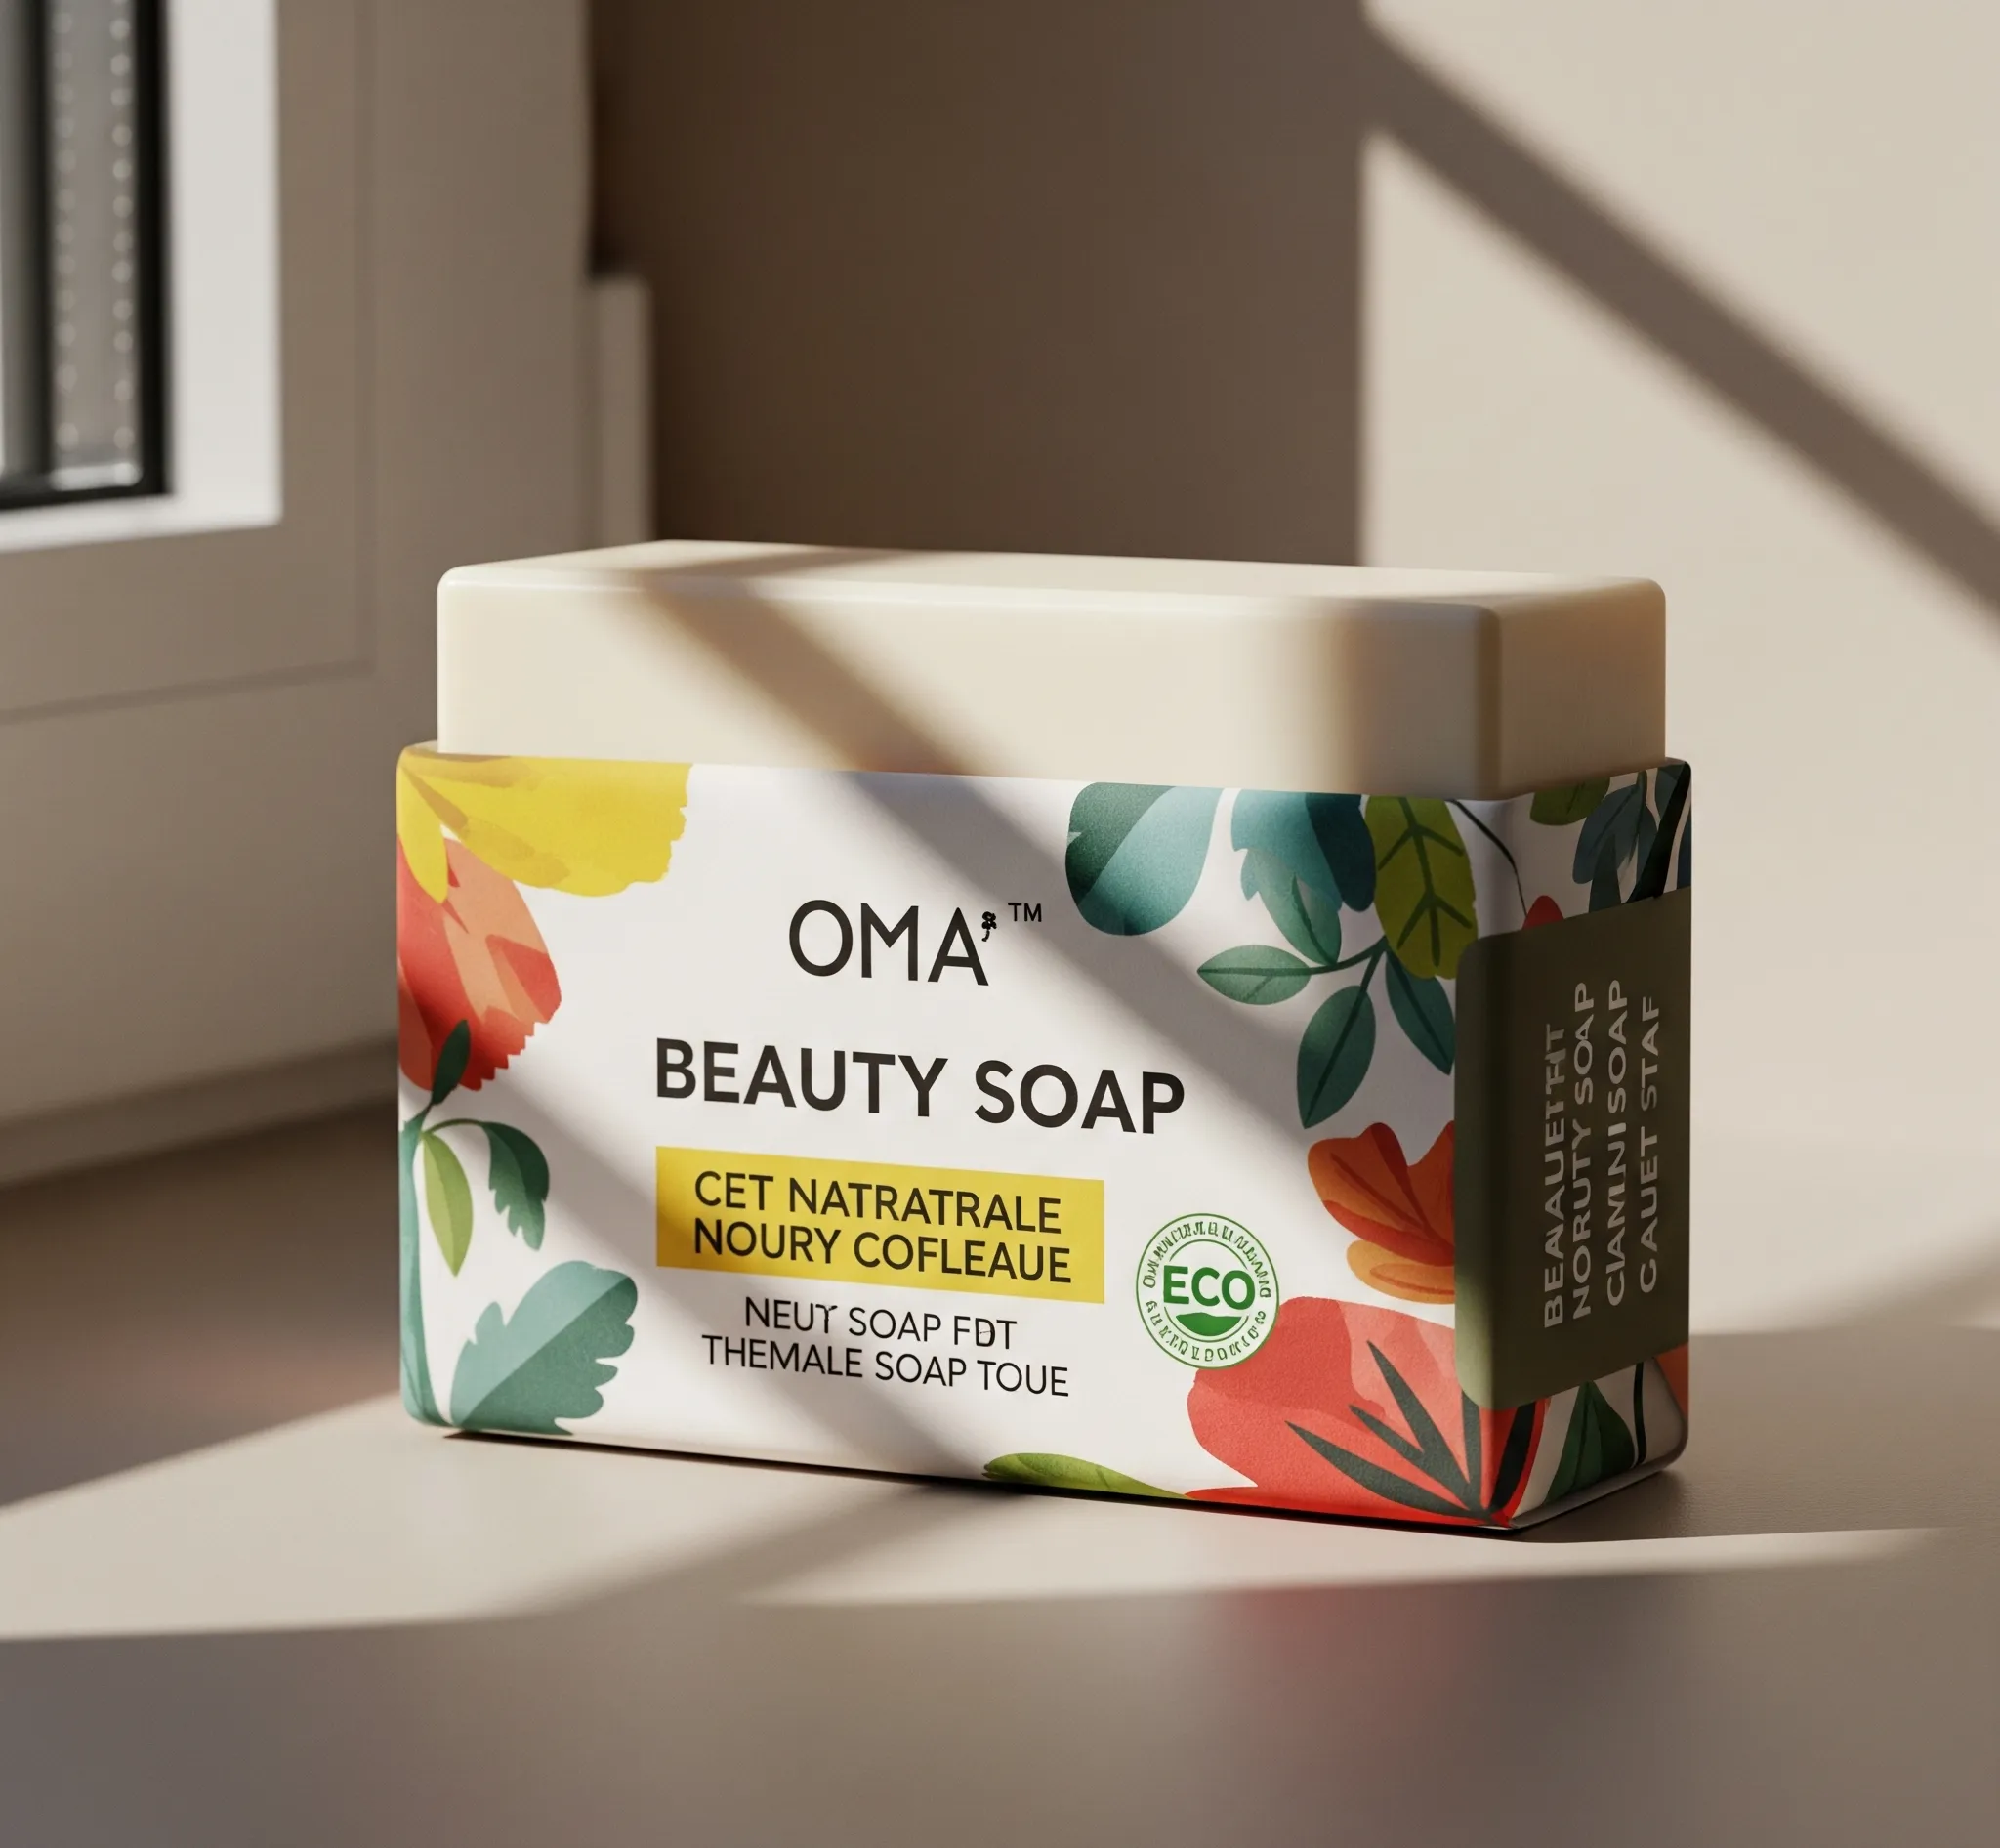
Using natural shadows and reflections in your product photos adds realism, making your items look more appealing and professional. Instead of flat, lifeless images, natural shadows help show shape, especially for products like shoes, bags, or glassware. Reflections, especially with glossy or shiny surfaces, can give a premium feel and attract more attention. The goal isn’t to make the photo too dramatic but to give it just enough light and shadow to make it look real.
Over-editing or removing all shadows can make your product look fake or floating. Soft, natural light, like light from a window, is often best for creating gentle shadows and soft reflections. Try experimenting with different angles until the product looks balanced and true to life.
Here are some quick tips to help you use natural shadows and reflections effectively:
- Use indirect sunlight (like near a window) for soft shadows
- Place products on glossy or reflective surfaces for a subtle mirror effect
- Avoid using flash directly; it creates harsh shadows
- Keep lighting even on both sides to avoid strong contrast
- Don’t remove all shadows during editing; soften them instead for a natural look
 Keep a Consistent Style
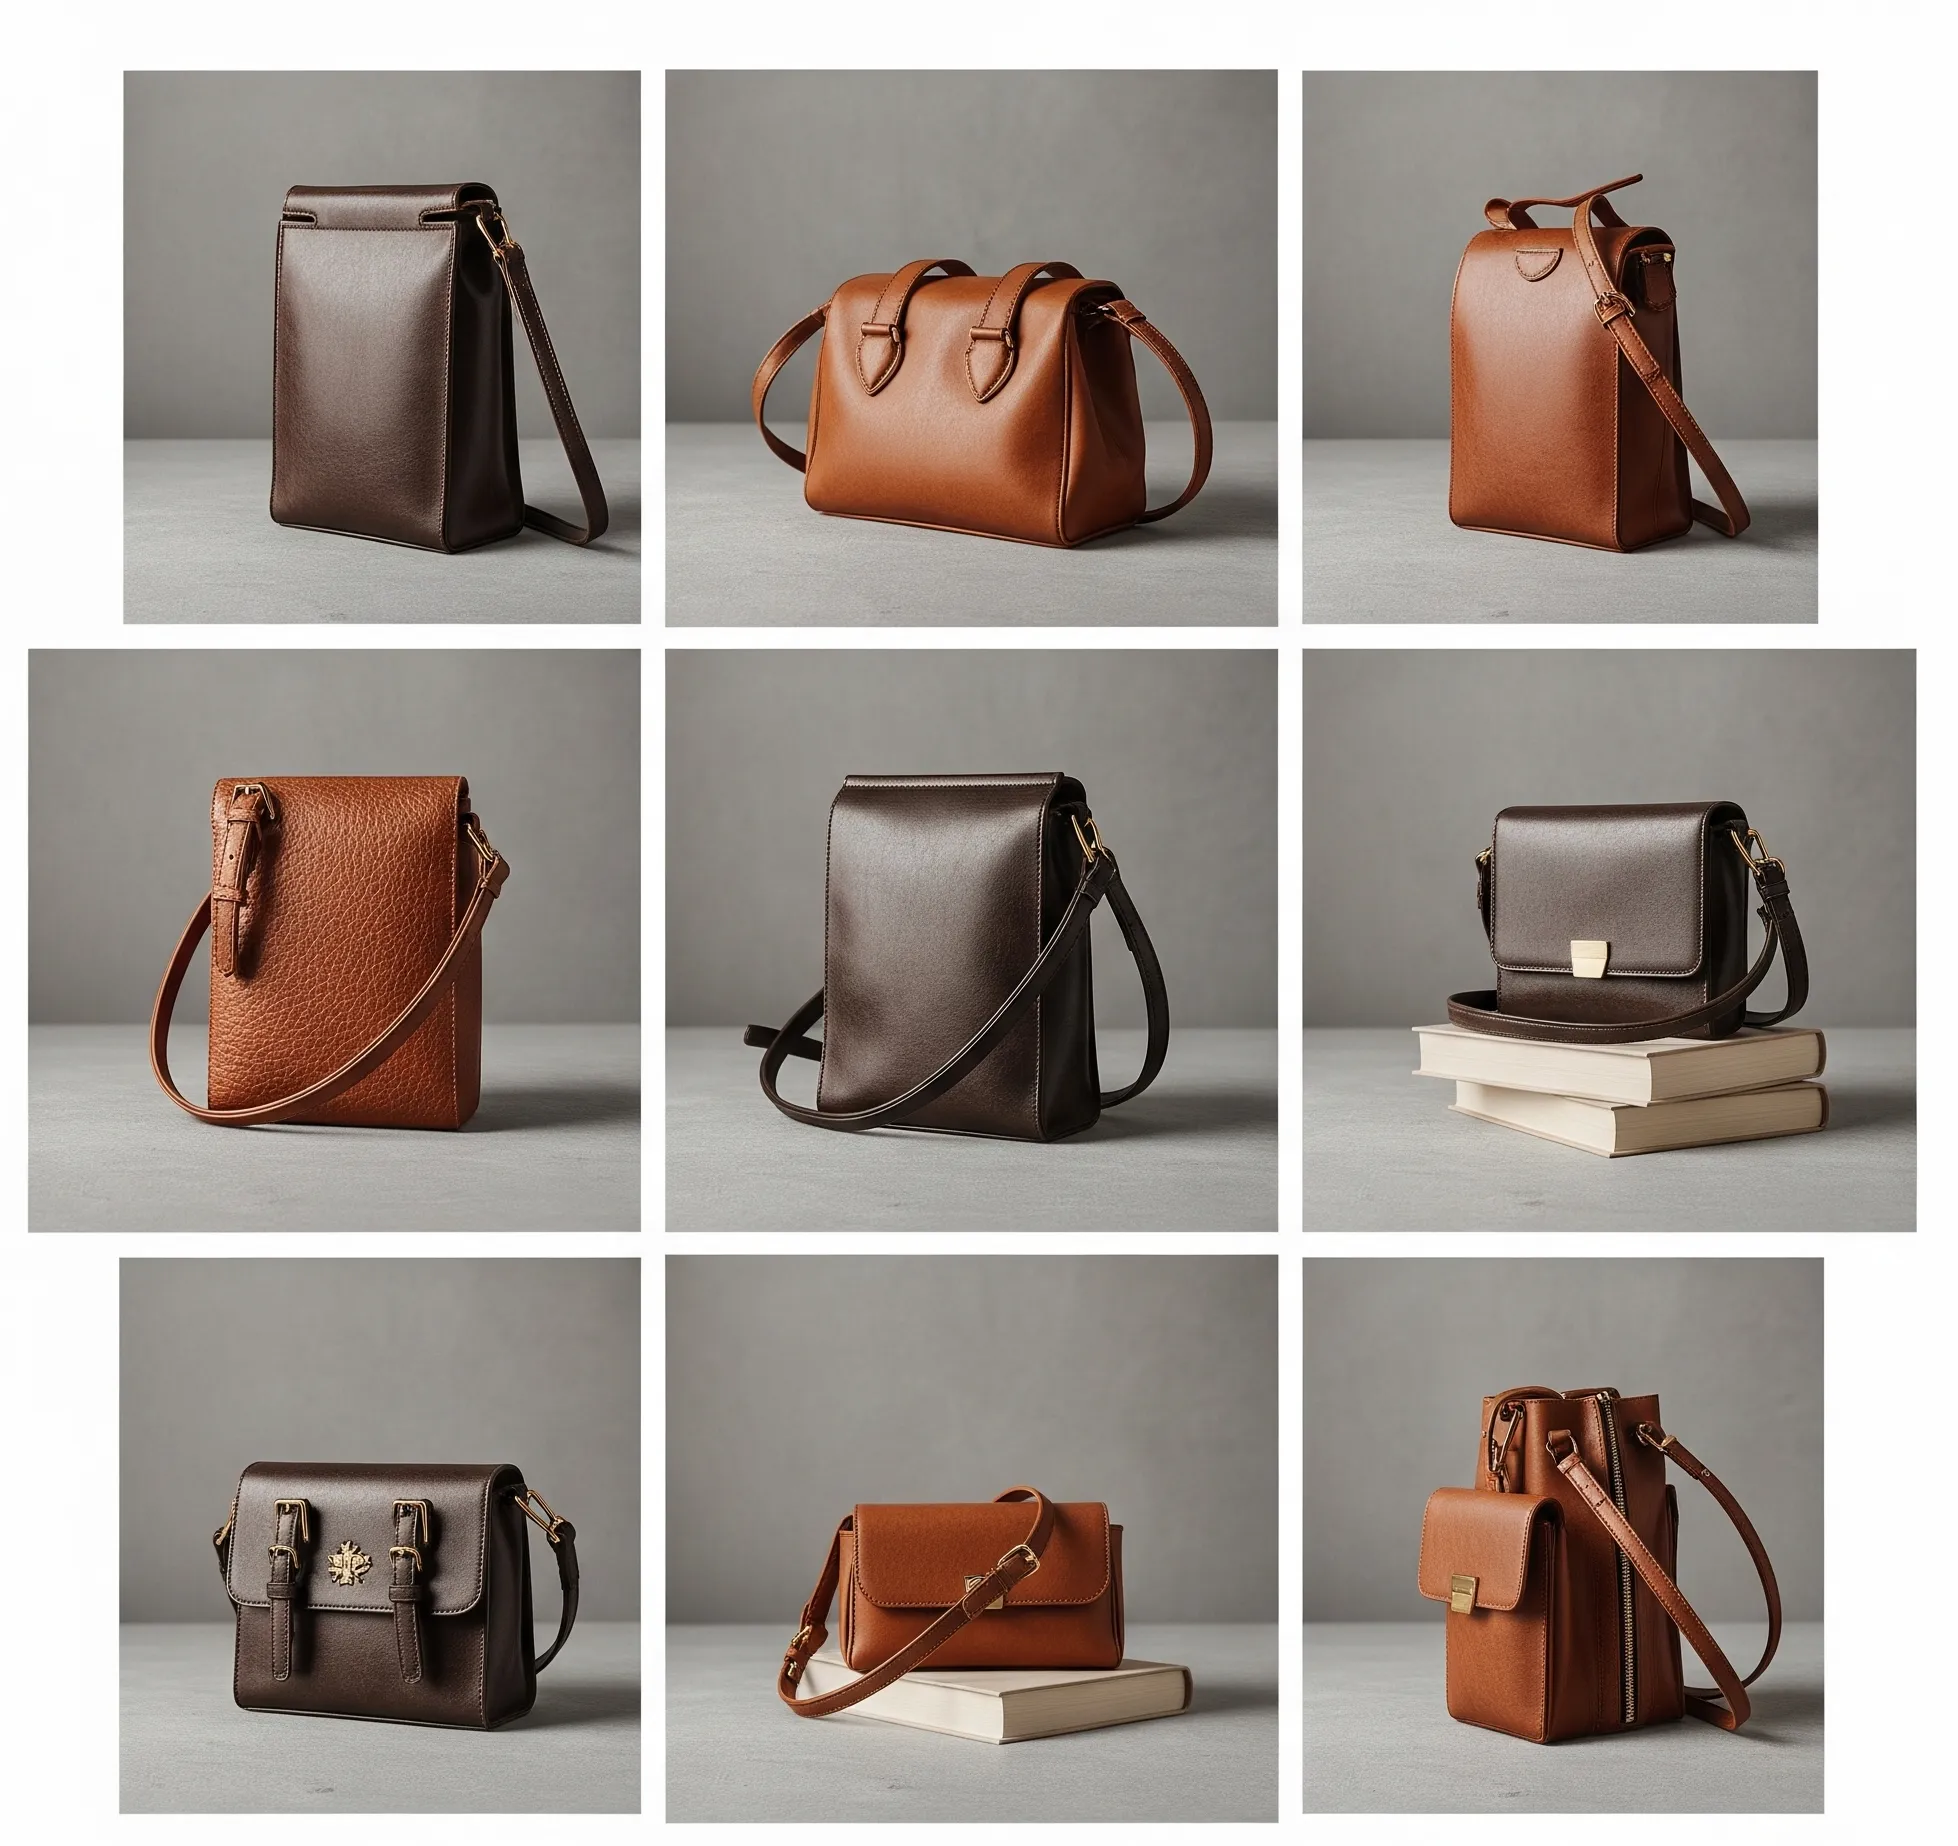
Keeping a consistent style in your product photos is key to building a strong, professional brand. When your images all follow the same lighting, background, angles, and editing style, they create a trustworthy impression. This gives your online store a neat look and makes it easier for customers to shop. With all photos looking the same, people can focus on your products without getting distracted by different styles or backgrounds. A consistent style also helps people recognize your brand instantly, even if they’re just scrolling by.
To maintain this uniform look, it’s a good idea to create a simple photo style guide. This could include your preferred background color, lighting setup, image size, and editing rules. That way, no matter who takes the photos, they all follow the same standard.
Here are a few quick tips to help keep your product images consistent:
- Use the same lighting setup for all photos
- Stick to one background color or style
- Use the same angle or distance for each type of product
- Apply the same editing filters or color adjustments
- Create a photo guide to share with your team or editor
 Highlight Key Features
Highlighting key features in your product photos helps customers quickly see what makes your item special. If it’s the texture, design details, or a unique function, showing these clearly can boost interest and drive more sales. Instead of just one basic photo, include close-up shots or different angles that focus on these standout details. This gives customers more confidence in what they’re buying, especially when shopping online where they can’t touch the product.
You don’t need fancy tools, just smart, clear shots that guide attention to the most important parts. Good lighting and sharp focus are key when capturing fine details like stitching, buttons, or tech features. During editing, you can lightly enhance these areas so they pop without overdoing it.
Here are some helpful tips for highlighting key features:
- Use close-up shots to show texture or small details
- Zoom in on any unique parts of the design
- Add arrows, icons, or text in editing to point out features
- Use depth of field to blur the background and focus on one area
- Show the product in use to highlight how it works
Conclusion
Great product photos can be the difference between someone clicking away or hitting “add to cart.” These professional photo editing tips help you make your images clean and attractive, no special skills or tools needed. With a little time and effort, your products can stand out online and attract more buyers. Start applying these tips today and watch your sales grow. Got a favorite editing trick or tool? Share it in the comments; we’d love to hear what works best for you.
Read Next: Why AI Photos with a Touch of Editors Create Amazing Images
Related Posts