
Affordable Tools in Home Photography
Home photography does not require a massive investment to achieve high-quality results. In 2026, the market is filled with “prosumer” gear that offers professional results at a fraction of the cost. Consequently, anyone can start a studio in a small space. Furthermore, by choosing the right equipment, you can save money while still producing top-tier work.
Here are some affordable tools for your home photography
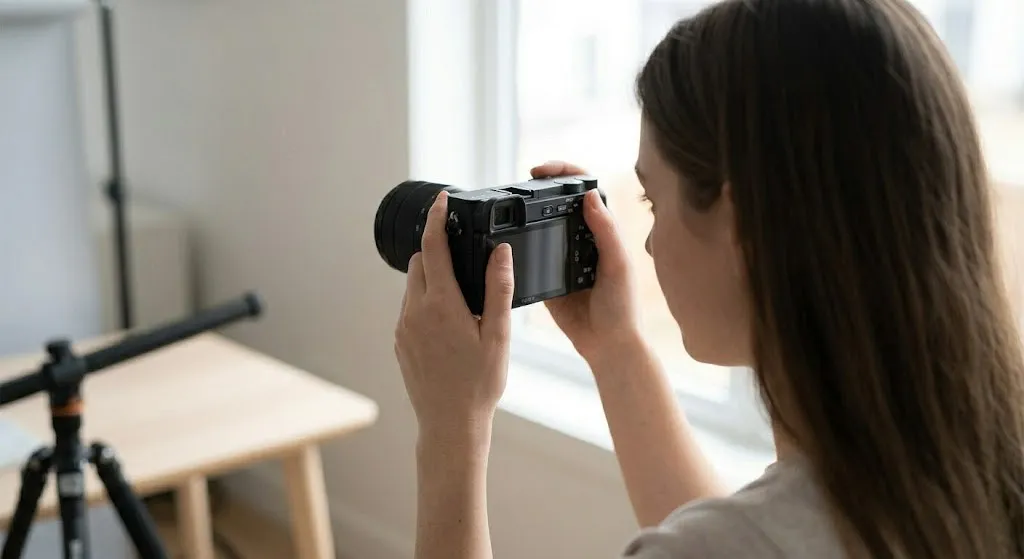
1. The Camera: Value-First Mirrorless
While smartphones are capable, a dedicated camera with an APS-C sensor provides the depth and clarity needed for professional-level retouching in home photography. Therefore, investing in a body that allows for interchangeable lenses is a wise first step.
| Model | Best For | Estimated Price (2026) |
| Canon EOS R100 | Best overall value for beginners. | ~$450 – $600 |
| Sony Alpha a6100 | Exceptionals autofocus for moving subjects. | ~$600 – $700 |
| Nikon Z fc | Tactile dials for learning manual settings. | ~$850 – $950 |
| Used DSLR (Nikon D3500) | The absolute budget entry point. | ~$300 – $400 |
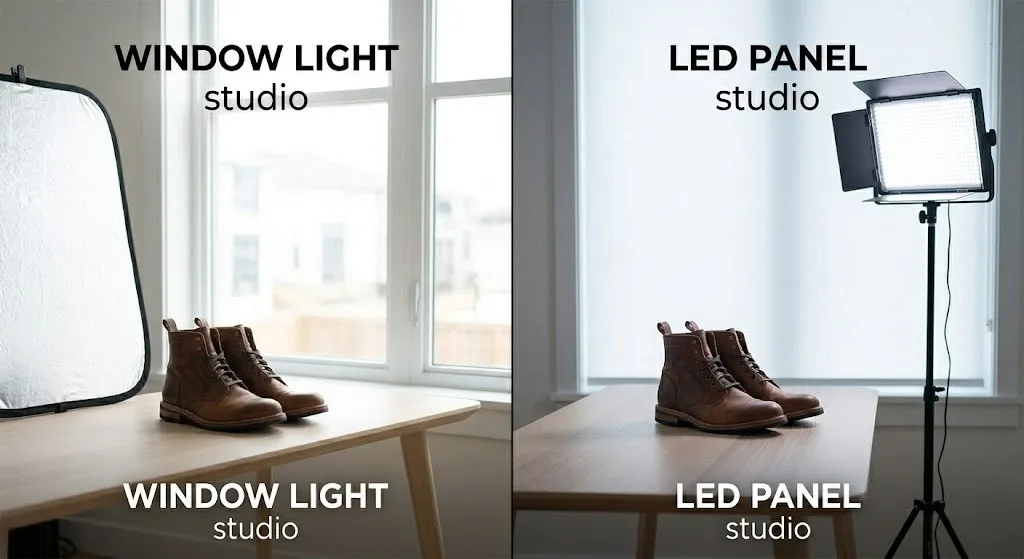
2. Lighting: Controlled vs. Natural Home Photography
Lighting is a major factor in home photography. Because of this, you must decide if you want to tame the sun or buy entry-level strobes. In addition to natural light, electronic options provide more consistency.
- Speedlights (Flash): The Godox V1 or Godox V860III are industry favorites. Moreover, they are portable and can be used off camera with an affordable trigger.
- Continuous LED: If you prefer to see the light exactly as it will appear in the photo, look at the Nanlite FS-300B or Neewer 60W LED panels.
- The Window Studio: Alternatively, use a north-facing window for consistent, soft light. Pair this with a 5-in-1 Reflector ($20) to bounce light back onto the dark side of your subject.
3. Backdrops & Surfaces
You don’t need expensive vinyl for every shoot in home photography. Instead, many professional backgrounds are DIY.
- Seamless Paper: Brands like Savage offer rolls for ~$30. Consequently, they provide the clean, “infinite” background look seen in e-commerce.
- Foam Boards: Standard white and black foam boards from a craft store are very helpful. For instance, white bounces light while black “sucks” it away to create deep shadows.
- Sample Tiles: For product photography like jewelry or small goods, go to a home improvement store and buy single marble or slate floor tiles. They cost $5–$10 but look like a high-end studio set.
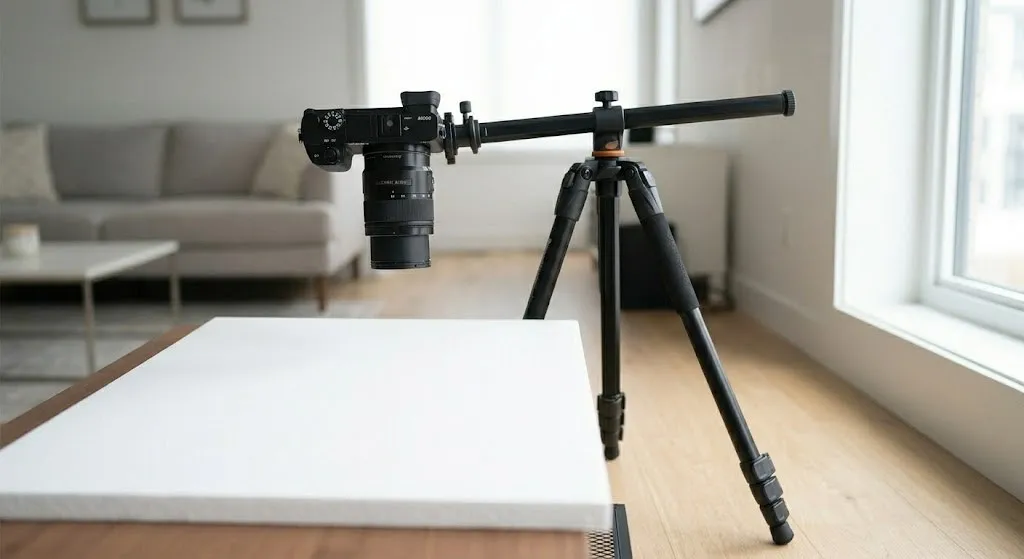
4. Stability Tools for Home Photography
A tripod is non-negotiable for sharp product shots in home photography. Since stability is key for low-light environments, a sturdy base is a great investment.
- Budget Pick: AmazonBasics 60-inch Lightweight Tripod (~$30) for very light setups.
- Pro-Sumer Pick: Manfrotto Element MII or Vanguard Alta Pro (~$100–$150). Additionally, look for one with a “multi-angle center column” if you need to take top-down “flat lay” shots.
CONCLUSION
Building a professional setup doesn’t have to break your bank account if you focus on the right gear. You now have a solid list of tools that can help you produce high-quality images right from your own living room or spare office. Many people think they need the most expensive cameras or lights to get started, but simple items like foam boards and basic lenses often do the most work. It is all about how you use what you have to get those clean and sharp results.
I would love to hear about the creative ways you are setting up your own space for home photography. What is the one budget tool or DIY trick that you simply cannot live without during your shoots? Please share your best tips or ask a question in the comments below so we can all learn together.
Read Next: Impressive Setup for Product Photography You Can Do at Home