Building a versatile summer dresses wardrobe is the key to feeling confident and stylish all…

Jewelry Product Photography Tips That Increase Sales
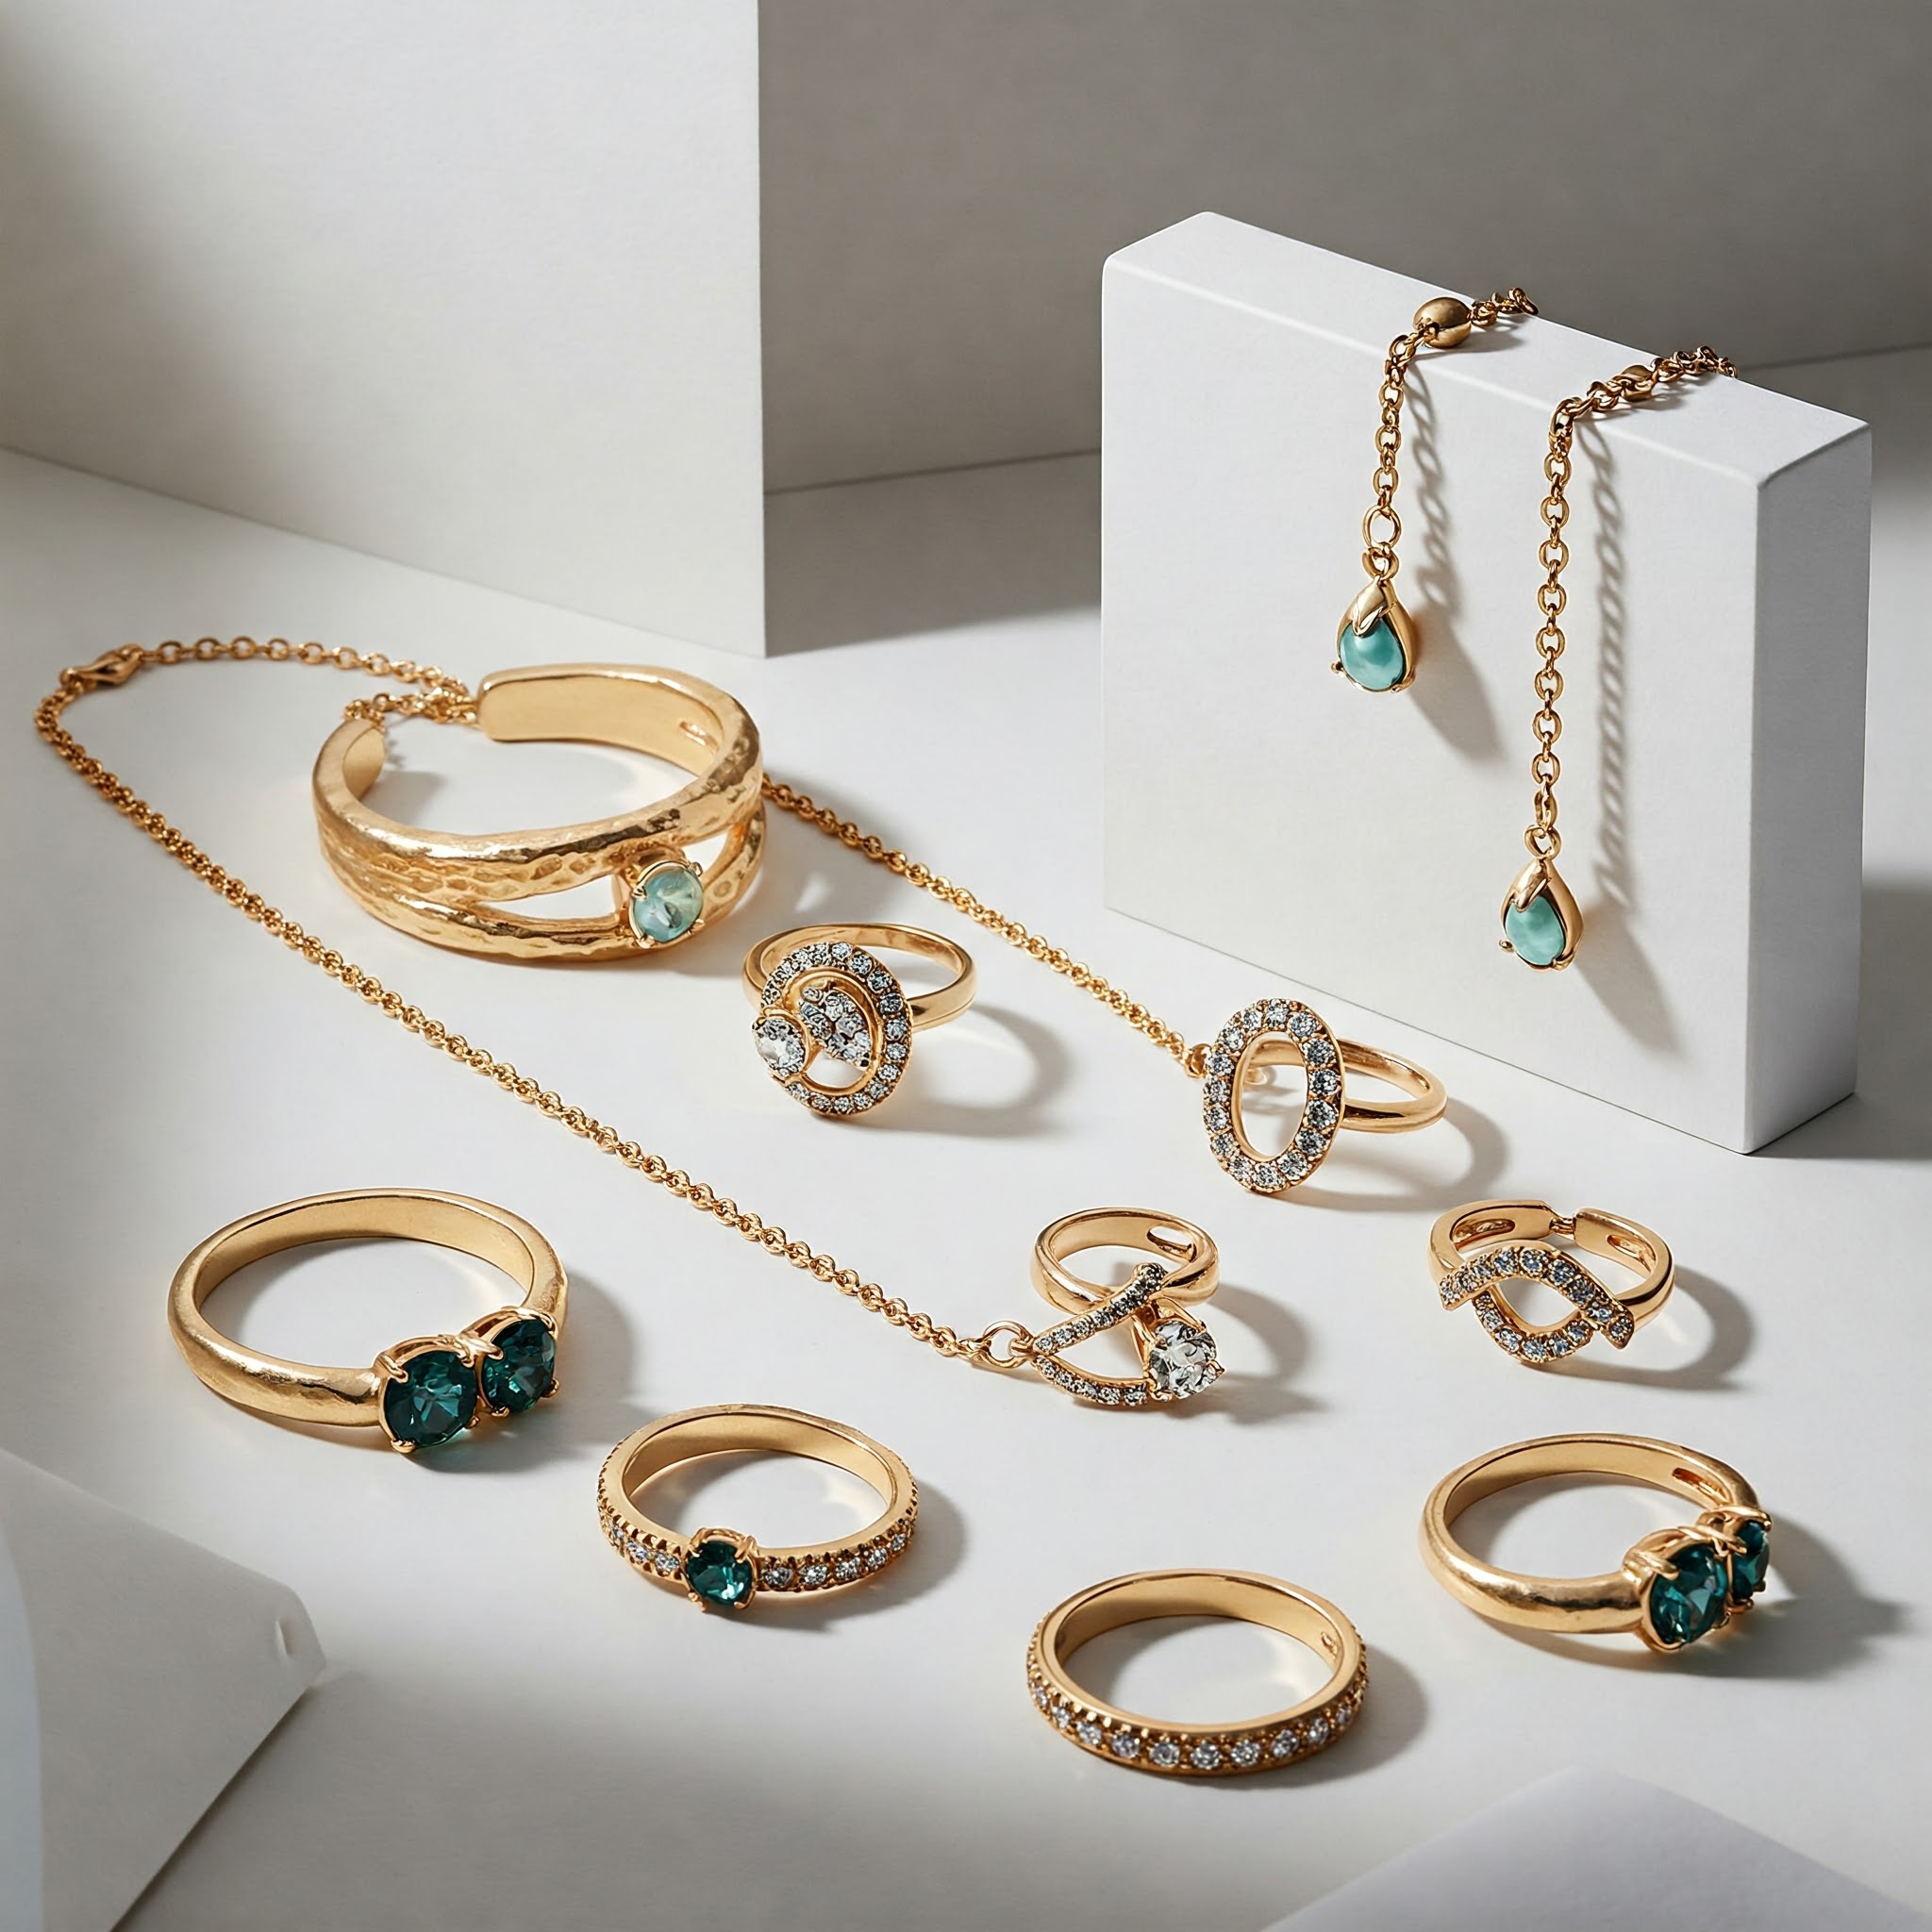
Taking great photos of jewelry doesn’t have to be complicated. With the right steps, you can make each piece look bright and vibrant. In this guide, we’ll explore simple ways to create clean, clear photos that help your jewelry shine. You don’t need expensive equipment or a big studio; just proper lighting, right setup, and a little care can go a long way. This is where the jewelry product photography tips comes in to assist you every step of the way.
Jewelry product photography focuses on making each photo clean and full of detail. Great photos help showcase the true beauty of your pieces. From how you position your jewelry to how you light it, every step matters. This guide will show you how to keep it simple while achieving impressive results. Get ready to take stunning photos of your jewelry using easy tools and tips.
Here Some Easy Tips for Jewelry Product Photography
Choose the Right Light for Jewelry
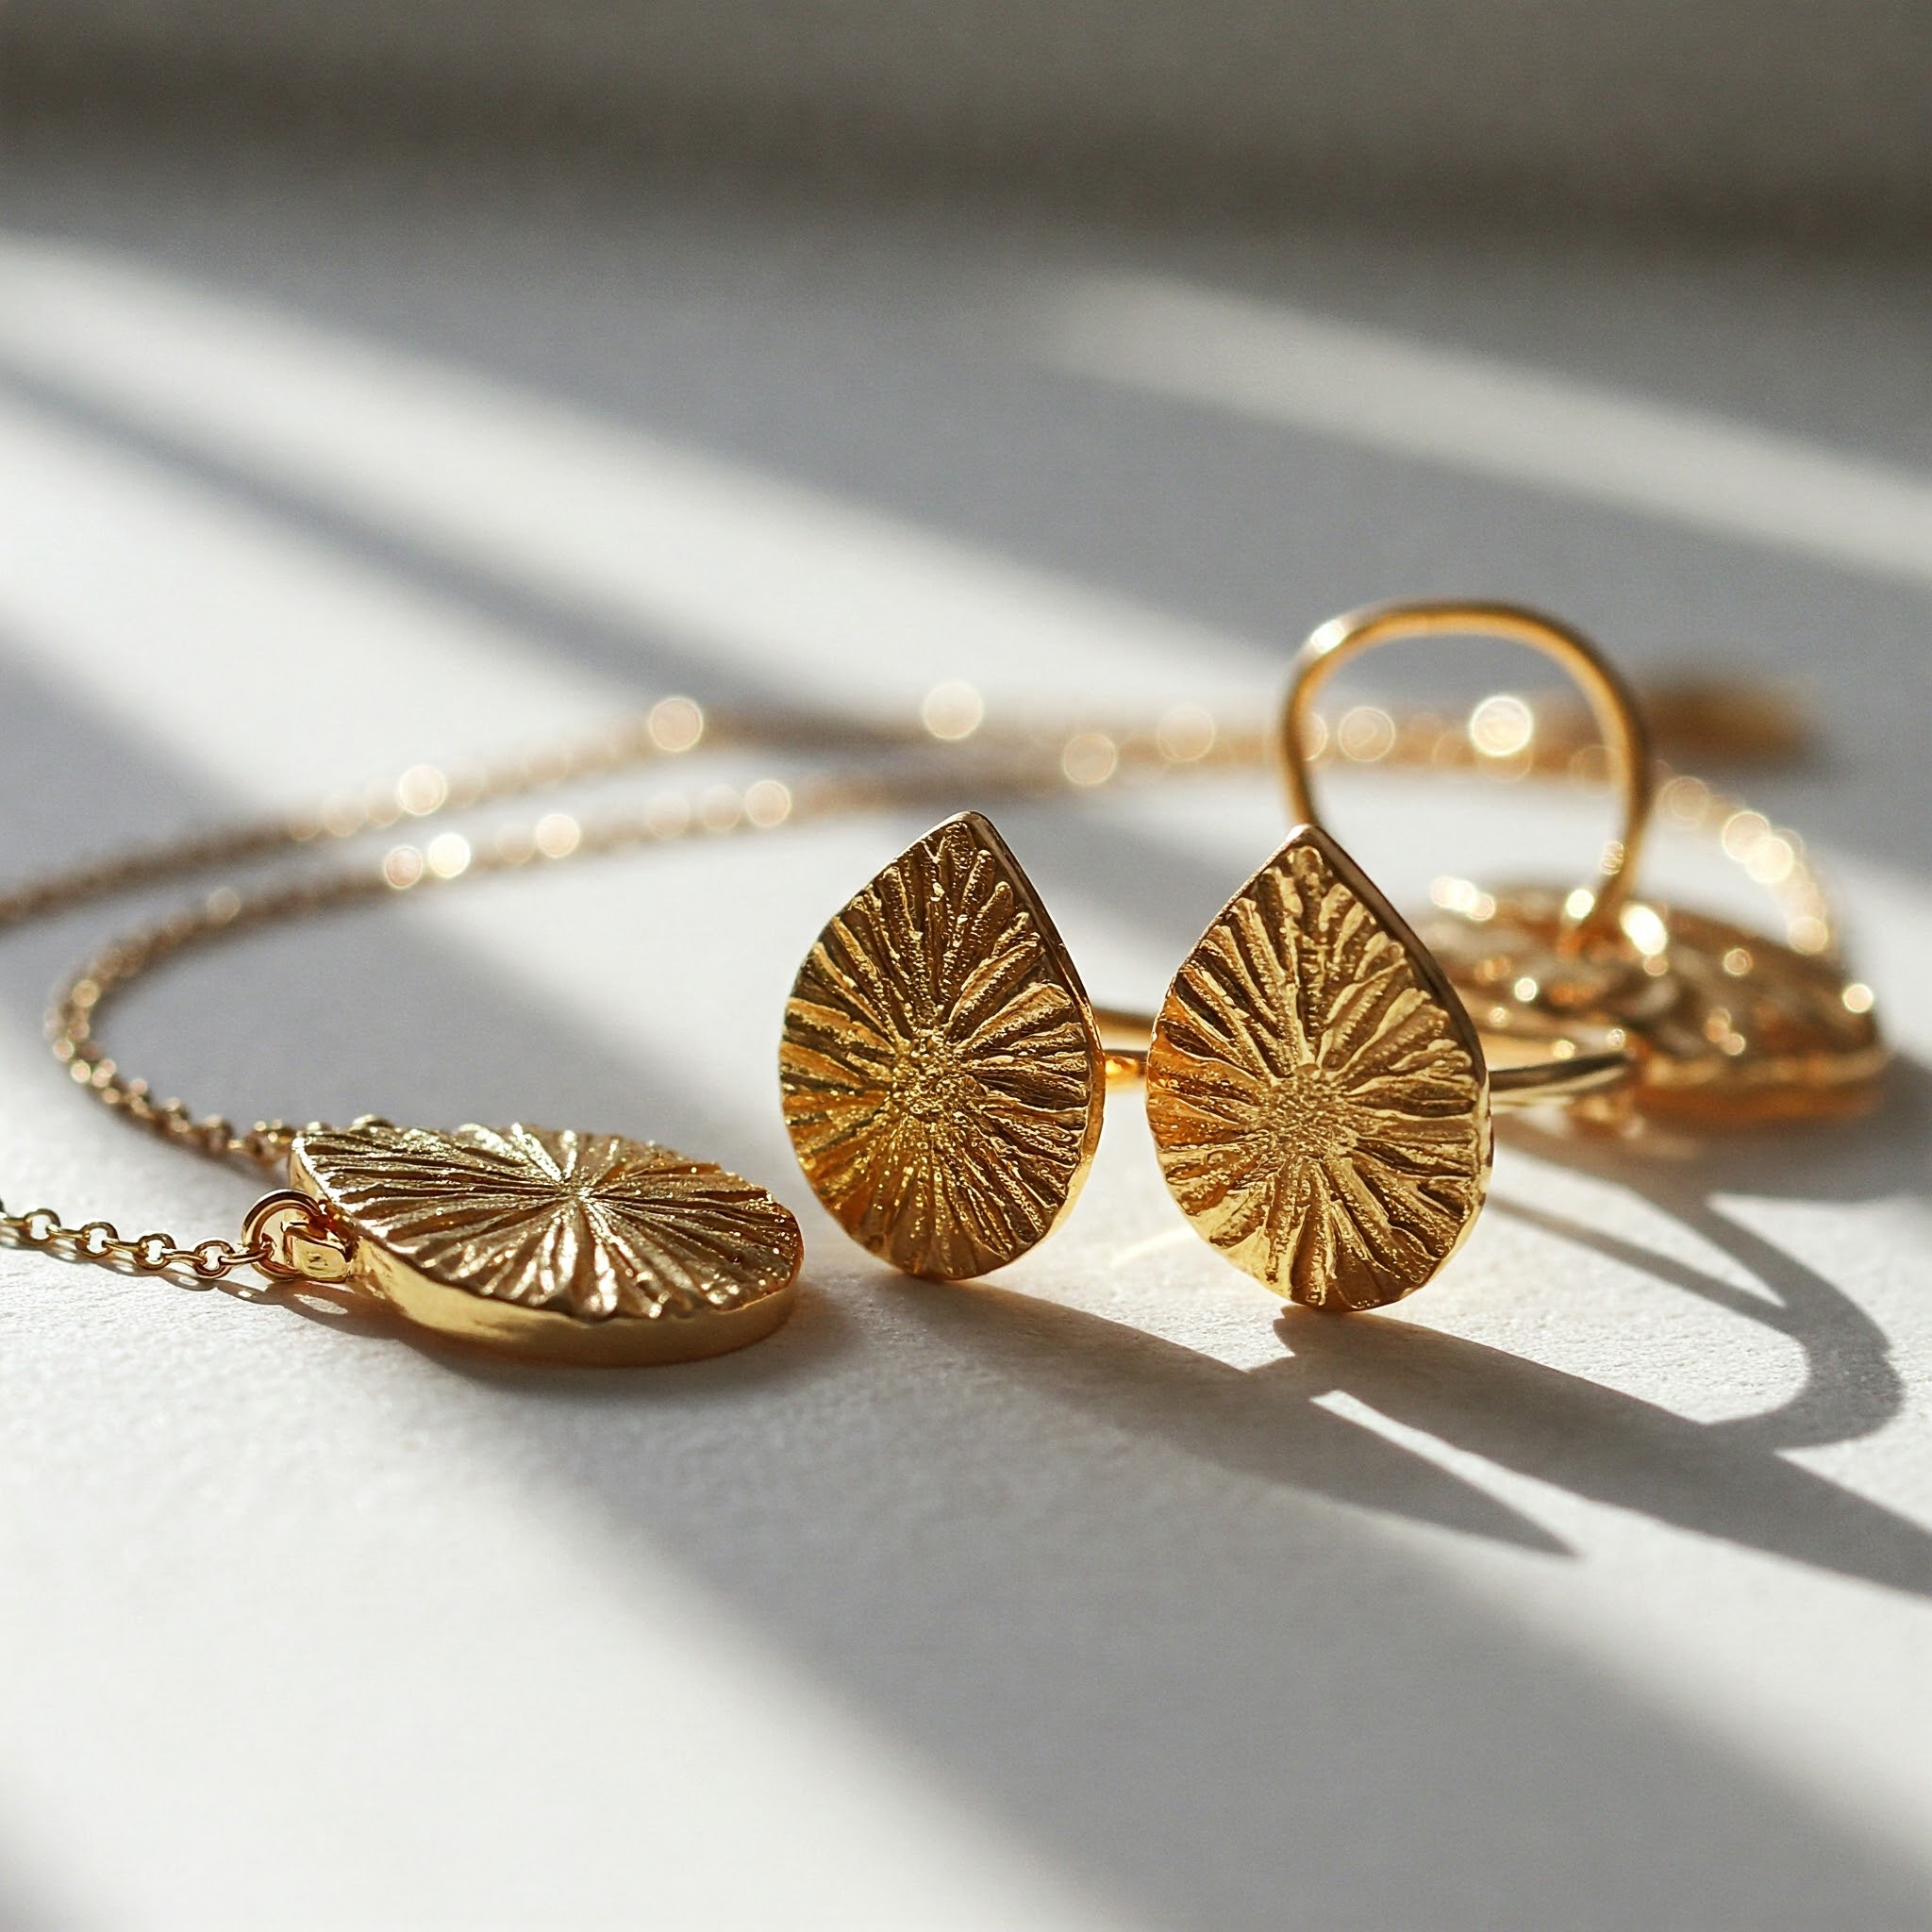
 Good light helps to make shiny jewelry look clear and bright in photos. Try using light that is soft and even. You can place your setup near a window with light coming in from the side. This kind of light can bring out the shine in metals and stones. It also helps avoid strong shadows that can hide small parts of the piece.
If you are using lamps, place them on each side of the jewelry to spread the light evenly. You can cover the lamps with white paper to make the light softer. This will help remove strong lines or spots in the photo. You do not need special tools. Simple home lights work well if you take the time to set them up right.
Avoid using the camera flash. Flash creates bright spots and can make the photo look flat. If you need extra light, bounce it off a wall or a large white card. Move the light and the jewelry until it looks right to your eyes. The goal is to keep the light even and soft so the details of the piece can show clearly.
Use a Clean Background for Clear Focus
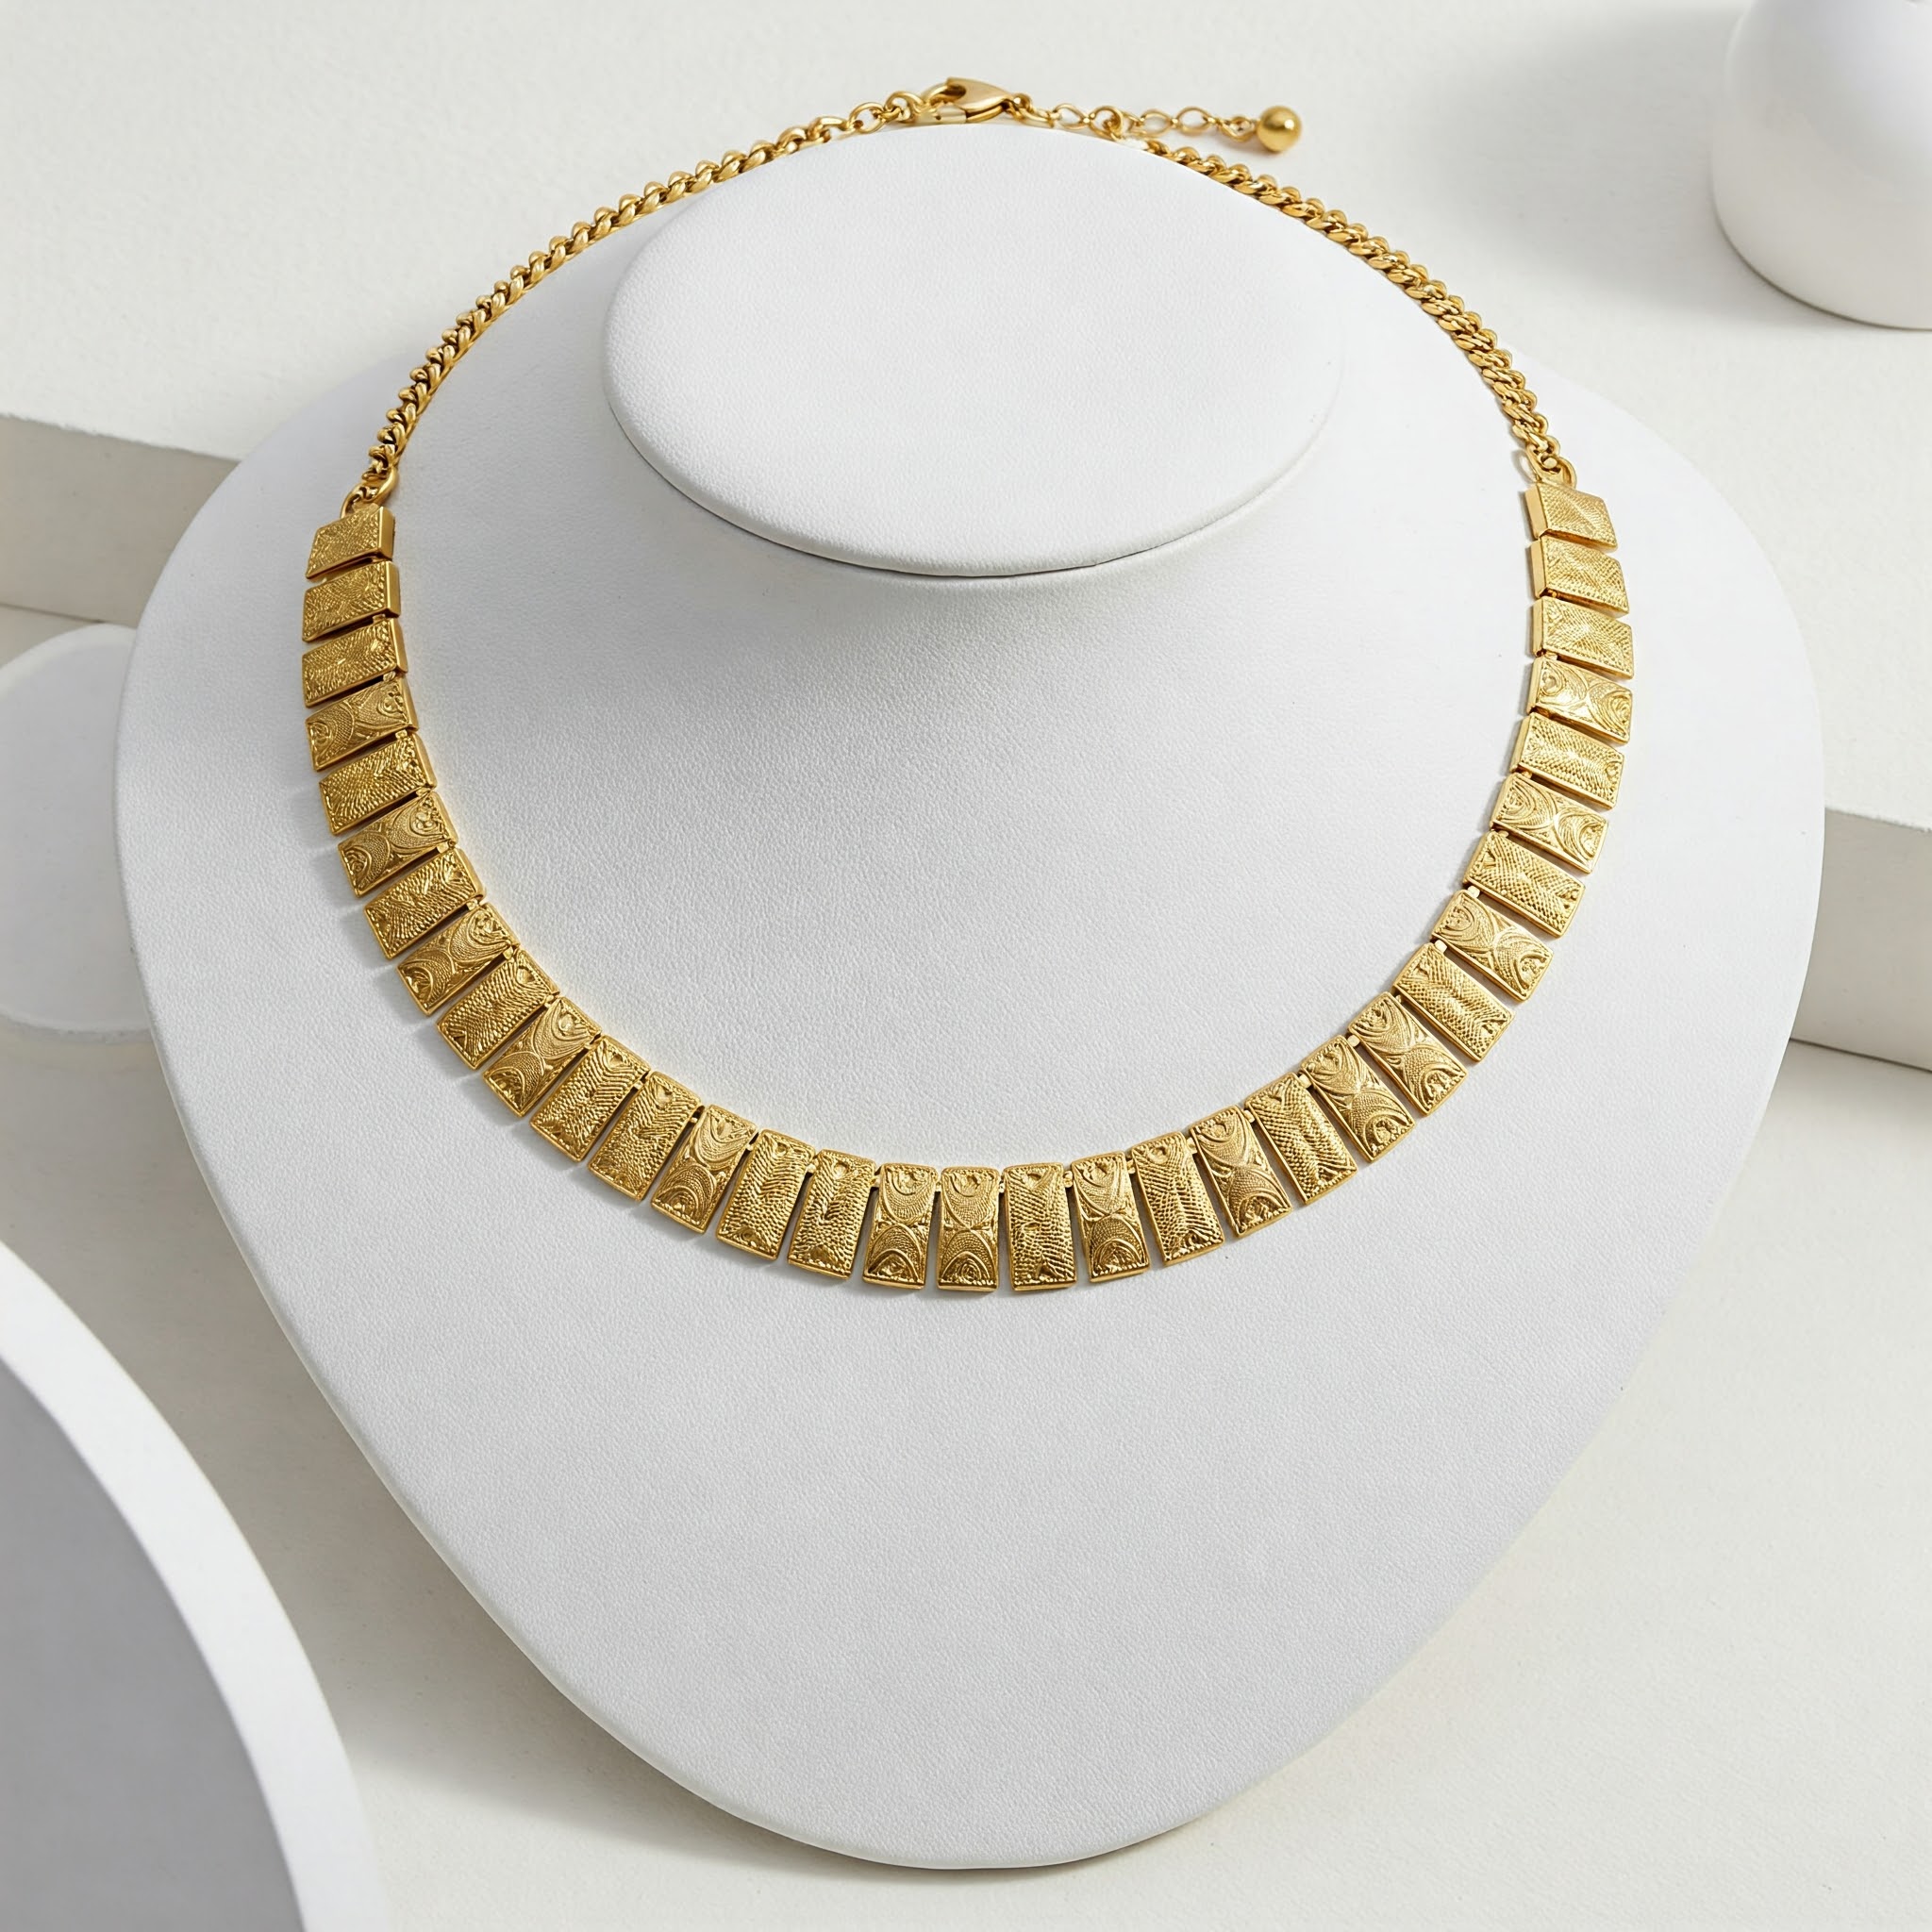 A plain background helps the jewelry stand out. When there are no busy shapes or colors behind the item, it is easier to focus on the piece. Use a sheet of white, black, or gray paper or cloth. These colors work well with most jewelry and keep the photo simple.
Make sure the background is smooth and clean. Wrinkles, dirt, or marks can be seen in the final photo. Iron the cloth or use fresh paper before each shoot. If your background reflects light, it can take attention away from the jewelry. A surface that does not shine too much is better.
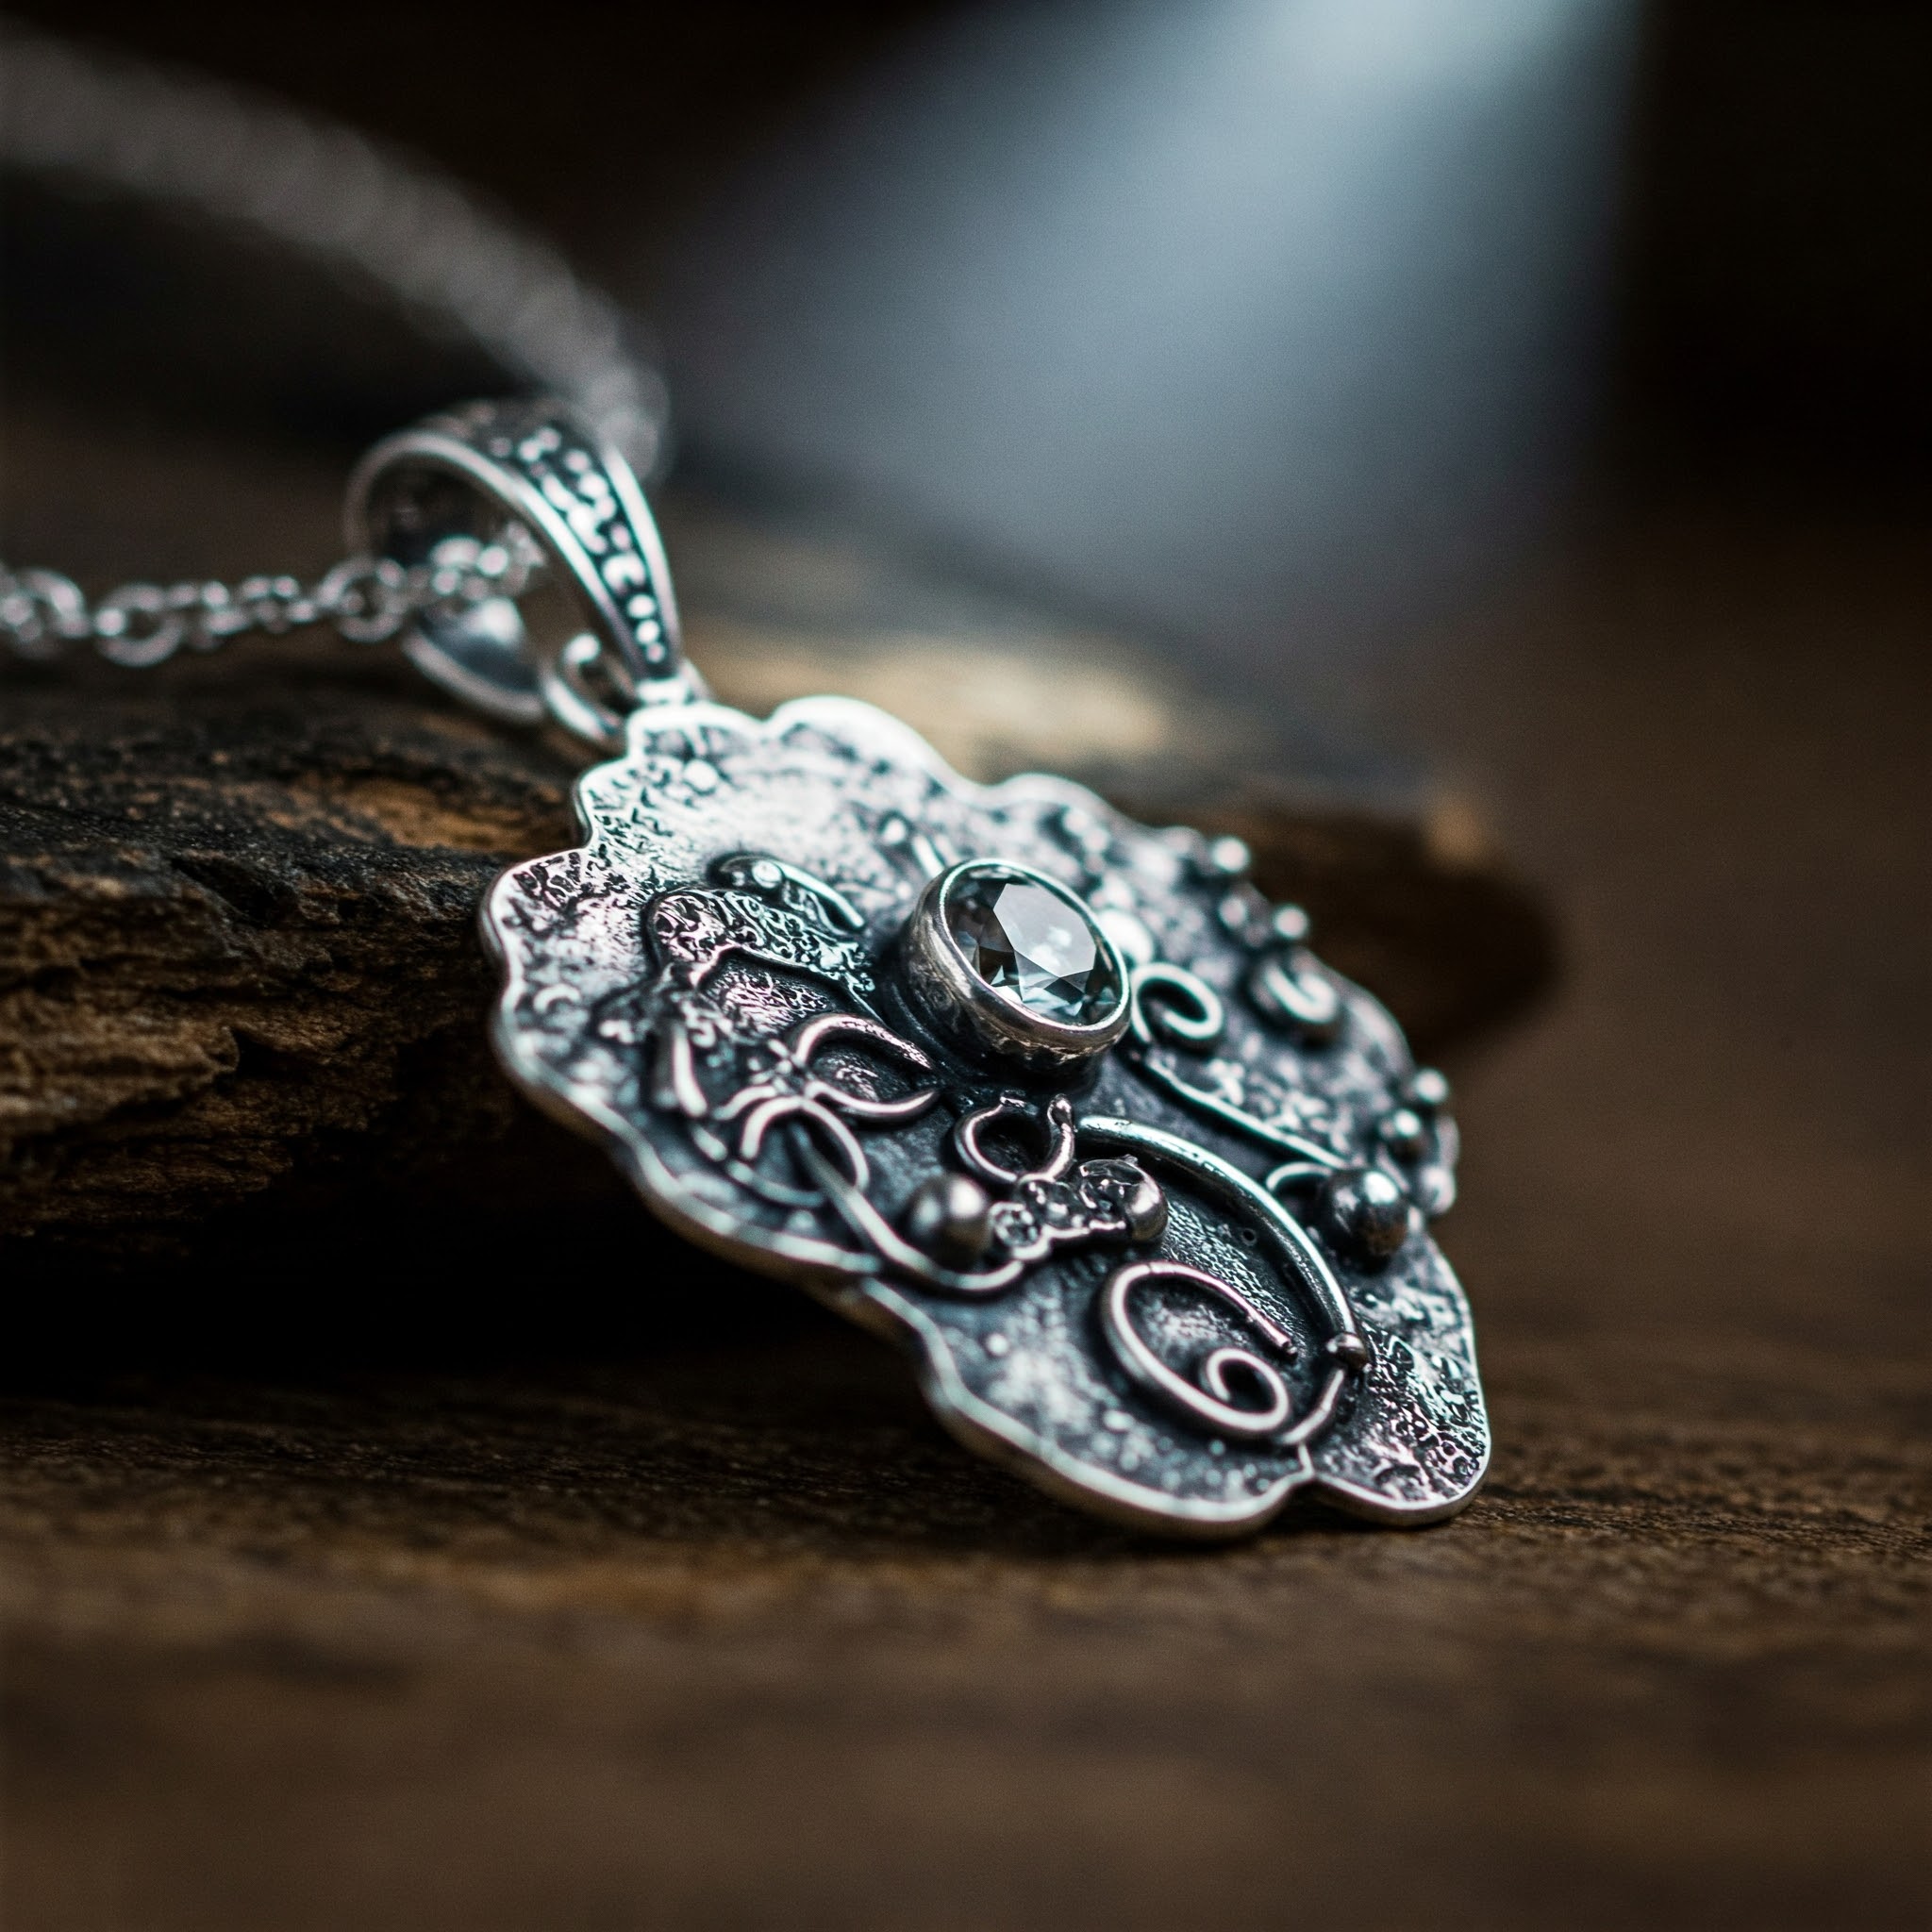
If you want to use a small prop like a flat rock or a wooden piece, keep it plain. Do not use props that are too large or bright. They should help hold the jewelry in place without pulling the eye away. The main point of the photo is the jewelry, so the background should stay in the back, not the front.
Keep the Jewelry Free from Dust and Marks
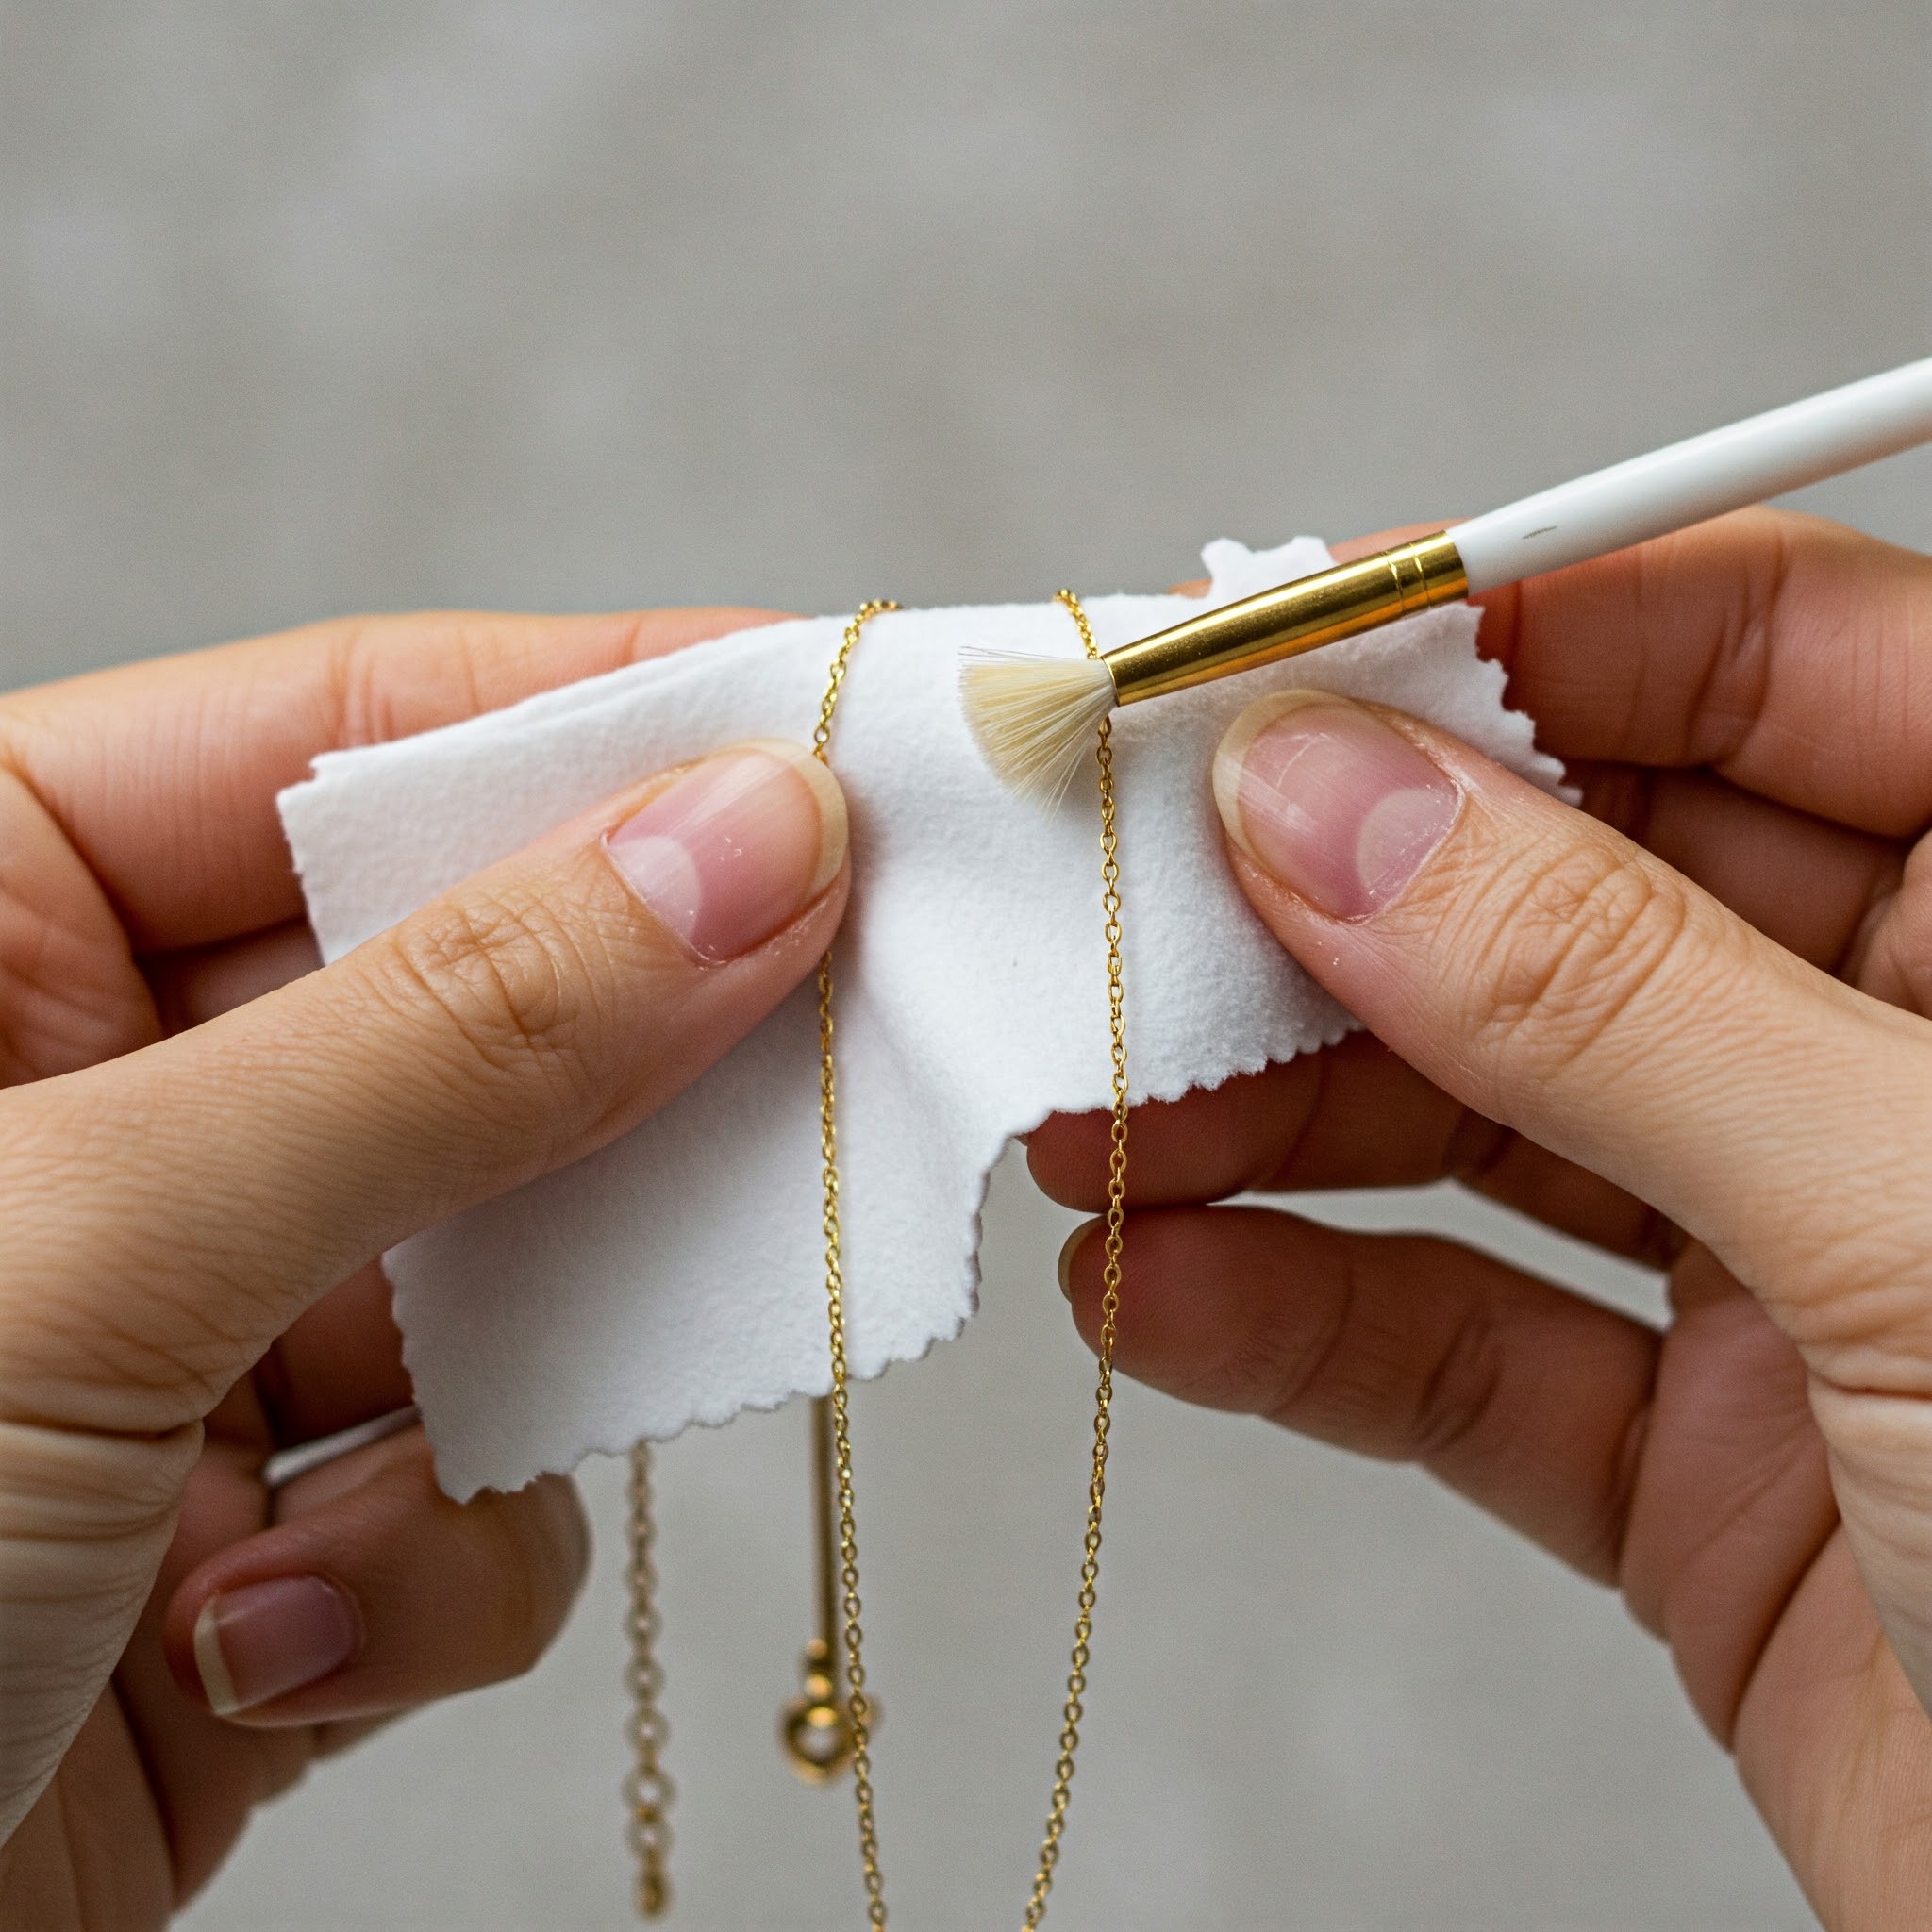 Before taking any photos, clean your jewelry. Small marks and dust can be seen clearly in close shots. Use a soft, dry cloth to wipe the item. A brush with gentle bristles can help you clean small spots that are hard to reach.
After cleaning, check the piece under bright light. You may notice fingerprints, smudges, or small fibers that you missed. Take your time and clean carefully. Even one small mark can take away from the look in the photo. A clean piece shows its real color and shine better.
If your hands are not clean, you may leave more marks on the jewelry. Wash and dry your hands before touching the item. Try not to touch the shiny parts after cleaning. A clean piece not only looks better, but also saves time later when you start editing the photos.
Try Close Up Shots for Small Details
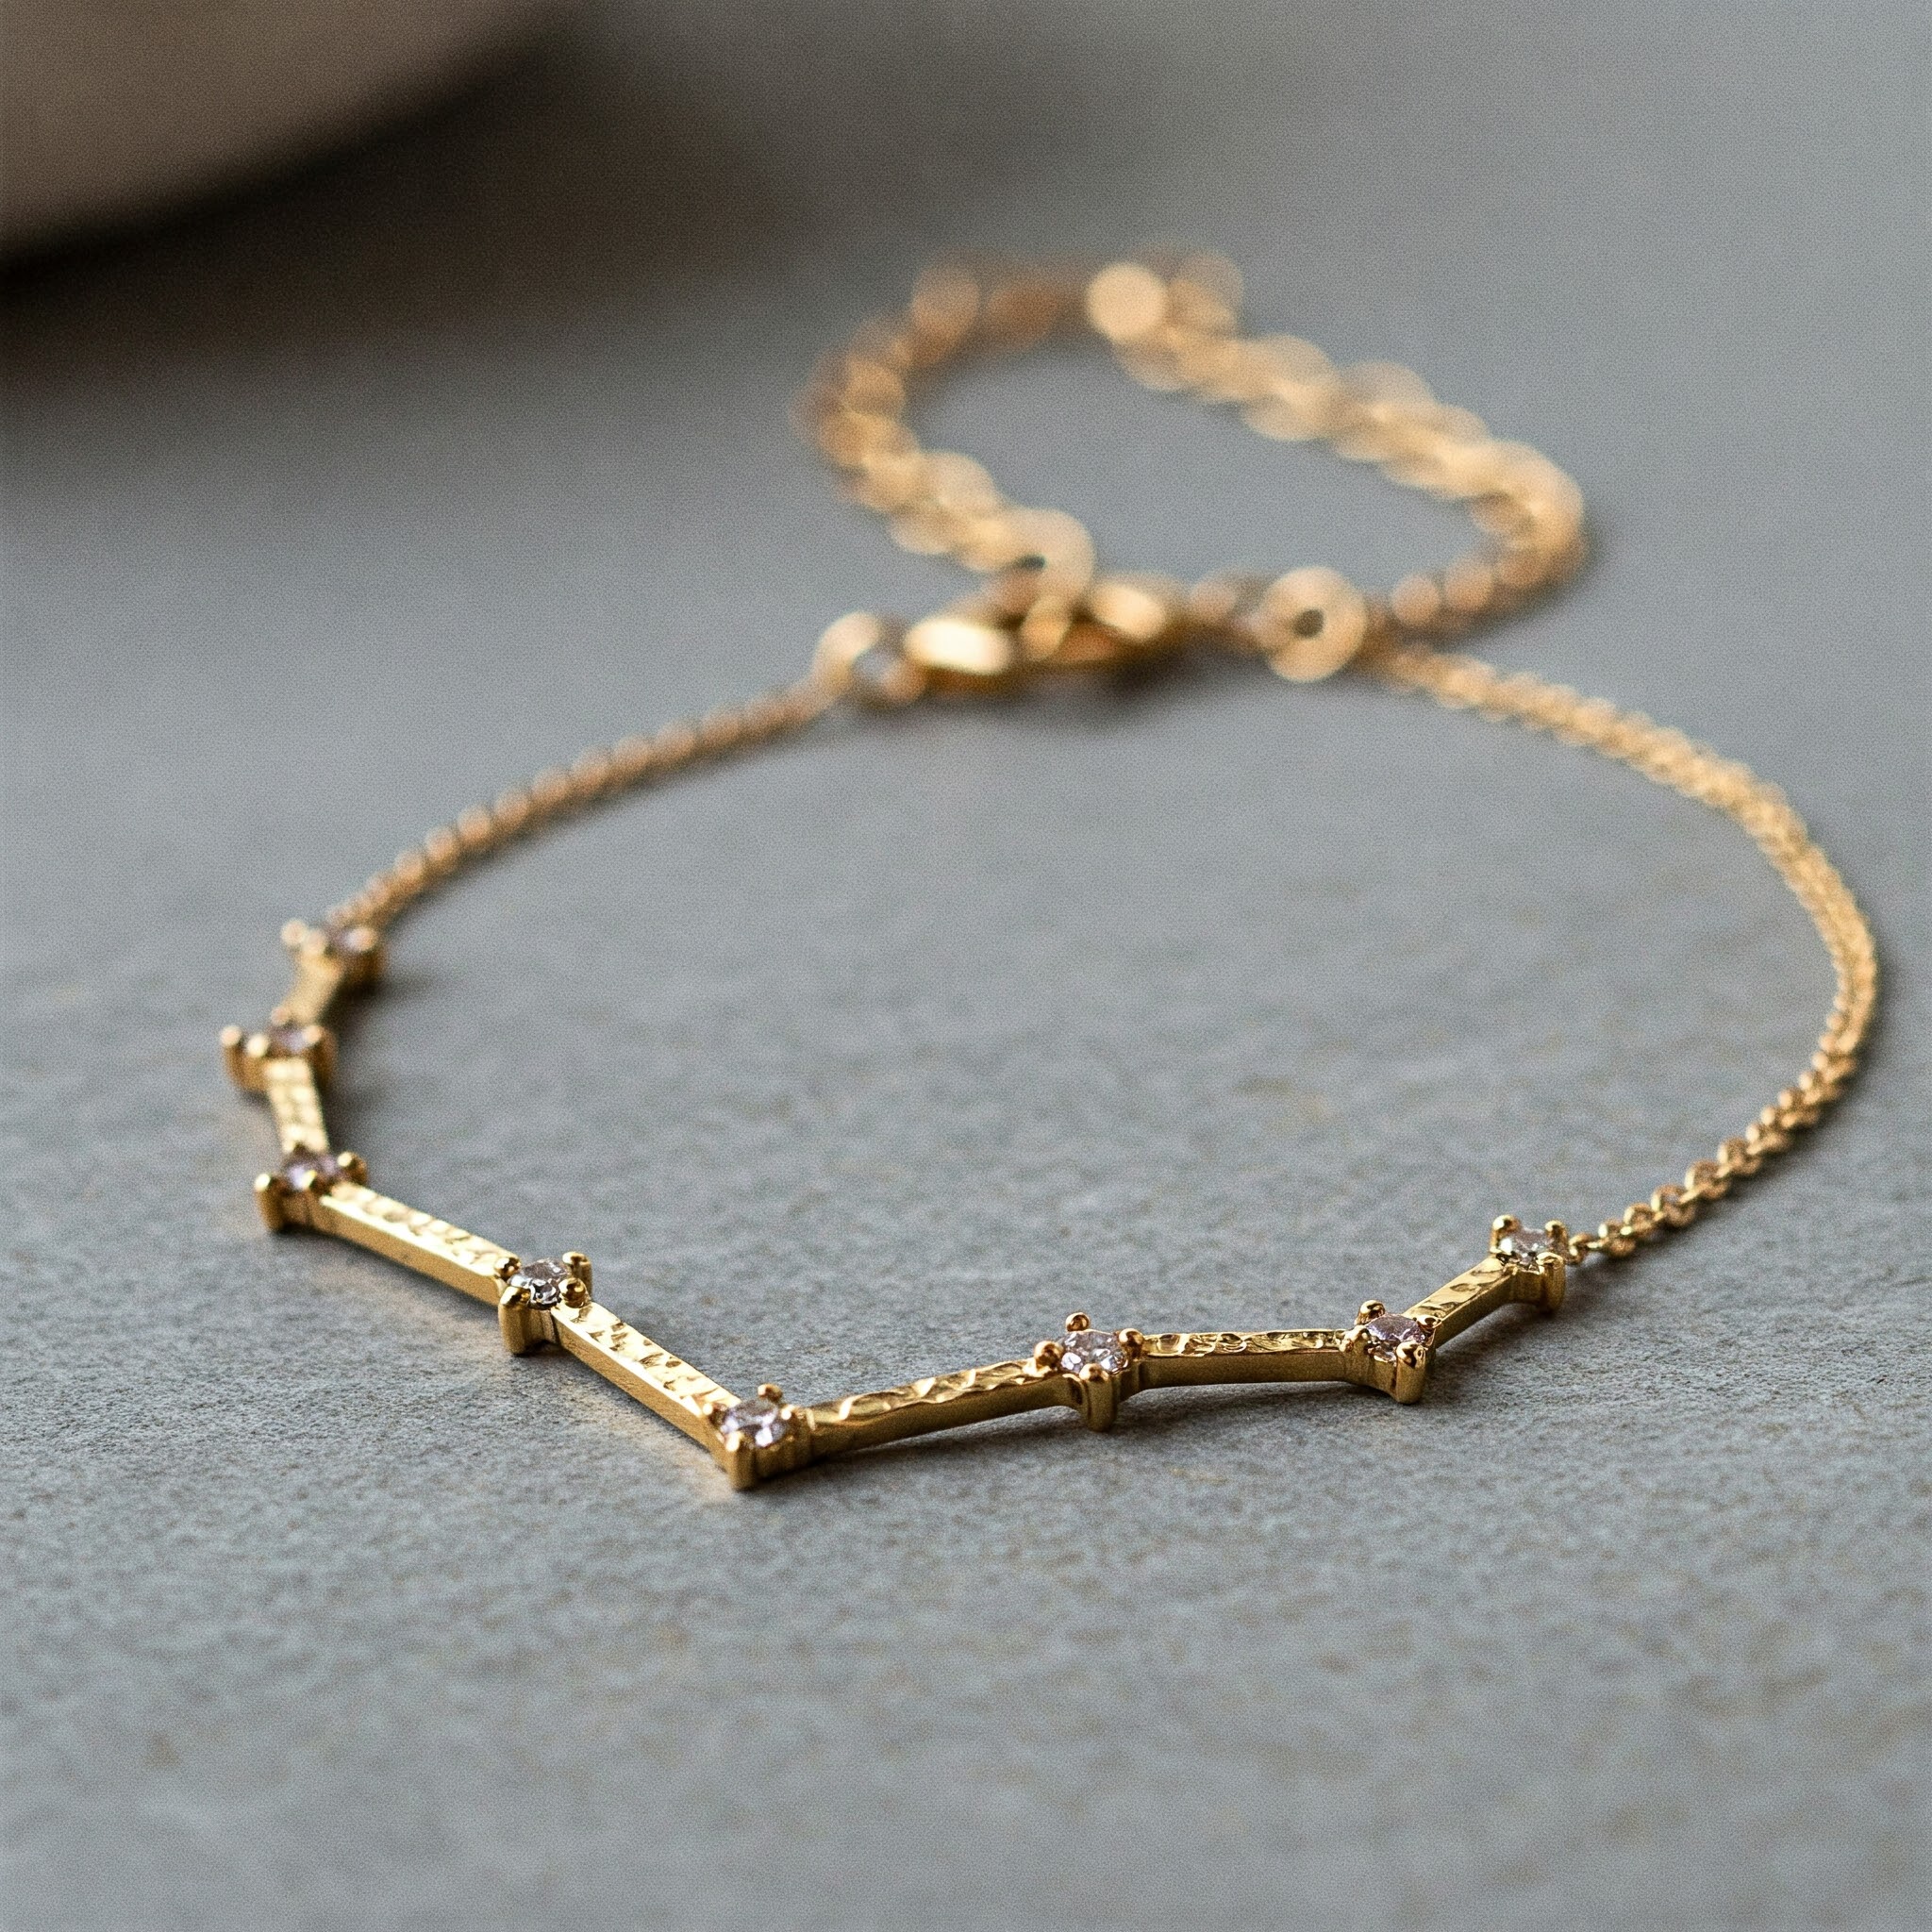 Close-up shots help show small parts of the jewelry. These parts include fine lines, shapes, or stones. To take close-up photos, use a camera or phone with a good short-distance setting. You may need to try a few shots to find the best space between the camera and the jewelry.
Use a tripod or place your hands on a table to keep the camera still. A small shake can make the photo blurry. Look at the photo after each shot. If it is not clear, move the camera or change the light. Clear photos show the work that went into the piece.
Try to take more than one close-up of each piece. You can show the stone, the side, and any small marks or shapes. These shots help the viewer feel like they are looking at the piece up close. It gives them a better idea of what it looks like in real life.
Focus the Camera on the Best Parts
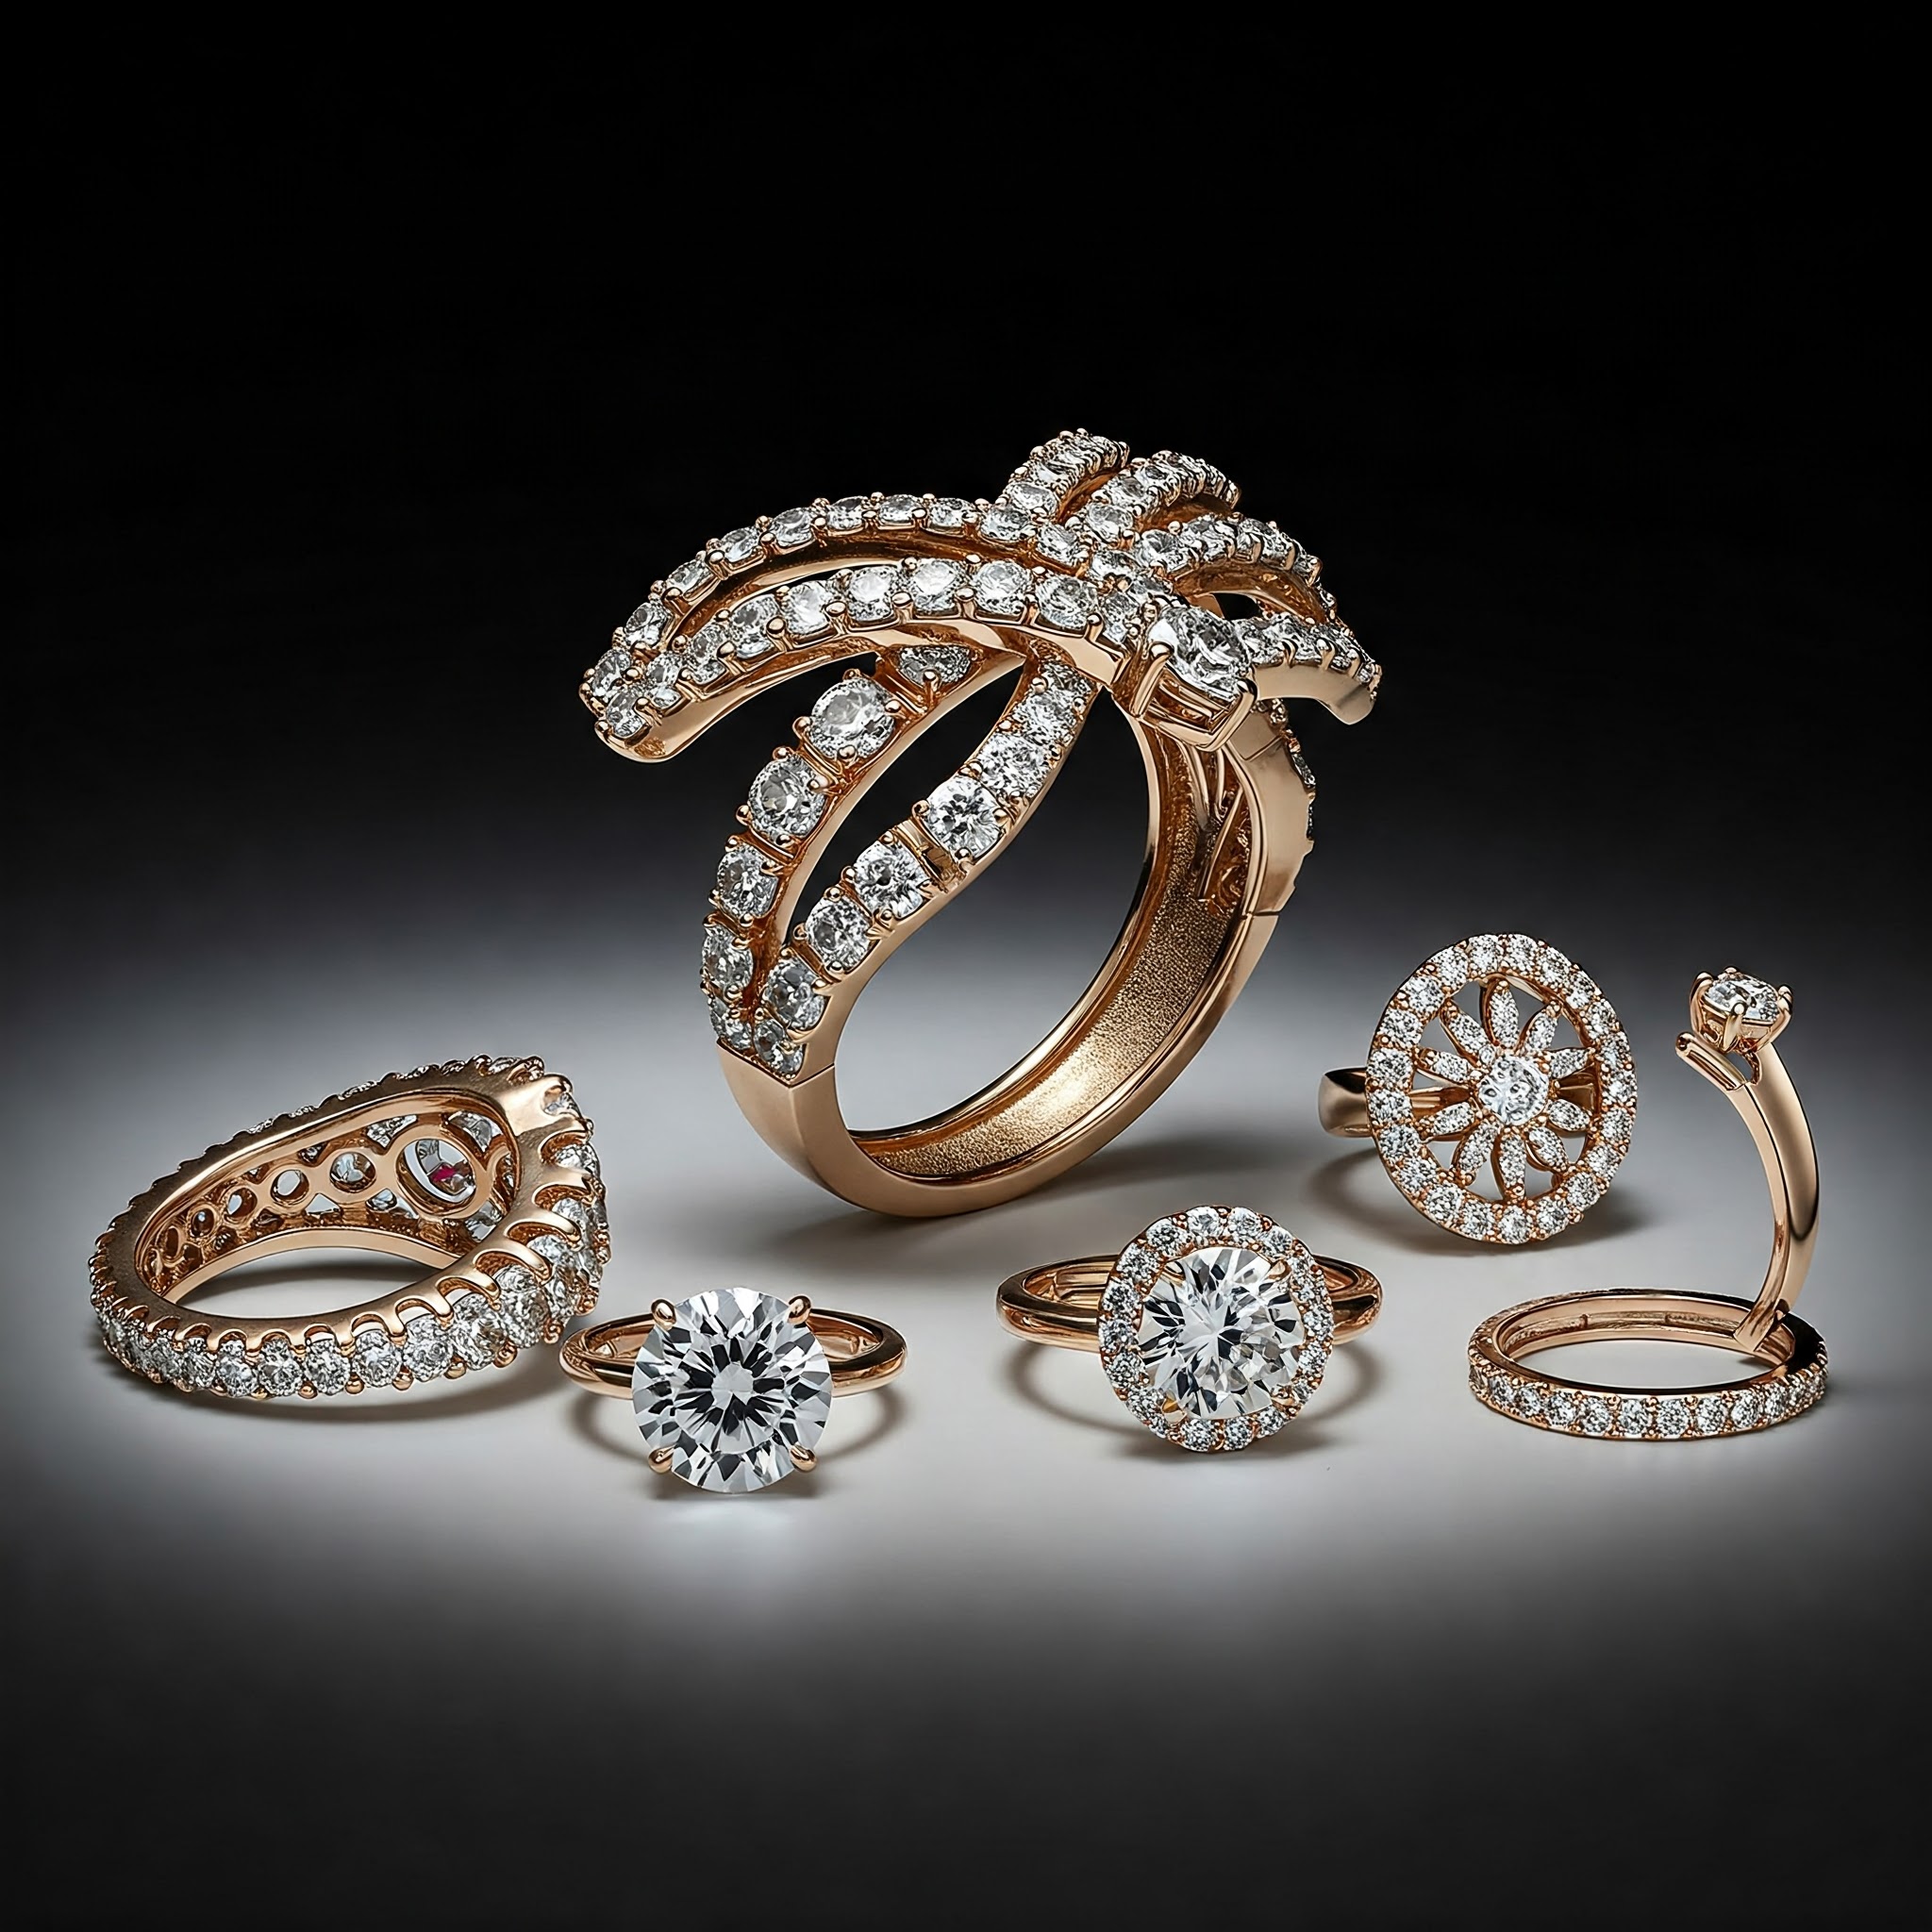
 Jewelry often has one part that stands out. It may be a bright stone, a special shape, or a small pattern. Focus your camera on this area to make it the sharpest point in the photo. This helps draw the eye to the most interesting part.
Use your camera or phone to tap or point at the part you want to focus on. Keep your hands steady or use a tripod to hold the camera still. A clear focus makes the photo look clean and easy to view. Blurry photos do not show the full beauty of the piece.
Take photos from different sides and pick the ones with the clearest view. Show both wide and close shots to give a full view. When the focus is right, it helps others see the design and feel more sure about the piece. The clearer it looks, the better it shows its true style.
Avoid Using Harsh Flashlight
 Flash can make jewelry look flat and shiny in the wrong way. It can also add strong shadows and bright spots that do not look good. Most of the time, flash is too strong for small items like rings, earrings, or pendants. It hides small parts and makes it hard to see the true color.
Try using other lights in your home or natural light from a window. If you must use flash, do not point it straight at the jewelry. Instead, aim it at a wall or ceiling and let the light bounce back. This softens the flash and spreads the light more evenly.
Another trick is to block part of the flash using a small card or cloth. This helps reduce its strength and avoids sharp reflections. The goal is to keep the light soft so it helps the piece stand out. Flash should be your last choice, not the first.
Edit the Photo Without Changing the Real Look
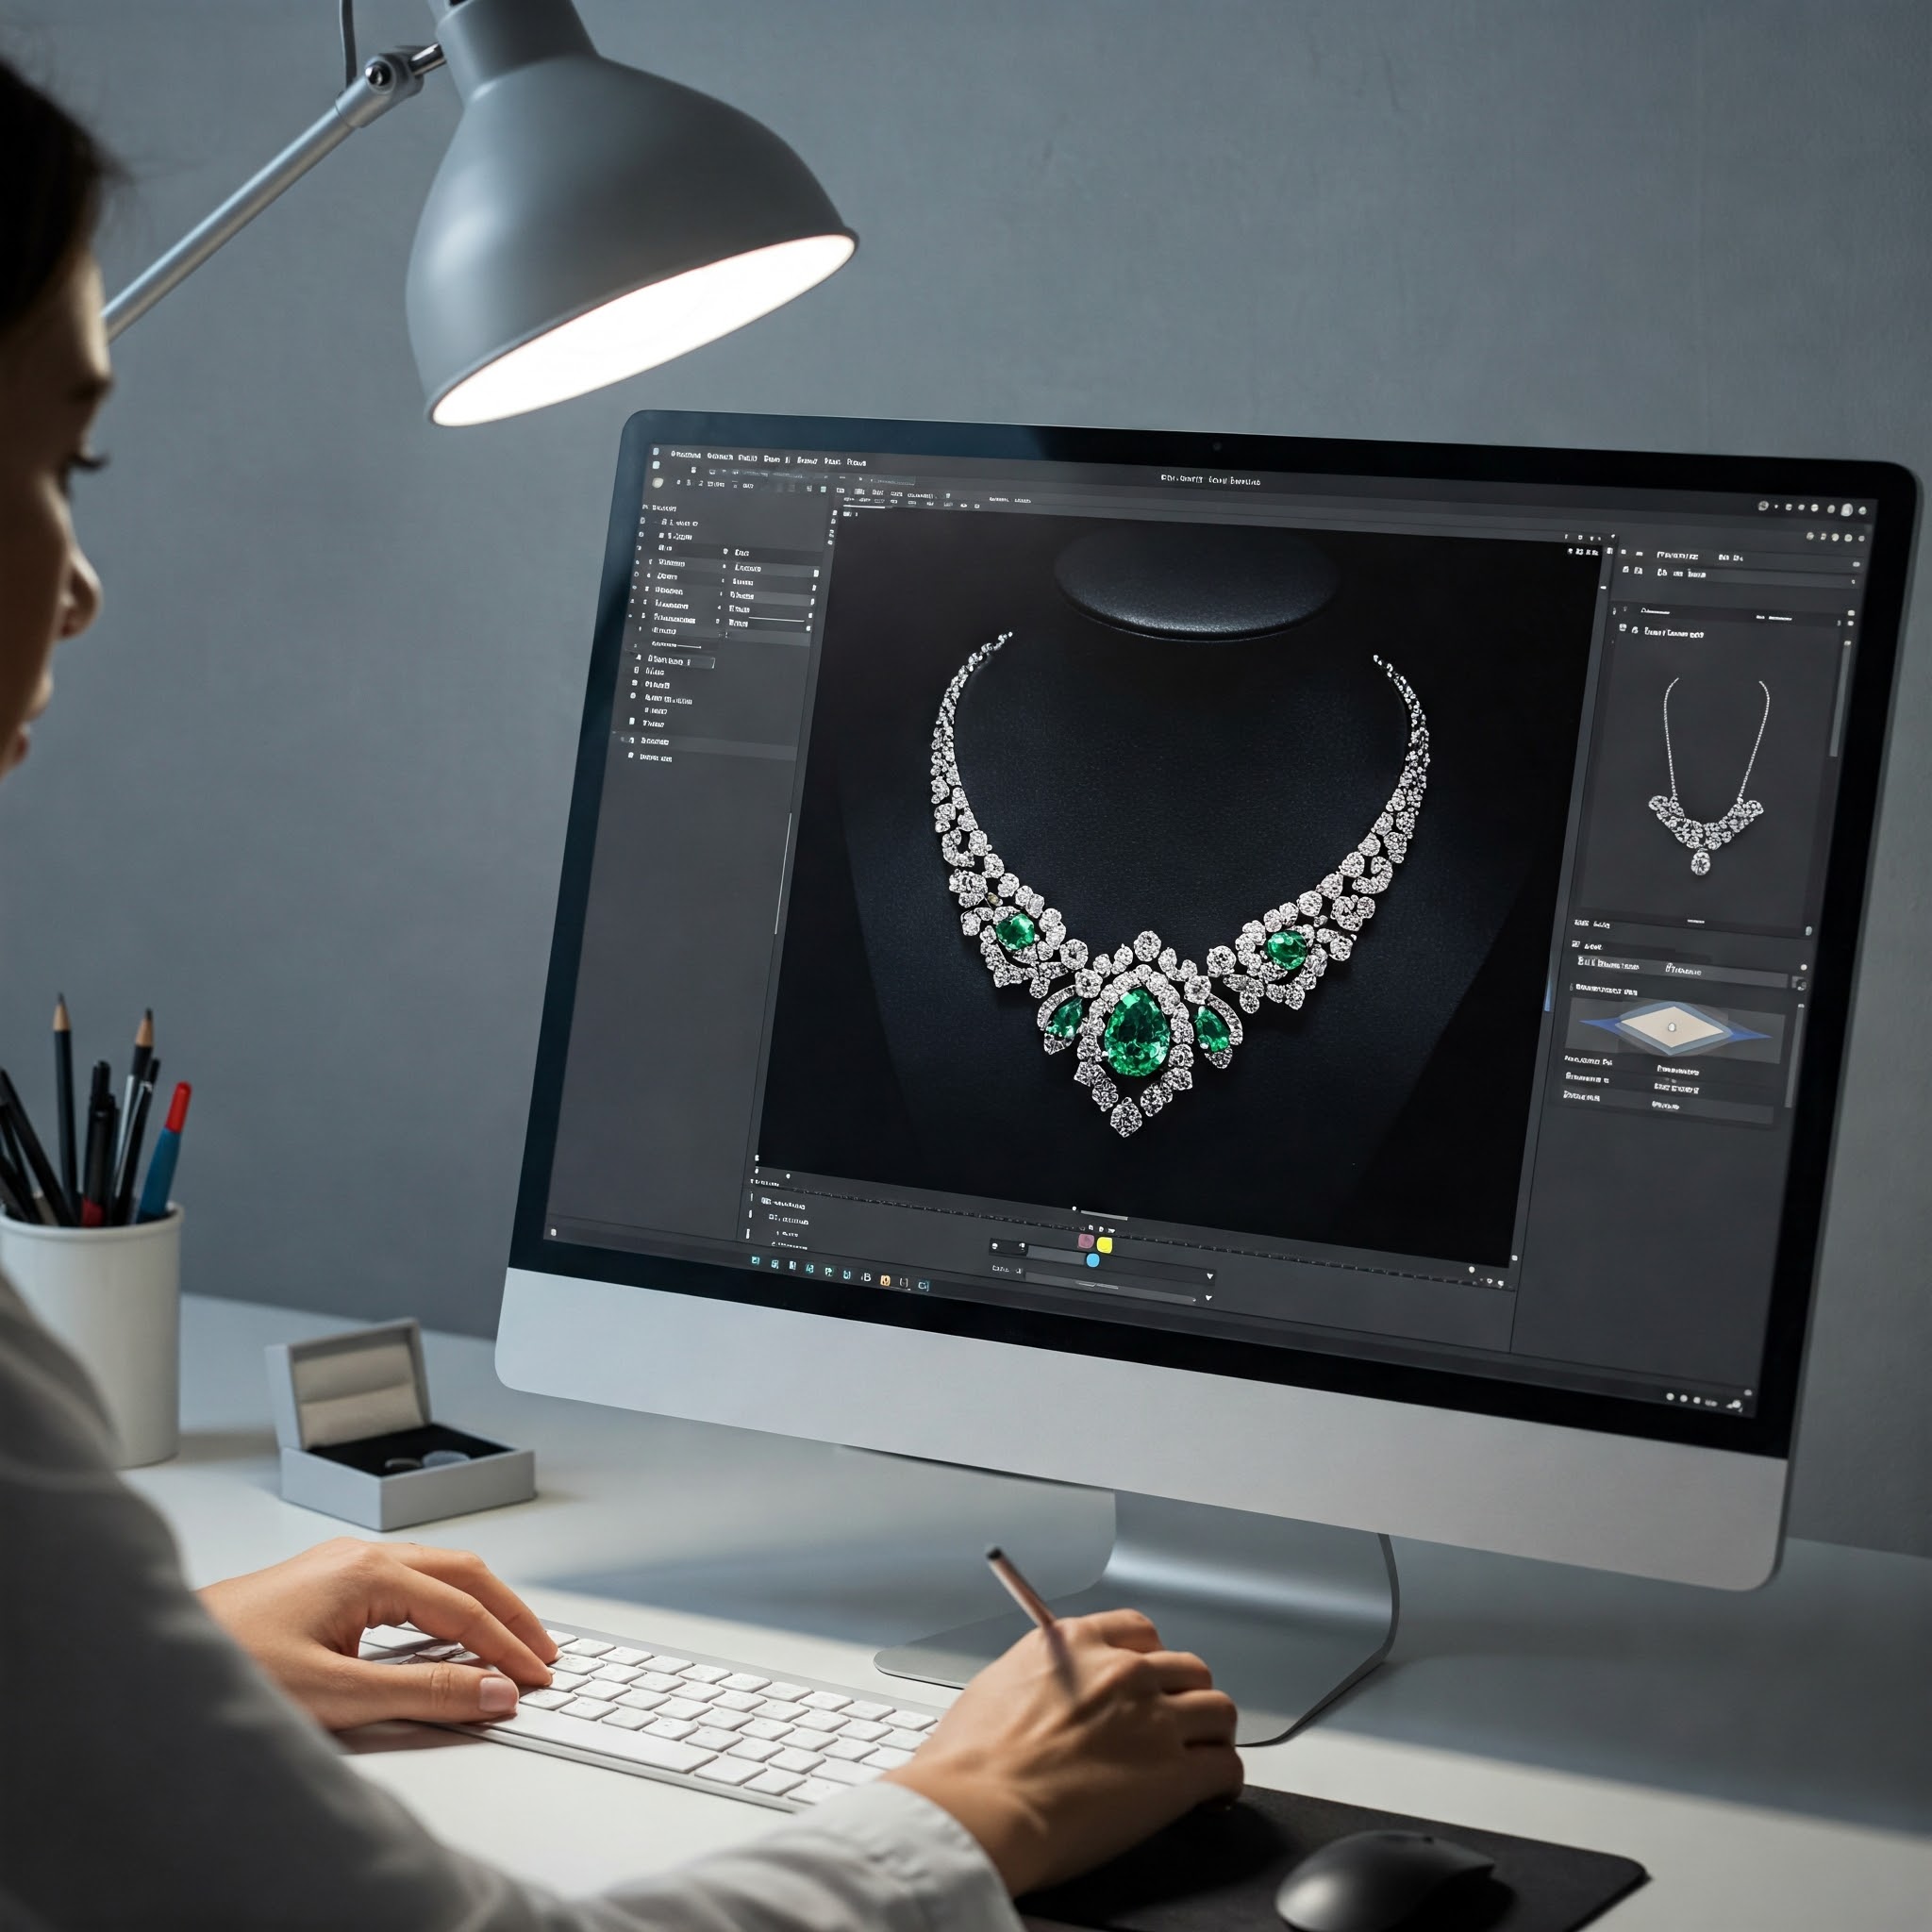 After taking your photos, you may need to make a few small changes. Simple edits can help make the photo look clean and bright. Use apps or software to fix light, sharpness, or small marks. Do not change the color too much. Keep the photo close to how the piece looks in real life.
You can crop the photo to remove extra space. This helps put more focus on the jewelry. Fix any parts that are too dark or too bright. If you see dust or small errors, remove them carefully. Do not use filters that change the color or shape.
Always check the final photo before posting or sharing. If it looks too different from the real piece, take a new photo or edit again. Ask someone else to check the photo if you are not sure. Simple edits help the photo look neat and clear without being fake.
Take Many Photos from Different Angles
 Jewelry can look very different from each side. Take many photos to show the full view of each piece. Start with a front view, then take shots from the side, the back, and the top. This helps the viewer see all the parts and understand the size and shape.
You do not need to move the item a lot. Sometimes just turning it a little can make a big change. Try holding it in different ways or using a small stand. Look at the photo after each shot to see which side looks best.
Taking more photos gives you more choices. You can pick the one that looks the clearest or shows the best part. It also helps others feel more sure about the piece when they can see more of it. A good photo set shows care and helps the item look its best.
Conclusion
Taking photos of jewelry can feel simple once you follow the right steps. With the right setup, clear lighting, and a clean background, your jewelry can look sharp and full of detail. It does not take much to make each piece stand out. The key is to take your time, look closely, and try different ways until you find what works best for your items. The more you shoot, the more you learn about what looks good and what does not. You can start with basic tools and still get great results. Keep things steady, use soft light, and stay patient. Soon, your photos will show your hard work and make your products look ready for the world to see.
Read Next: Stunning Ring Back Details in Jewelry Photos
Related Posts