"Get ready to capture the world with these 13 photography YouTube channels! From tips on lighting to drone photography, these experts will transform your skills and inspire your creativity.
Here is an excerpt for an article about "7 Effective Social Media Marketing Strategies for 2024": "Stay ahead of the curve with these 7 effective social media marketing strategies for 2024, including influencer partnerships, user-generated content, and interactive storytelling, designed to maximize engagement and conversions." Let me know if you need any changes!
Creating a winning marketing plan is crucial for any business looking to succeed in the competitive market of 2024. A well-crafted marketing plan serves as a roadmap for your marketing efforts, helping you to achieve your business goals and stay…
As web development keeps changing, WordPress remains one of the top choices for creating websites. Its flexibility, ease of use, and ability to handle websites of all sizes make it a popular choice. Many people use it to showcase their…
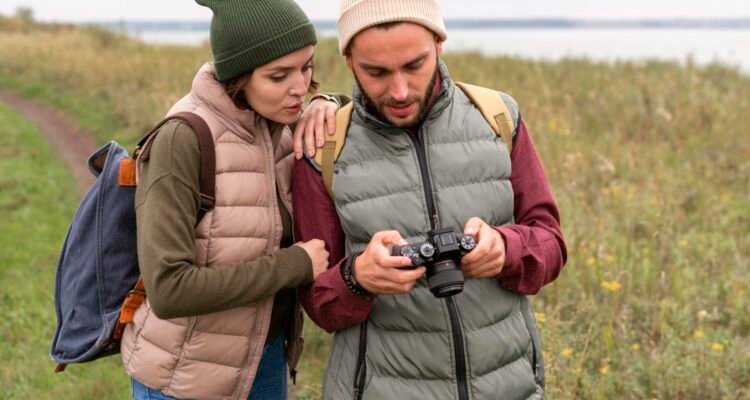
Photographers know it takes extreme focus, imagination, and commitment to get the ideal shot. Yet, the discomfort of carrying equipment frequently takes our focus and energy away. Traditional camera straps can hurt your shoulders, big bags can tire you out,…
As a designer, it's crucial to keep updated with the latest design tools like Figma. Figma has grown a lot and now has many features to help you work faster and create better designs. In this article, we'll share powerful…
Figma has taken the world of web design by storm, and for good reason! This powerful tool has revolutionized the way designers work, making it easier to collaborate, create, and innovate. This article explores why Figma is valuable for web…
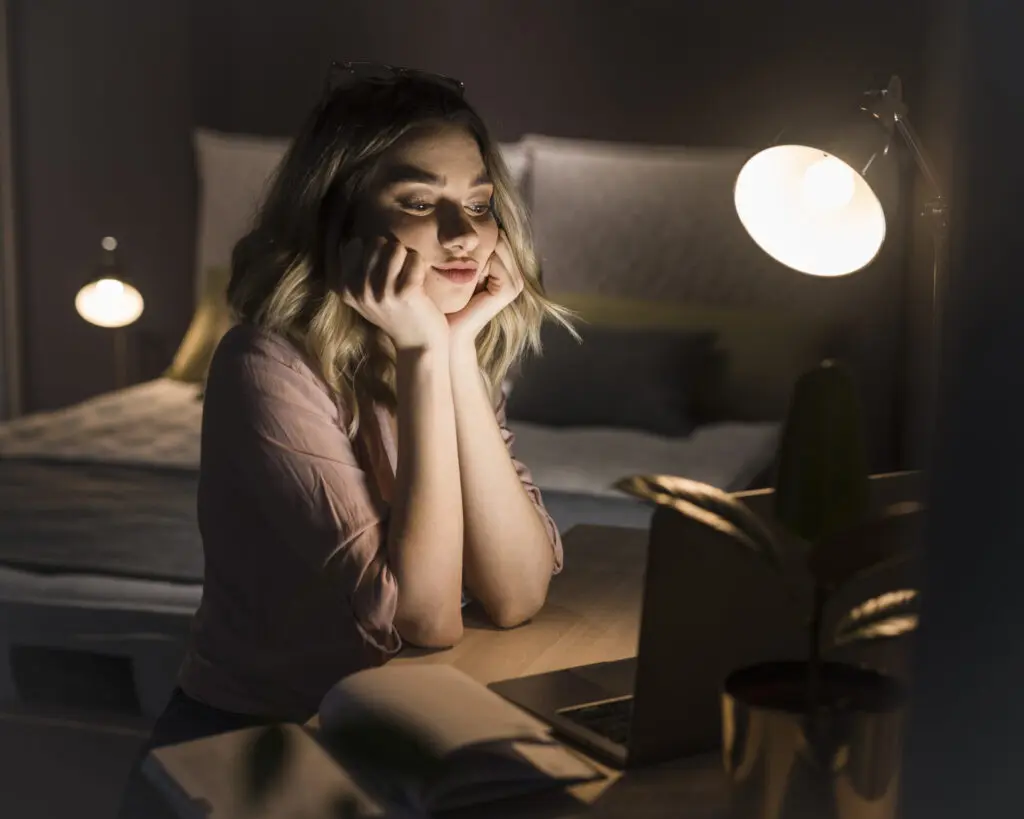
As a photographer, you’re probably aware that having the right settings on your iPhone can make all the difference between a good photo and a great one. With the constant evolution of camera technology and the ever-improving capabilities of the iPhone camera, it’s essential to understand how to optimize your device for the best possible results. In this article, we’ll explore five professional iPhone settings for photography that will take your mobile photography to the next level.
Optimizing your iPhone’s camera involves maximizing its capabilities to capture high-quality photos and videos across various settings and conditions. As one of the leading smartphone cameras in the market, iPhones offer a range of features and functionalities designed to enhance photography experiences. From adjusting basic settings like exposure and focus to utilizing advanced features such as HDR, Portrait Mode, Night Mode, and Live Photos, optimizing your iPhone’s camera allows you to achieve professional-level results directly from your mobile device.
Understanding how to navigate and leverage these iphone settings effectively empowers photographers to capture detailed landscapes, stunning portraits with blurred backgrounds, vibrant low-light scenes, and dynamic moments with motion and sound. Moreover, optimizing your iPhone settings camera involves experimenting with different shooting techniques, understanding composition principles, and utilizing editing tools to refine and enhance your photographs. By mastering these aspects, you can elevate your mobile photography skills, unlock creative possibilities, and consistently produce compelling visual content that resonates with viewers.
How to do it:
iPhone Setting > Camera app > By default the iPhone camera app is set to auto adjust, which can sometimes result in unwanted changes to your camera settings.
To prevent this, go to Settings > Camera and toggle off the “Auto Adjust” feature. This will allow you to manually set your camera settings, giving you more control over your photos.
Another important setting to adjust is the camera mode.
3. The iPhone settings camera offers three modes: Photo, Video, and Square. Photo mode is ideal for capturing high-quality still images, while Video mode is better for recording video. Square mode is perfect for capturing Instagram-style photos with a 1:1 aspect ratio. Experiment with each mode to see which one suits your photography needs best.
So these settings, it’s also essential to consider the camera resolution. The iPhone settings offers three resolution options 0.5 MP, 4 MP, and 12 MP. A higher resolution can result in better image quality, but it may also increase the file size and storage requirements. For most photography needs, the 12 MP resolution is sufficient, but you can experiment with the other options to find what works best for you.
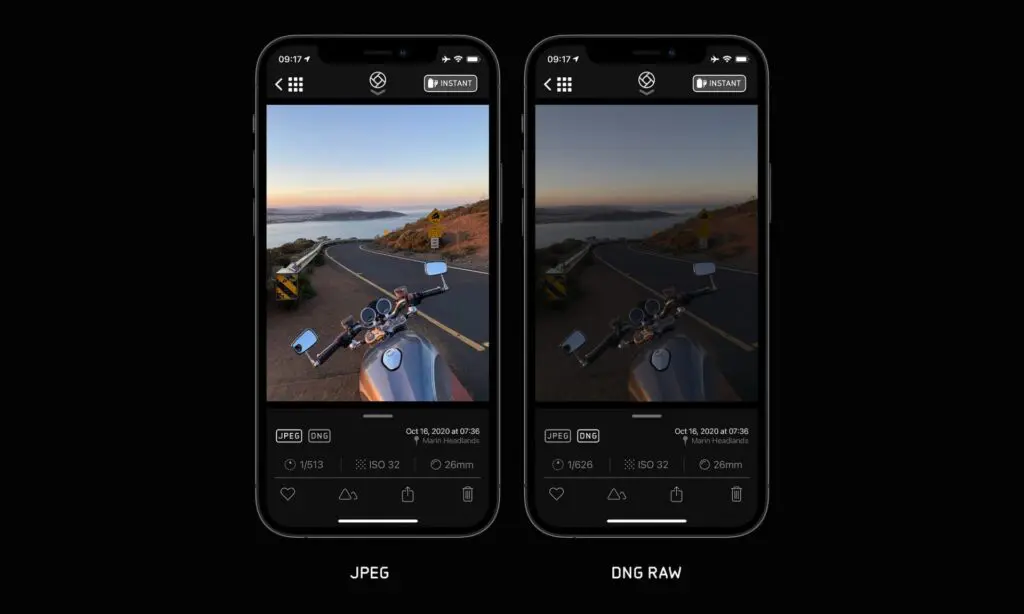
ProRAW and Resolution Control: iPhone setting
ProRAW and resolution control are advanced features offered by Apple in their iPhone cameras, designed to give photographers greater control and flexibility in capturing and editing high-quality images.
ProRAW: ProRAW is a format that combines the benefits of RAW files with the computational photography features of iPhones. It allows photographers to capture images with more data and detail, offering greater flexibility in post-processing.
Resolution Control: iPhones provide users with options to control the resolution of their photos. This feature allows photographers to choose between different resolutions—such as 0.5 MP, 4 MP, and 12 MP—depending on their specific needs.
Exposure and Brightness
Lighting is really important in photography. With the iPhone, you can control two main things that affect how your pictures look: exposure and brightness.
Exposure decides how bright or dark your photo is overall. You can change exposure by swiping up or down in the camera app. If it’s bright outside, you might want to increase exposure to capture more detail in your photo, like during a sunset. In low-light situations, lowering exposure helps prevent your photo from looking too bright.
Brightness, on the other hand, adjusts the color tone of your photos. In the camera app, swipe up to find brightness options: natural, warm, and cool. Natural keeps colors neutral, while warm adds a bit of warmth and cool makes colors cooler. Each setting gives your photos a different vibe, so try them out to see which one fits your style best. Adjusting exposure and brightness helps you get the perfect shot in any lighting conditions.
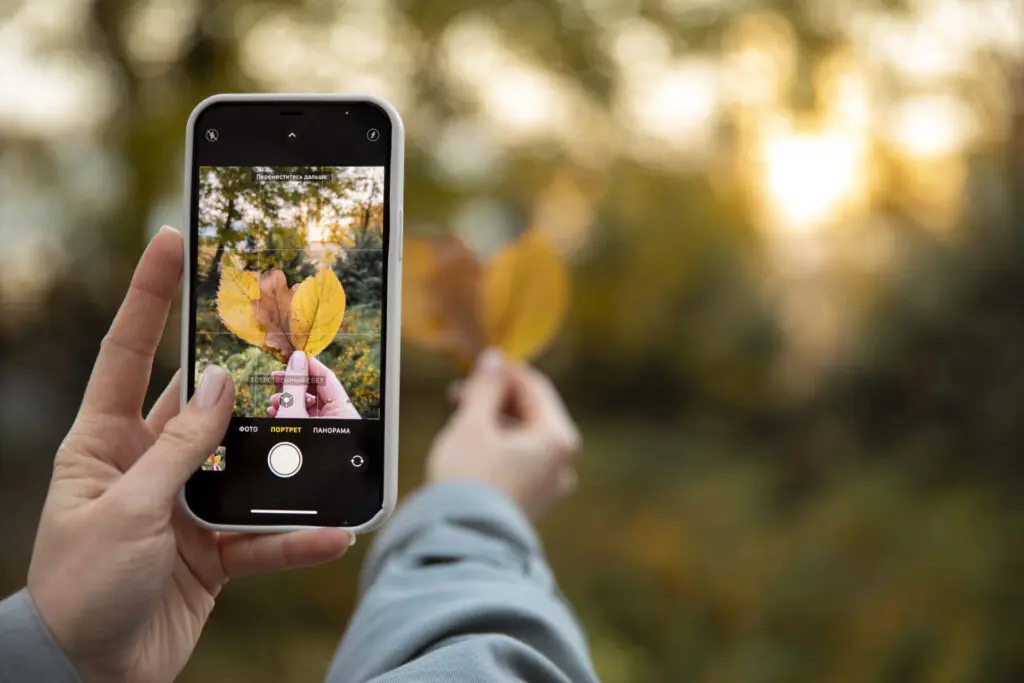
Mastering Focus and Zoom for Sharp Images: iPhone Setting
Focus and zoom are two essential iPhone settings for capturing sharp images on your iPhone. The iPhone setting offers two focus modes autofocus and manual focus. Autofocus is the default setting, which automatically adjusts the focus based on the object in your frame. Manual focus, on the other hand, allows you to set the focus yourself.
To use manual focus, open the camera app and pinch your fingers on the screen to zoom in on the area you want to focus on. You can then adjust the focus by sliding your finger up or down. This is especially useful when shooting portraits or close-up shots, where precise focus is critical.
The iPhone also offers two zoom options, digital zoom and optical zoom. Digital zoom is the default setting, which enlarges the center of the image while cropping the edges. Optical zoom, on the other hand, uses the iPhone’s camera lens to zoom in on the subject, maintaining the original image quality. Optical zoom is available on the latest iPhone models, including the iPhone 11 and later.
HDR to Enhance Your Photos
HDR (High Dynamic Range) is a feature that combines multiple exposures to create a single image with improved contrast and color. The iPhone offers two HDR options: HDR Auto and HDR On. HDR Auto is the default setting, which automatically enables HDR when the camera detects a high-contrast scene. HDR On, on the other hand, allows you to manually enable HDR for any scene.
To use HDR, open the camera app and go to Settings > Camera > HDR. Toggle on the “HDR” switch to enable the feature. HDR is especially useful when shooting landscapes, cityscapes, or any scene with high contrast. It can help to capture more detail in the shadows and highlights, resulting in a more visually appealing image.
One important thing to note about HDR is that it may not work in all situations. if you’re shooting in low-light conditions, HDR may not produce the desired results. Additionally, HDR can sometimes introduce artifacts or unnatural colors, especially when shooting moving subjects. Experiment with HDR to see how it improves your photos, and adjust your settings accordingly.
Taking Advantage of Night Mode for Low-Light: iPhone setting
Night mode is a feature that allows you to capture high-quality images in low-light conditions. The iPhone settings offers two night mode options, Night mode and Low Light mode. Night mode is the default setting, which automatically enables when the camera detects low light. Low Light mode, on the other hand, allows you to manually enable night mode for any scene.
To use night mode, open the camera app and go to iPhone Settings > Camera > Night Mode. Toggle on the “Night Mode” switch to enable the feature. Night mode is especially useful when shooting in dimly lit environments, such as restaurants or at night. It can help to reduce noise and capture more detail in the shadows, resulting in a more visually appealing image.
One important thing to note about night mode is that it may not work in all situations. For example, if you’re shooting in extremely low-light conditions, night mode may not produce the desired results. Night mode can sometimes introduce motion blur or objects, especially when shooting moving subjects. Experiment with night mode to see how it improves your low-light photos, and adjust your settings accordingly.
Editing Your iPhone Photos for Professional Results
While the iPhone setting camera offers many professional-grade, editing is an essential step in post-processing that can make or break the quality of your photos. The iPhone offers a range of editing tools, including the Photos app and third-party editing apps like Adobe Lightroom and Photoshop Express.
To edit your iPhone photos, open the Photos app and select the photo you want to edit. You can then adjust the brightness, contrast, and saturation using the sliders at the bottom of the screen. You can also apply filters and effects using the buttons at the top of the screen.
To the built-in editing tools, there are many third-party editing apps available that offer advanced editing features, such as layers, masking, and color grading. Experiment with different editing apps and techniques to find what works best for you and your photography style.
Conclusion
Tweaking your iPhone settings camera can greatly improve how your photos turn out. By adjusting things like exposure how light or dark your photo is, brightness, focus what’s sharp and clear in the picture, zoom, and HDR which balances light and dark areas, you can capture pictures that look as good as ones taken with fancy cameras used by professionals. After you take photos with your iPhone, you can make them even better by using the built-in Photos app or other apps made for editing pictures. These apps let you adjust colors, sharpness, and other details to make your photos look more polished.
By practicing and trying different settings and editing techniques, you’ll learn how to use your iPhone’s camera to its fullest potential. This will help you take photos that stand out and improve your mobile photography skills over time.
As a business owner, you know that marketing is crucial to getting your product or service out there and reaching your target audience. But with so many options and strategies available, it can be overwhelming to know where to start.…
In today's digital era, any brand hoping to be successful in marketing your brand needs to have a strong online presence. With the vast majority of consumers using the internet to research and purchase goods and services, it is crucial…