Get ready to kick-start your workflow into high gear! Photo editing AI is the game-changer you've been waiting for. Boost efficiency, reduce errors, and unleash your creativity with just a few clicks!

26 Photo Editing Tips for Social Profiles
In the digital age, your social media profile picture is like a virtual handshake. It’s often the first thing people notice and can influence their perception of you or your brand. Mastering the right editing techniques can make a big difference.
A professionally edited profile picture can convey trust, personality, and professionalism. By editing photos well, your profile picture looks great and shows who you are. Learn 10 photo tips to make your social media profile stand out and impress people.
Learning to edit photos helps you share your story online, so people see and understand you better. Get better at editing for a cooler online profile. These tips make your social media profile stand out.

Choose the Right Photo Editing Software

Here’s our Photo Tips, to begin enhancing your profile picture, you’ll need suitable photo editing software. Whether you’re just starting out or a pro, there are many editing tools for every skill level and budget. Let’s explore the options and what to consider when choosing your software.
Think about your editing skills and how much money you have when you’re picking your photo editing software. Beginners like simple tools that are easy to use. Professionals need extra tools like layer tricks and careful color fixes for their work. It’s important to choose software that matches your skill level and editing requirements.
Free software like GIMP can be a great starting point for beginners, offering a wide range of tools without the cost. But pros like Adobe Photoshop because it has lots of cool stuff you can do. Choose the software that suits what you like to do. It’ll help you make your picture better. That way, your profile will stand out.
Tip 1: Consider Your Skill Level

When selecting photo editing software, it’s important to consider your skill level. Beginners like easy tools with buttons, while pros want fancy stuff like special colors and layers. GIMP is free and great for beginners, while pros use Adobe Photoshop for advanced editing.
Tip 2: Evaluate Your Budget

Photo editing software ranges from free to subscription-based models. If you’re just dabbling in photo editing, free software like Paint.NET or mobile apps such as Snapseed can be adequate. For more consistent and professional results, investing in paid software like Adobe Lightroom or Photoshop can be worthwhile. Evaluate the cost versus the features you need.
Tip 3: Look for Specific Features
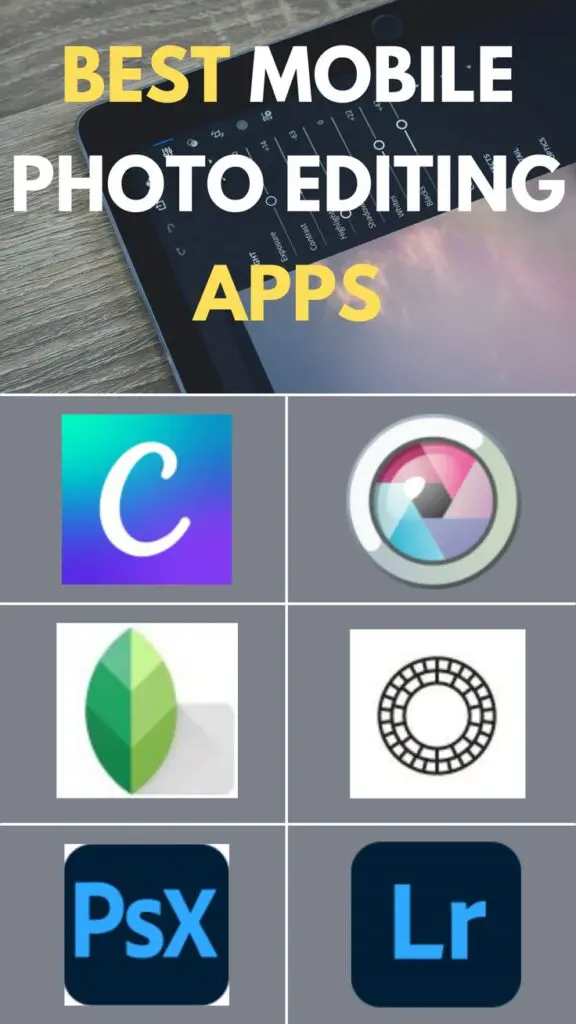
Different software caters to various editing needs. If you’re looking to create graphics or add text to your photos, Canva’s drag-and-drop interface might be perfect. For photographers focusing on image correction, Adobe Lightroom offers a suite of tools for color adjustment and batch processing. List the features you need most and choose software that specializes in those areas.
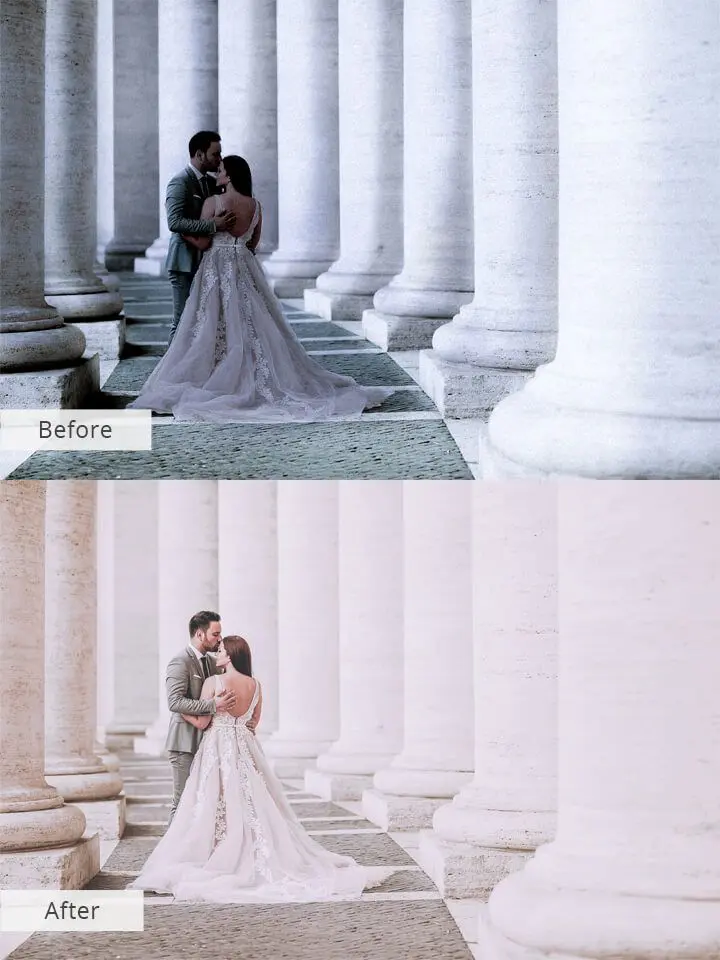
Enhance the Composition and Lighting

The key to a great profile photo is its composition and lighting. By becoming skilled in these areas, you can greatly enhance how your image looks. Let’s delve into how cropping, straightening, and adjusting lighting can enhance your photo.
Tip 4: Crop and Straighten Your Photo

Cropping guides the viewer’s attention to the subject and removes distractions. Use the rule of thirds to place your subject in a balanced way. Straightening the horizon or other lines ensures that your photo doesn’t appear tilted. Many photo editing software options offer grid overlays to help align your image precisely.
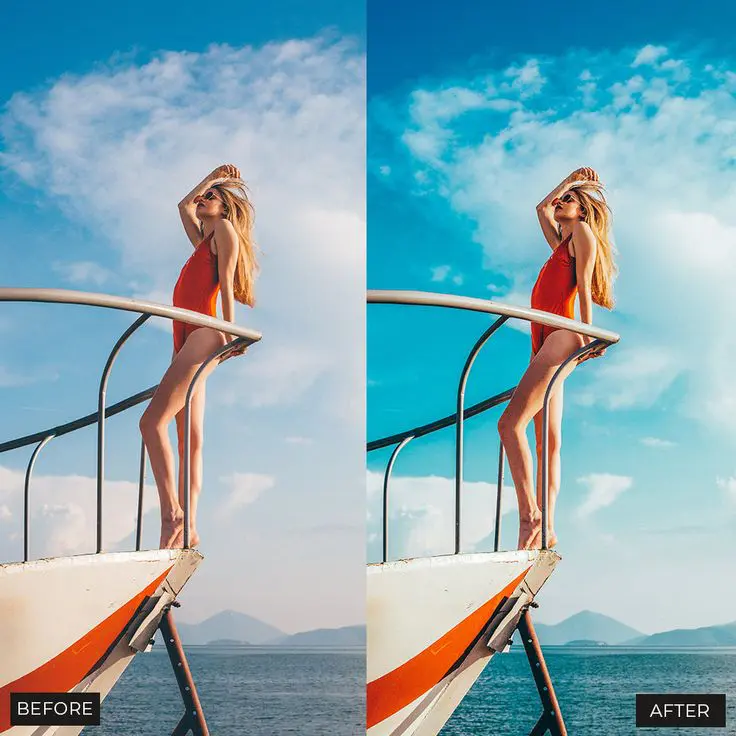
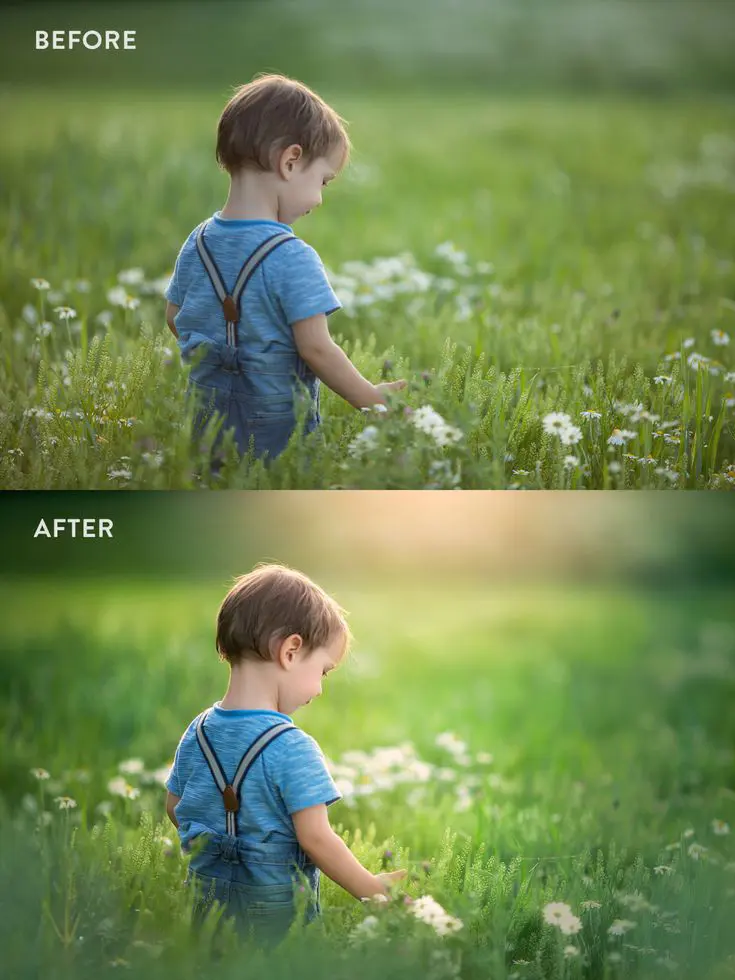
Tip 5: Adjust the Brightness and Contrast
Proper lighting is crucial for a good photo editing. Adjusting brightness can make your subject brighter, while changing contrast can add depth and detail. Experiment with these settings to find the right balance, but be cautious not to lose details in the shadows or highlights. Remember, subtlety is key to maintaining a natural look.
Tip 6: Control Shadows and Highlights

Controlling shadows and highlights can add depth to your image. Use the ‘Shadows/Highlights’ tool to recover details in dark or bright areas. This is especially helpful for photos taken in strong lighting. A gentle touch can bring out features without making the photo look too much editing.
Color Adjustment and Enhancement
Colors play a significant role in the mood and impact of your profile picture. Learn how to tweak and enhance colors to make your image pop and resonate with viewers.
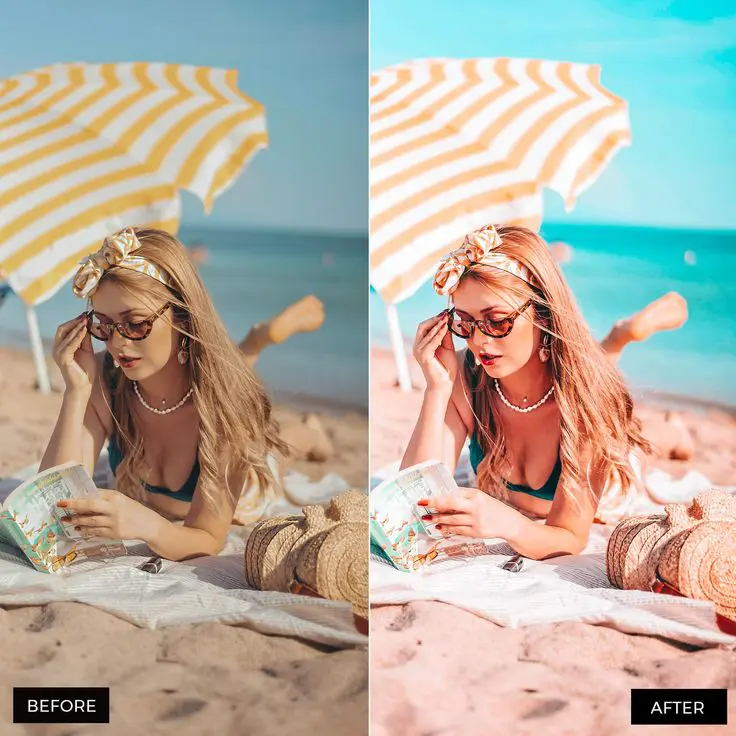
Tip 7: Enhance the Colors

Saturating colors can make your photo editing more vibrant, but over-saturation can look unnatural. Use vibrance for a more subtle boost that doesn’t affect skin tones as much. Adjusting the temperature can warm up or cool down the image, influencing the emotional tone of your photo.
Tip 8: Use Selective Color Adjustment
Selective color adjustment allows you to tweak individual colors without altering the entire image. This is helpful when you want to highlight certain parts or fix particular color issues. Tools like HSL (Hue, Saturation, Luminance) sliders give you precise control over color photo editing.
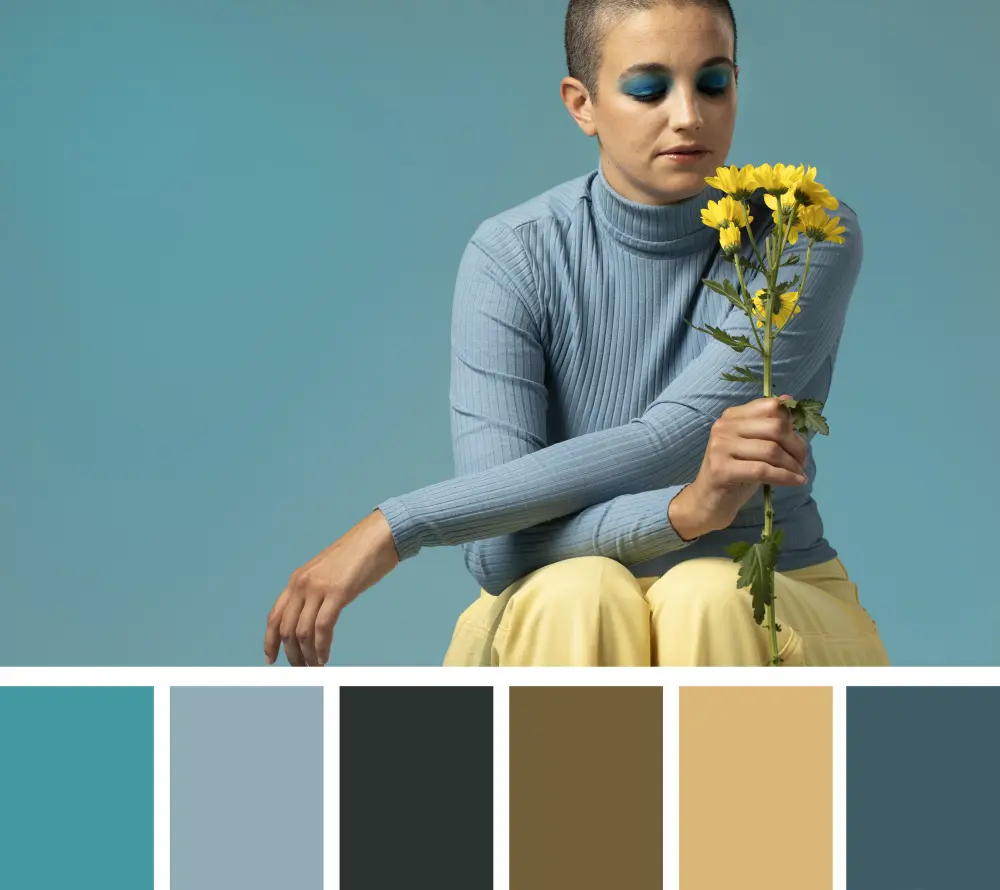
Tip 9: Match Colors for Consistency
Using the same colors can help create a consistent look for your brand on social media. Use the color match feature to ensure the colors in your profile picture align with your brand or other images on your profile. This helps create a professional and harmonious photo editing look.
Detail Enhancement and Artistic Effects

By focusing on details and using artistic effects, you can make a regular picture look really cool. By learning to make your photo editing clearer and adding fun effects, your photos will look cool and match your style.
Trying out different cool stuff makes your pictures look special, so people remember them. Try different things like making your picture feel bumpy or testing out extra pictures on top. It can make your photo editing look really cool.
Tip 10: Sharpen Your Photo

Sharpening improves picture clarity by making edges clearer. Use this tool judiciously to avoid making your photo editing look grainy or harsh. Often, a slight increase in sharpness can make your profile picture look more polished and professional.
Tip 11: Apply Vignettes for Focus

A vignette darkens the edges of your photo editing, subtly drawing attention to the center. This effect can be particularly effective in profile pictures to highlight your face. Use vignetting with care, as heavy-handed application can look outdated and distract from the subject.
Tip 12: Introduce Texture and Grain
Adding texture or grain can give your photo a film-like quality or artistic flair. This effect can make your photo look old-fashioned, but use it carefully so it doesn’t look blurry. Use grain sparingly to avoid overwhelming the subject of the photo editing.
Creative Touches and Personalization

Personalizing your profile picture with creative touches can help it stand out and leave a lasting impression. Filters, text, and graphics are powerful tools to add character and personality to your photo.
Try different filters to change how your picture feels. You can also add words to say something or show what’s important to you. Graphics like logos or icons can further personalize your photo editing and reinforce your brand identity. By adding cool stuff in a smart way, you can make a profile picture that looks like you and gets noticed by people.
Tip 13: Use Filters Wisely
Filters can quickly change the look and feel of your image. Select a filter that matches the mood you want to show and fits your personal or brand style. Use only a couple of filters so your picture looks real. Avoid using excessive filters as it may make the image appear less authentic.
Tip 14: Add Text and Graphics
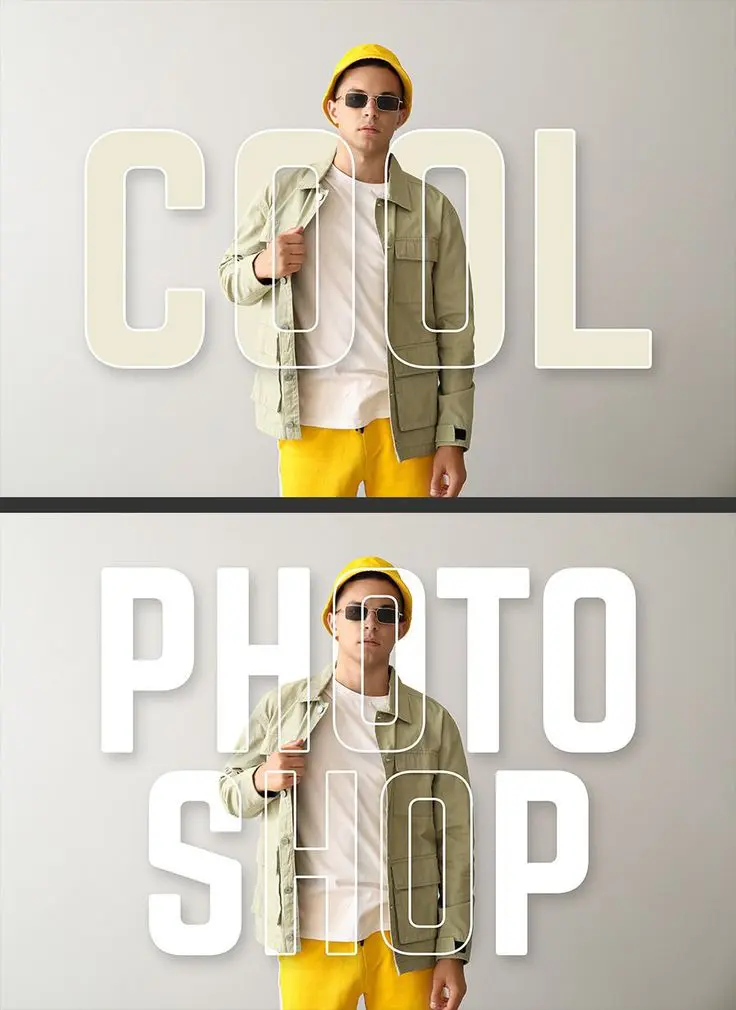
Text and graphics can enhance your message or brand identity. Consider the font style and size; it should be legible and harmonize with the image. Graphics like logos or icons should be placed strategically without cluttering the photo. The goal is to complement, not overpower, the main subject.
Tip 15: Experiment with Different Effects

Explore advanced photo editing techniques such as blurs, overlays, and double exposure to add unique touches to your photos. Adding these effects can make your picture look cool, but make sure they match what you want to say.
Technical Corrections
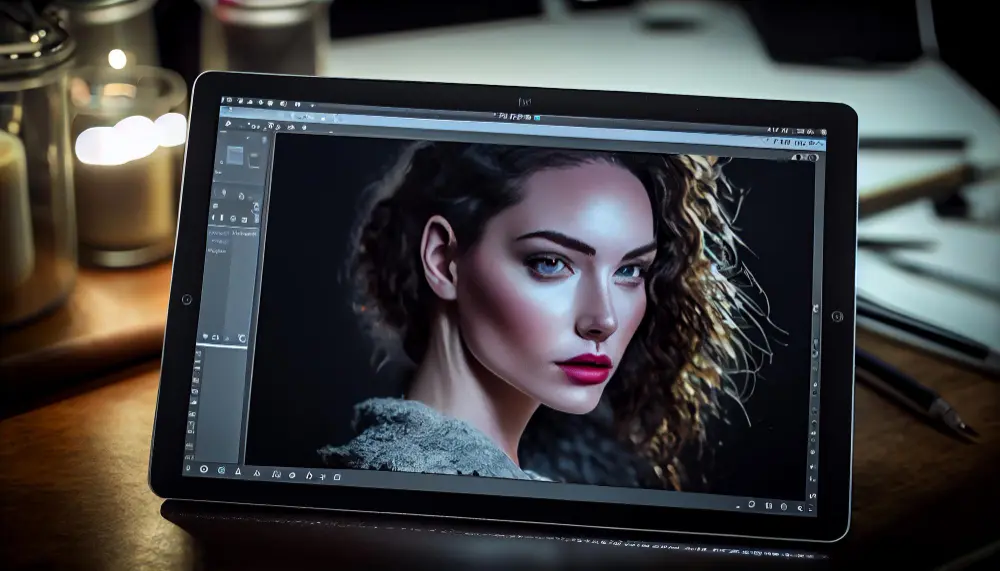
Even the best photos may have imperfections. Here’s how to tackle blemishes and other issues to achieve a flawless result in photo editing.
Tip 16: Remove Blemishes and Imperfections
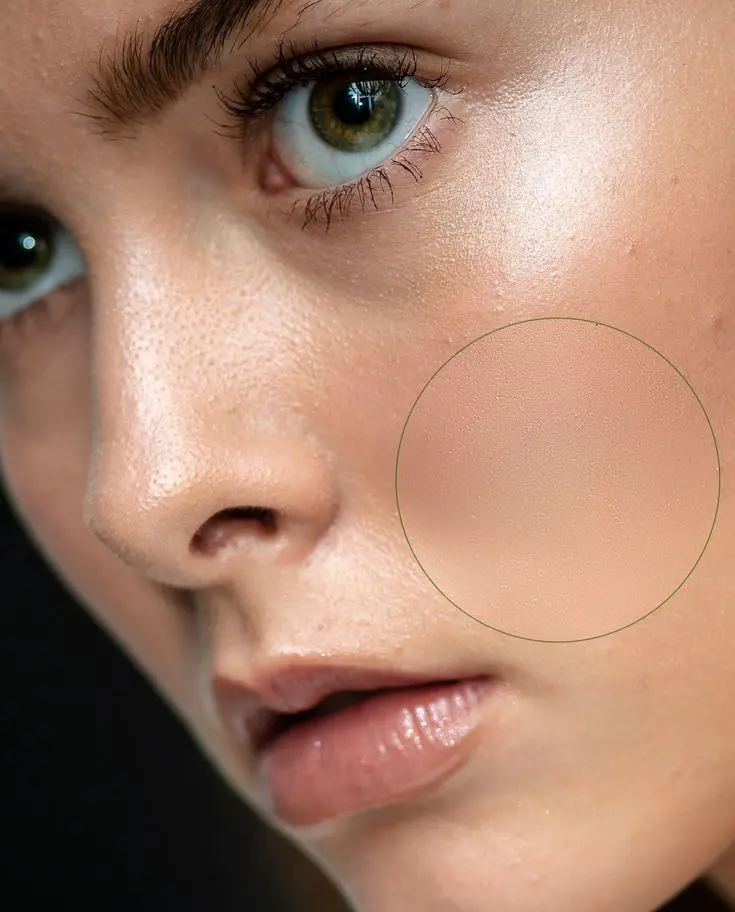
Use tools like the healing brush to remove blemishes or stray hairs. For larger imperfections, the clone stamp can be effective. Zoom in to work on details and ensure a natural-looking finish. It’s important to retain the being real or genuine. of the photo while presenting your best self.
Tip 17: Address Lens Distortion

Wide-angle lenses can cause distortion, especially at the edges of the photo. Use lens correction features to straighten lines and ensure your face has natural proportions. This is especially important for close-up profile pictures.
Tip 18: Correct Chromatic Aberration
Chromatic aberration appears as color fringes along the edges of high-contrast areas. Most editing software offers tools to correct this. Removing chromatic aberration can significantly improve the quality of your photo, making it appear sharper and more professional.
Time-Saving Techniques

Editing each photo from scratch can be time-consuming. These tips will help you make editing easier while still getting great results.
Tip 19: Use Presets for a Quick and Easy Edit
Presets are a great starting point for editing. They provide a consistent look and can be fine-tuned to suit your photo. Make your own presets with your favorite edits, or try presets online to find your style.
Tip 20: Sync Settings Across Photos

If you’re editing multiple photos for a consistent social media presence, syncing settings can save time. Edit one photo to your liking, then apply those settings to others. This ensures sameness and can be particularly efficient when working with a series of photos.
Tip 21: Batch Processing
For those who manage a large volume of images, batch processing is a lifesaver. Apply edits to multiple photos at once, whether it’s resizing, applying presets, or adjusting exposure. This is ideal for creating a series of images with a unified style for your social media profiles.
Final Touches and Review

Before finalizing your profile picture, take the time to review your edits and make any necessary final touches. This section will guide you through the finishing steps to ensure your photo is ready for the spotlight.
Tip 22: Preview Your Edits

Always preview your edits on different devices and screens to see how they translate across various platforms. This can help you find any differences in color or detail that you might not see on your main editing screen.
Tip 23: Seek Feedback

Getting a second opinion can provide valuable insight. Share your edited photo with friends or colleagues for feedback. They may see things you missed or suggest ways to make the picture better.
Tip 24: Don’t Be Afraid to Experiment

Experimentation is key to discovering what works best for you. Don’t hesitate to try new editing styles or go back and re-edit a photo if it doesn’t feel quite right. Each time you try, you learn and get better at editing.
Tip 25: Embrace Consistency in Style
Using the same style in all your edits makes your pictures look the same and easy to recognize. Matching colors, lighting, and layout can make your social media page look better and catch people’s attention.
Tip 26: Stay Updated with Trends

Keeping up with the latest photo editing trends and techniques can give your images a fresh and modern look. Try new effects, filters, and tools to keep your social media profile fresh and exciting. Keep learning new things to get better at editing. Then, you can make cool pictures that your followers really like.
Conclusion

Editing your photos is an essential step in creating a captivating social media profile display. Use these editing tips to make your pictures look great and show who you are. Start with the right editing software, refine your techniques, and embrace your creativity. Your improved social media profile will make a strong impression and help you be noticed online.
Related Posts