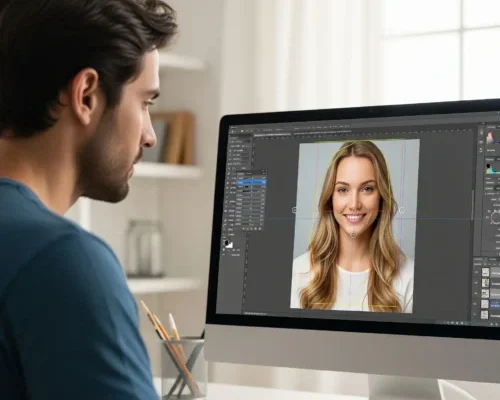
In today’s online market, first impressions happen fast, and they usually start with a photo…
Boost Your Pet Photographs with These Editing Tricks
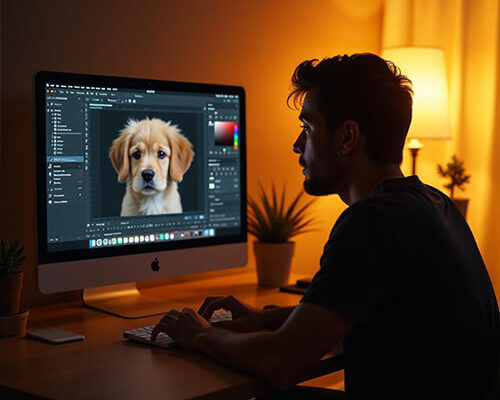
As a pet parent, capturing the perfect photo of your furry friend can be a challenge. With the right editing techniques, you can turn your photos into beautiful art. This will show the true beauty of your pet’s personality. In this article, we’ll explore the essential editing tools, tips, and tricks to help you boost your pet photos and make them stand out.
Essential Editing Tools for Pet Photographs
Before diving into advanced editing techniques, it’s important to master the basics. Familiarize yourself with the fundamental editing tools and software, such as Adobe Photoshop or Lightroom. Understand the different editing modes, including adjust, filter, and effects. Experiment with different brushes and styles to achieve the desired look. For example, a soft brush can help smooth wrinkles and blemishes on your pet’s face. A textured brush can add depth and dimension to their fur.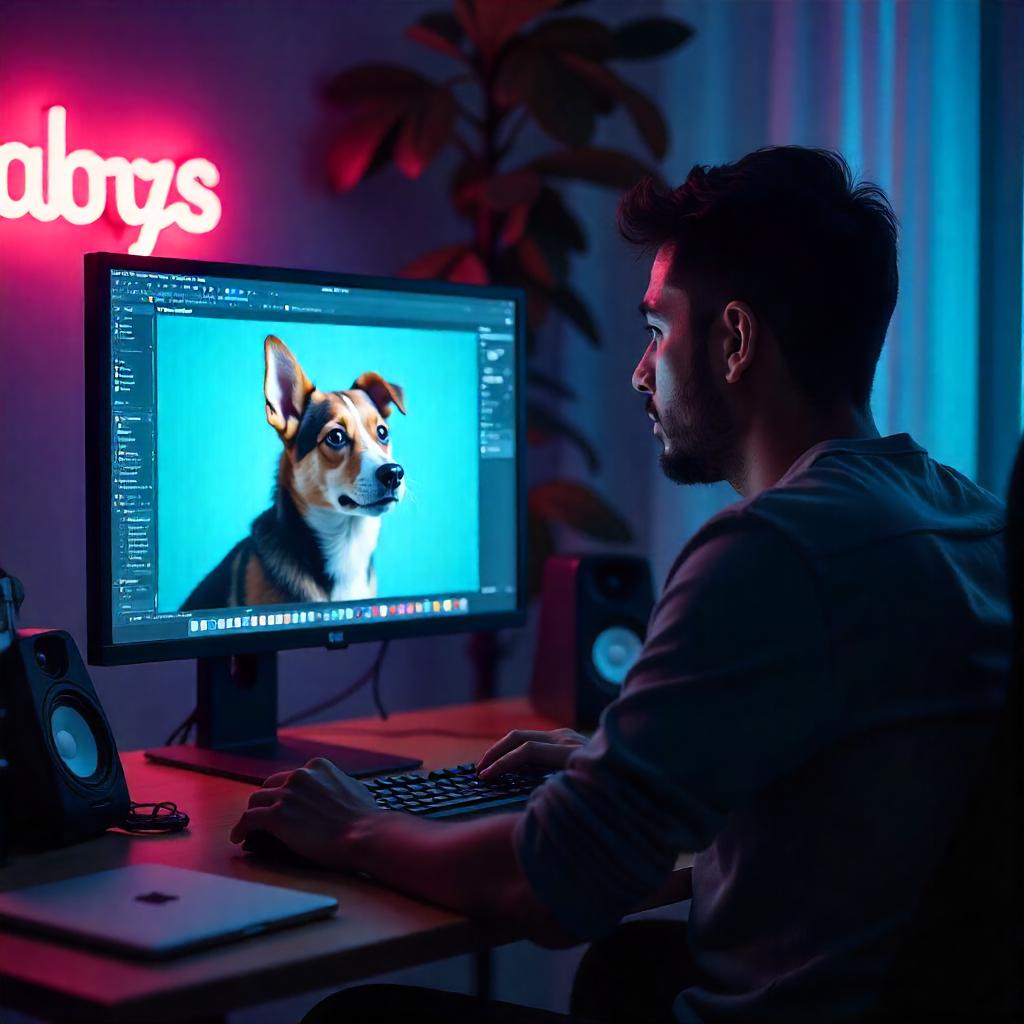
Don’t be afraid to experiment and try different combinations of tools to achieve the desired effect. For example, you can use the “dust and scratches” filter to give your pet’s photo a vintage look. You can also use the “spot healing brush” to remove any unwanted blemishes. Learning the basics will give you a strong base for editing. This will help you get the look you want for your pet photos.
Tips for Sharpening Your Pet’s Features
One of the most noticeable differences between a good pet photo and a great one is clarity. Sharper features can make your pet’s eyes sparkle, their nose twitch, and their whiskers stand out. To enhance clarity, focus on sharpening your pet’s features without overdoing it. Use the “unsharp mask” tool to target specific areas, such as the eyes or nose, and adjust the settings accordingly. You can also use the “high-pass filter” to add subtle definition to your pet’s features.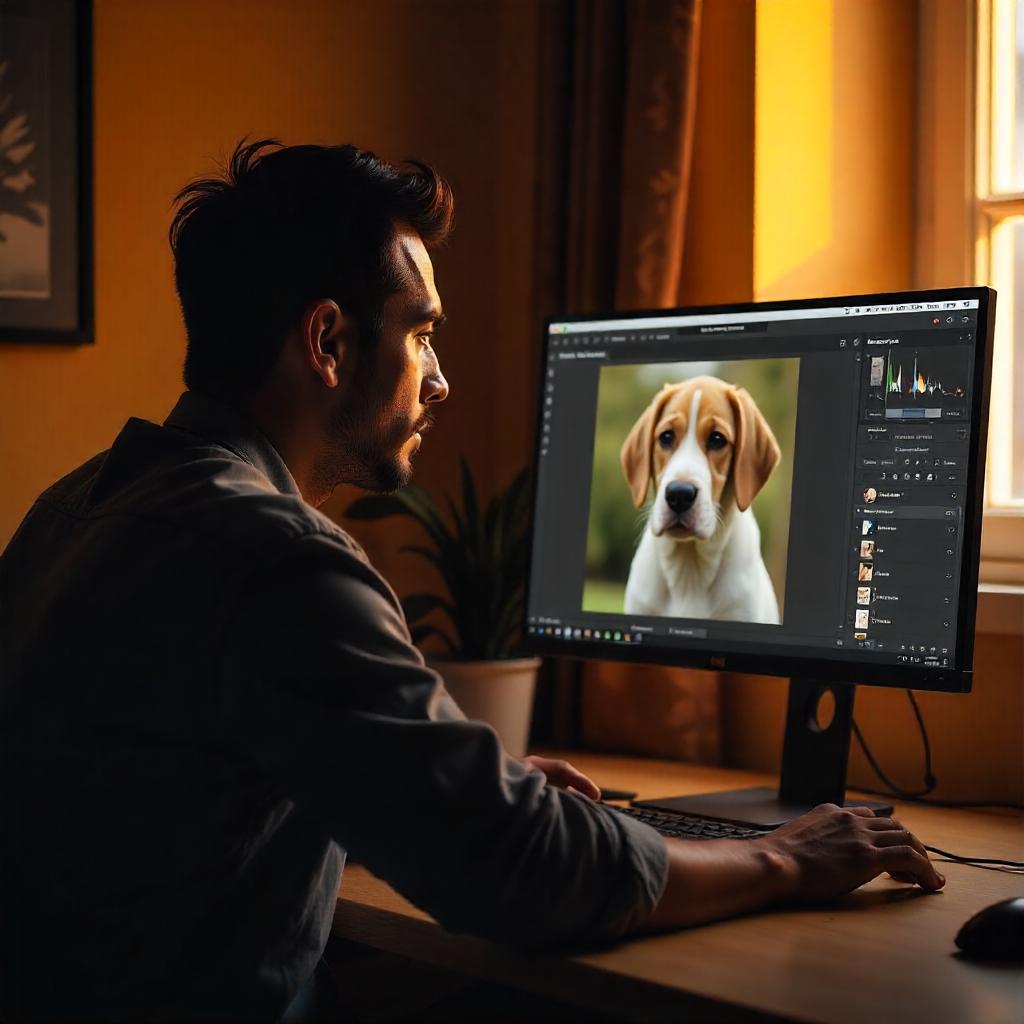
Remember, the key to achieving clarity is subtlety. Avoid over-sharpening, as it can lead to an unnatural, pixelated look. Instead, focus on subtle adjustments that enhance the natural features of your pet’s face. For example, you can use the “clone stamp” tool to gently smooth out wrinkles and blemishes, or the “healing brush” to remove unwanted marks.
How to Improve Depth of Field and Focus
Depth of field and focus are important elements in pet photography. Changing the aperture, shutter speed, and ISO, you can add depth and dimension to your photos. To improve depth of field, use a macro lens or a prime lens with a wide aperture (such as f/1.4 or f/2.8). This will help blur the background and emphasize the subject (your pet) in the foreground.
In post-editing, you can use the “depth of field” tool to create a sense of distance and depth. Adjust the settings to simulate a shallow or deep depth of field, depending on your desired effect. You can use the “focus stacking” technique. This method captures several images with different focus points. Then, you can merge them into one image. This creates a single image with a greater depth of field.
Secrets to Making Furry Friends Pop
Contrast is the key to making your pet photos stand out. Balancing the light and dark areas, you can create an image that looks good and grabs the viewer’s attention. Use the “levels” tool to adjust the contrast and brightness of your image. You can also use the “curves” tool to create a more dramatic contrast between light and dark areas.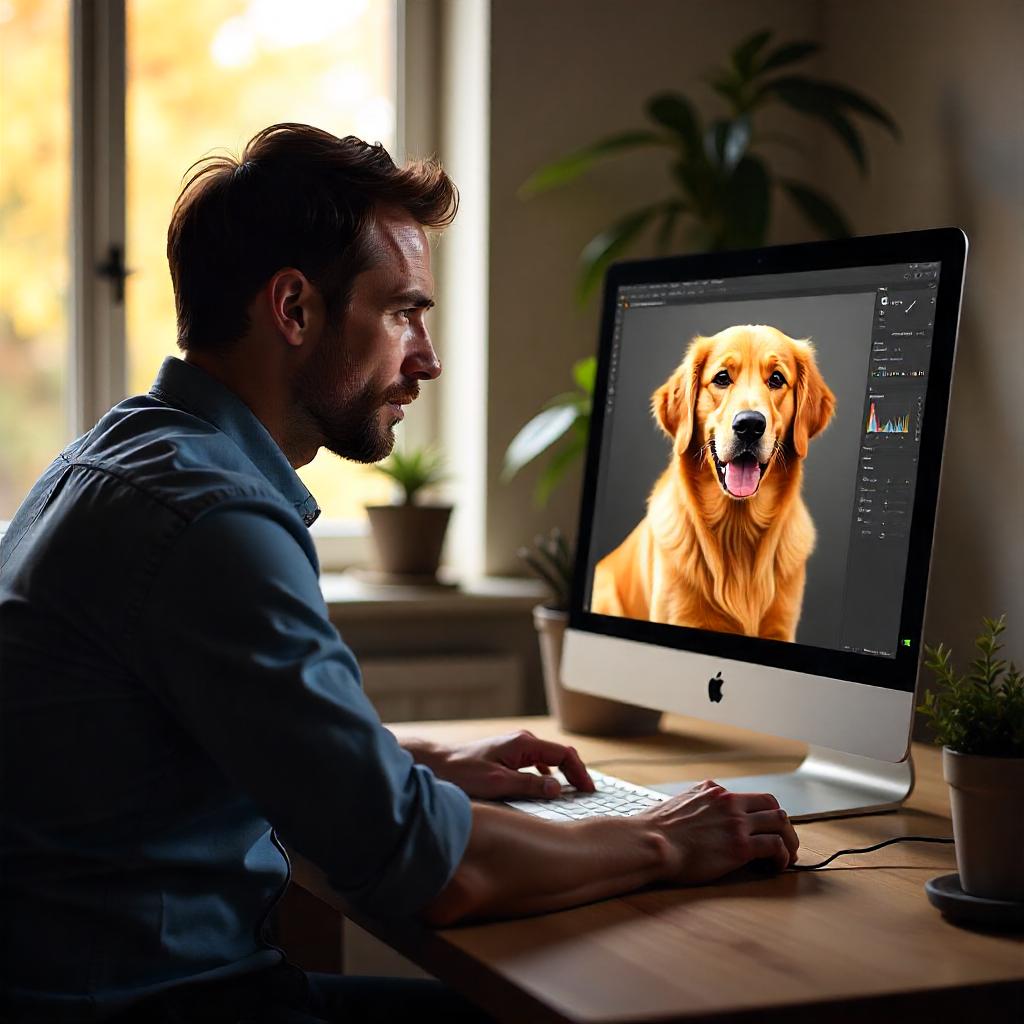
Remember, the goal is to create a sense of balance and harmony in your image. Avoid over-contrasting, as it can lead to an unnatural, over-saturated look. Instead, focus on subtle adjustments that enhance the natural tones and textures of your pet’s fur. For example, you can use the “local adjustment brush” to add subtle contrast to specific areas, such as the eyes or nose.
Techniques for Brightening Up Pet Photos
Brightening up your pet photos can make them look more vibrant and engaging. Use the “exposure” tool to adjust the brightness and contrast of your image. You can also use the “levels” tool to adjust the white balance and saturation. For example, you can add a warm glow to your pet’s fur by adjusting the white balance to “warm” or “cooler” tones.
Remember, the key is to add subtle brightness and warmth without overdoing it. Avoid over-saturating your image, as it can lead to an unnatural, cartoonish look. Instead, focus on subtle adjustments that enhance the natural tones and textures of your pet’s fur. For example, you can use the “local adjustment brush” to add subtle brightness to specific areas, such as the eyes or nose.
Strategies for Drawing the Viewer’s Attention
Focal points can be used to draw the viewer’s attention to specific areas of the image. Use the “select and mask” tool to create a focal point mask and adjust the settings accordingly. You can also use the “perspective warp” tool to create a sense of depth and dimensionality in your image.
Remember, the goal is to create a focus that catches the viewer’s eye without making the rest of the image too busy. Avoid over- emphasizing the focal point, as it can lead to an unnatural, forced look. Instead, focus on subtle adjustments that guide the viewer’s attention to the subject (your pet). For example, you can use the “fx” filter to add subtle texture and dimensionality to your pet’s fur.
When Less is More in Pet Photo Editing
Less is often more in pet photo editing. Avoid over-editing, as it can lead to an unnatural, over-processed look. Instead, focus on subtle adjustments that enhance the natural tones and textures of your pet’s fur. Use the “histogram” tool to change the brightness and contrast of your image. Use the “curves” tool for a more dramatic difference between light and dark areas.
Remember, the goal is to create a natural, organic look that showcases the true beauty of your pet. Avoid over- processing, as it can lead to an unnatural, staged look. Instead, focus on subtle adjustments that enhance the natural charm of your pet’s personality. For example, you can use the “local adjustment brush” to add subtle contrast to specific areas, such as the eyes or nose.
Adding the Perfect Finishing Flair to Your Pet Photos
The final touches can make all the difference in your pet photos. Use the “fx” filter to add subtle texture and dimensionality to your pet’s fur, or the “perspective warp” tool to create a sense of depth and dimensionality in your image. You can also use the “text” tool to add a caption or a quote to your image.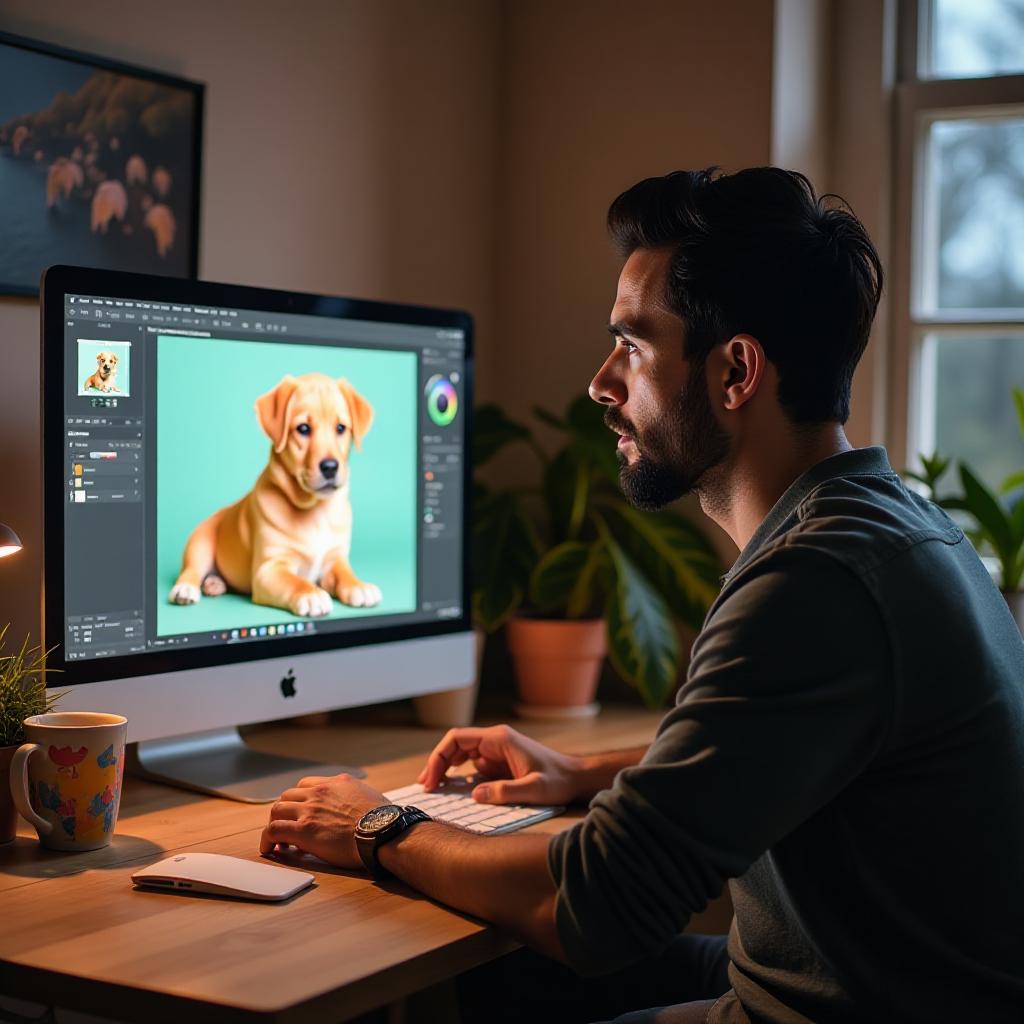
Remember, the key is to add subtle finishing touches that enhance the natural beauty of your pet without overpowering the image. Avoid over- accessorizing, as it can lead to an unnatural, over-styled look. Instead, focus on subtle adjustments that add a touch of whimsy and personality to your pet photos. For example, you can use the “filter” tool to add a subtle glow or texture to your pet’s fur.
Conclusion
Enhancing your pet photos can turn them into beautiful works of art. Mastering basic editing tools and techniques, you can highlight your pet’s unique features and personality. Focus on subtle adjustments for clarity, depth, and brightness, and remember that less is often more. With these tips, you can create stunning images that capture the charm of your furry friend.
Read Next: Master DIY Pet Photography: Capture Pawsome Moments
Related Posts