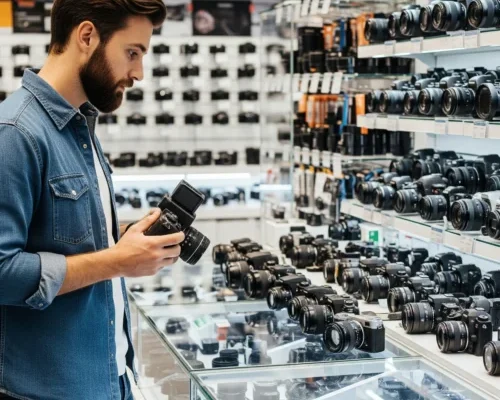
Finding your dream camera can be tricky with so many models and features out there…
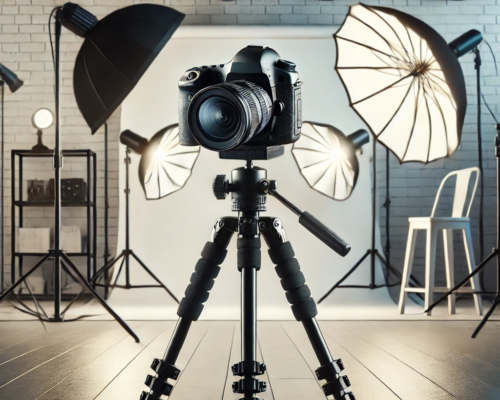
5 Best Camera Settings for Perfect Studio Photography
Achieving perfect studio photography starts with using the best camera settings. The right mix of aperture, shutter speed, ISO, white balance, and focus creates sharp and bright images. These images look professional and high-quality. Proper camera settings allow you to control lighting, reduce noise, and get every detail with precision. Without the right adjustments, even the best studio setup can result in overexposed, blurry, or grainy photos. Mastering these settings will give you full creative control and help you achieve consistently high-quality results.
In this guide, we’ll explore the five best camera settings to improve your studio photography. If you’re shooting portraits, products, or creative concepts, these important settings will help you optimize your shots. Understanding how to fine-tune your camera will ensure that your images look polished and professional. With the right approach, you can use your studio lighting and background well. This will help you create eye-catching and beautiful photos every time.
Mastering these camera settings will not only improve your technical skills but also improve your creative flexibility. Understanding how aperture, shutter speed, ISO, white balance, and focus work together is important. This knowledge helps you adapt to different subjects and lighting conditions. It also allows you to explore various styles in photography. If you want to do high-end commercial photography or expressive portraits, adjust your camera. This helps your images stay professional and consistent. With the right approach, you can find the perfect mix of sharpness, clarity, and color accuracy. This will make your studio photography stand out.
 1. Best Camera Setting for Aperture
Aperture controls the amount of light entering your camera through the lens. In studio photography, selecting the right aperture ensures balanced exposure while keeping the subject sharp. A lower f-stop, like f/2.8 or f/4, makes a shallow depth of field. This is great for portraits because it helps the subject stand out against a blurred background. For product or commercial photography, use a higher f-stop, like f/8 to f/11. This makes everything in the frame sharp and detailed.
Choosing the best camera setting for aperture depends on your subject and lighting setup. Since studio photography relies on artificial lighting, you have full control over brightness. A medium-to-narrow aperture (f/5.6 to f/11) is best for keeping the subject and important details in focus. This setting helps avoid overexposing the image. Always test different settings to balance sharpness and depth.
Using manual mode or aperture priority mode (Av/A) gives you precise control over your shots. Pairing the right aperture with a well-lit studio environment allows for impressive, high-resolution images. When taking a photo of a model, product, or still life, mastering aperture helps make everything look clear and sharp. The best camera setting for aperture depends on your creative vision and the type of shot you want. Experimenting is key to improving your photography skills.
When working with different lenses, it’s important to understand how aperture affects image sharpness and bokeh quality. Prime lenses often provide wider apertures, making them ideal for portrait photography with a soft, artistic background blur. On the other hand, zoom lenses with variable apertures require adjustments to maintain consistent exposure. Knowing how different lenses affect camera settings for aperture helps photographers make smart choices. This leads to better results in a studio.
 2. Sharp Shutter Speed
Shutter speed determines how long the camera sensor is exposed to light. In studio photography, maintaining a sharp shutter speed prevents motion blur and ensures clear, well-defined images. A faster shutter speed (1/125s to 1/250s) is generally preferred, as it freezes movement and provides sharp results. This is important when capturing moving subjects or working with models who shift poses frequently.
Since studio lighting is controlled, you don’t need an extremely high shutter speed like in outdoor photography. However, using a tripod or stabilizer can further reduce any minor shakes, keeping images crisp. If your subject is completely still, you can try slower speeds like 1/60s to 1/100s. Just make sure to keep everything stable. The best camera setting for shutter speed will depend on the type of movement in your shot and the lighting setup used.
For flash photography, syncing your shutter speed with the flash system is vital. Most studio flashes sync at 1/200s or 1/250s, so setting your shutter speed within this range ensures proper exposure. Avoid going beyond your camera’s flash sync speed, as it can create unwanted shadows or uneven lighting. Testing at different speeds helps achieve the best results, ensuring each shot is sharp, professional, and perfectly exposed. Knowing how to set the right shutter speed helps you take clear and precise studio shots.
Additionally, using high-speed sync (HSS) flashes can allow for even faster shutter speeds beyond the standard sync limit. This is useful when trying to balance bright studio lighting while maintaining a shallow depth of field. Understanding how different lighting setups interact with shutter speed adjustments will ensure optimal exposure and sharpness in every shot.
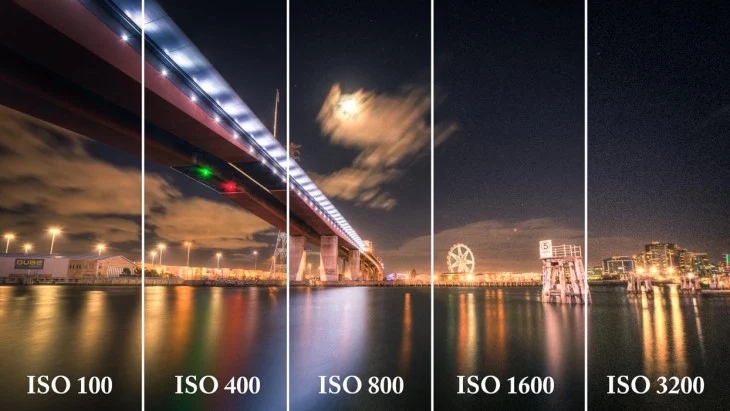
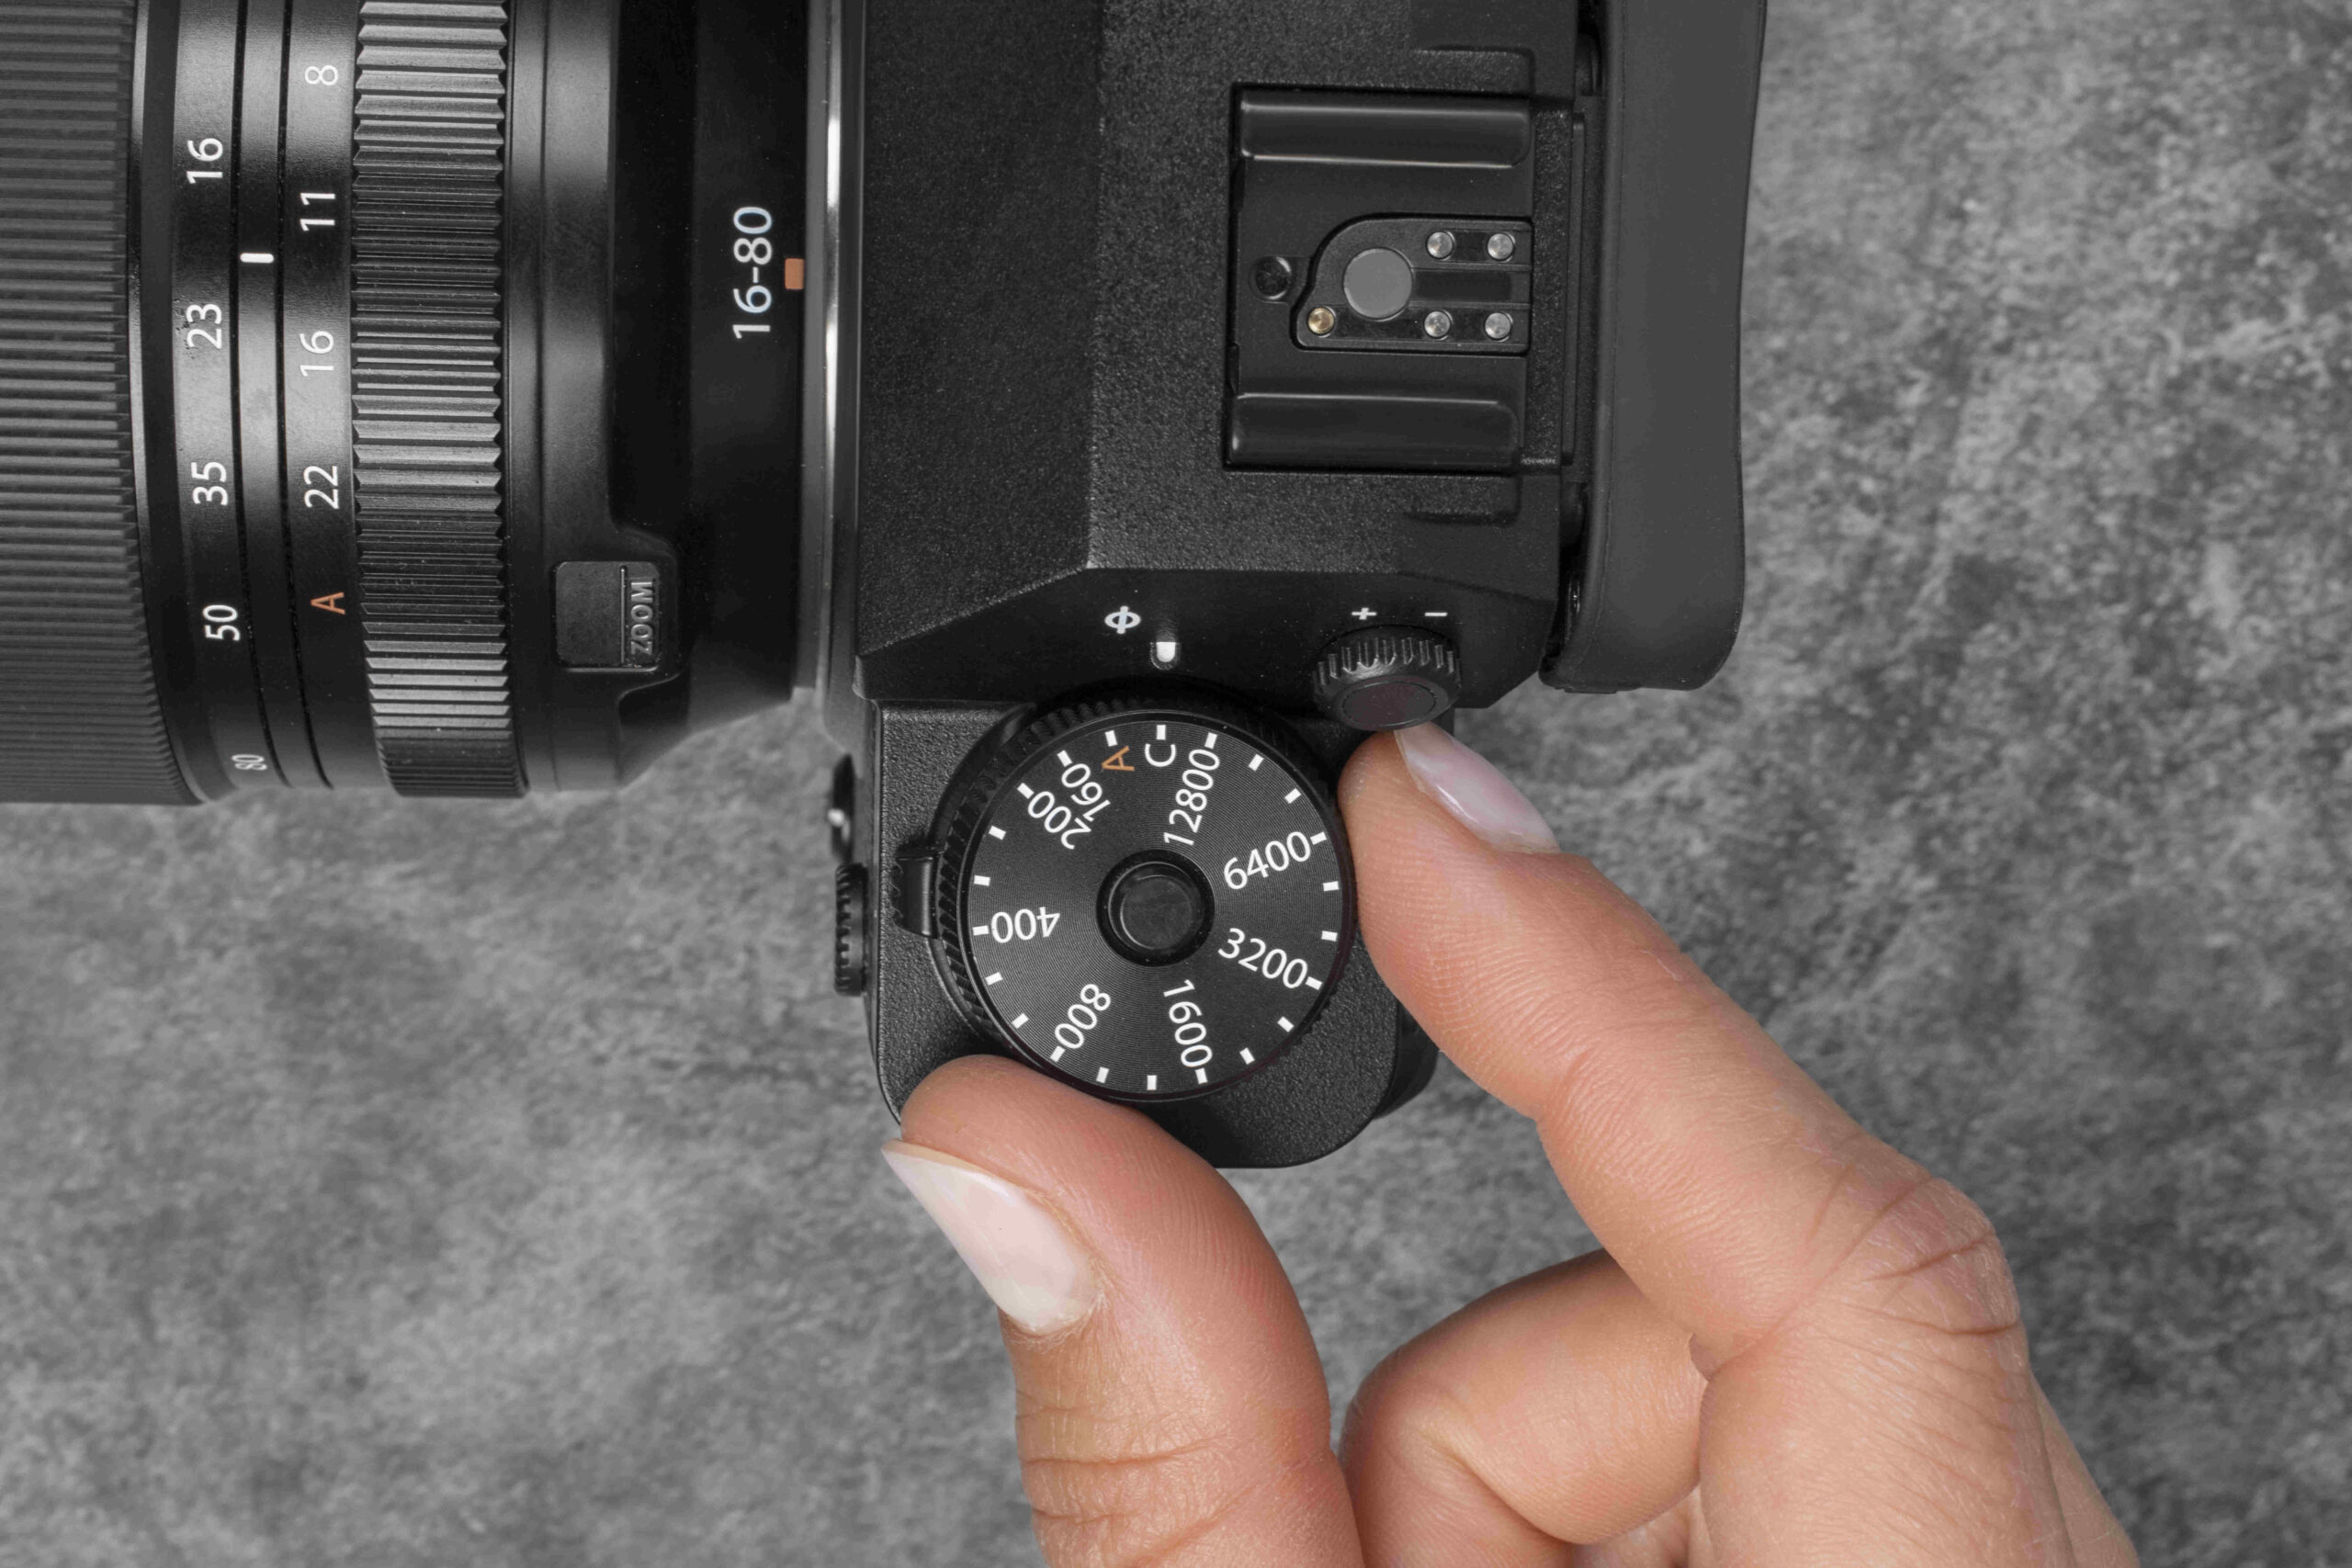
3. Noise-Free ISO
ISO controls your camera sensor’s sensitivity to light. In studio photography, keeping your ISO low (typically ISO 100 or 200) ensures noise-free images with maximum detail. Studios have controlled lighting. This means there is rarely a need to increase ISO. This makes it easier to get high-quality results.
Higher ISO settings introduce grain and digital noise, which can reduce the sharpness of your photos. This is especially noticeable in portrait and product photography, where clarity is essential. Keeping ISO as low as possible preserves details and avoids the need for excessive post-processing corrections.
When adjusting ISO in a studio setup, always balance it with your aperture and shutter speed. If you use softbox lights, LED panels, or flashes, they should be bright enough. You can keep ISO 100 without losing exposure. Experimenting with minor adjustments can help achieve the best balance between brightness and image quality.
Additionally, some cameras have noise reduction settings that can help minimize grain when shooting at slightly higher ISO levels. However, overusing noise can result in loss of fine details, making the image look overly smooth. Knowing what your camera can do and trying out different ISO settings in your studio will help you find the best ISO. This will ensure you get clean, professional-quality images every time.
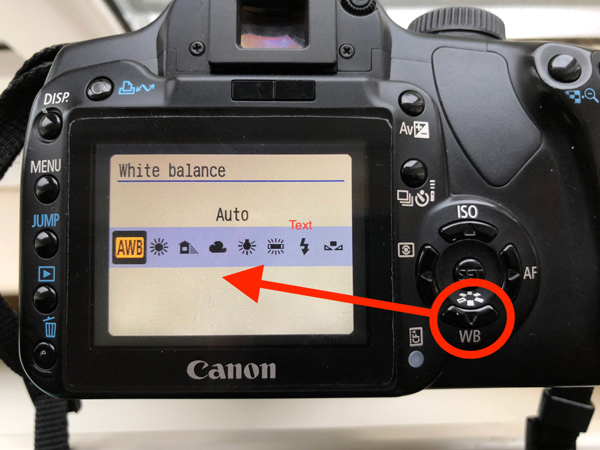 4. Best Camera Setting for White Balance
White balance ensures accurate color reproduction in your studio shots. Choosing the right camera setting for white balance helps avoid color shifts. This keeps skin tones looking natural and product colors accurate. Since studio lighting is steady, you can set a custom white balance. You can also use preset modes like Daylight (5000K) or Flash (5500K) for accurate color tones.
Auto white balance (AWB) can work, but it may fluctuate depending on different light sources. To have more control, set the white balance manually. This helps you match the lighting in your studio. It will give you consistent and professional-looking images. Many cameras allow custom white balance by capturing a neutral gray or white reference image. The best camera setting for white balance depends on the light sources in your studio. This helps keep color accuracy during your shoot.
Another useful approach is adjusting Kelvin temperature settings manually. Warmer tones, with lower Kelvin values around 3000K-4000K, work well with indoor tungsten lighting. Cooler settings, between 5000K-6000K, fit daylight-balanced studio lights. Finding the perfect balance ensures that your images look natural, removing unnecessary color corrections during editing. Adjusting the camera settings for white balance is important. It helps you capture accurate colors in your studio photography.
For photographers who often change light setups, using a white balance card helps keep colors accurate. Many professional cameras have white balance bracketing. This feature takes several shots with slightly different settings. It gives you more options when editing later. Getting the right camera setting for white balance helps your images show real colors. This gives them a professional and polished look.
 5. Precision Focus
Sharp focus is key to professional studio photography. Using the right focus settings helps keep your subject crisp and well-defined. For most studio shots, manual focus or single-point autofocus (AF-S or One-Shot AF) works best. This keeps the focus locked on the subject without any unwanted changes.
For portrait photography, focusing on the subject’s eyes creates a natural and engaging look. Many professional cameras offer eye autofocus (Eye AF), which improves accuracy and ensures sharp results. In product photography, focusing on key details like textures or branding makes images look professional and polished. The best camera setting for focus depends on the subject and how much detail you need in the final image.
Using a tripod with manual focus further improves precision, preventing camera movement from affecting clarity. Additionally, the depth of field preview features allows photographers to check focus before taking the shot. By refining focus settings and practicing proper composition techniques, you can achieve sharp, high-quality studio images every time. Mastering the best camera setting for focus will ensure that every shot is perfectly sharp and visually striking. Knowing how different lenses and autofocus modes help with focus lets photographers improve their skills. This helps them take great studio shots easily.
Conclusion
Mastering these five best camera settings will take your studio photography to the next level. By optimizing aperture, shutter speed, ISO, white balance, and focus, you can picture flawless images with professional precision. If you’re working with models, products, or creative projects, adjusting your settings correctly ensures consistent, high-quality results.
Experiment with these settings, test different combinations, and find what works best for your unique studio environment. With the right techniques and good lighting, you can take stunning and professional studio photos every time.
Read Next: Camera Gear Preparation: The Ultimate Guide for Photographer
Related Posts