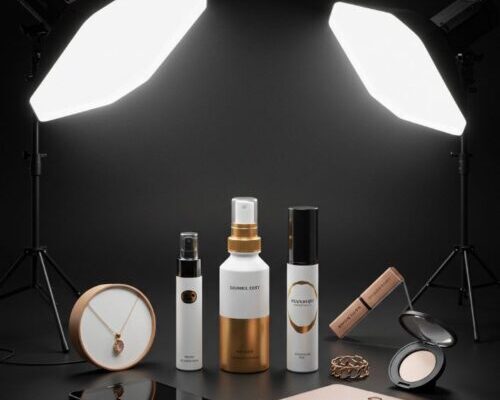
Impact of beautiful product photography: it’s not just about looking good; it shares your story,…
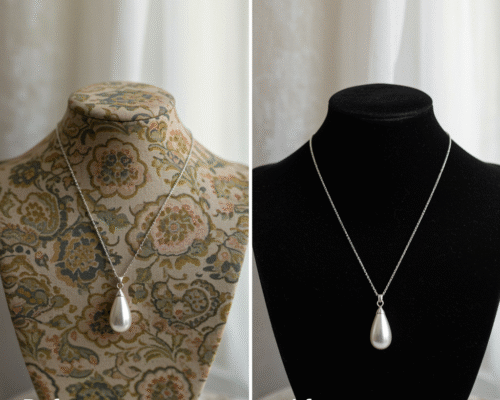
The Effective Product Image Editing Guide
Product image editing is more of a need than a choice in this competitive age. With the sudden increase in online shopping, online product providers are increasing too. People are more likely to buy things that appear to be more appealing and attractive. In online stores, all they can see is the image of the product and not the real product instead.
They choose and buy things based on their needs and the quality of the product, which they see through the photos. This is the only reason why people make sure they upload the perfect photos of their products for sale.
Although there are numerous features in editing, some specific features for product photo editing are as follows.
Here are the 7 Guide to Product Image Editing
 Background Removal of the Product Editing
In any product photo, the product should be in focus. If the photo is not beautiful enough, then nobody will ever buy it. Background images of any product in a photo can be distracting for the buyers. It can divert the attention of the product. Besides, the sharp background stays in the spotlight rather than the product. This is why it is highly preferable to remove the background and replace it with something smooth and light. Colors like white and grey in the background bring the focus to the product.
One can remove or replace the background of the product photos with the use of almost every software. This task is so easy that even a non-professional knows how to remove the background. Background removal of a product image can be done in almost every photo editing software.
However, the quality varies depending upon the software and the practice of the editor. Microsoft Paint does not provide neat and clean removal of the background image as compared to Photoshop. In Photoshop, the pen tool and clipping path are the ways to separate the product from its background.
By using a pen tool, the editor creates a path around the product very accurately. The soft and hard edges in the product are nicely selected via the pen tool. After selecting the area, one can choose to remove or replace the background with some other background image.
 Color Correction of the Product Image
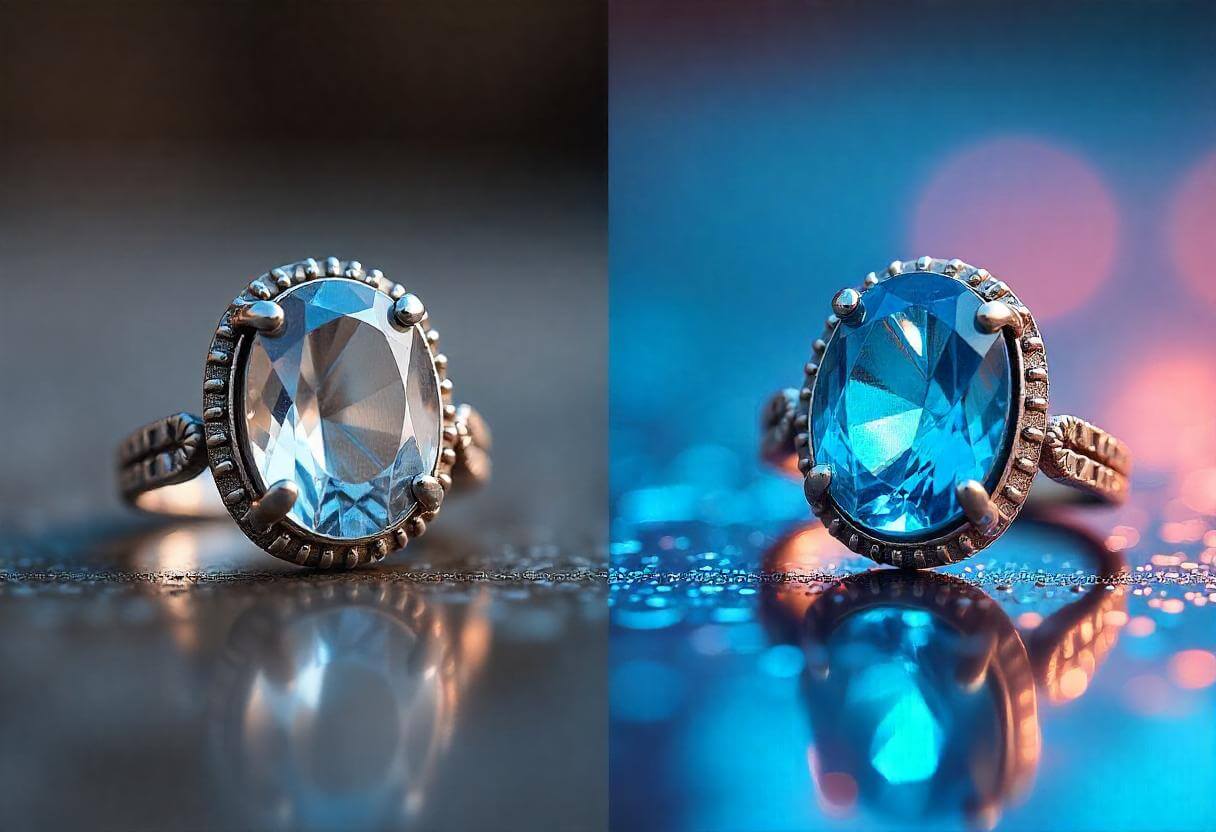
Color correction is very important when it comes to the quality of a photo. Even when we capture a product photo with a darker background, we will still need to correct the colors. Sometimes, the colors are sharper and do not match the overall theme of the photo, or sometimes they are too dull. In such cases, it is highly preferable to do color correction of the product image. It brings clarity, color accuracy, and attraction to the photo, which are the main reasons for editing.
If you have numerous photos for the color correction, then you should not do it manually. Technology has made everything easy for us, but the thing is that we need to take advantage of it. Lightroom presets provide us with a unique and helpful feature. It brings changes to all the photos according to the settings of the Lightroom. You will not have to make the changes manually in them. The photos for editing can be hundreds or thousands, and a Lightroom preset will make the changes in no time.
 Cropping and Resizing
Cropping may seem like a smaller, simpler step in editing, but it holds some importance. If your photo is not accurately cropped, it will still look like a mess. A product photo must be in a definite shape without any bulge on any side. To maintain its shape, it must be cropped nicely.
Besides, the size of the photo matters a lot. It is a bad practice to have product photos of different sizes. The size of all the photos and their backgrounds should be the same in any online store. The change in their sizes can affect their value and the mood of the person viewing it.
 Remove the Spots
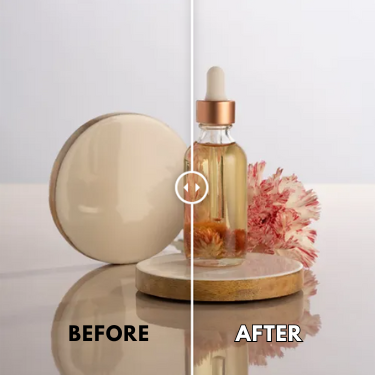
Spots are everywhere, even in the perfect photo of a product. However, these spots directly affect the quality of the photo. They may take away the perfection in the photo and make it look unprofessional. To show perfection in your photo and your product, you must make sure that there are no spots on it. For this purpose, use Photoshop’s feature to remove spots.
Click on the spot removal tool of Photoshop, and then click on the place in your photo where the spot is. The tool will sample the pixels and mix them up with the nearby ones to merge the tone of the spot. Keep doing it until the flaw is gone and your photo is perfect up to the mark.
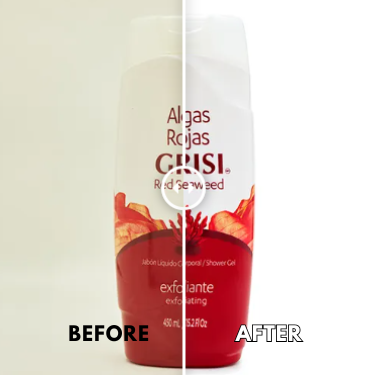 Change Colors Using Saturation/Hue
Sometimes you have the same product in various colors, and you have to photograph them separately. However, when the product is hard to handle, such as a shirt. You have to get a model and make them wear shirts again and again to photograph them. This seems hectic as well as time-consuming. Well, this is where technology plays its part in a very unique way. Hue and saturation are very handy tools when it comes to editing the colors of the product. You can change all the colors of your product as a whole with these tools.
Saturation and hue are pretty good, as you do not have to photograph every product. Just take a photo of one product and edit its colors one by one. There are numerous colors you can get just by changing the settings of the image.
However, saturation does not work on every color. Colors like white, grey, or black do not change their colors when saturation is applied to them. But the primary colors red, blue, and green can be changed to any color. It means you cannot change white color to yellow or pink color by applying saturation. But you can change red to orange to pink by applying hue or saturation to it.
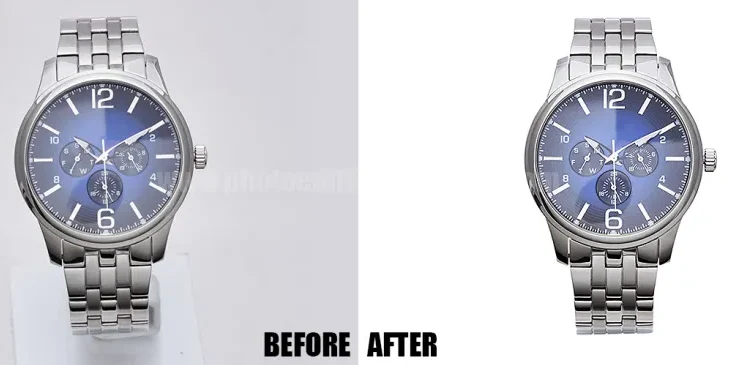 Sharpen Your Photo
Sharpening your product photo must be your final step in editing. As it adds contrast between pixels of the photo and its edges. Never sharpen all of your images. There are always some specific areas in the photo that need to be sharpened. So keep your focus on those particular points rather than focusing on all of the images. Select and hold the places you want to sharpen, and then use the tool for sharpening in Photoshop.
Sharpening the photo is always a very difficult task. If done more than necessary, it will make the image look bad. And in cases where the sharpening is done less than required, the image will look dull. Maintaining the balance is very important yet very difficult. Only a professional or an expert with lots of experience can do this nicely.
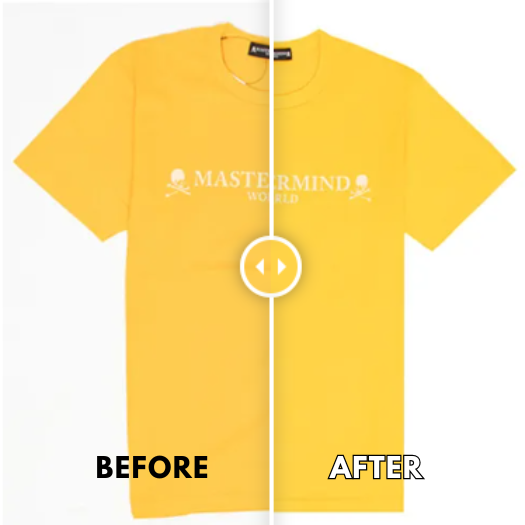 Sharpening the Edges
An unsharp mask is a tool in Photoshop that helps in sharpening the edges of the photo. When this tool is applied to a photo, it makes one side of the edge a bit darker and the other side a bit lighter. In this way, the image gets a sharper look at the edges, which makes it stand out.
In the settings of the unsharp tool, there are three settings, such as amount, radius, and threshold. Amount refers to how much sharpening we want on the edges. Radius refers to how many pixels we need on the edges of the product in the photo. While the threshold number tells Photoshop not to sharpen the areas with the same color. All these things, when they work together, give the product image a new look. Without editing, the product may not look as good as it looks when editing is applied to it.
Product photography is to make the product look so attractive that viewers cannot resist buying it. No matter how good your product is, you will always have to edit it. Without editing, your photo is raw, and a raw photo has no comparison with the edited one. The finely edited photo stands out from all other photos. It is obvious people will look at the more attractive one with nice colors and a smooth look. In online shopping, people only buy what they like when they look at the photo. So, product photos are the way you persuade your viewer to buy your products. The more attractive and alluring your photo is, the more people will buy it.
Conclusion
You can choose to edit your product photos yourself, and you can also choose to hire a professional editor for this task. It all depends on what you want. If you want to learn, then do the editing yourself. However, if you want your products to stand out, then it is preferable to hire a professional photo editor. The professionals have experience and a grip on their tasks, which always serve as a positive point.
At the end of the day, your product photo is what speaks for your brand online. A clean, clear, and eye-catching image builds trust and draws buyers in. If you’re just starting out or running a busy online store, investing in good photo editing can boost your product sales.
Read Next : The Beginners Guide in Product Photo Editing


