Explore 48 creative ways to enhance your photo retouching skills. Retouching Skills in Social Media…
The Ultimate Guide to Portrait Photo Retouching
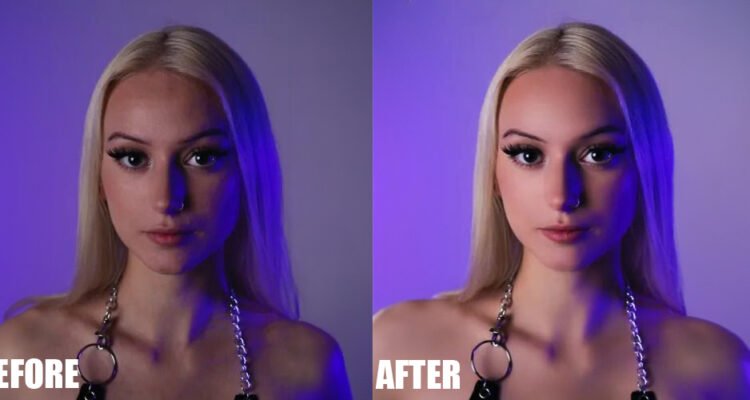
Portrait photography captures more than just a face; it tells a story, conveys emotion, and reveals personality. Portrait photo retouching is about improving a story, making emotions stronger, and highlighting personality. It’s important to keep the subject’s essence.
This guide will show you how to edit portraits to make them look even better. We will talk about different techniques and things to think about when retouching images.
Understanding the Basics of Portrait Photo Retouching
Before we jump into advanced techniques, it’s crucial to establish a solid foundation in photo retouching basics.
The Importance of a Natural Look
A common mistake in portrait photo retouching is overdoing it. The goal is to enhance the photo without making it look unnatural or overly processed. Skin should still have texture, and features should remain true to the subject’s character. Balancing subtlety with enhancement is key.
Tools of the Trade
Professional portrait editors use a variety of tools, such as Adobe Photoshop, Lightroom, and other specialized software. Editors often use a mix of tools to get the best results because each tool has its own advantages.
It’s important to get good at using these tools so you can use them to their full potential.
Portrait Photo Retouching: A Step-by-Step Guide
Now, let’s dive into the step-by-step process of portrait picture editing.
Step 1: Start with the Right Raw Material
A well-composed and well-lit photograph will make the editing process much smoother. Ensure your starting image is of high quality, with good lighting and sharp focus on the subject’s eyes.
Step 2: Cleaning Up the Image
Get rid of anything in the background that might take attention away. Use the clone stamp or healing brush tools to fix any blemishes or stray hairs.
Be careful not to erase unique features that contribute to the subject’s individuality.
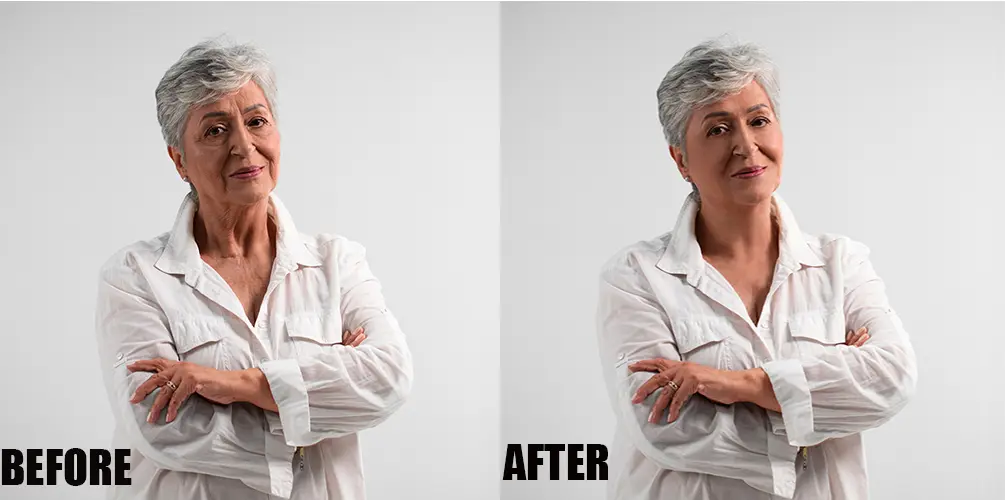
Step 3: Skin Retouching
Skin retouching is often the most time-consuming part of portrait editing. Use techniques such as frequency separation to edit the skin texture and tone separately. This helps to even out the skin without changing its natural feel.
Step 4: Enhancing the Eyes
The eyes are the windows to the soul, and in portrait photo retouching, they’re a focal point. Brighten the whites of the eyes, enhance the iris’s contrast, and sharpen the lashes to make the eyes pop. Remember, subtlety is crucial; the goal is to enhance, not change.
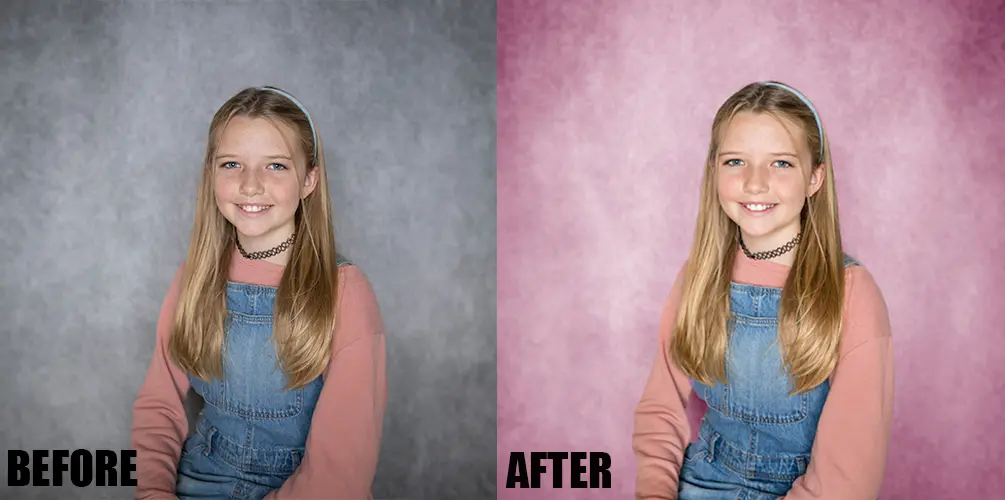
Step 5: Adjusting Color and Tone
Adjust the overall color and tone of the image to create a mood or highlight features. Change colors to make it warmer or cooler and adjust shadows and highlights for depth.
Step 6: Final Touches
Add a vignette, sharpen the image, and make any final adjustments to contrast or saturation. Review your edits carefully to make sure the final touches make a big impact.
Advanced Techniques for Professional Results
For those looking to take their portrait retouching to the next level, here are some advanced techniques to consider.
-
Frequency Separation Technique
This technique separates the skin into two layers: one for texture and one for tone. It allows for precise retouching that maintains skin texture while correcting color and tone.
-
Dodge and Burn
Dodge and burn are classic darkroom techniques adapted for digital editing. They involve selectively lightening (dodging) or darkening (burning) areas of the image to add dimension and highlight features.
-
Color Grading for Mood
Color grading is not just for film creators. Use color to make your portraits more emotional. Pick colors that go well with your subject’s story.
Common Portrait Editing Mistakes to Avoid
Even experts sometimes make mistakes that can result in less than perfect outcomes. Here are some common portrait photo retouching mistakes to avoid.
- Over-Whitening Teeth and Eyes – Natural is the keyword here. Teeth and eyes that are too white can be jarring and distract from the overall portrait.
- Too Much Skin Smoothing – When skin looks plastic or waxy, it’s a sign of over-editing. Always aim to retain natural skin texture.
- Ignoring the Background – The star is the main focus, but not paying attention to the background can make the portrait less appealing. Ensure it complements the subject and doesn’t compete for attention.
Portrait Retouching Workflow Tips
To make the portrait photo retouching process as efficient as possible, follow these workflow tips.
Work Non-Destructively – Use layers and adjustment layers to make your edits. This preserves the original image and allows for easy tweaks and changes.
Keep a Consistent Style – Develop and maintain a consistent editing style. This will help show your style and make it easy for people to know your work.
Save Often – Nothing is more frustrating than losing hours of work. Save your progress regularly and keep backups.
Choosing the Right Software for Portrait Retouching
The software you pick will make a big difference in how you edit and the results you get. Here are some top choices for portrait retouching.
Adobe Photoshop
![]()
Photoshop is the industry standard for a reason. Its extensive features and flexibility make it a top choice for professional portrait editors.
Adobe Lightroom

Lightroom offers a more streamlined interface and is excellent for batch processing and applying consistent edits across multiple images.
Capture One
Capture One is![]() a popular portrait photo retouching tool that photographers like because it can change colors and edit raw photos from cameras.
a popular portrait photo retouching tool that photographers like because it can change colors and edit raw photos from cameras.
Conclusion: Improving Your Skills in Editing Portraits
Portrait retouching is an art that requires patience, practice, and a good eye for detail. If you learn the basics and use the right tools, you can improve your portraits. Tell a story and make people feel something with your photos.
Do not make big changes that cannot be undone. Try to improve the topic without changing it too drastically. With these guidelines in mind, you’re well on your way to mastering the art of portrait photo retouching.
Related Posts