To take good pictures of jewelry, you need to be exact, patient, and have the…
How to Photograph Jewelry on a White Background?
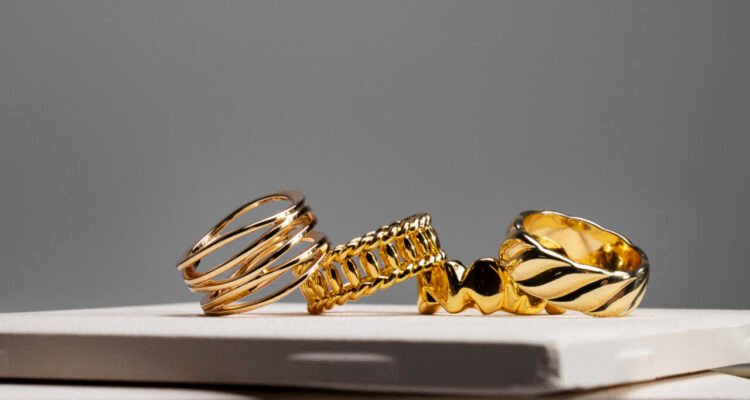
Have you ever noticed why jewelry photos come with a white background? Because the white background is a versatile background with fewer distractions and jewelry can reflect brighter, attractive, and shiny.
Almost all big companies use a white background when doing jewelry photoshoots. And there are several other benefits of using a white background for a jewelry photoshoot. Learn how you can do Professional jewelry photography on a white background and its benefits.
Highlights Jewelry Details More Effectively
A white background reflects Jewelry details more effectively because there’s no other distraction in the background. Customers can completely focus on jewelry details, design, and shine and make buying decisions.
Save time & money
The white background is cost-effective and time-saving because you don’t need to prepare for a pre-production shoot with a high-level background design. A simple white background with jewelry looks beautiful and saves your time & money for a photoshoot.
Build Trust
When customers can see almost all minor details about the jewelry with the right color, shine, and design, it builds your brand’s trust.
Increase Sales
Online jewelry sales depend on its photos, and when customers see eye-catching, qualitative, and flawless jewelry photos, it increases the chances of getting sales. A white background helps customers to focus on jewelry without distracting anywhere.
Website Load Faster
When a jewelry photo is lightweight and clean, it loads faster on the website. A fast website loading can boost your ranking on Google.
How to Photograph Jewelry on a White background?
Follow the step by step process to do Professional Jewelry Photography on a white background:
Step 1 – Set up your Table
You should find a space to place a table so that it’s easy to place jewelry. If it’s near a window, it’s good for lighting purposes.
Step 2 – Lighting Source
If you’re using natural light, then do a photoshoot near a window so that a good light comes on your jewelry and shines.
Step 3 – Set up a white background
To enhance the product quality and make it more attractive, then use white background so that customers can focus on the product without distracting anywhere.
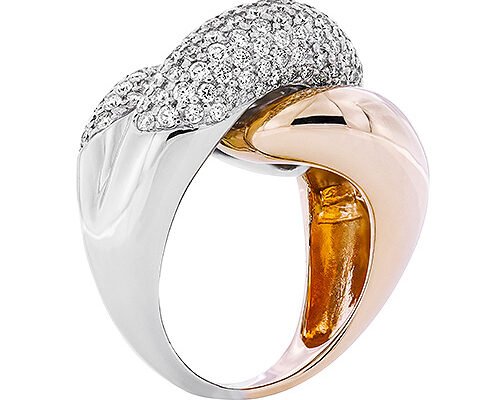
Step 4 – Remove dust and polish jewelry
Before doing a photoshoot, make sure you’ve removed dust and polished your jewelry so that you can capture its real shine in a photo.
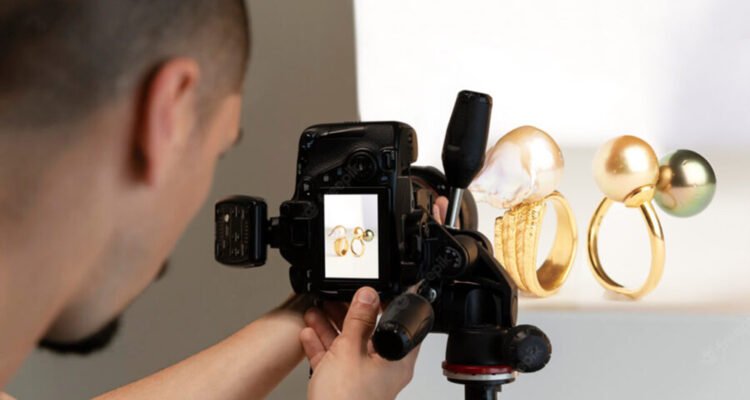
Step 5 – Set your Camera with Tripod

It’s necessary to use Tripod so that you can capture photos without shaking the position. And once you’ve set the camera position on a tripod, do the necessary configuration in your camera like ISO, aperture, shutter sound, and other things.
Step 6 – Capture some photos
Once you’ve done with configuration and position, capture some beautiful jewelry photos by changing different positions and lighting.
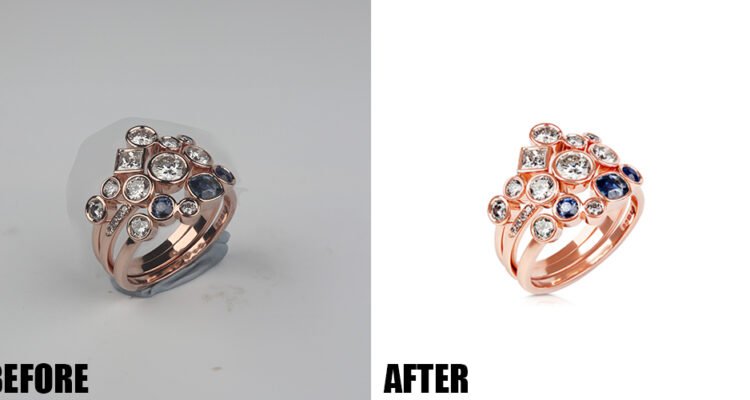
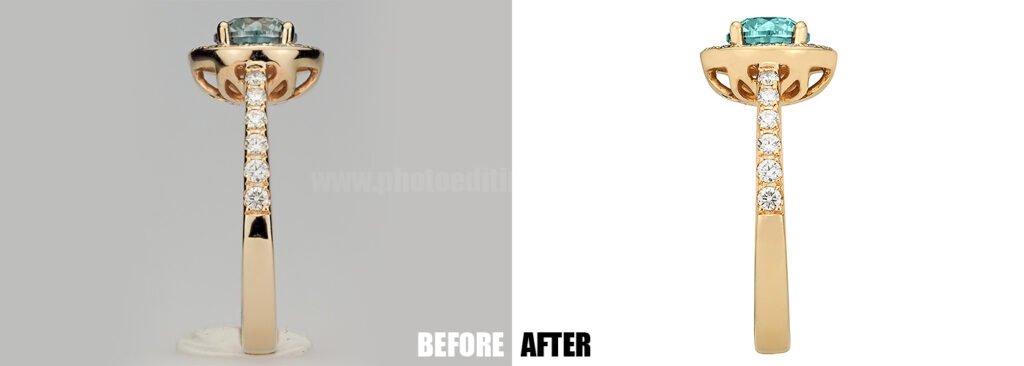
Step 7 – Retouch and Finalize
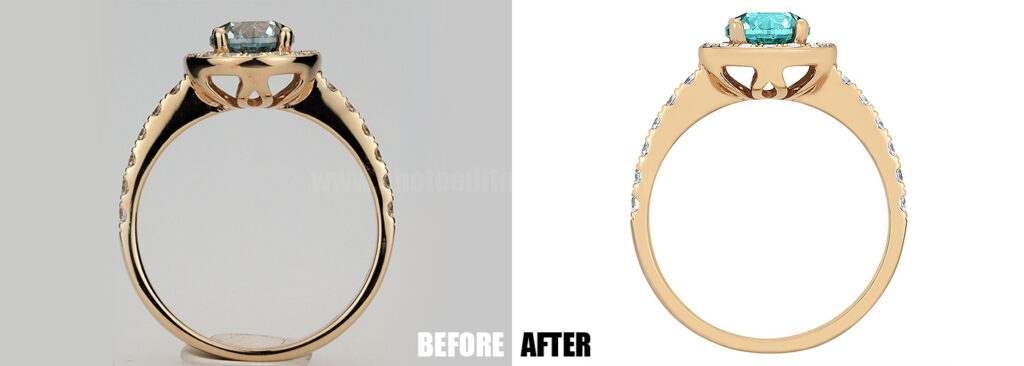
After doing a beautiful jewelry photo shoot, you’ll sort and find the best jewelry photos that require retouching and are ready to publish in your store. To edit or retouch your jewelry photos, you can hire any professional company that can enhance the quality of photos and remove all minor issues and make them attractive.
Which company is the best fit for jewelry photo retouching services?
Photo Editing Company is a one-stop solution for photo retouching services. We have a team of professional editors who can re-edit your jewelry photos and make them more attractive and qualitative and remove all imperfections so that customers can focus on jewelry and influence them to make buying decisions. Contact us Today for our jewelry photo retouching services at very affordable prices.
Related Posts