In today’s online market, first impressions happen fast, and they usually start with a photo…
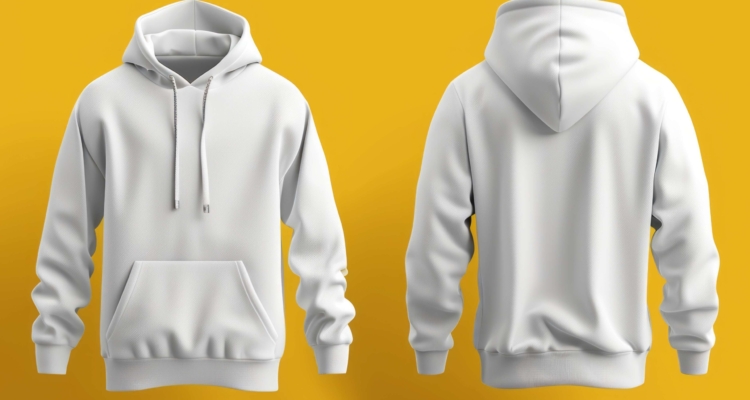
Master Ghost Mannequin Edits with Photoshop
Ghost mannequin editing is a popular technique used in e-commerce and fashion photography to create a realistic representation of clothing on a mannequin. Using Adobe Photoshop, you can create a flawless ghost mannequin edit that showcases your product in the best possible light.
The benefits of ghost mannequin edits are numerous. It allows e-commerce businesses to display their products in a more appealing and realistic way, which can help increase sales and conversions. Ghost mannequin editing can be used to create unique and creative visual content that sets your brand apart from the competition. In this guide, we will walk you through the steps and techniques required to achieve professional-looking ghost mannequin editing.
Mastering the Art of Ghost Mannequin Edits: A Photoshop Guide
Mastering the art of ghost mannequin edits requires a good understanding of Photoshop and its various tools and techniques. In this guide, we will cover the basics of ghost mannequin photography, preparing your images for editing, and advanced techniques for retouching and refining your edits.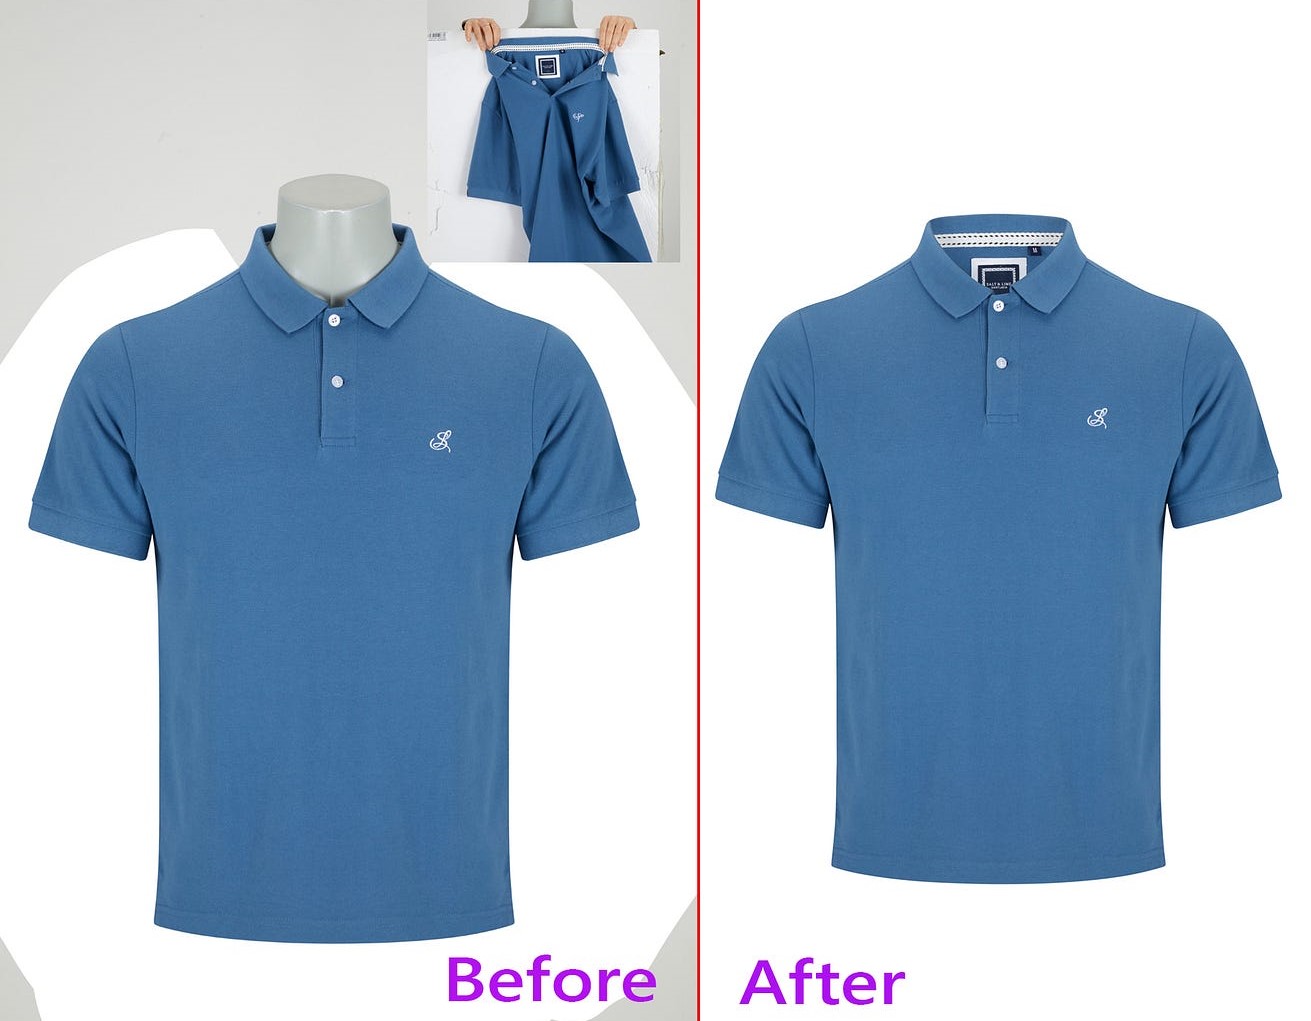
To start, you will need to have a good understanding of the Photoshop interface and its various tools. Familiarize yourself with the different panels and menus and learn how to navigate the software with ease.
Understanding the Basics of Ghost Mannequin Photography
Understanding the basics of ghost mannequin photography is important for creating high-quality edits. This includes understanding the importance of lighting, composition, and camera angles. When photographing your mannequin, make sure to use soft, natural light and a clean background. Pay attention to the composition of your shot and use a camera angle that is flattering to the product.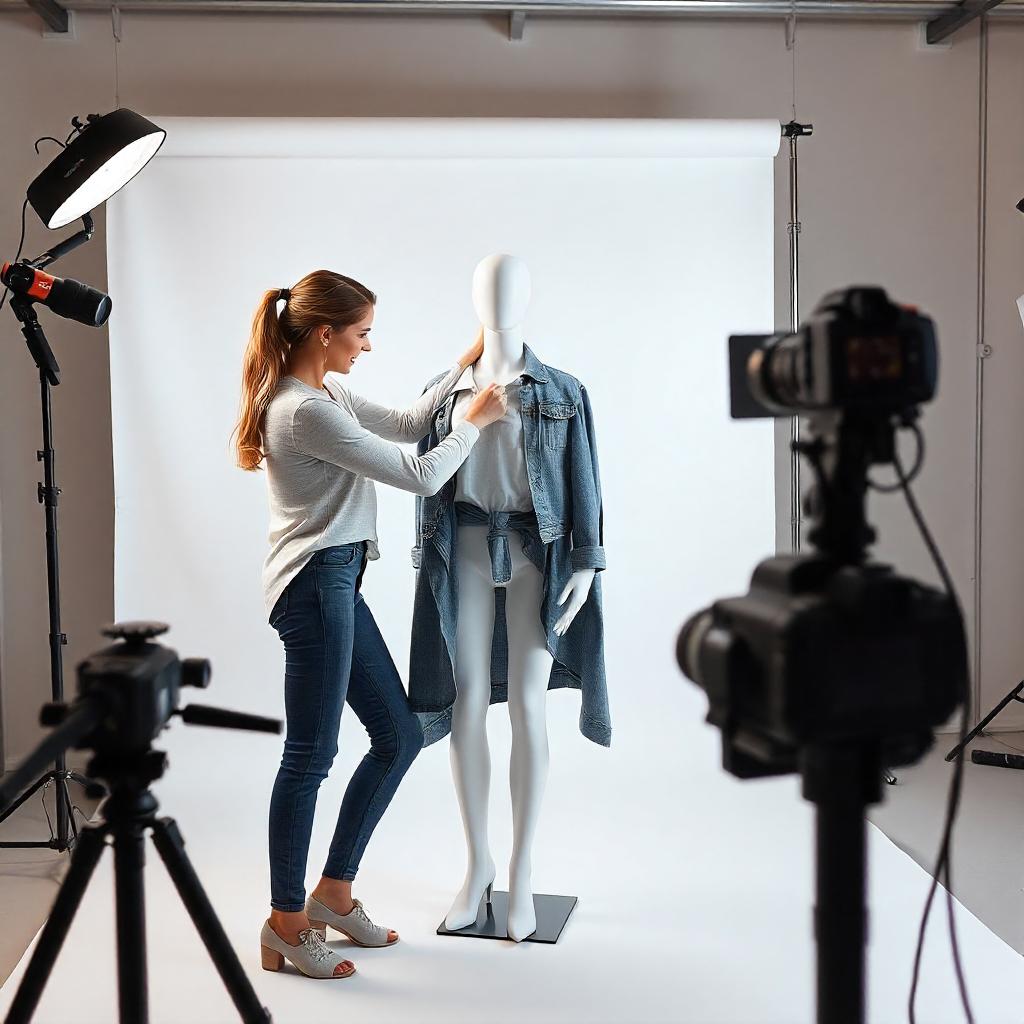
It is also important to consider the pose and movement of the mannequin. A pose that looks natural and relaxed will add to the overall realism of the image. Consider using a tripod or remote shutter release to minimize camera shake and ensure a crisp, clear image.
Tips and Tricks to Prepare Your Images for Editing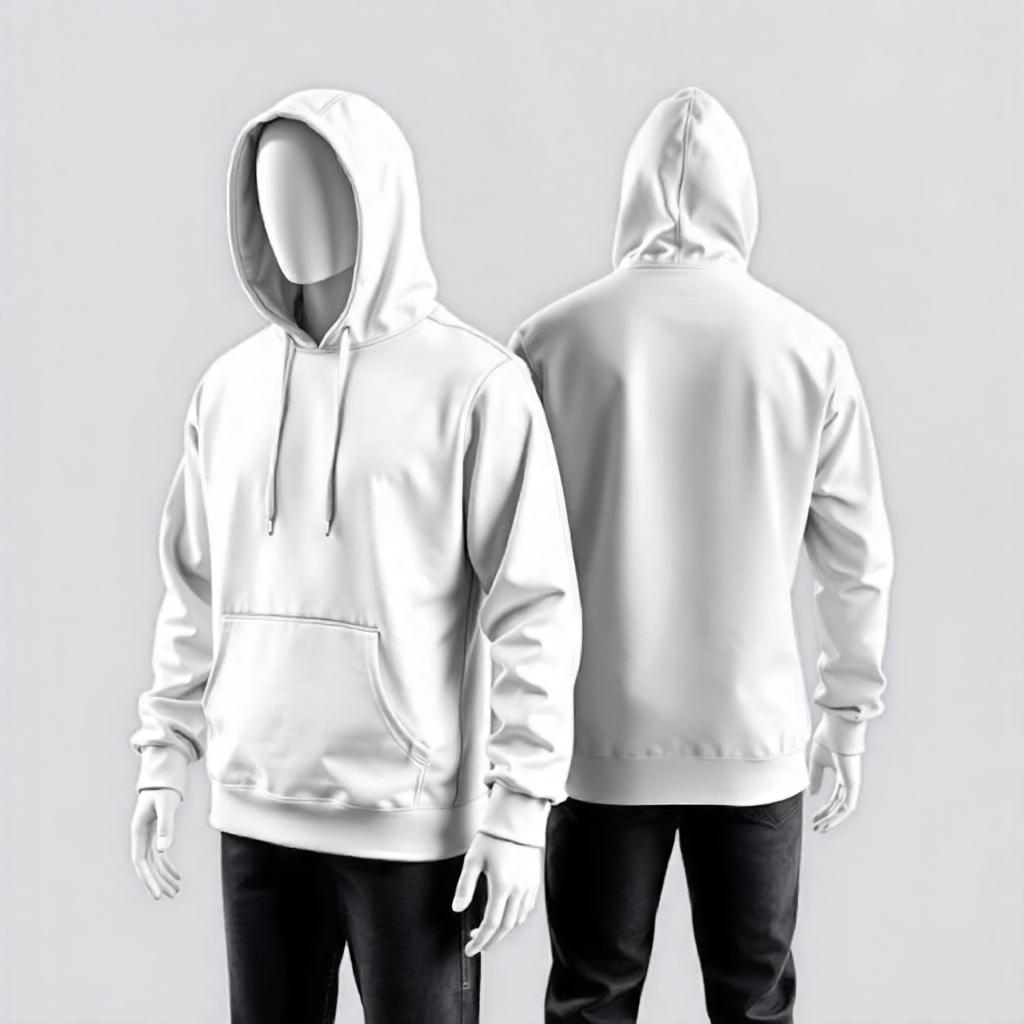
Preparing your images properly is crucial for successful ghost mannequin editing. Here are some key tips to ensure your images are ready for editing:
- Remove any distractions or unwanted elements from the image. Focus on the product to ensure a clean and professional look.
- Adjust the size of your image to fit the intended use. Choose a resolution that maintains quality while fitting your specific needs.
- For ghost mannequin edits, use high-resolution images with a transparent background. This format makes it easier to isolate the mannequin and seamlessly replace or edit it.
Creating a Seamless Background Using the Clone Stamp Tool
Creating a seamless background is a key element in ghost mannequin editing. This can be achieved using the clone stamp tool in Photoshop. The clone stamp tool allows you to replace a section of an image with another section of the same image. To create a seamless background, select the clone stamp tool and set the brush size to match the area of the background you want to replace.
Holding the alt key, click on the area of the background you want to replace. This will create a sample area that will be used to generate the replacement brush. Move the brush over the area you want to replace and click to replace the background.
Working with the Perspective Warp Tool for Accurate Results
The perspective warp tool is a powerful tool in Photoshop that allows you to adjust the perspective of an image. This is particularly useful when working with ghost mannequin edits, as it allows you to adjust the perspective of the mannequin to match the background.
To use the perspective warp tool, select the tool and click on the area of the image you want to adjust. Holding the alt key, drag the tool to adjust the perspective. You can also use the perspective warp tool to correct any distortion or warping in the image.
Advanced Techniques for Retouching and Refining Your Edits
Advanced techniques for retouching and refining your edits include using the spot healing brush to remove blemishes and imperfections, and the content-aware fill to remove entire areas of the image. These advanced techniques can help take your ghost mannequin edits to the next level.
When retouching, use a soft brush and gentle strokes to remove any imperfections. When refining your edits, use the refine edge brush to refine the edges of the mannequin and background.
Enhancing Textures and Details for a Realistic Finish
Enhancing textures and details is an important step in creating a realistic finish. This includes adding depth and dimensions to the image, and enhancing the details of the mannequin and background. When enhancing textures and details, use a combination of the dodge and burn tools, and the sharpen tool.
The dodge and burn tools allow you to adjust the brightness and contrast of the image, while the sharpen tool allows you to enhance the details. Combine these tools to create a realistic finish that looks like a high-quality photograph.
Tips for Achieving Flawless Ghost Mannequin Edits
Putting it all together is the final step in creating flawless ghost mannequin edits.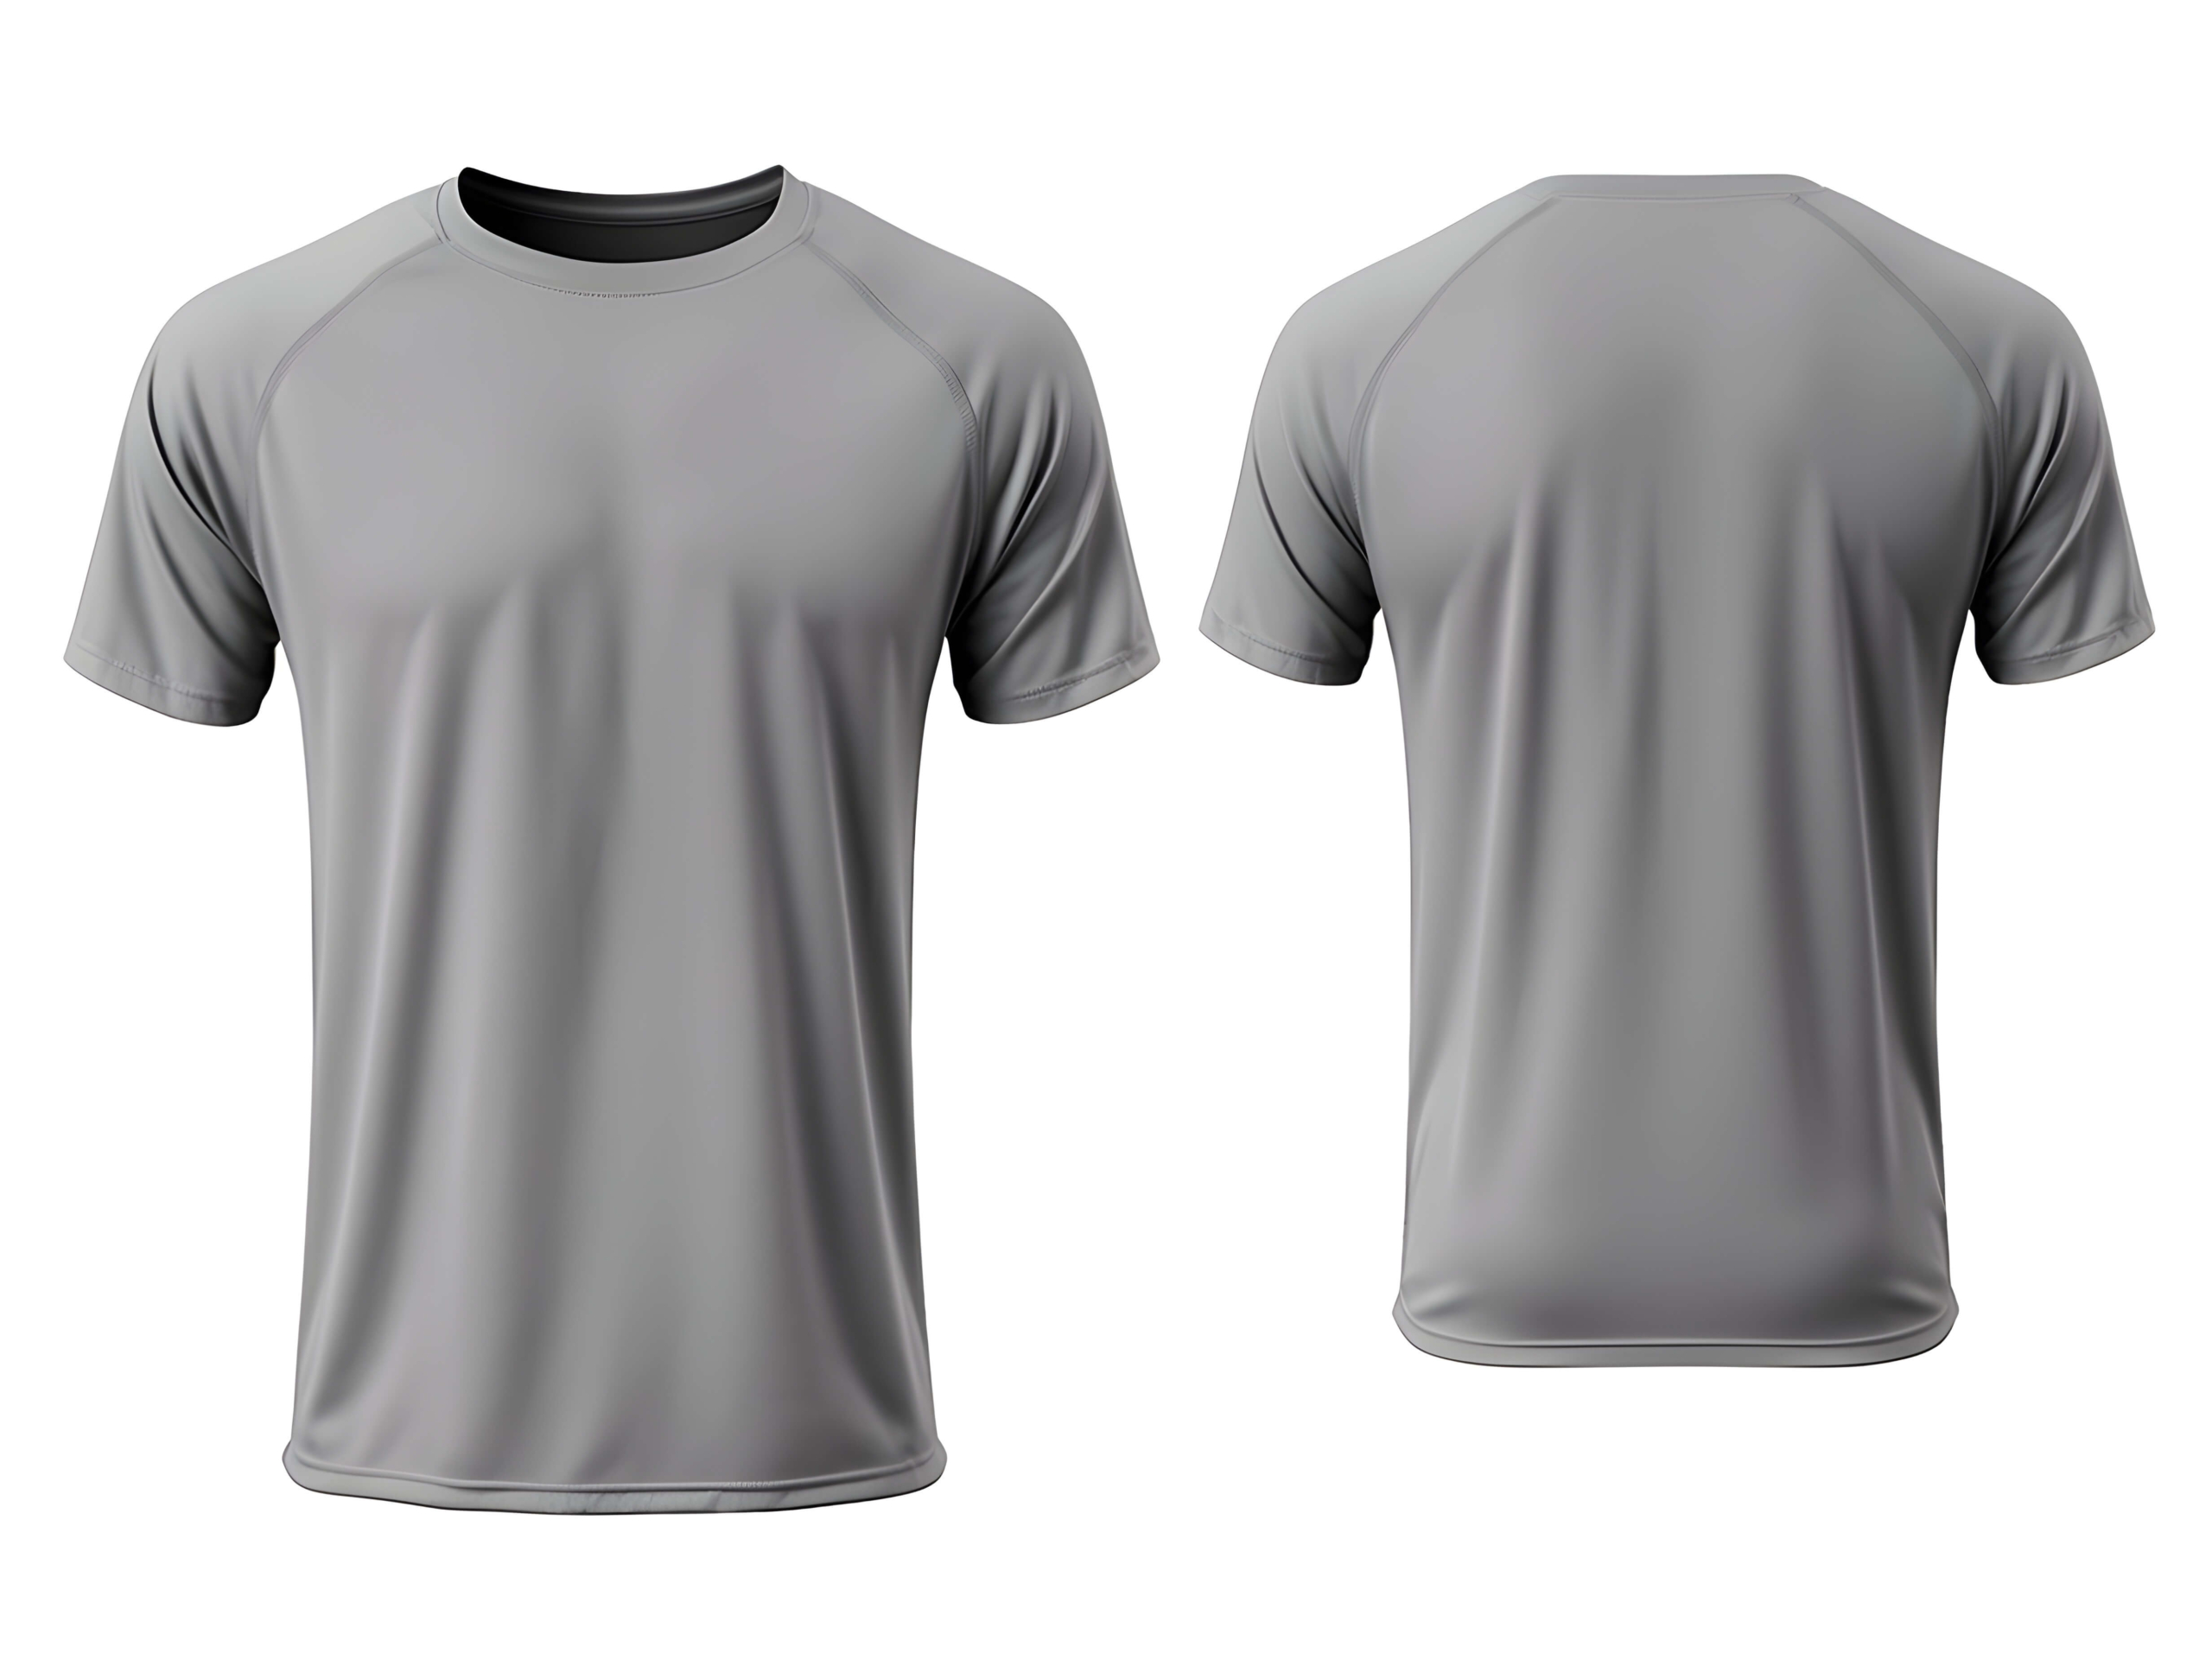
Read Next: Download Adobe Photoshop for Windows 10 at No Cost
