Product Photography
When it comes to product photography, you would probably assume that one snap of the camera would do the trick. However, behind every high-quality product photos are thorough preparations and hardworking photographers who made sure that the products are presented well — from staging and styling the products down to the editing process.
The quality of the images of your product has a high impact on how people will perceive its value. And you surely wouldn’t want your product’s value to be judged right away with a single photo, right? You must find a way on how you can present them effectively that it can justify the quality of your products and gain the trust of your target customers.
If you plan to shoot your merchandise or simply want to learn more about product photography, below are some tips, tricks, and ideas that you can easily follow through.
Focus on the Subject
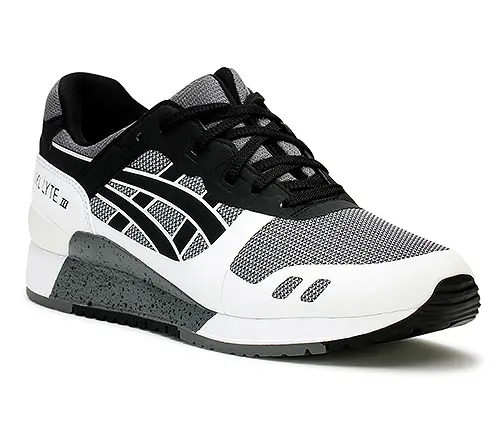
Your product is the subject. So, focus on it and prioritize shooting product-only images. Do not bother worrying about not having enough props to make your output look more presentable to your customers. Oftentimes, the use of props will only distract your consumers from the main subject. That is why we highly encourage you to utilize plain and white backgrounds so the details of the product will stand out.
Shoot and Explore Different Angles
Imagine being on the customer’s end: would you feel encouraged to buy an item that shows a frontal shot? Or would you be more enticed with the product that shows all of its angles? You will surely choose the latter. However, before capturing all sides of the product and end up overwhelming your target customers, ensure that you know what you or your client is looking for.
Invest in Basic and Appropriate Equipment
When it comes to shooting products, you will highly focus on its details, both big and small. For that, you will need the right tool and equipment to match your needs. Other than cameras, you would also need lenses that can adapt to the various needs of a shoot, lighting equipment to make sure that your final output is well-lit, and a tripod to ensure consistency in the staging of the subject.
Lead the Product Presentation During Shoots
Know that if you are a photographer, you are also a creative director. You are responsible for how your final output will turn out. Even if you are working with a client, you need to exert your directions where you deem it fit, especially if the result benefits the overall presentation of the product.
If you think that the item looks best with props, then request for accessories. But if you feel that it already looks good on a plain background, then do away with props. Do not be afraid to lead the shoot, and only then can you expect beyond satisfactory results.
Keep Your Subject Clean and Presentable
Even if you are not photographing your own products, it is still your responsibility to make sure that they look good both on and off the cam. Sure, you can rely on the post-production stage wherein you can make edits and touches on the photo. However, it can be time-consuming. So, why not clean the product before shooting it? Consider bringing along with you a cleaning kit, which contains necessary materials that can remove common unpleasant things that stick on products, such as dust and fingerprints.
Utilize Proper Lighting
There are two types of light sources you can choose from: natural light and artificial light. Natural light is the light coming from the sun, and artificial lights are those that come from humanmade sources, such as candles and light bulbs. Whatever you choose for your shoot, make sure that it wholly improves the output of your product photography.
Use natural light if the product is meant for the outdoors or if it is something that can be worn since people would look better under natural light. Natural light is also used best if you want to emphasize how the product functions when used outdoors. On the other hand, use artificial light if you want to emphasize the attributes of the product. Artificial lighting can also help in producing images with uniform looks and colors.
Evaluate Every Shot
Do not make the mistake of clicking the camera away without stopping to look and evaluate the shot you just took. By doing so, you learn what works or not and what you need to do to present the product even better. Also, if you do not have an extra memory card on hand, this will help you save space since you can delete the photos with unsatisfactory results. By continually evaluating, you will naturally improve in your craft, and you will discover various ways on how to expertly capture product photos that meet your needs as the creative director.
Practice, Practice, and Practice
Nothing beats the art of practicing in any photography niche. Whether you are a beginner or not, you already have an idea that coming up with impressive and head-turning product photos is no easy feat. Before you can consider yourself as an expert in this niche, you need to practice a lot. Among the things that you need to master are styling the products and getting the best light source setup. Mastering these takes time, so keep on practicing and exploring product photography until you can say that it has become your second nature.
Photography plays an important factor in selling products. You may have the best products to sell, but if you fail to present it effectively to your target customers, you will have lesser chances of selling it. Product photos may be ordinary images, but if it has superb quality, they will eventually convert to sales and improve your overall business brand image.
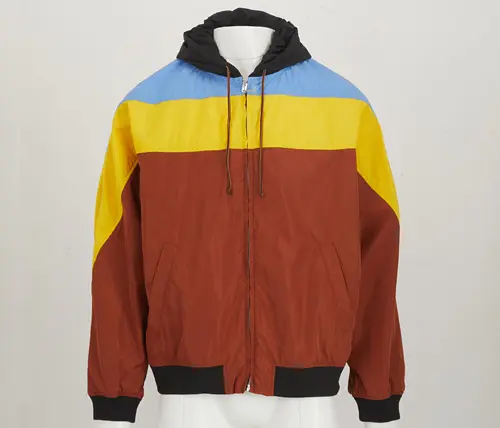
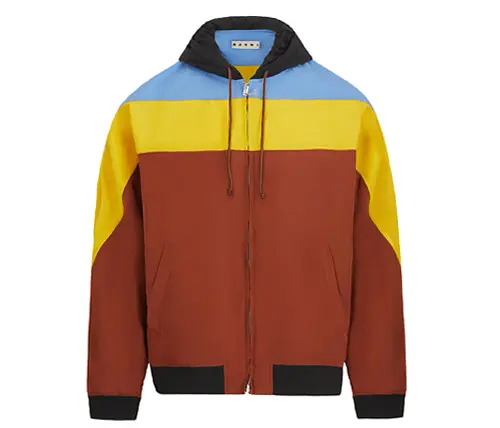
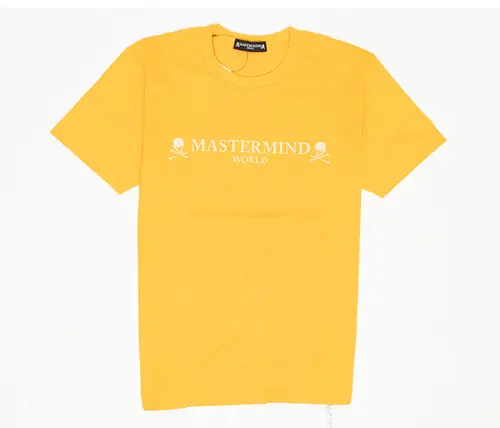
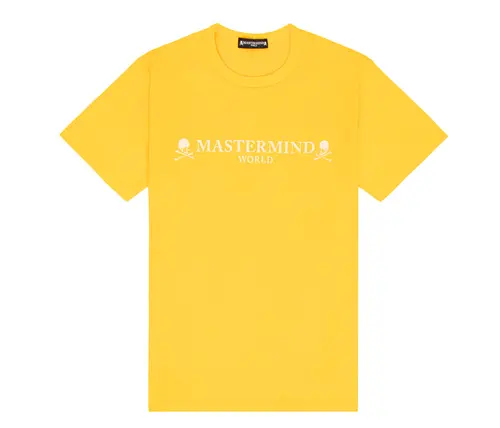
Ecommerce Product Examples
- Color Correction
- Photo Retouching
- Wrinkles Removal
- Remove Background (masking)
- Creating Shadow
- Product Photo Cleaning

- Cropping & Resizing
- Clipping Path
- Change Background into Black & White