Family photos are a great way to remember good times. They can show love and…

Understanding Macro Photography
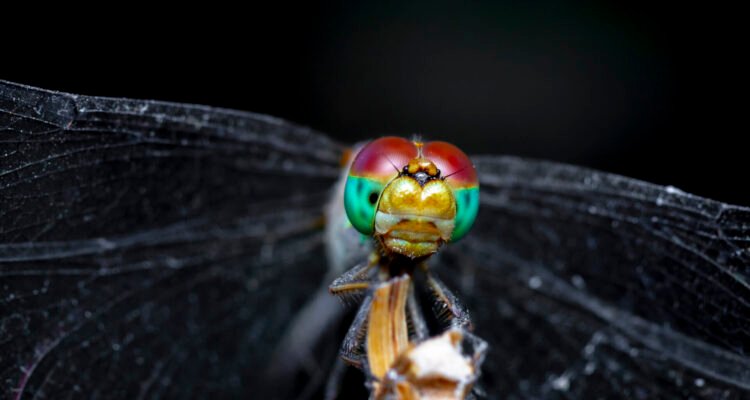
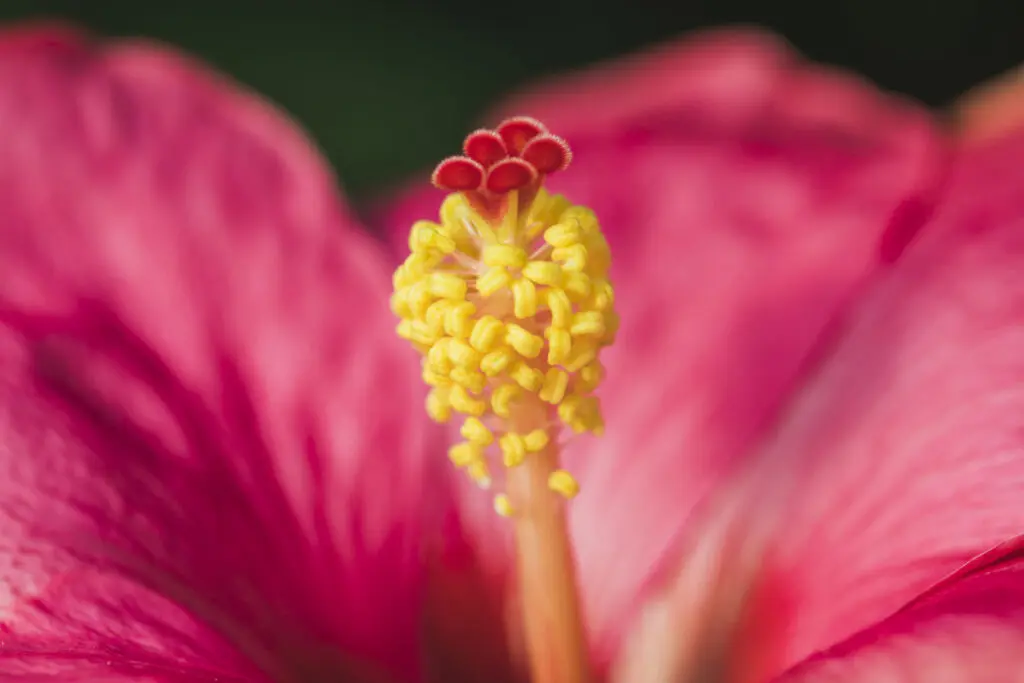
Macro photography is about taking close-up pictures that show small details we can’t see without help. It helps us appreciate the beauty in things we might overlook. To do macro photography, you need the right tools and skills to take clear, beautiful photos of small things.
This guide covers what you need to know to get started and improve your macro photography skills. Let’s explore and enjoy the beauty in the little things together.
What is Macro Photography?
Macro photography takes up-close pictures of tiny things, showing details we don’t usually see. It uses composition, lighting, and focus to make a big impact with the images.
The Essential Gear for Macro Photography
 To begin macro photography, you need important tools like a macro lens, tripod, and lighting. You can also use extension tubes and close-up filters to get closer to your subject.
Choosing the Right Macro Lens
The most important part of macro photography is the lens. A good macro lens lets you get close to your subject and take clear pictures.
Macro lenses have different lengths, like 50mm or 200mm. The best one for you depends on what you’re taking pictures of and how close you want to be. For instance, if you’re shooting insects, a longer lens lets you stay far away.
Extension Tubes and Close-Up Filters
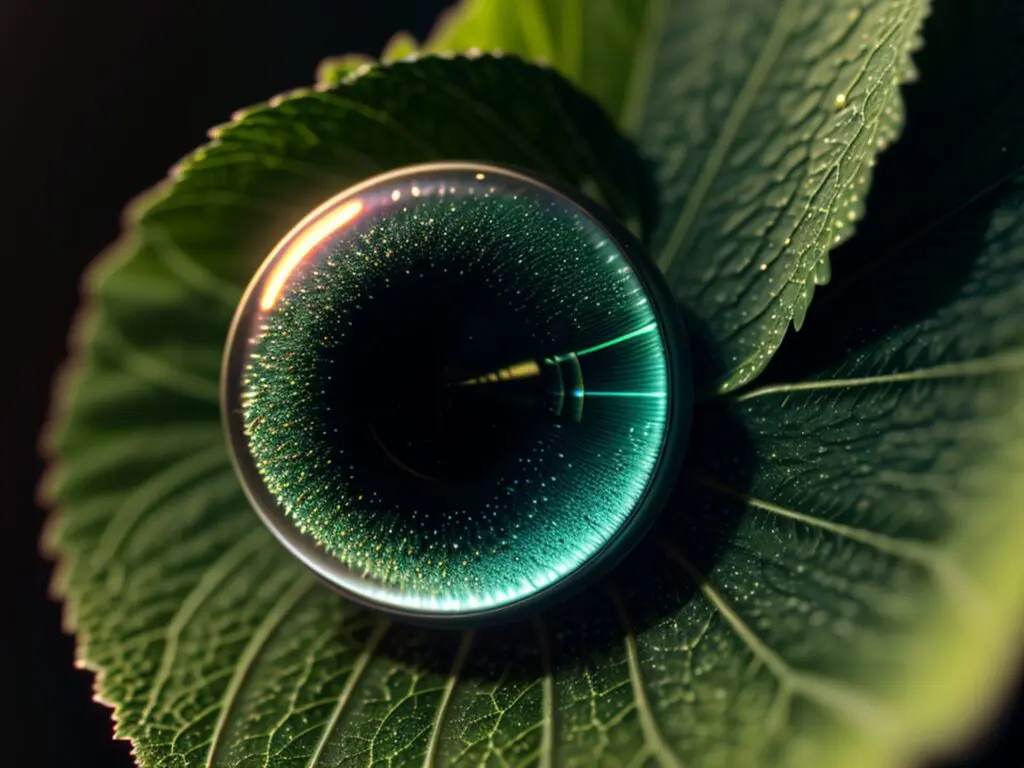
Extension tubes and close-up filters make things look bigger when you take a picture. They help you see more details in your subject.
But they can also make your picture darker. You might have to change your camera settings to make it brighter.
Tripods
Having a strong tripod is important for close-up photography. It keeps your camera steady, so your pictures are clear and sharp. Some tripods have a macro rail to move the camera precisely for better focus.
Lighting: Flash and Diffusers
Macro photography needs good lighting. Lighting highlights details and colors in your subject. Use a flash for extra light. A diffuser softens the light and reduces shadows.
These tools are important for macro photography.
Camera Settings for Macro Photography
For good macro photos, it’s important to know the right camera settings. These settings help your camera capture light and detail well.
 There are three main settings to learn about: aperture, shutter speed, and ISO. Each of these changes your photo in a unique way.
Understanding Aperture and Depth of Field – The aperture on your camera lets in light and affects how much of your picture is in focus. Using a smaller aperture in macro photography makes more of the subject sharp. But, less light reaches the camera sensor so you might need to adjust other settings.
Shutter Speed and Motion Blur – Shutter speed decides how long your camera’s sensor catches light. It also affects how movement looks in your photo. In close-up pictures, a quick shutter speed stops motion, while a slow one makes things blurry. But, using a slow speed can make your camera shake, so you might need a tripod.
ISO and Noise Considerations – ISO changes how sensitive your camera is to light. A higher ISO lets you take pictures in dark places, but it might make your photos look grainy.
For macro photography, it’s usually better to use a low ISO to reduce grain. But in low light, you might have to use a higher ISO. Remember there’s a trade-off.
Macro Photography Techniques
 Mastering macro photography techniques can take your images to the next level. These methods can help you take great pictures and make interesting designs.
Achieving Sharp Focus
Getting a clear focus can be hard in macro photography. Being close to your subject means small movements can make it blurry.
Using manual focus lets you choose exactly what to focus on. A tripod helps keep your camera steady and avoid blurry pictures.
Composition and Framing
Composition and framing are important for making good close-up photos. Rules like the rule of thirds, leading lines, and framing can help focus on your subject.
Try taking photos from different angles and viewpoints. Sometimes, the best photos come from surprising perspectives. Showcasing unique details that might be unnoticed in daily life is the aim.
Working with Natural Light
Natural light makes photos look nice and soft when you take close-up pictures. But sometimes it can be tricky and change fast.
Take photos in the early morning or late evening for the best light. If the sun is too bright, use something called a diffuser to make the light softer.
Exploring Focus Stacking
Focus stacking is when you take a bunch of pictures at different focuses and put them together. It makes the picture have more in focus.
This is helpful for close-up photos when you want everything to be clear. It’s important to be careful and take your time to make sure the pictures line up perfectly.
Creative Use of Backgrounds
The background in your close-up picture can make your subject look better or worse. A plain background can make your subject look clear.
Try out different backgrounds to see which one looks best with your subject. The aim is to make your subject look good, not take away from it.
Advanced Macro Photography Tips
As you delve deeper into macro photography, you’ll want to refine your skills. Using advanced techniques can help you capture small details and make better pictures.
 Using Manual Focus for Precision
Autofocus is helpful, but not always precise in close-up photography. Manual focus allows you to pick the exact spot you want to focus on, especially for things that have a lot of details. It helps you capture the best parts of your subject.
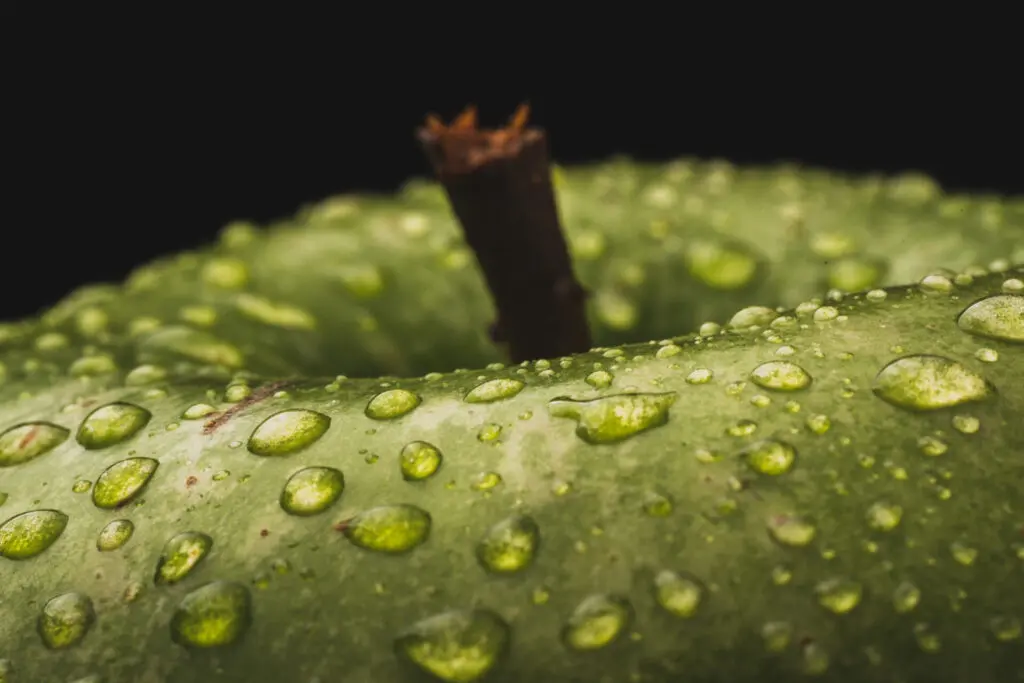
Handling Moving Subjects
Taking pictures of things that are moving, like bugs or water drops, can be hard in close-up photography. You need to react fast and know how to use your camera settings well.
To stop the movement, use a faster shutter speed. Or, to show movement and make your photo more interesting, use a slower shutter speed.
DIY Techniques for Macro Photography
You don’t have to spend a lot of money on fancy tools to take great close-up pictures. DIY methods can save you money when doing macro photography.
Try using a backwards lens or extension tubes to get closer to your subject. Test out different methods to find what’s most effective for you.
Post-Processing Macro Images
Once you have taken your close-up photos, the next thing to do is edit them. You can make the details look better and fix any color problems.
Enhancing Details and Sharpness
Macro photos need to be sharp. Use editing software to make pictures clearer and bring out more details. To bring out textures, use tools like sharpening and clarity. Be careful not to make the image look fake by overdoing it.
Color Correction and White Balance
Adjusting colors after taking a picture is important. It can make your macro images look better. Fixing any strange colors caused by the lighting is also important. It can improve the appearance of your picture.
Conclusion
Macro photography is about capturing tiny details. It takes time, practice, and a good eye. Explore different methods and take your time to enjoy the journey of mastering macro photography.
Read next: Top 5 Best Cameras for Macro Photography
Related Posts