A great professional headshot editing tips is important for making a good first impression, even…

Boost Your Photo Editing Workflow with These Amazing Tricks
An organized photo editing workflow can completely change the way photographers work. It saves time, boosts creativity, and helps you stay focused. If you’re editing just a few photos or a whole batch, having a clear step-by-step system can make things faster.
Think about it; what if you had a guide that helped you avoid stress and saved you from doing the same edits over and over? That’s the power of a good workflow. It’s not just about editing faster; it’s also about editing smarter.
When your editing routine is in place, everything feels more manageable. You’re not guessing what to do next. You know which tools to use, where to start, and how to finish strong. It helps you focus more on being creative and less on fixing the same mistakes again and again.
If you’re just starting out or you’ve been editing photos for a while, building a workflow can really help. And no, it doesn’t have to be complicated or technical. These tips are simple and easy to follow, even if you’re new to photo editing.
Let’s break down six helpful ways to speed up your photo editing workflow without losing quality. These tips will help you stay organized, edit faster, and create great-looking photos you’ll feel proud to share with your clients.
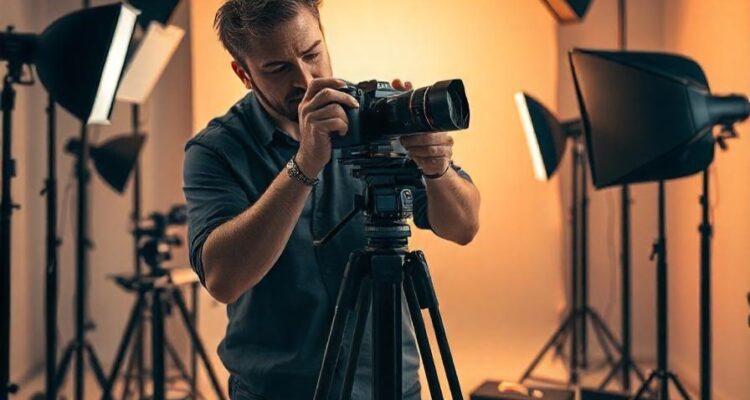
1. Choosing the Right Camera
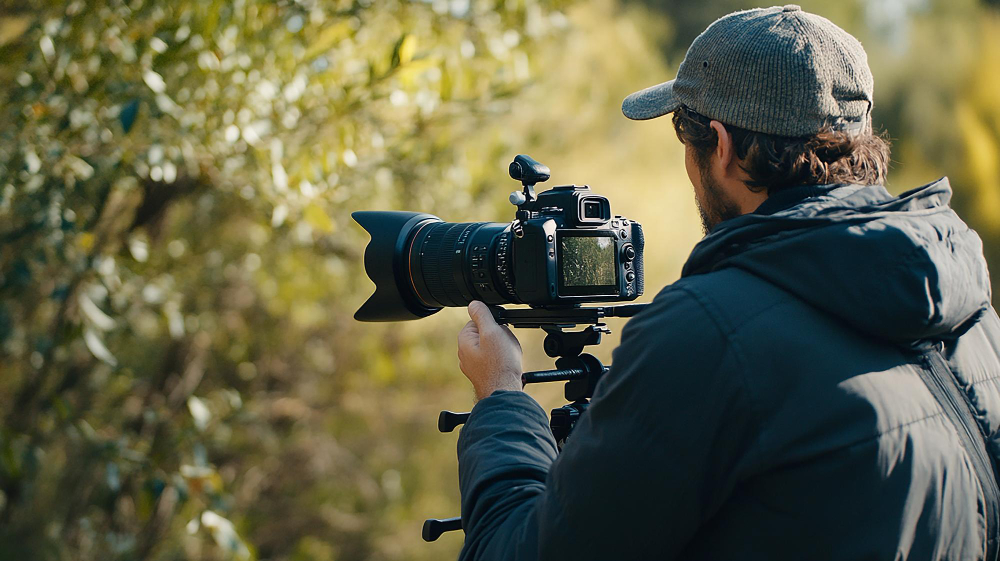
Your camera choice directly impacts the efficiency of your photo editing workflow. The difference between crop sensor and full-frame cameras is more than just technical. It determines the level of editing needed later.
Full-frame cameras capture better dynamic range, handle low light more effectively, and produce higher-quality images. That means less time fixing issues in post. Pairing your camera with high-quality lenses, proper lighting, and a solid tripod results in sharper, more consistent shots.
Starting with the right gear minimizes the amount of editing needed and improves your entire photo editing process.
Bonus Tip: Consider mirrorless cameras for lighter, more compact gear with advanced autofocus capabilities. These can make your shoot smoother and give you cleaner images to start with.
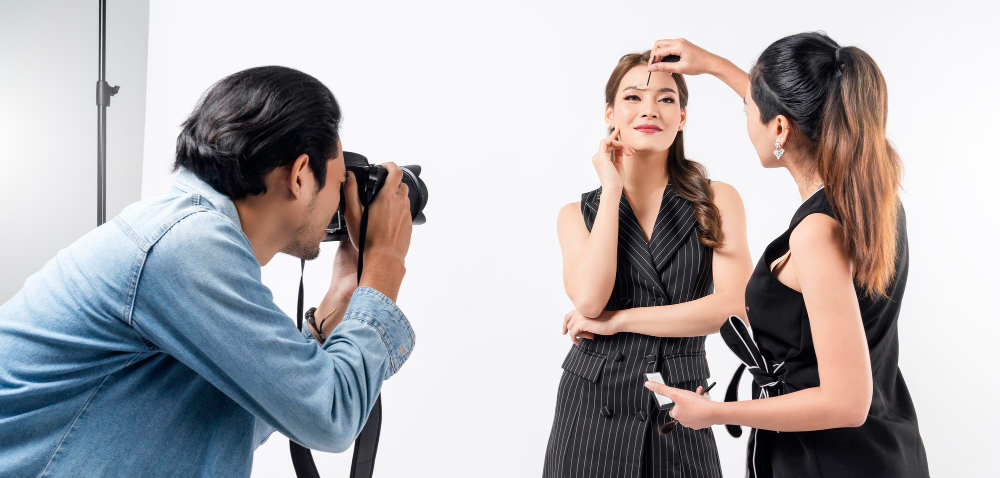 2. Hire a Professional Photographer or Stylist
If you don’t have time to style your shots, hiring a pro photographer can be an easy way to make your process smoother. Professional photographers and stylists bring experience and creativity, making sure your photos are well organized and visually appealing.
When images are well-planned and executed during the shoot, it significantly reduces the need for complex post-processing. For product shoots, a stylist can help arrange props, manage lighting, and ensure consistency that leads to faster editing. Even if you bring in a pro for specific shoots, it can enhance the overall quality of your work.
Bonus Tip: Collaborate with stylists who understand your brand aesthetic. It ensures your images look consistent, reducing back-and-forth corrections during post-editing.
3. Shoot in RAW Format
Shooting in RAW might seem like more work at first; it takes up more memory and requires software that can handle large files. But in reality, RAW gives you more control in editing. These files preserve all the data from the camera sensor, allowing for deep adjustments in exposure, white balance, shadows, and highlights.
JPEGs are compressed, meaning a lot of image data is discarded at the time of capture. This limits your ability to make big changes without losing quality. RAW images, on the other hand, preserve details that make your editing more flexible and effective.
While RAW format uses more space, today’s budget-friendly storage options make it a worthwhile choice.
Bonus Tip: Use dual card slots in your camera to shoot RAW on one card and JPEG on the other. It gives you editing flexibility while keeping quick previews handy.
4. Use a White Background
A plain white background might seem boring, but it can make a huge difference in both your shooting and editing process. It provides a clean, distraction-free backdrop that makes your subject stand out and makes background removal or color correction easier later.
Many commercial platforms like Amazon, Etsy, and Shopify require or recommend white backgrounds for a clean and consistent look. Shooting with this from the start saves you from the hassle of manually removing complex backgrounds later.
It also helps with maintaining consistency across a series of photos, making batch editing faster and more efficient.
Bonus Tip: Use seamless white paper or a portable white lightbox for small product shoots. They are affordable and save editing time by giving a consistent, clean look.
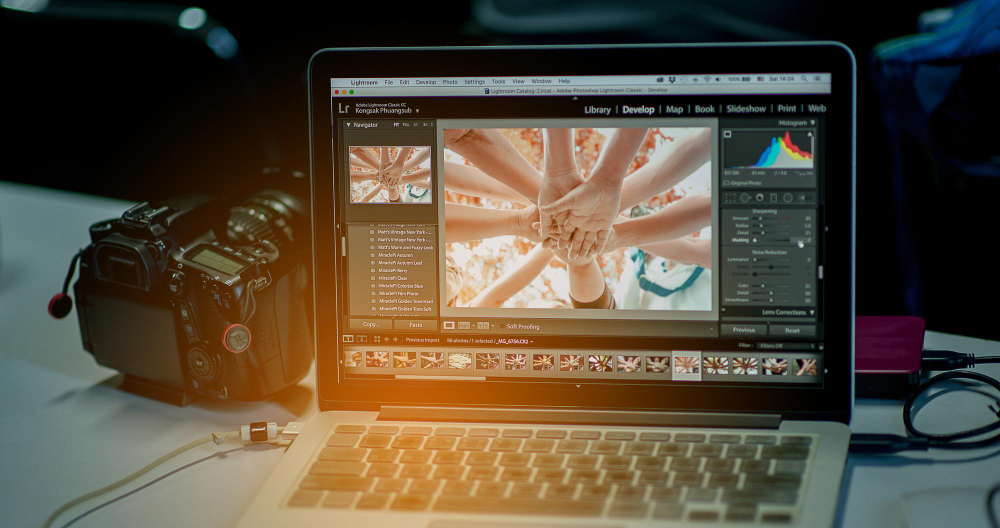
5. Automate Repetitive Tasks
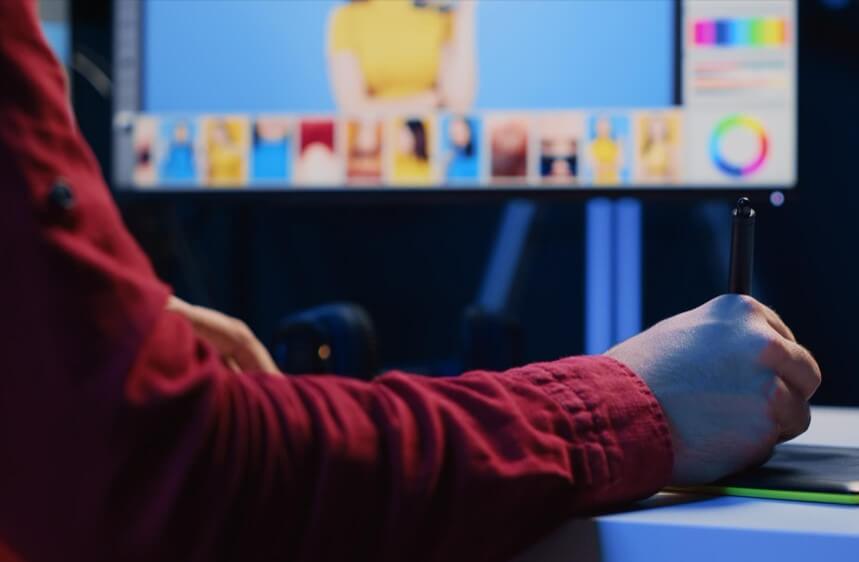
One of the best ways to save time is to automate repetitive editing tasks. Software like Adobe Lightroom lets you create and apply presets across entire shoots. That means you can edit dozens or even hundreds of photos in minutes.
You can also automate renaming files, resizing images, and exporting in specific formats. Some AI tools go further, helping with object selection, retouching, and smart masking.
Bonus Tools:
-
Lightroom Presets: Batch-apply settings for consistent looks.
-
Photoshop Actions: Record common steps and replay them.
-
AI Editors: Tools like ImagenAI and Luminar Neo offer smart adjustments and style matching based on your preferences.
6. Edit from Big to Small
One of the quickest editing strategies is to start with the biggest changes and work your way down to the smallest. Begin by adjusting your white balance, exposure, and contrast. These changes affect the entire image and set the tone for everything that follows.
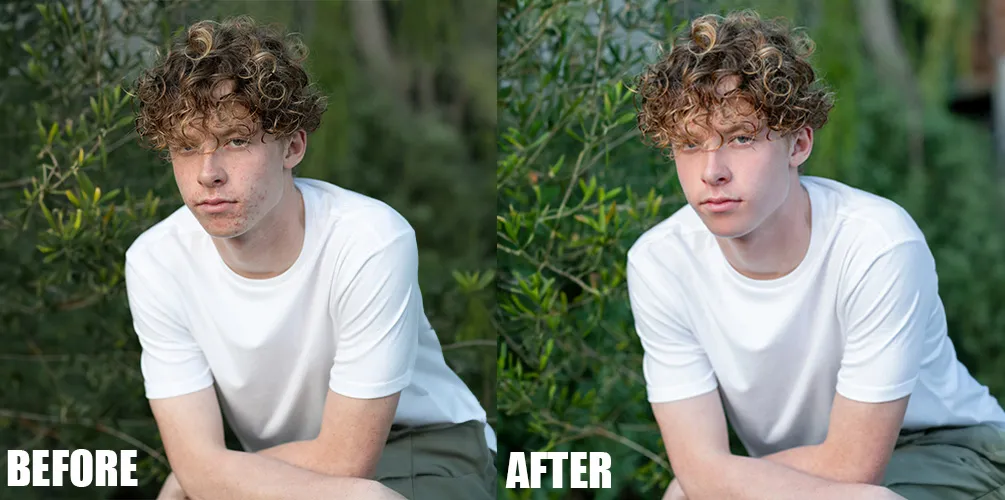
Once you’ve made those foundational edits, you can move on to local adjustments like retouching skin removing small imperfections. This method ensures you’re not wasting time perfecting small details in a photo that might still need major corrections.
It also makes sure your edits stay consistent during the whole shoot. By following a logical process, you avoid having to redo steps later.
Bonus Tip: Group similar images from the same shoot and edit one as a master. Then sync settings to the rest for uniform results.
Additional Tips to Boost Your Workflow
Organize Your Files Smartly
Creating a clear and simple folder system can save you a lot of time later. A good example is to organize your files by year, then by client name, followed by shoot type and date. When your folders are neat and consistent, you won’t waste time digging through random folders looking for the right photo. It also helps when you need to go back to an older project for revisions or re-edits. Keeping everything in the right place makes your entire workflow smoother and less stressful.
Use Keywording and Tags
Tagging your images with keywords helps you find them quickly, especially when you’re dealing with hundreds or thousands of files. Programs like Adobe Lightroom let you add tags like “portrait,” “beach,” or “family shoot” so you can easily search later. Instead of scrolling through folders, you can just type a keyword and pull up every photo that matches. This is a huge time-saver when working on multiple projects. It also keeps you from accidentally missing or skipping important shots.
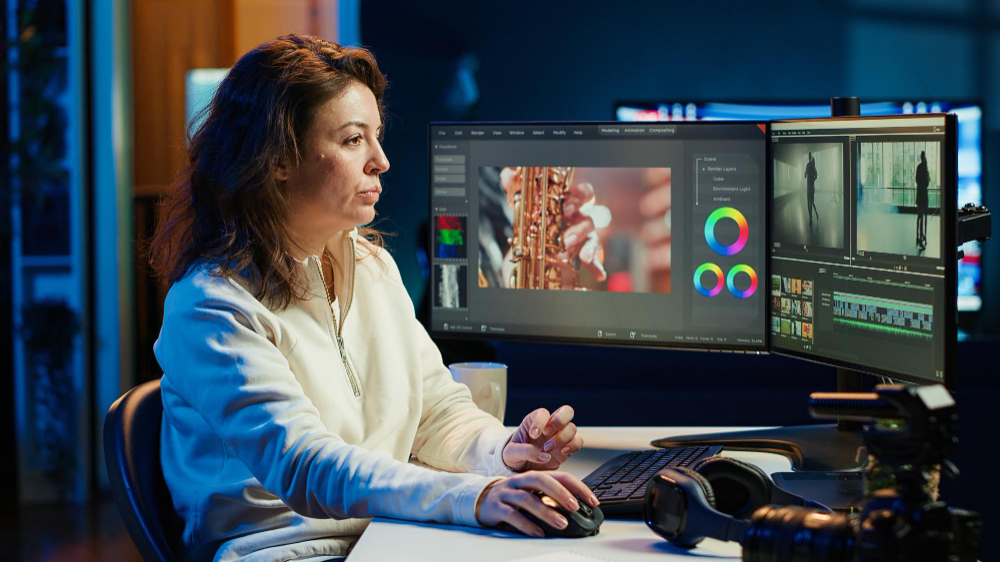
 Set Up Dual Monitors
Using two screens can really boost your editing flow. On one screen, you can edit the image while the other shows the full-sized version, reference shots, or file folders. This means you don’t have to keep flipping between tabs or windows, which can slow you down. It’s especially helpful when comparing before and after versions of your edits. Dual monitors might seem like a luxury, but once you try it, you’ll wonder how you ever worked without them.
Invest in a Faster Computer and SSDs
The speed of your editing process depends a lot on your computer. A faster processor, more RAM, and solid-state drives (SSDs) can cut down your loading, editing, and exporting times by a lot. If your computer struggles to keep up, it slows down everything, from opening files to saving them. Even basic upgrades can make a big difference in how smoothly your editing software runs. Investing in better gear means less waiting and more creating.
Learn From Others
One of the best ways to get better and faster at photo editing is to see how other people do it. Watch tutorials on YouTube or join editing groups on Facebook, Instagram, or other forums. You’ll discover new shortcuts, tools, and techniques that you might not have tried before. Sometimes, just watching someone else’s process can open your eyes to easier ways of working. Learning from others helps you grow your skills and keeps your editing style fresh and up to date.
Conclusion
A good photo editing workflow isn’t only about speed. It’s about being consistent, clear, and making the process smoother. By choosing the right gear, planning ahead, using automation tools, and following a structured editing process, you can save hours of time and get better results.
These six core steps (plus a few extra tips) are easy to implement and don’t require fancy equipment or a huge budget. Over time, they’ll help you deliver faster, improve client satisfaction, and reduce stress in your post-production process.
So go ahead and upgrade your photo editing workflow today. The more organized and efficient you become, the more time you’ll have to do things like taking unforgettable moments and bringing your creative vision to life.
Read Next: Retouch with Photoshop: Enhance Stunning Lashes & Brows
Related Posts