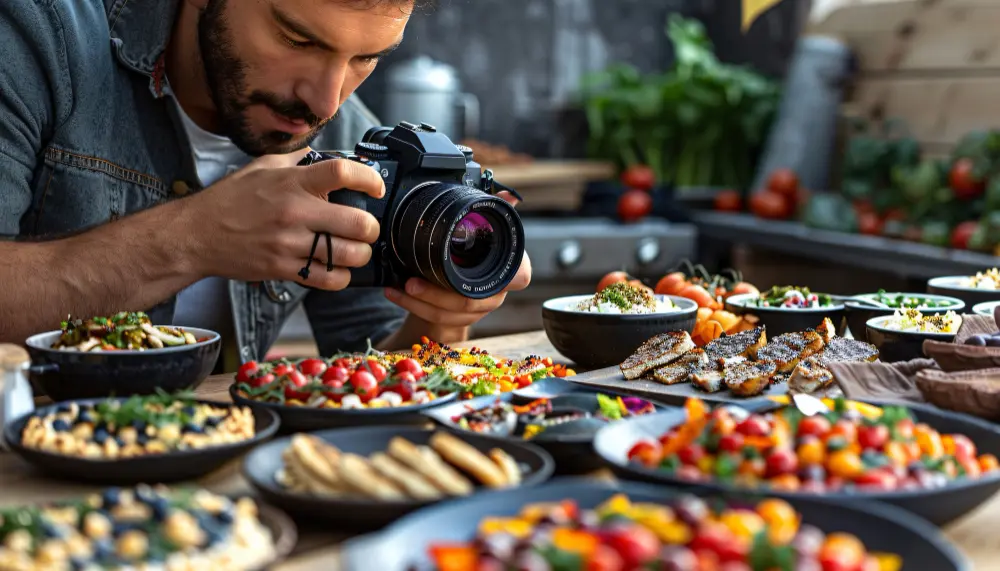
Food photography is an art that captures the essence of a dish through colors and…

A Beginner’s Guide to Food Photography
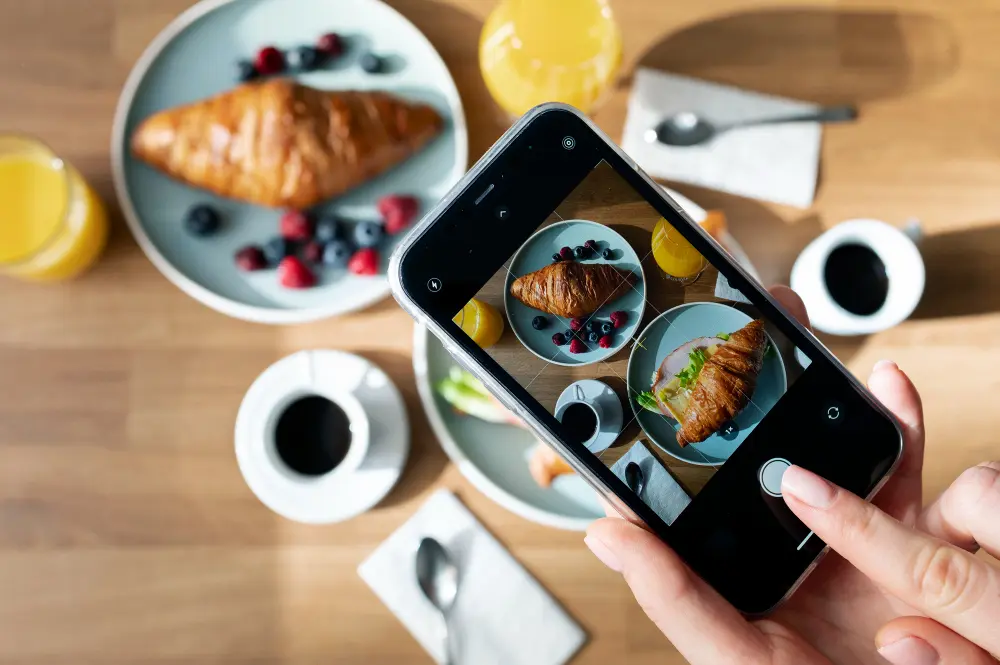
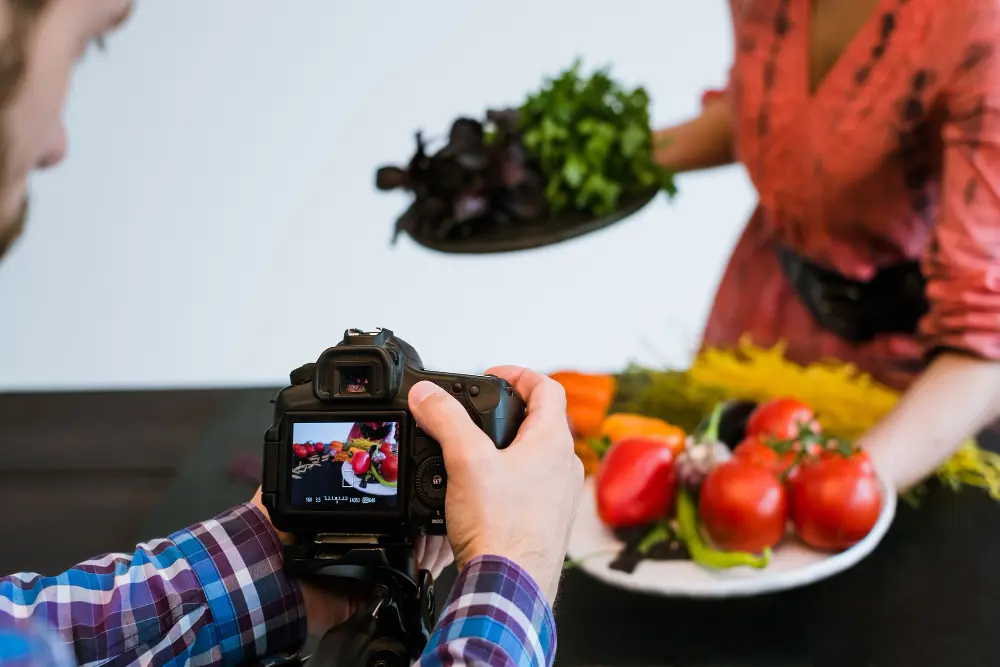
This food photography tips can improve how the image looks and make it more attractive. These cameras have lots of options for photographers to adjust, like exposure, focus, and depth of field. Investing in a DSLR or mirrorless camera can help you improve your photography skills and take great photos. When embarking on the journey of food photography, it can be overwhelming to know where to begin.
To take a good picture of food, make sure to set the camera right, use good lighting, and arrange the food nicely. This guide is for beginners and will teach you important tips to improve your food photography. No matter how much experience you have, we can help you get better at photography. We will be there for you throughout the whole process.
Food Photography Camera Settings
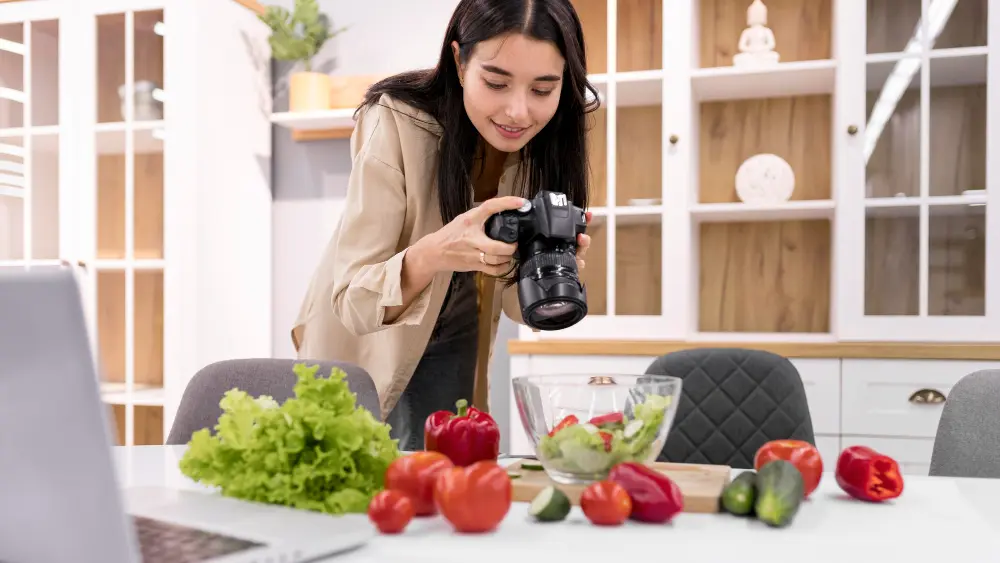
The first step to taking great food photography photos is to understand your camera settings.
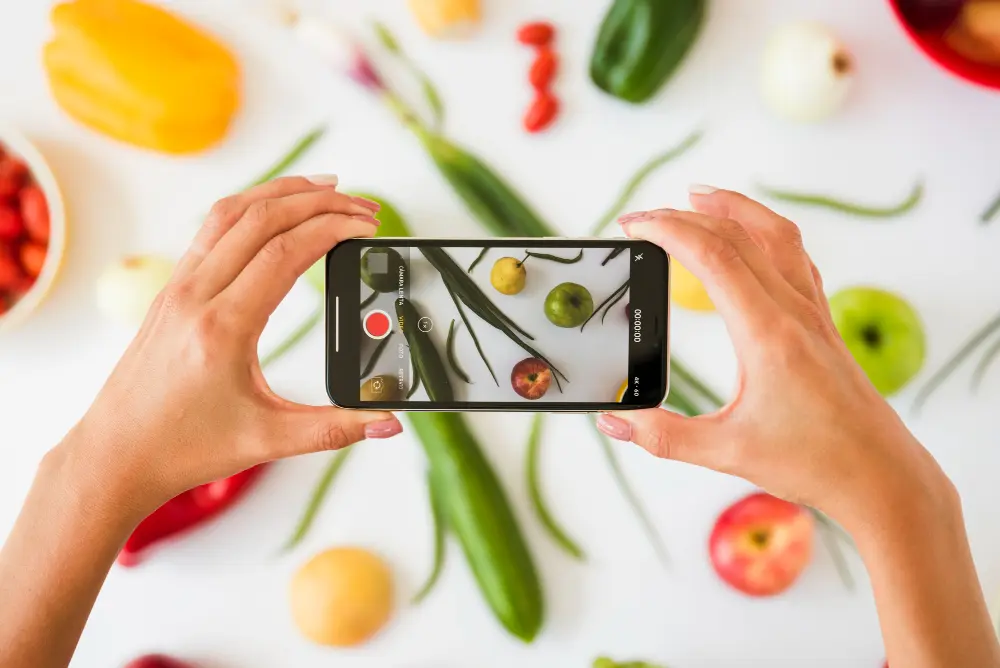
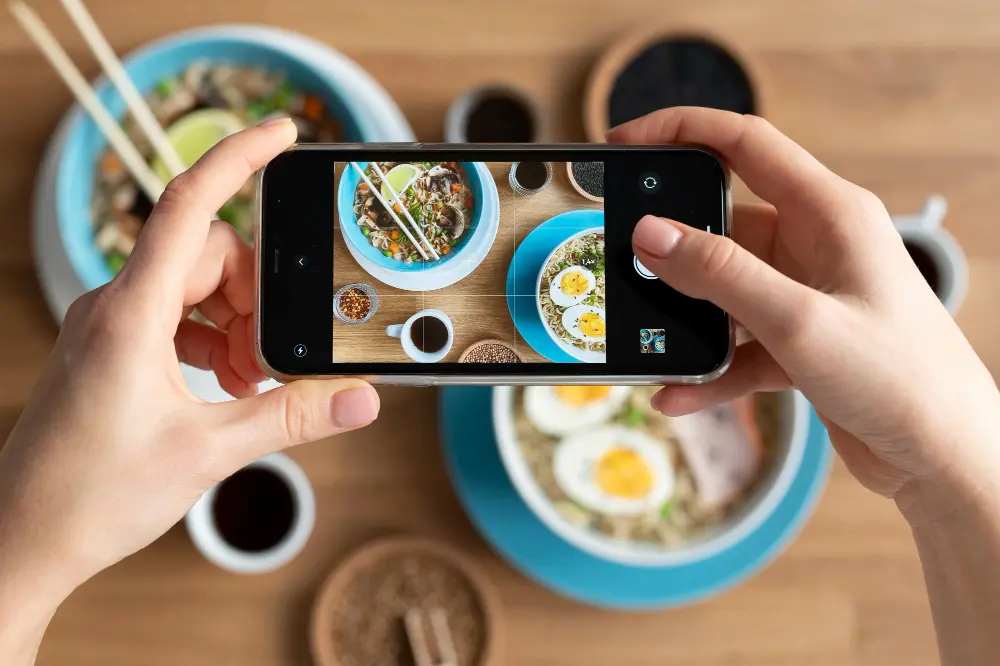
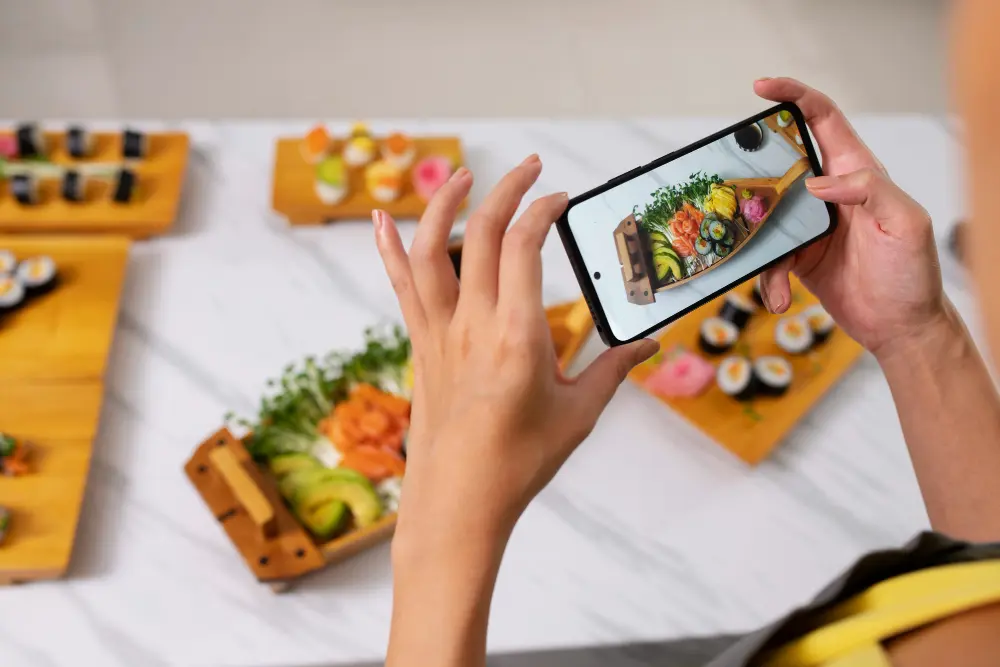
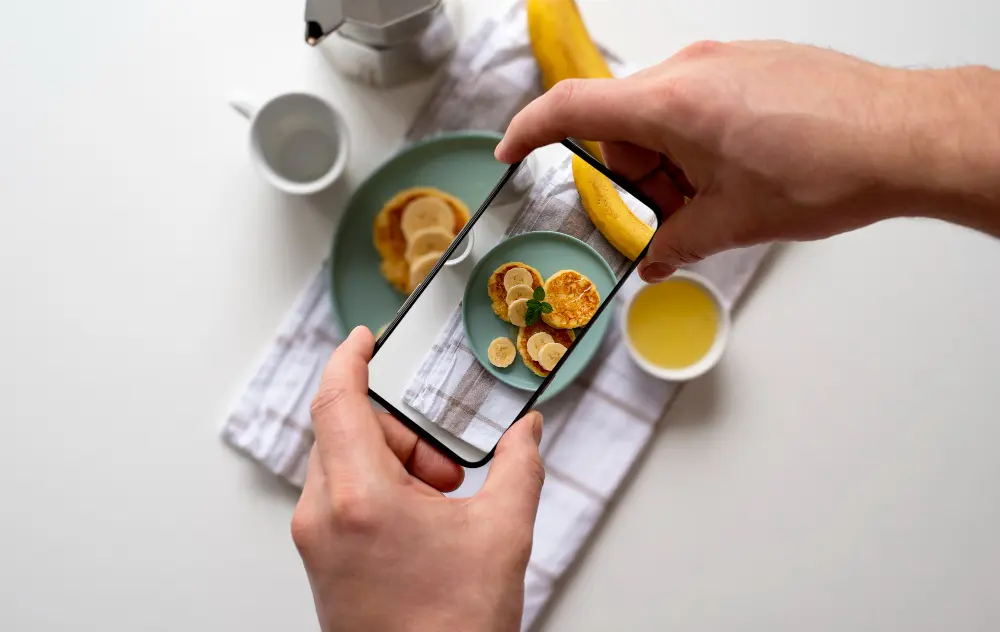
Smartphones have become increasingly popular as all-in-one devices that are capable of taking high-quality photos.Most smartphones take good pictures, but DSLR and mirrorless cameras offer more control and options for better quality images.
These fancy cameras let photographers control exposure, focus, and depth of field with manual settings. Food photography can use different lenses to take photos from new angles and make cool effects that smartphones can’t do. Overall, using a DSLR or mirrorless camera can help enhance the quality and creativity of your photos.
You can change the camera settings to control light, shutter speed, and light sensitivity. This helps you make your photos look just how you want them to. These cameras have bigger sensors that can capture more light and detail.
This makes the images clearer, sharper, and more accurate in color. This better range of colors helps keep bright and dark areas looking good in one picture, making photos look better and more balanced.
These cameras can take clearer pictures in low light, making them less grainy even in dark places where phone cameras struggle. Investing in a DSLR or mirrorless camera can improve your food photography and help you take better pictures. Regardless of the camera you are using, there are a few settings that you should be aware of:
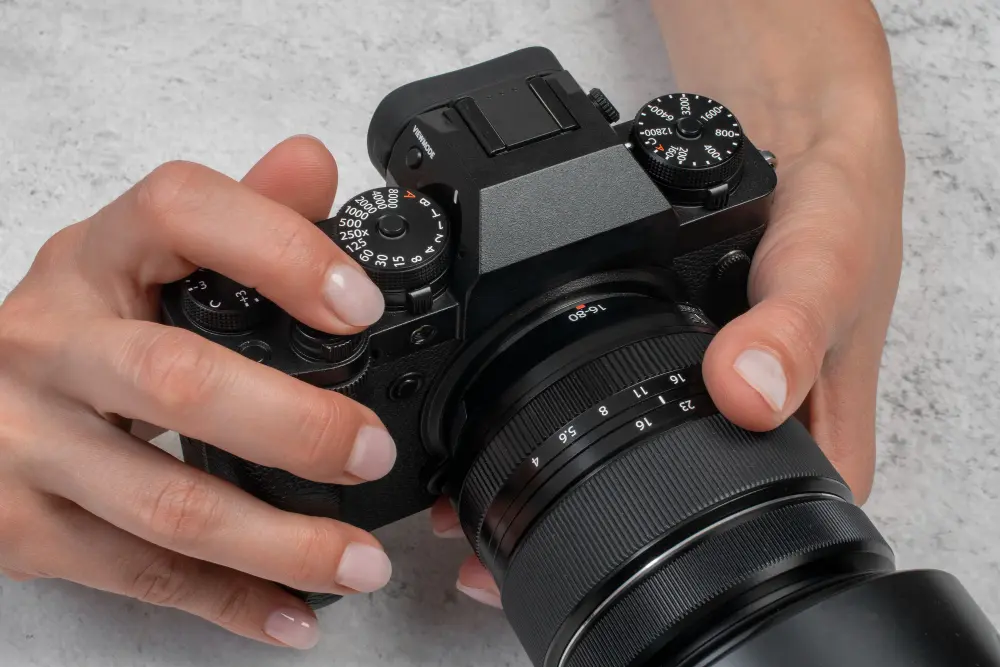
Aperture
Aperture refers to the opening in the lens through which light enters the camera. A wider aperture (smaller f-stop number) will create a shallow depth of field, making your subject stand out from the background. This is ideal for food photography, as it helps draw the viewer’s attention to the dish.
In food photography, many photographers choose to use a wide aperture setting like f/2.8 to f/4 for tasty dishes. This makes the food look better in photos. Photographers can keep the subject clear in the picture by using a wider opening.
This also creates a nice blurry background that helps to highlight the main focus of the photo. This method makes the photo look better by making it seem deeper and more interesting.
Using a wider aperture in food photography can make your photos look better. If you want to take a picture of a big table, use a higher aperture like f/5.6. This will make sure everything in the picture looks clear.
When you change the aperture, your food photography photos will look clearer and show more details. This helps people see all the different parts of the table spread clearly. This technique can make the image look better.
Consider how much light comes in when adjusting the aperture. A bigger hole lets in more light, which helps in darker places. However, ensure that you don’t overexpose the image, which can make the details of the food less visible.
Shutter Speed
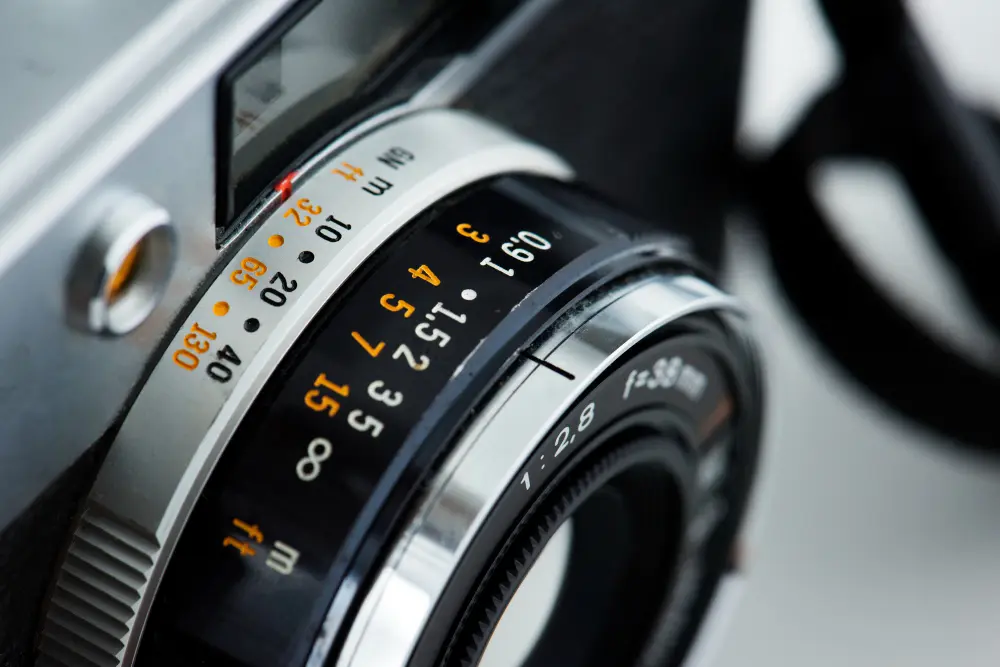
Shutter speed refers to the amount of time the camera’s shutter stays open. A faster shutter speed will freeze any movement, while a slower shutter speed will create a motion blur. To make your food photography look like they’re moving, try using a slow shutter speed when pouring sauce on a dish. When using slow shutter speeds, you need a tripod to keep the camera steady and prevent blurry pictures.
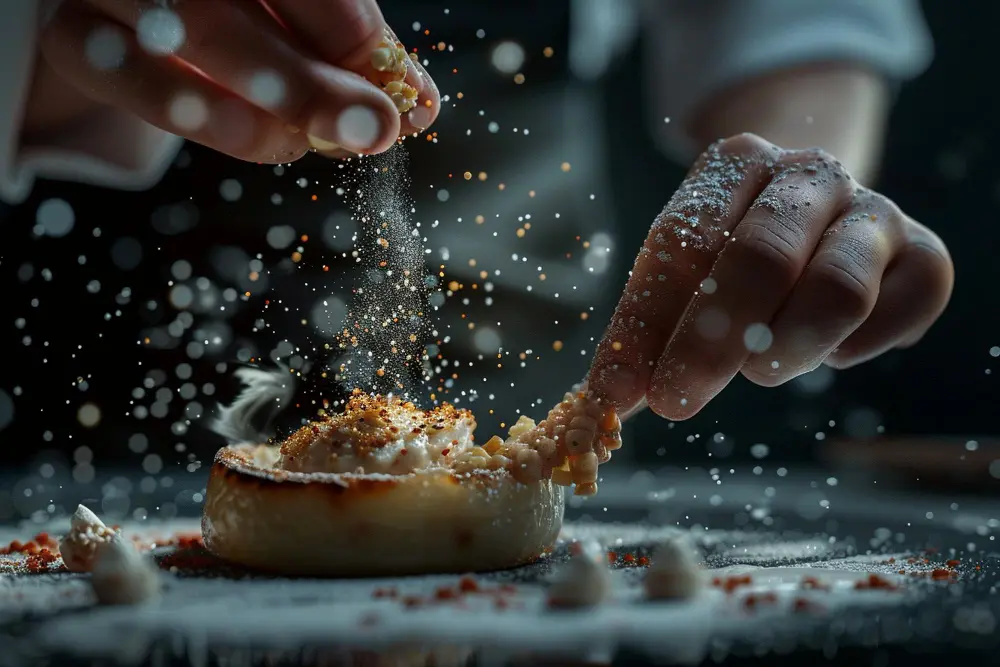
In food Photography, fast shutter speeds aren’t usually needed because the food isn’t moving. However, if you want to capture something like sprinkling powdered sugar, you might need a faster speed. If you’re holding the camera, make sure your shutter speed is fast enough based on your lens. So, if you’re using a 50mm lens, shoot at 1/50th of a second or faster to minimize blur.
ISO
ISO determines the sensitivity of your camera’s sensor to light. Increasing the ISO on your camera makes it easier to take pictures when it’s dark. Increasing the ISO can make your photos noisy. It’s better to use a lower ISO setting when possible.
When you take food photography, use a lower ISO setting like 100-400 for better results. Using a lower ISO helps make photos clearer and sharper by reducing noise and capturing more detail.
A lower ISO can keep the food photography looking natural and tasty to people watching. Choosing a low ISO setting is important for taking good food photos that show how tasty and beautiful the food looks.
If you’re using a tripod and your subject is not moving, you can afford to use a lower ISO and a slower shutter speed. Keep in mind that raising the ISO can help with low light, but there’s a trade-off between picture quality and brightness. New cameras are better at handling high ISO than old cameras. It’s a good idea to have enough light in your scene to avoid using high ISO.
Lighting

Lighting is one of the most crucial elements in photography, and food photography is no exception. Here are a few things to keep in mind when lighting your food photos:
Natural Light
Natural light is the best choice for food photography as it is soft, diffused, and free. Try to shoot near a window or outside during the day to take advantage of natural light. Avoid direct sunlight as it can create harsh shadows and make your photos look too bright and washed out.
Place your setup near a window with soft light to make the food look better. You can change how bright and which way sunlight shines by using reflectors or diffusers. This helps make shadows and bright spots less harsh.
Artificial Light
If natural light is not available, you can use artificial light sources such as a ring light, softbox, or LED panel. These lights are specifically designed for food photography and can help create a soft, even light for your photos.
When using artificial lighting, consider the color temperature of your lights. Ideally, you want them to mimic the softness and warmth of natural daylight. LED lights with adjustable color temperature can be particularly useful in achieving the desired look.
White Balance
White balance refers to the color temperature of your photos. Different light sources can create different color casts in your photos. To get the right colors in your photos, use the white balance setting on your camera or change it later on.
Setting the correct white balance in-camera can save you time in post-processing. Most cameras have presets for different lighting conditions such as daylight, tungsten, or fluorescent. When shooting in mixed lighting, custom white balance may be necessary for accurate color representation.
Composition
Composition is the arrangement of elements in your food photography. It can make or break your photo, so it’s essential to pay attention to how you arrange your food and props. Here are a few tips to keep in mind:
Rule of Thirds
The rule of thirds is a basic composition guideline that can help create a balanced and visually pleasing photo. Imagine your food photography divided into thirds both Up and down and side to side. Place your subject at one of the intersection points, and you’ll have a well-composed photo.
The rule of thirds helps organize your picture and lets you add other elements like lines or frames. These elements can make your photos more interesting and add depth.
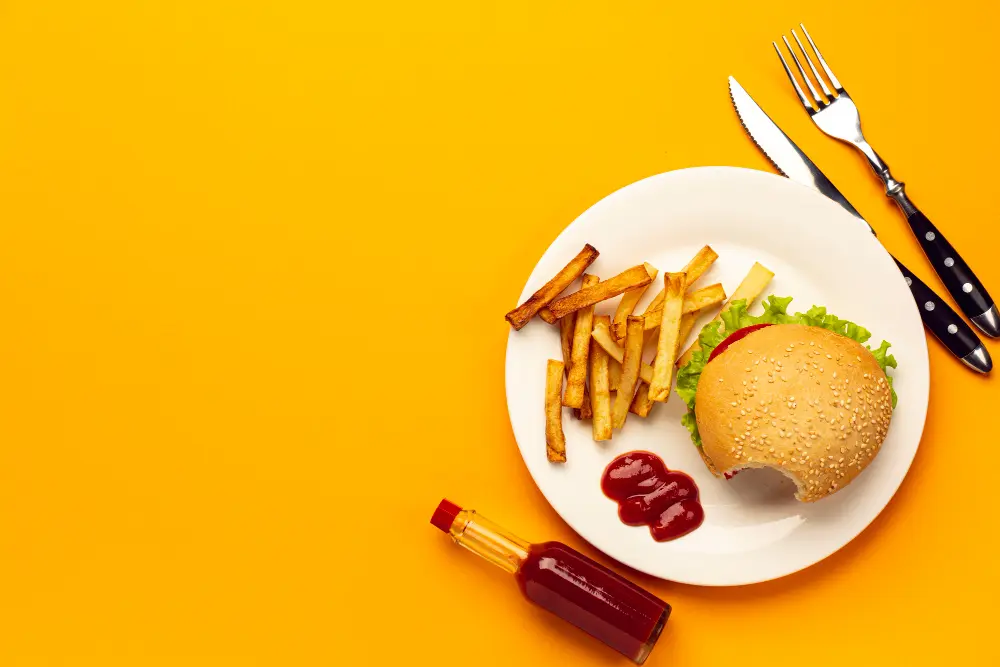
Negative Space

Leaving empty space in your photos can help draw attention to your subject. When it comes to food photography, negative space can help create a clean and minimalist look that puts the focus on the food.
Negative space doesn’t have to be empty. It can have textures or patterns that are subtle and not distracting. It’s the surface or background that doesn’t take away attention from the main subject.
Angle
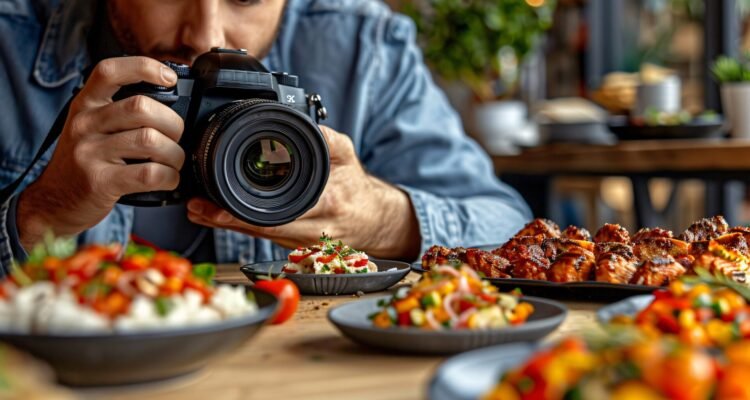
The angle at which you photograph your food photography can also make a significant difference in the final result. Experiment with different angles such as overhead, 45 degrees, or straight on, to see which one works best for your dish.
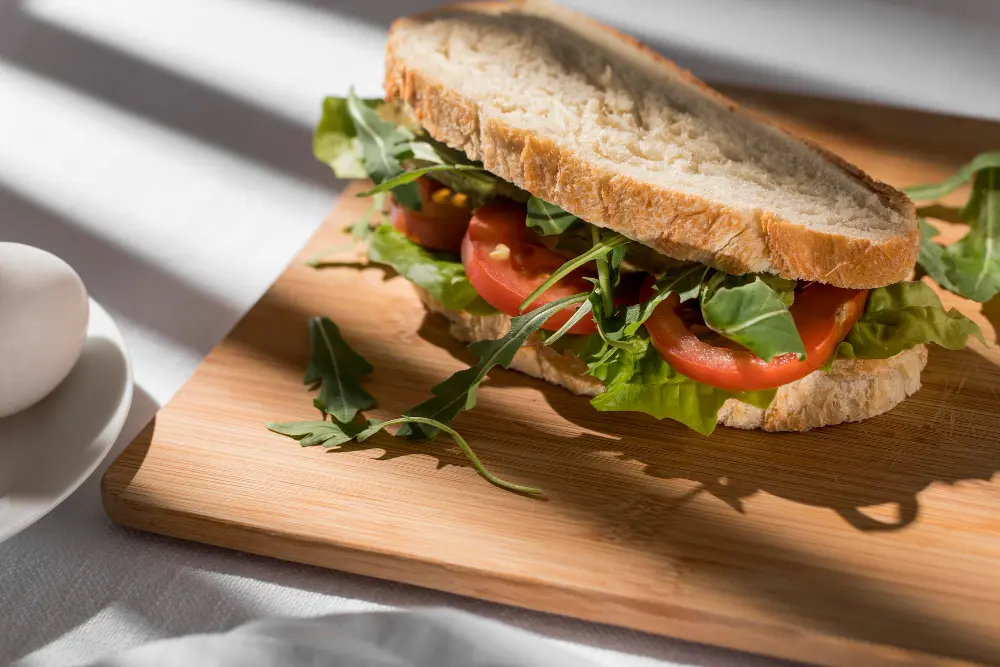
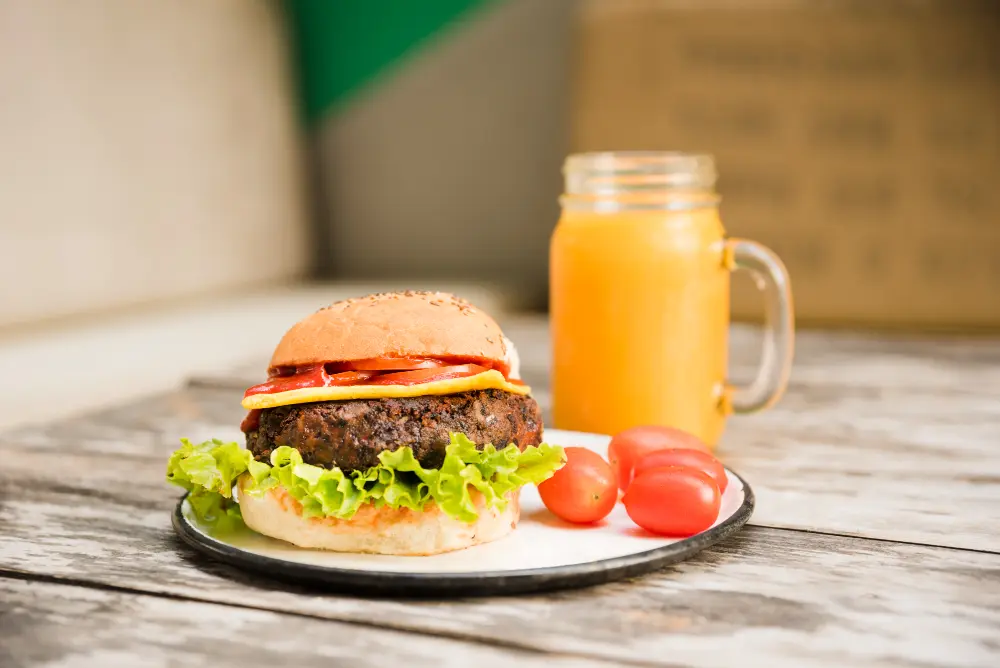
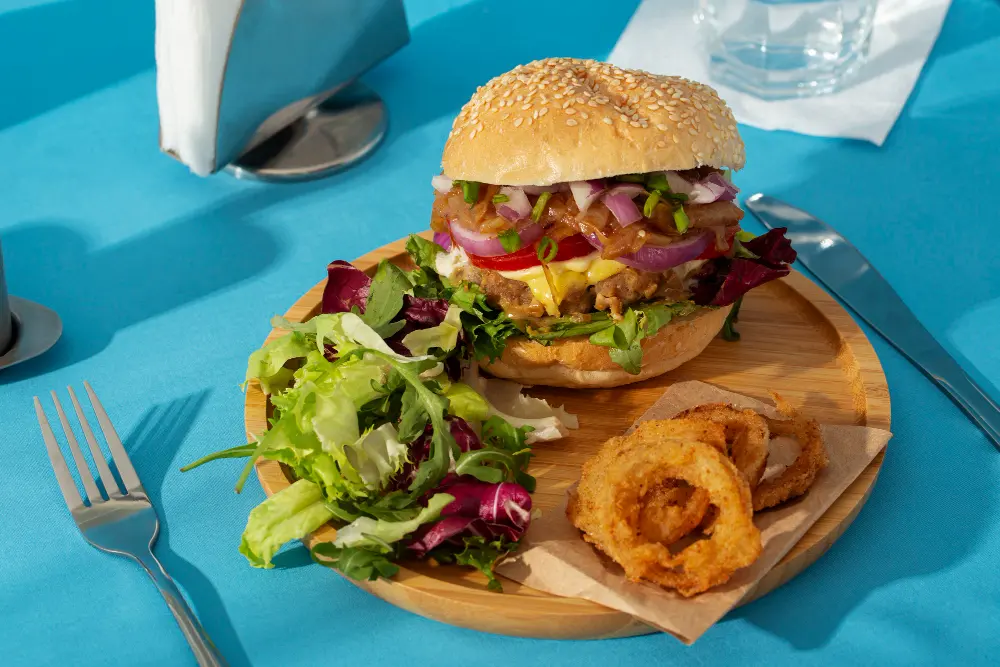
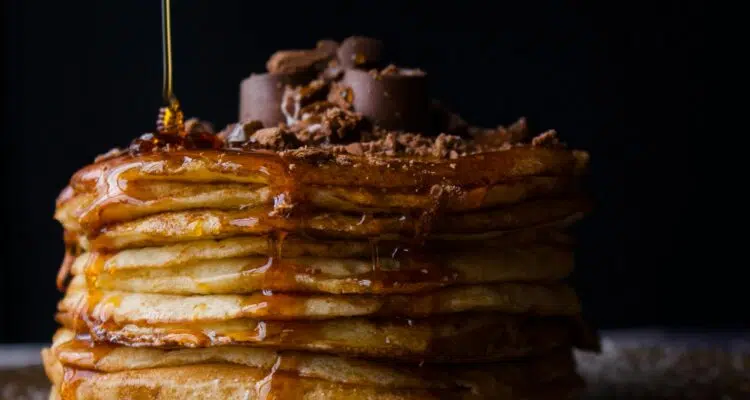
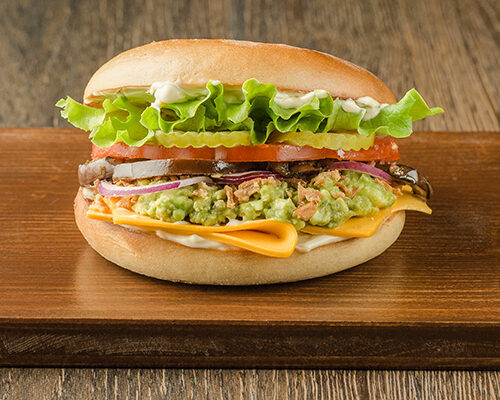
Overhead shots work well to showcase the entirety of a dish and are great for capturing tablescapes. A 45-degree angle shows how the dish would look from a sitting position. A straight-on shot makes a dish look taller or shows its layers. This works well for foods like burgers or pancakes.
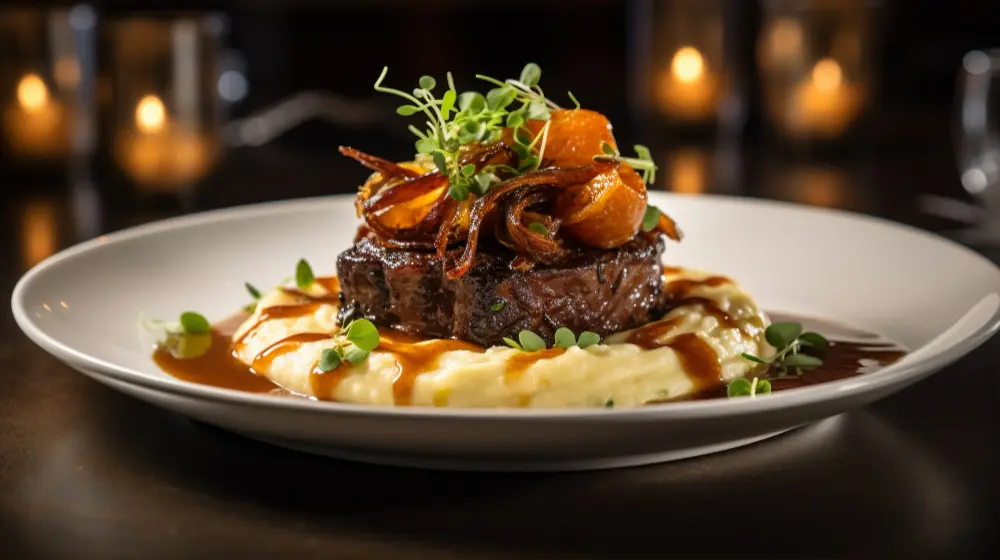
Styling
When styling food photography, consider taste, presentation, and how it looks in the camera lens. The arrangement, garnishes, and serving dishes impact the photo’s aesthetic and appeal. Color coordination is crucial for a visually pleasing composition. Different textures in the food make it more appealing to look at and make people want to try it.
Color
Colors can help create a mood and evoke emotions in your photos. Pay attention to the colors of your food photography and props and how they work together. Complementary colors go well together and make things look nice. Contrasting colors make things look exciting and bold.
Consider the color wheel when styling your food shots. Selecting props and backgrounds with colors that complement the main tones of your dish can make your photos more appealing. For instance, a dish with vibrant greens might be well-served by a red or brown background.
Props
Props are an excellent way to add interest and tell a story in your food photography photos. Use props that complement your dish, such as utensils, napkins, or ingredients. However, be careful not to use too many props, as they can clutter the photo and take away from the food.
Select props that match the scale of your dish to maintain balance. Small things like teaspoons and ramekins are good for small dishes. Big things like serving platters and tablecloths are better for big spreads.
Garnishes
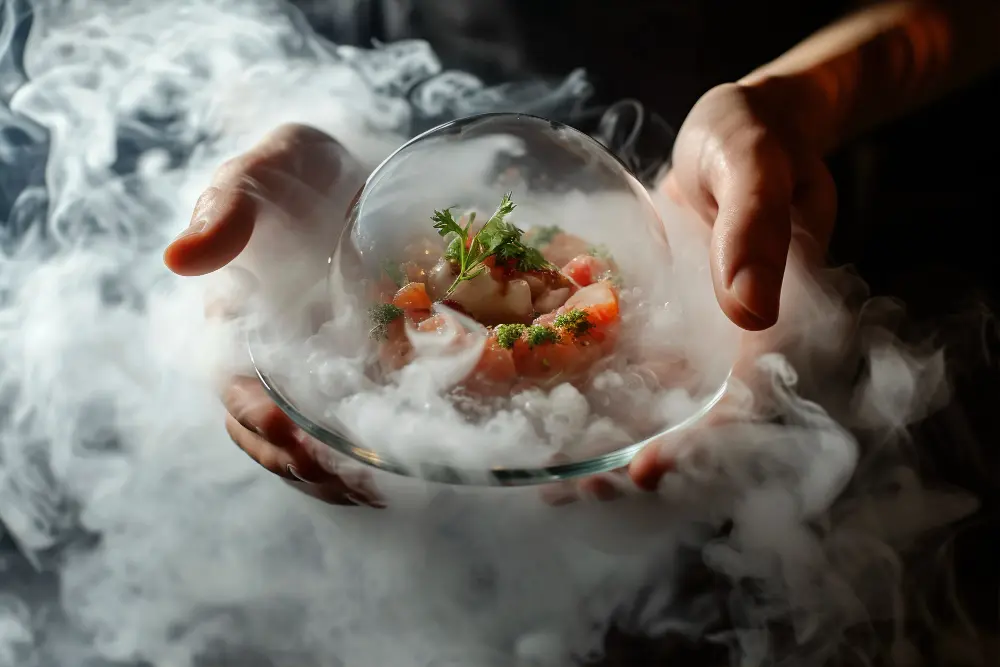
Garnishes can add texture, color, and dimension to your photos. Experiment with different garnishes such as herbs, sauces, or sprinkles to add interest to your dish.
Fresh herbs or a drizzle of sauce can not only enhance the dish’s appearance but also suggest flavor and freshness. Be mindful of the garnish’s placement and ensure it looks natural and intentional.
Post-Processing
Improve food photography photos by changing exposure, color balance, and sharpness with post-processing. Focus on how the lighting affects the picture and how you frame the shot. Try changing the white balance settings and try different crops.
Adjust the contrast and saturation to make the colors in the image pop. Edit carefully to keep a consistent and polished look, and try different effects for a special touch.
Color Correction
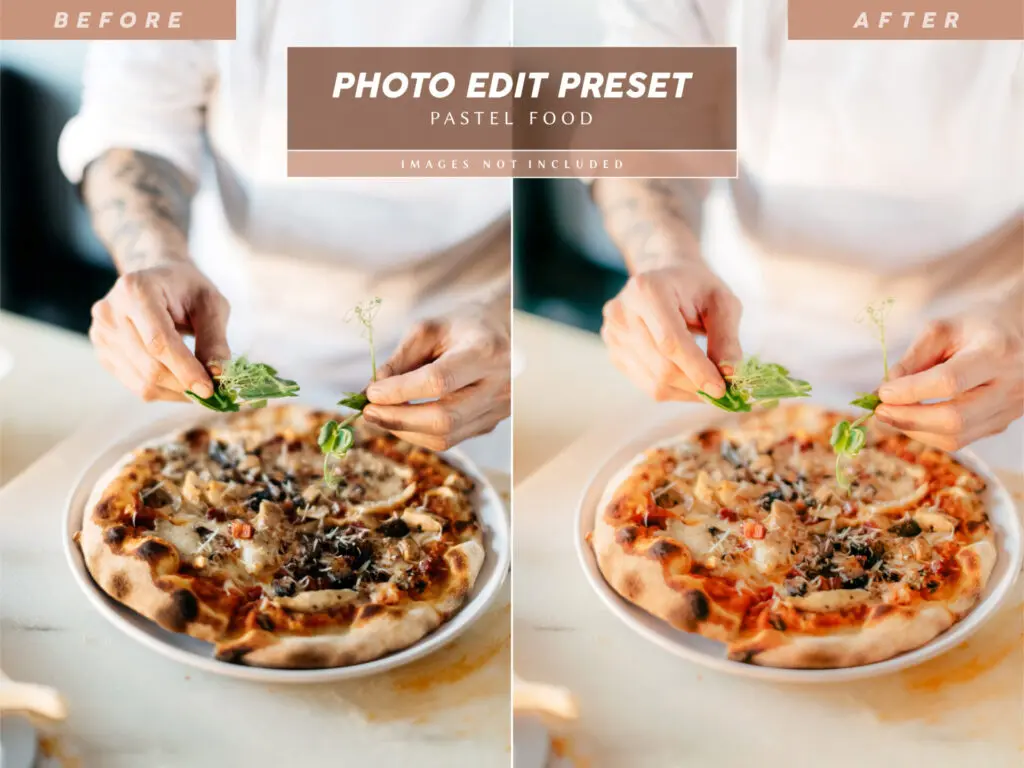
Adjusting the exposure, contrast, and saturation of your photos can help create a more vibrant and appealing image. However, be careful not to over-edit, as it can make your photos look unnatural.
Color correction is not just about making the colors pop; it’s also about ensuring the colors are true to life. Food should look good and genuine. This may involve adjusting colors to make them look more natural if your lighting makes them look off.
Cropping
Cropping can help improve the composition of your photos. When cropping photos, follow the rule of thirds to make them look more balanced. Cropping helps remove distractions on the sides of a photo and focus on the main part of the dish. Always aim to crop in a way that enhances the story your photo is telling.
Sharpening
Sharpening can help make your food photography look more crisp and defined. However, be careful not to oversharpen, as it can create a grainy or artificial look. When taking pictures of food, focus on highlighting textures like crispy crust or salt on caramel. Sharpening should highlight these details without making the image look harsh.
Practice Makes Perfect
The key to mastering food photography is to practice. Experiment with different lighting, angles, and compositions to see what works best for your photos. Don’t be afraid to try new things and make mistakes; that’s how you learn and improve.
Conclusion
Related Posts
This Post Has 0 Comments