
A Beginners Guide to Wedding Photography
This guide to wedding photography is designed to take you from a nervous beginner to a confident storyteller. Stepping into the world of professional events is both exhilarating and terrifying. Because you are the visual historian for one of the most important days of a couple’s life, the stakes feel incredibly high. However, while the pressure is intense, the reward of finding a perfect, fleeting moment is truly unmatched.
Check out this helpful guide to wedding photography for beginners
1. The Essential Gear
To begin with, you don’t need the most expensive kit, but you certainly do need reliability and redundancy. Furthermore, having a backup plan is essential for every professional.
- Two Camera Bodies: First and foremost, never shoot a wedding with just one camera. If a shutter fails, you must have a backup ready to go immediately.
- Fast Lenses: Additionally, aim for apertures of $f/2.8$ or wider. While a 24-70mm is the standard “workhorse,” an 85mm or 50mm prime lens is also great for portraits and low light.
- Speedlights: Similarly, learn how to bounce flash off ceilings. Natural light is lovely, but since reception halls are often dark, you will need the extra boost.
- Dual Memory Slots: Moreover, shoot to two cards simultaneously. By doing this, a corrupted card won’t ruin the entire day.
2. Planning your guide to wedding photography
The success of the shoot happens weeks before the “I do.” Consequently, preparation is your best friend.
- The Shot List: Initially, ask the couple for a list of “must-have” family groupings. This prevents the awkward moment of realizing you missed a photo with a specific relative.
- Scout the Location: In addition, if possible, visit the venue at the same time of day as the ceremony. This allows you to see exactly how the light falls.
- The Timeline: Also, get a minute-by-minute itinerary. Therefore, you will know exactly when the first kiss and the cake cutting are happening.
3. Key Moments to Capture
Think of a wedding as a story with a beginning, middle, and end. Therefore, your goal is to document the progression of the day.
| Phase | Key Shots |
| Getting Ready | Close-ups of the dress, rings, shoes, and candid emotions with bridesmaids/groomsmen. |
| The Ceremony | The walk down the aisle, the groom’s reaction, the vows, and the first kiss. |
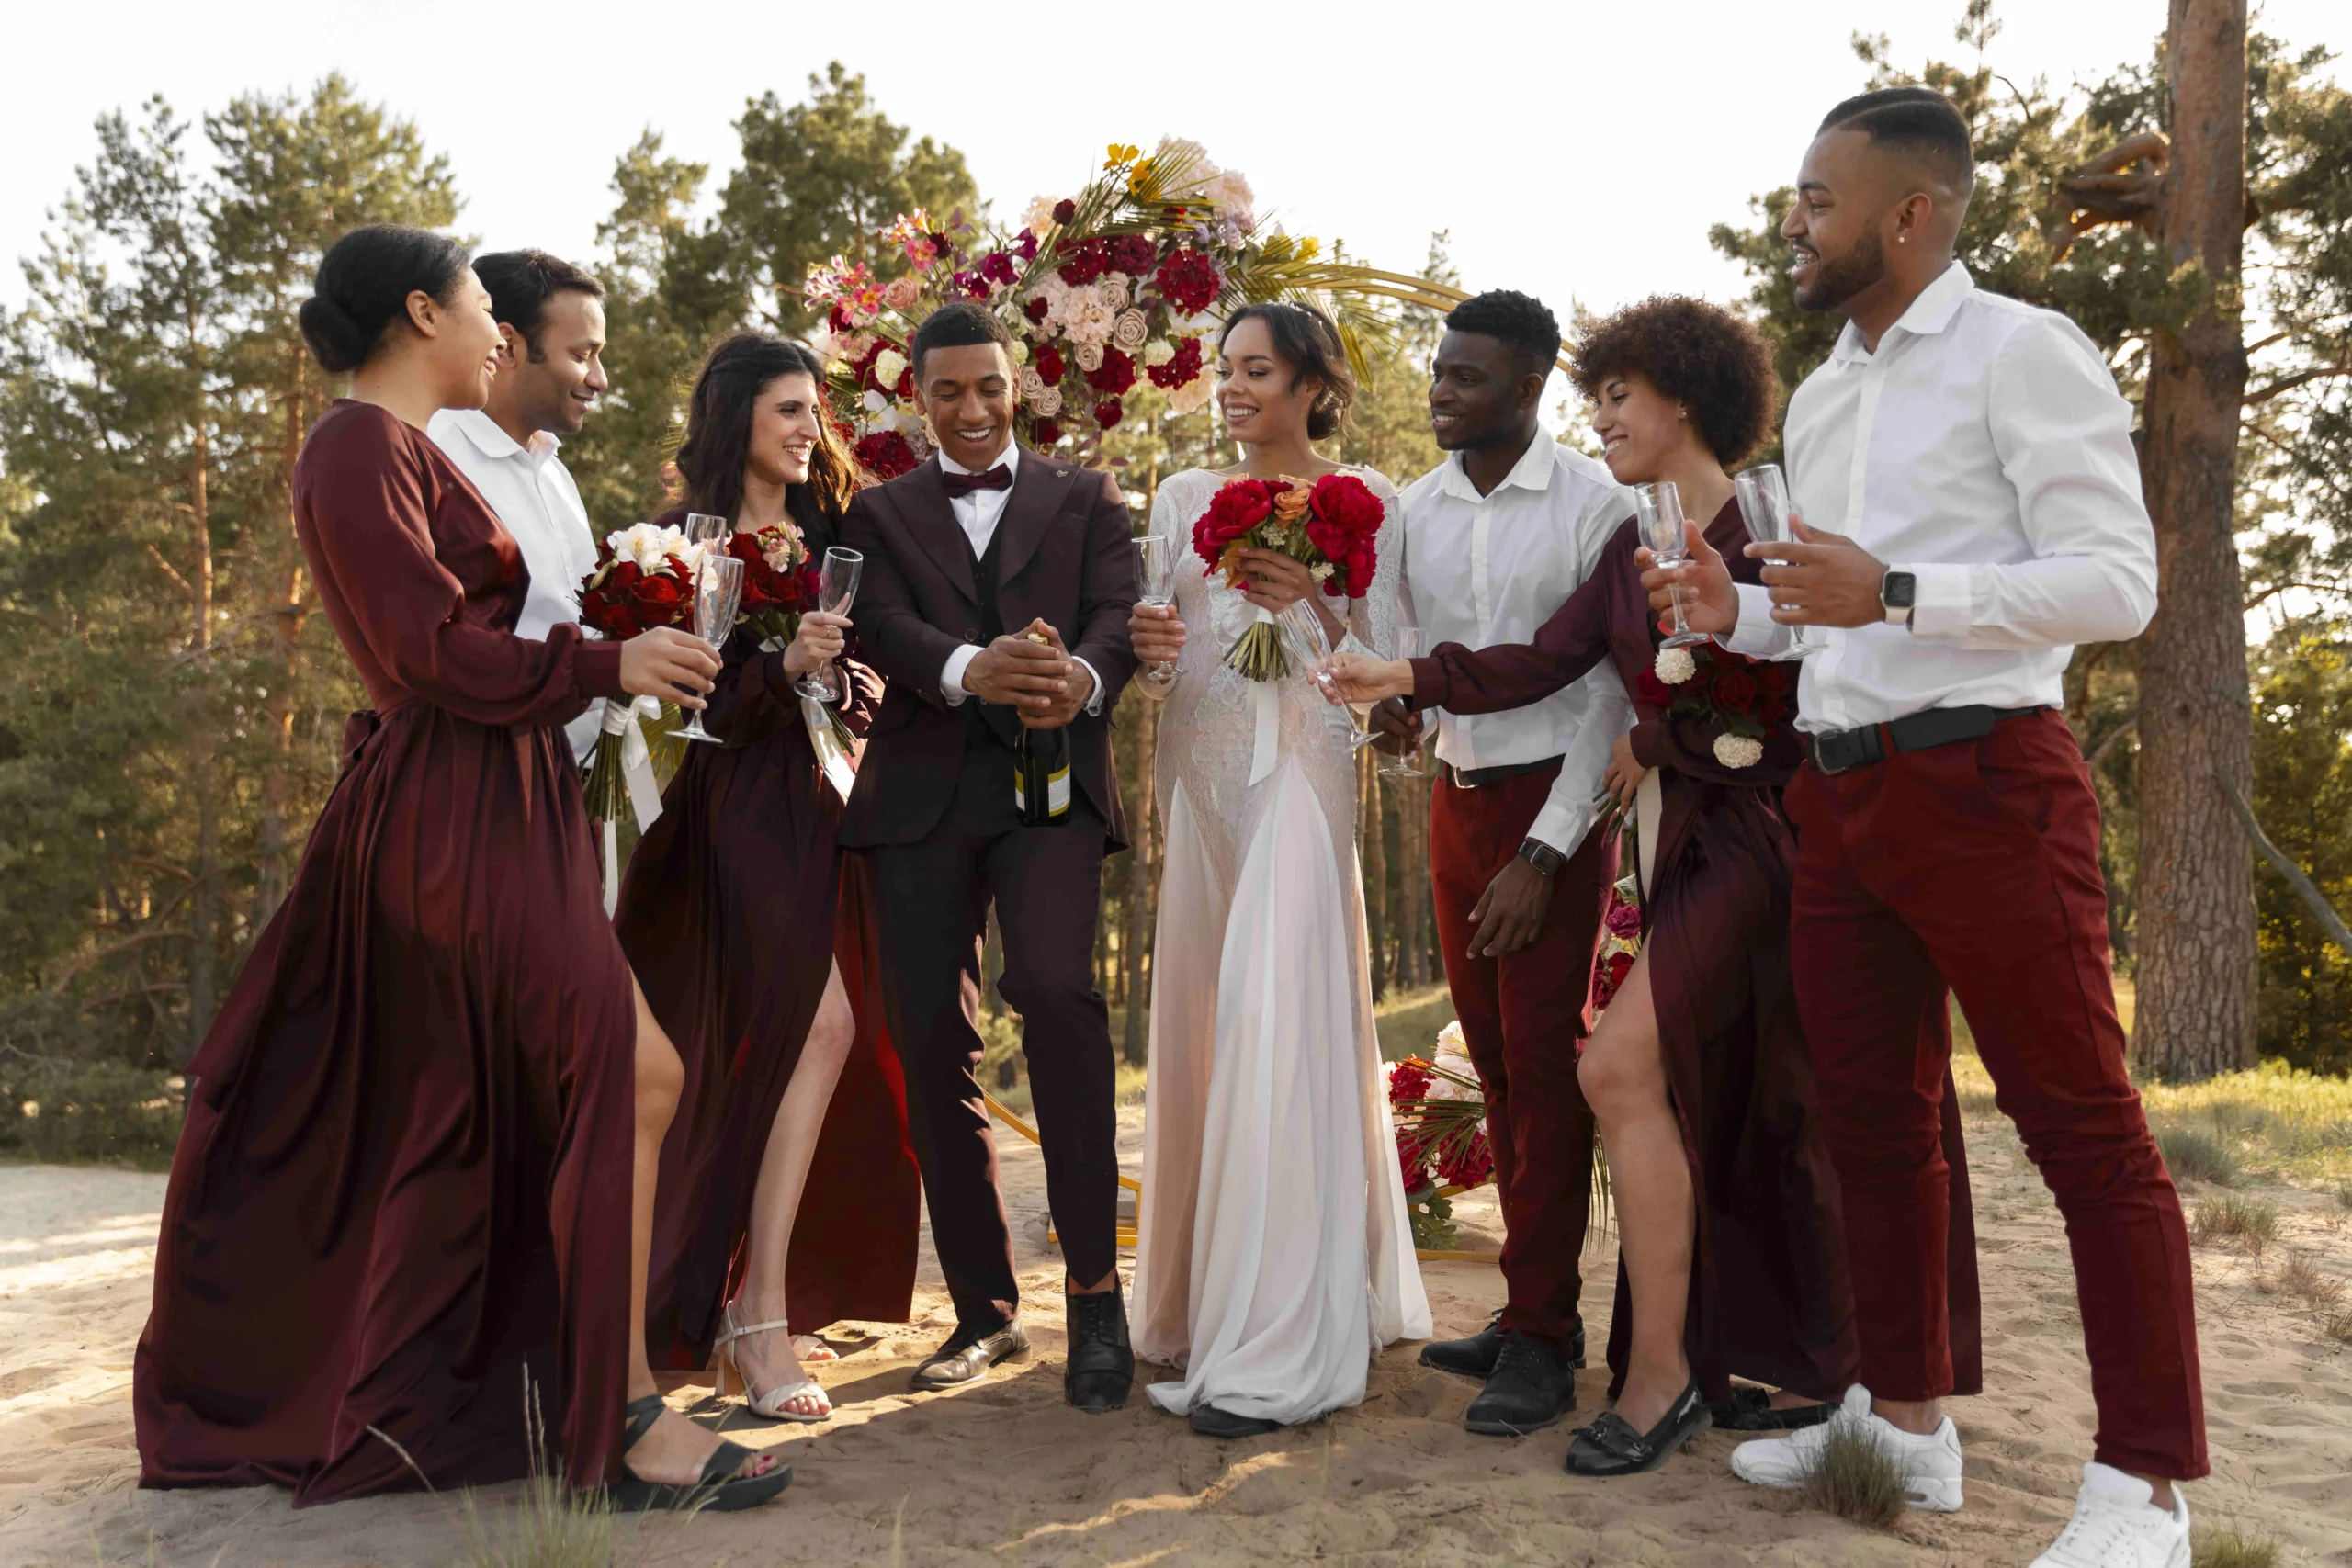
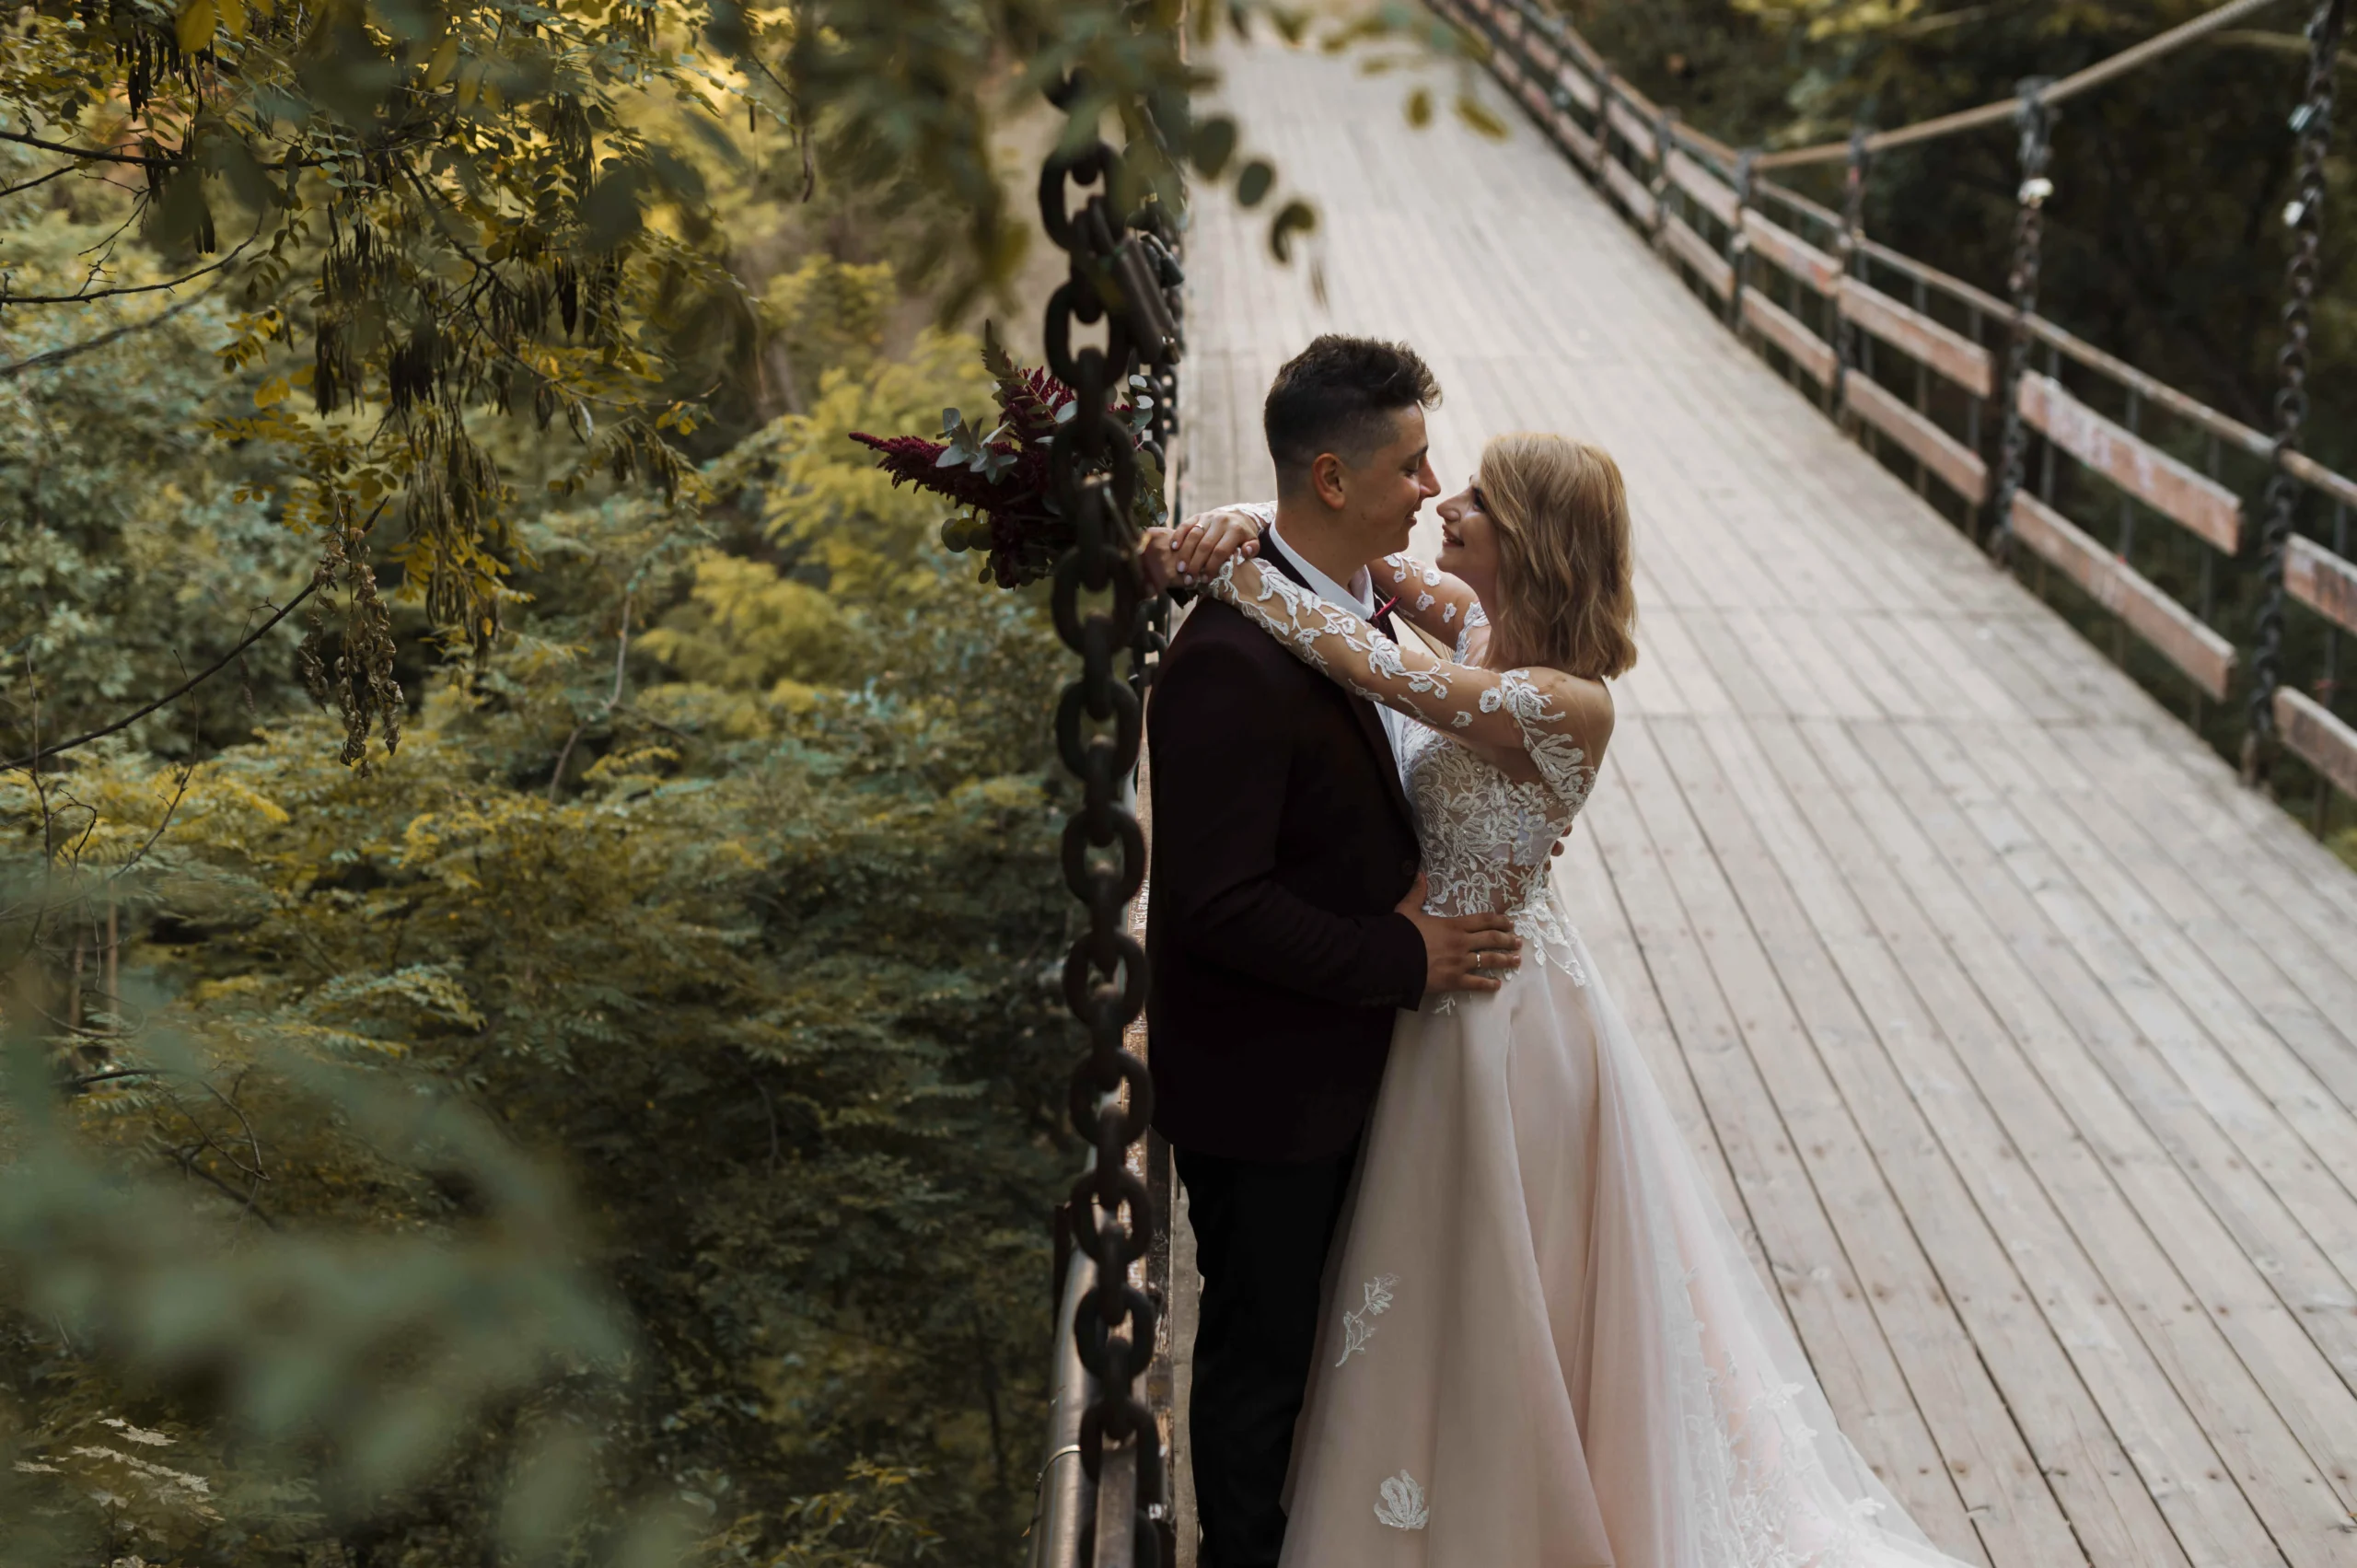
| Portraits | Formal family groups and the “Golden Hour” session with just the couple. |
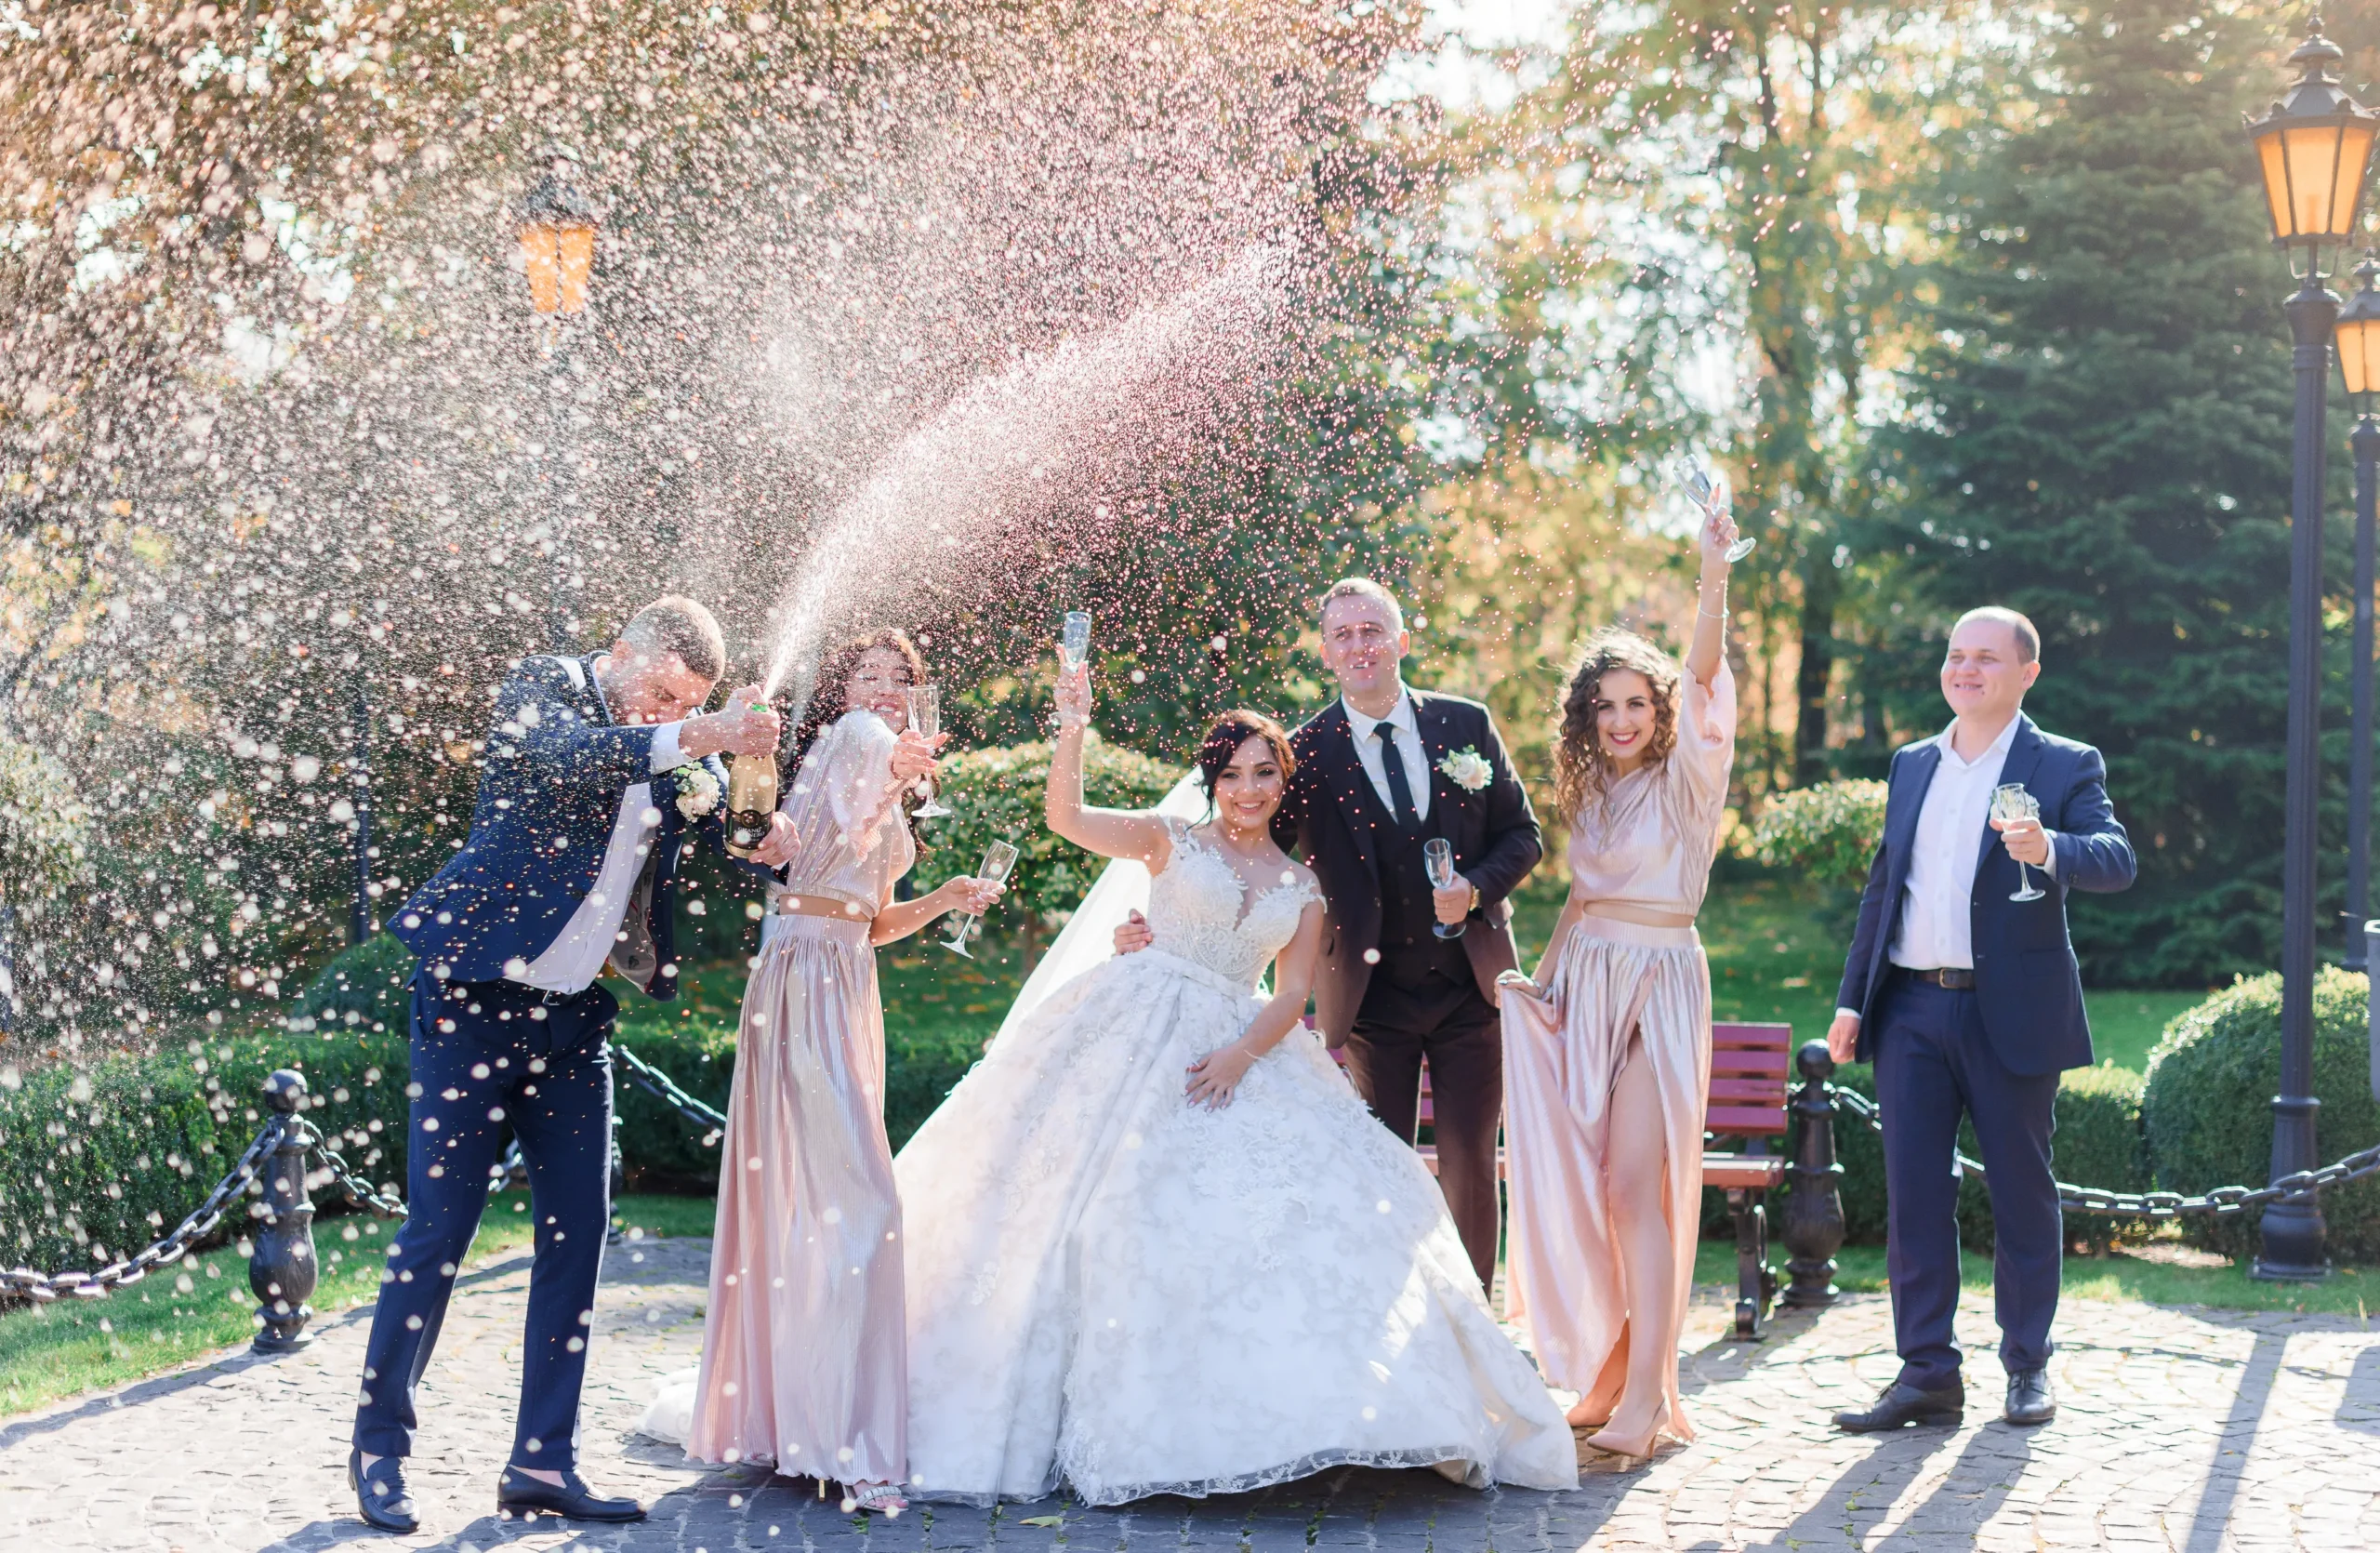
| Reception | Grand entrance, first dance, speeches, and the party energy. |
4. Technical success for a guide to wedding photography
In terms of technical settings, consistency is vital. Consequently, you should keep these three rules in mind:
- Shutter Speed is King: Because people move constantly, keep your shutter speed at $1/200$ or faster. Otherwise, you risk ruined shots from motion blur.
- Raw Format: Subsequently, always shoot in RAW. This gives you the flexibility needed to recover details in a white dress or a dark tuxedo later on.
- Focus on the Eyes: Specifically, in portraits, the eyes must be sharp. If your camera supports it, use eye-autofocus to make this easier.
5. The “Soft Skills”
A wedding photographer is 50% artist and 50% director. As a result, how you interact with people is just as important as your camera settings.
- Be Invisible, then Visible: During the ceremony, be quiet and unobtrusive. On the other hand, during family formals, be a polite but firm leader to move people quickly.
- Anticipate the Emotion: Meanwhile, watch the parents during the vows. Usually, the best shots are the reactions rather than the main actions.
- Stay Hydrated: Finally, remember that you’ll be on your feet for 8–12 hours. Thus, you must pack water and snacks to keep your energy up.
CONCLUSION
Starting your journey in this field is a wild ride filled with nerves and joy. You might feel a bit shaky during that first walk down the aisle, but every pro started exactly where you are right now. The secret is to keep your eyes open for those small, unscripted moments that happen between the big events. Practice as much as you can and do not be afraid to make mistakes along the way. Your unique style will grow every time you pick up your gear and click that button.
I would love to hear about your own experiences or any fears you have about your first big gig. What is the one shot you are most worried about missing when the pressure is on? Share your thoughts in the comments below so we can all help each other grow.
Read Next: Top 8 Canon Lenses for Wedding Photography