In real estate, showing properties in the best light is important for attracting buyers. Removing…
Complete Guide in Real Estate Photography
If you’re a complete beginner in this industry, you need expert guidance to start your journey as a real estate photographer. This article “complete guide in real estate photography” is for you. In this guide, we’ve covered everything you need to know about real estate photography, including how you can become a real estate photographer, the required equipment, and the best tips and techniques to help you become a professional real estate photographer.
Seventy-two percent of people agree that high-quality real estate photos help them find their dream home in the real estate industry. This clearly shows that the demand for real estate photography will always be high. If you are planning to make a career as a real estate photographer, now is the right time to enter this booming industry. However, many beginners don’t know how to start, where to begin, or what the current market trends are.
What is Real Estate Photography?
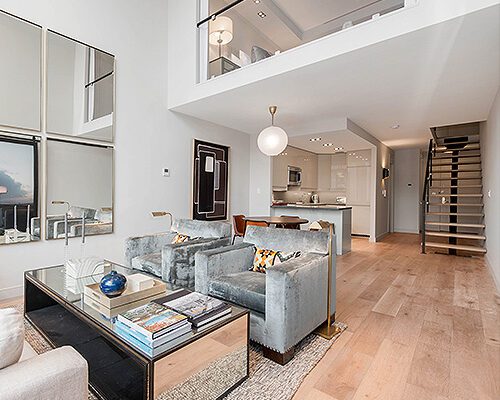
Real estate photography is about taking high-quality, well-angled, and attractive photos of properties to catch buyers’ attention and help sell more homes. A real estate photographer needs to take pictures of rooms and areas with good lighting, nice weather, and appealing interiors from the best angles to make the space look bigger and show off the property’s beauty.
In simple words, real estate photography is professional photography of properties, including the outside, inside, garden, pool area, and rooms, to show the real beauty of the property. The main goal is to help sell properties by showing buyers beautiful and flawless photos.
How to Become a Real Estate Photographer?
If you want to become a real estate Photographer and want to make a career in it, then one of the best ways is by following other professional real estate photographers and learn how they’re capturing photos, their pricing structure, and what equipment they’re using to become a real estate photographer.
Once you’ve started real estate photography, you can connect with real estate agents, landlords, and homeowners who want to sell their property and how your photography can help them sell the home faster.
How does a Real Estate Photographer charge?
Real estate photography pricing is flexible and depends on several factors, including the size of the property, travel distance, required equipment, and your expertise. Typically, good real estate photographers charge around $200 for a 2,000 square foot house and $400 or more for houses over 4,000 square feet.
If you’re starting your real estate photography business in places like New York or San Francisco, you’ll find many opportunities. Many real estate agents and homeowners in these areas are looking for photographers at competitive prices.
Equipment Needed to be a Real Estate Photography?
If you’re entering into real estate photography, you require some essential equipment that helps you do professional-level Photography.
Here is some essential equipment for real estate photography:
Camera
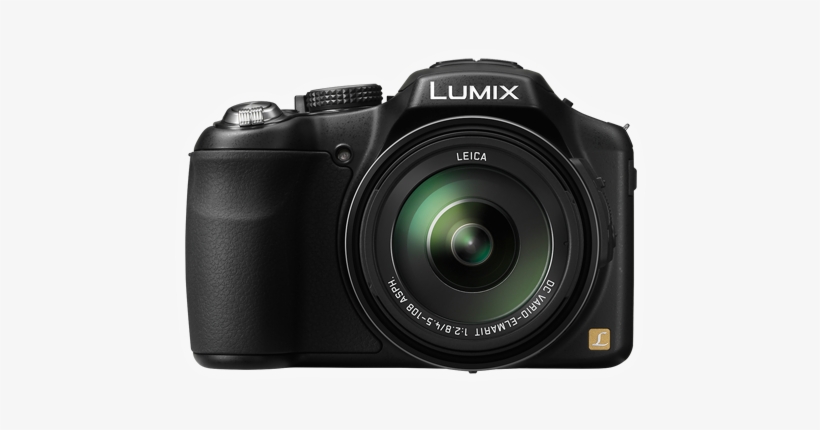
A camera is must-have equipment for photography, and if you want real-estate photography, you can consider a DSLR camera for better photography. A photographer needs to make manual adjustments in real estate photography, and a DSLR comes with many options for adjusting and capturing high-quality photos. Some popular cameras for real estate photography are Canon 5D Mark IV, Nikon D850, Sony A99 II, Nikon D3500, and many more.
Lenses
To increase the focus, sharpness, and lighting, a wide-angle lens is required that helps to make rooms look spacious and cover all the areas beautifully. You can consider a 16-35mn or 17-40mm wide-angle lens as per your budget, requirements, and demand for photography.
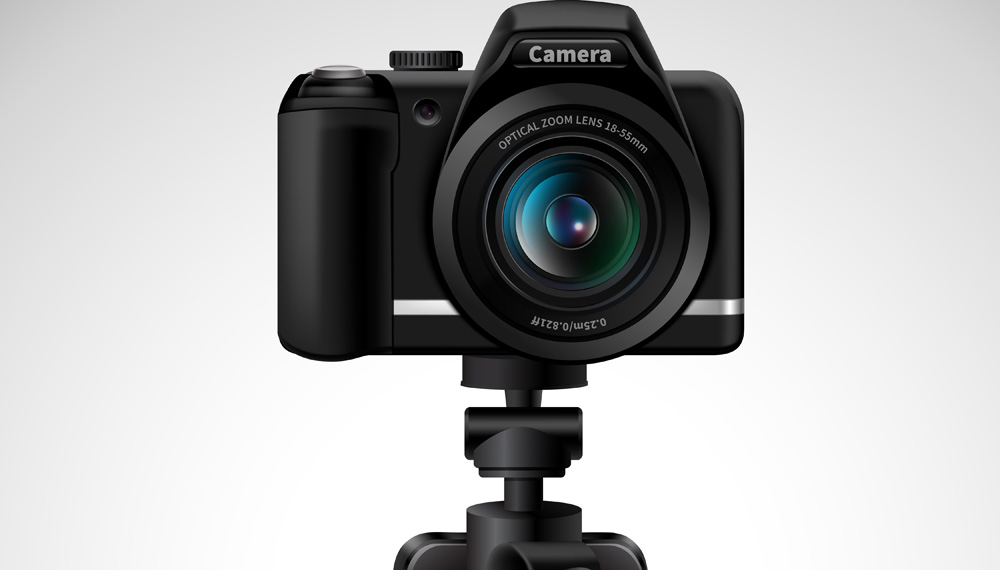
Tripod
When you’re capturing photos with your camera, you can’t take the risk of camera shake or blurring. To avoid the risk of camera shake, you need to use Tripod, which helps you capture stable images from different angles. Professional photographers are using Tripod to do real estate photography.
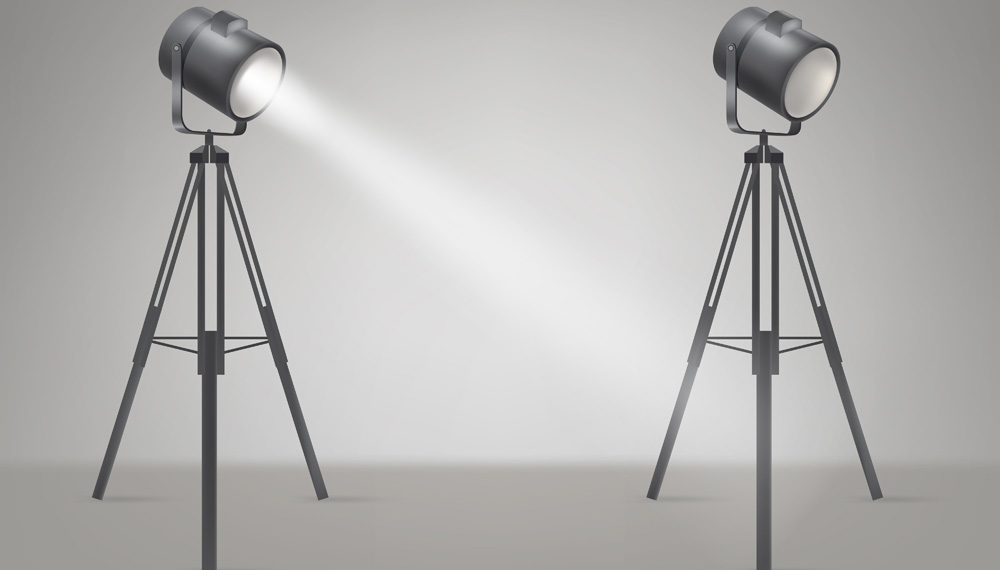
Light Stand
There are some areas where you’ll face low light in real estate photography, and then it becomes complex to do a photo shoot. That’s why using a light stand can help you to provide good enough light that illuminates the area, and you can capture beautiful photos.
Remote Trigger
When using Tripod for image stabilization, you should also use a remote Trigger. When you touch the camera to take a shot, there’s a chance of the camera shaking or blurring images that can ruin your photos. So you can use a remote trigger to capture photos without touching the camera and capture stable, high-quality, and attractive photos with the perfect angle
Drone
This is one of the expensive equipment that helps to do bird-eye photography and capture nearby areas from the top. But this equipment is optional for those who are at their initial stage. So you need to buy this equipment based on your budget and requirements.
Photo Editing Software
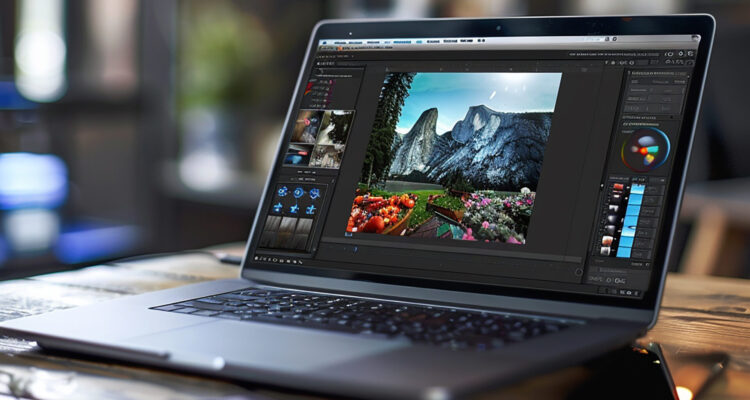
Photos can’t be perfect without editing, no matter how expensive a camera you’ve used for real estate photography. So when you’re doing real estate photography, you need to find the best photo editing software that helps you do editing and enhance the quality of your photos with better quality, flawless and attractive.
Strong Portfolio
To become a professional real estate photographer, you need a strong portfolio that you can showcase to real estate agents and big house owners and capable of doing High-level photography that sells more homes. You can create a website that shows your previous property’s photos and how sellers are getting benefits from your Photoshoot.
Top 10 Tips for Real Estate Photography
If you want to become a professional real estate Photographer, follow these tips and capture High-level property photos
1. Choose the Right Time for Photography
The first thing you need to consider is time & weather before scheduling the photo shoot. If you’re planning for real estate photography, you need to do a photoshoot in the daytime with good weather to capture photos with natural lighting. But there’s no guarantee for shiny weather, so you need to keep in mind and schedule your photoshoot in the daytime for better photography.
But you should also consider the seller’s requirements because some sellers want night photoshoots with beautiful lighting and exterior. You need to take your time & consider the location as well to schedule the property’s photoshoot.
2. Visit the entire property before doing a Photoshoot
It’s one of the essential parts that every professional photographer does before doing a property photoshoot. You need to walk through the entire property and take ideas about each room or area where you want to shoot. You can keep a pen and paper to note down the list of rooms or areas for a photoshoot and their best angles to capture big space.
If you don’t know the best angle for a room Photoshoot, you can check other professional room Photoshoots and which angle they’ve taken the photo. These examples help you to capture pictures with perfect angles. Also, the benefit of visiting the place before the Photoshoot is you can arrange your room. If sometimes unwanted or messy looks are in the room, you can restructure the area and do a high-quality Photoshoot.
3. Setup room with Bright lighting
To capture high-quality, attractive, and more visible photos, you need to use proper lighting. Sometimes a photographer should face low light in some areas that can affect the photography, so you can turn on the lights and use natural or artificial lighting for better visibility.
There are many adjustment lighting options in the camera, including aperture, white balance, ISO, shutter speed, and many things that you can adjust accordingly and capture high-quality room photos.
4. Use a Wide-angle lens
If you’re doing real estate photography, you must use a wide-angle lens to capture the room widely and cover all the areas in one shot. There’s a thumb rule of real estate photography to capture photos horizontally, so you need to use a wide-angle lens and capture pictures horizontally and covered:
- Foreground
- Midground
- Background
- Sky/Ceiling
Using a wide-angle lens can capture a wide area with more visibility and high quality, making the room look more spacious and enhancing the property’s visibility. Many wide-angle lenses are available that help you capture high-quality property photos, and you need to select based on your camera.
If you’re a beginner and don’t know how to use a wide-angle lens, then follow these tips:
- Shoot from the corner or doorway: You can use a wide-angle lens to capture photos from the corner of the room or doorway to make the room look more spacious and capture the interior in one shot.
- Stand at an angle: You can capture photos from a stand at an angle to capture the scene’s natural beauty with its exterior look.
- Capture photos from different angles: You need to capture photos from different angles to explore the beauty and find the perfect Photo.
5. Shoot from Different Angles
The secret of many professional real estate photographers is capturing photos from different angles. Capturing photos from different angles helps to explore the best angle of the scene that covers the entire beauty in one shot. Once you’ve captured many photos from different angles, you’ll surely find the perfect property photo with high quality.
If you’re doing a Photoshoot in a room, you can shoot from the doorway to capture the complete area and make it look spacious and attractive. But when you’re doing a Photoshoot, use a Tripod for image stabilization and eliminate the chances of camera shake.
6. Use the Camera’s grid lines to capture perfect images
Photos play a major role in buyers’ attention in real estate photography. So it’s essential to capture perfect property photos with stability and high visibility. To capture stable and more accurate photos, you need to use gridlines that help you check the position of all the objects, and if something is not good, you can adjust the position and then capture stable photos.
Gridline is a great option coming in the camera, and you can enable the option in the camera and then capture photos with high stability.
7. Adjust ISO to reduce Noise
ISO is one of the essential parts that can affect the quality of photos. So as a professional photographer, you need to use ISO wisely based on the scene. When you Increase ISO, it increases noise that lowers the quality of photos, so you need to maintain the ISO value and keep it stable under 400 to capture high-quality photos with more visibility.
8. Be Adaptable
If you’re serious about making your career in real estate photography, this is the essential skill you need to develop, i.e., Adaptability. You need to be Adaptable and flexible because sometimes situations are not in your control when you’re planning for real estate photography.
You may face weather issues, not-so-good property conditions, long-distance, electricity issues, and other things that can affect your photoshoot. You need to postpone or rearrange the setup to do photography. Adaptability is an essential skill that helps you keep changes according to the situation.
9. Use Lens Correction
When you’re using a wide-angle lens for real estate photography, you may face some color distortion that can affect the quality of photos. But you can solve this issue by using Lens Correction to correct the colors and enhance the visibility of photos.
10. Post-processing images
The most important factor that almost all Photographers consider after their real estate Photoshoot, i.e., post-processing images. Sometimes captured photos are left with unwanted objects, mismatched colors, and low light, which lowers the quality of photos. And to resolve these issues, photographers use post-processing images to remove all the errors from the image and make it attractive, beautiful, and flawless.
Many professional photo retouching services providers like Photo Editing Company help you convert your normal photos into high-quality, attractive and perfect real estate photos. So as a real estate photographer, you need to look for a post-processing service provider and end up with outstanding property photos.
How to Edit Real Estate Photography?
Photo Editing is an important part of the real estate industry, and it helps you make real estate photos more attractive, sharp, and visible. No matter how expensive the camera you’ve used, retouching is required to make the images high-quality, attractive, and perfect.
In Photo Retouching, these are some major areas that require editing to enhance the quality of real estate photos:
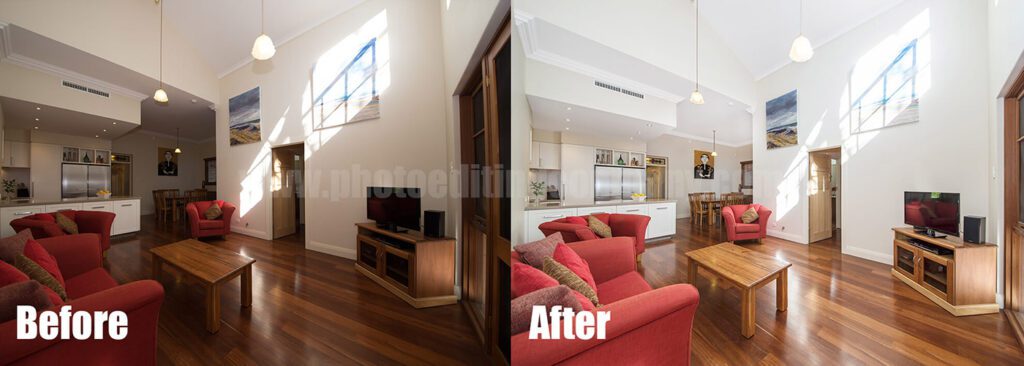
Brightness and Color Correction
Sometimes captured photos are left with low light, brightness, or mismatched colors that can affect the visibility of the images. But all these issues can quickly be resolved in photo retouching, and you’ll get a photo with beautiful colors, high visibility, and looks perfect.
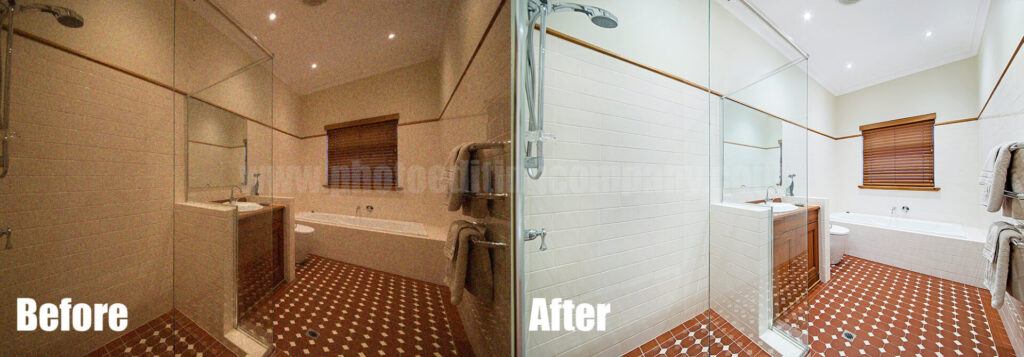
Noise Reduction
If you’ve some photos taken in low light and look blurred, you can use noise reduction to increase the quality and sharpness of the photos and make them more attractive and flawless. By adjusting ISO, you can reduce the noise and increase the quality of photos.
Objects Removal
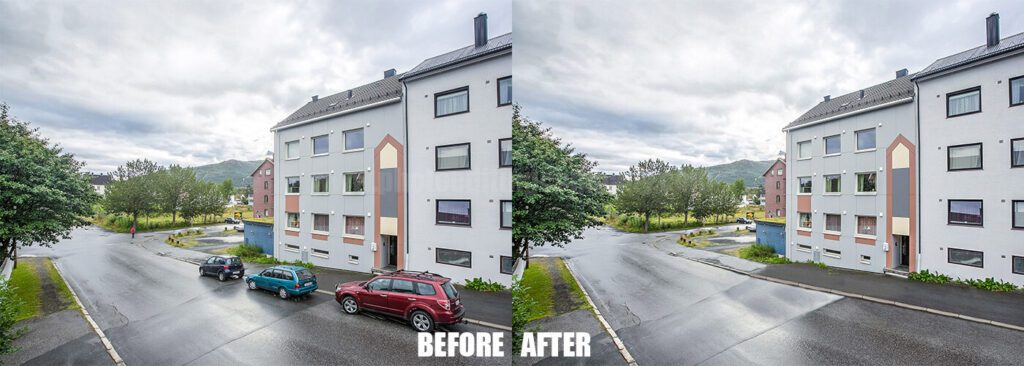
Sometimes captured photos are left with unwanted objects that need to be removed from the photos, and for this, photo editing helps remove unwanted objects from the photos and make them attractive and perfect.
Sky Replacement
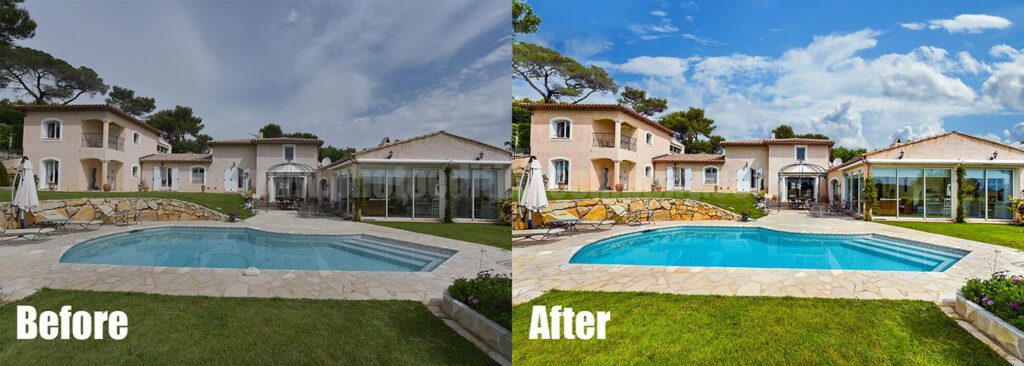
In real estate photography, sky replacement is one of the essential editing that every photographer requires. As we know, there’s no control over the weather, so photographers use photo editing to replace the dull sky with shiny weather that enhances the quality of photos and increases the property’s visibility. With Sky replacement, it’s easy to replace cloudy, stormy, or overcast weather with a beautiful, shiny sky that looks attractive.

High-Dynamic-Range (HDR)
HDR can convert a simple photo into high-quality, colorful, and more visible photos. HDR can enhance its quality and make it more appealing and qualitative if you have photos with low light or dullness. To polish photos and make them perfect, HDR needs to be considered.
White Balance
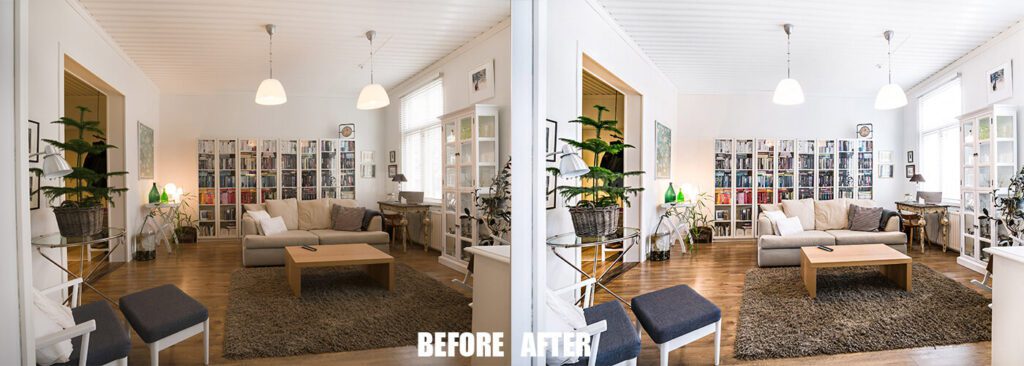
White balance is also essential to adjust in real estate photos and keep the quality remain high and balance all the colors accurately in Photo. Sometimes there’s not enough lighting in the room or area, and it results in a low-light photo that does not look appealing, but after adjusting the white balance, it’s easy to get back the beauty of the photo.
Shadow Reduction
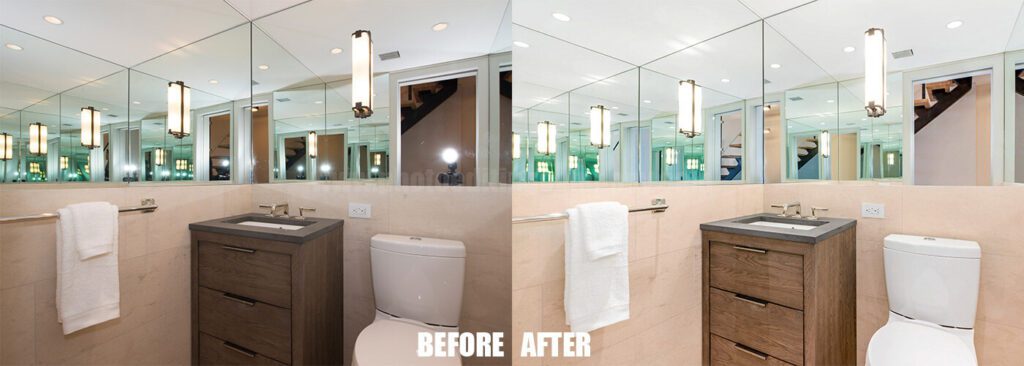
Sometimes the interior of houses can reflect dark shadows because of lighting, and it’s essential to reduce these shadows from the image to enhance the visibility of the interior and look more attractive and eye-catching property photos.
4 Things to Consider
If you want to become a Professional Real Estate photographer, you need to focus on four major things that help you level up your real estate photography.
Angles
Angles are crucial for capturing high-quality real estate photos. Position your camera horizontally to capture wide-angle shots that enhance visibility and showcase the property’s beauty. Experiment with various angles to find the one that best highlights the attractive interiors and makes the rooms appear spacious and appealing. Studying photos taken by professional photographers can help you identify the most effective angles to use in your own photography.
Lighting
Lighting is the most precious thing in capturing high-quality and attractive real estate photos. Sometimes there are some areas where rooms have low light, and at this point, lighting plays a major role in capturing photos with more visibility. So whenever you’re planning for real estate photography, then set up lighting properly to capture pictures.
Composition
Composition is all about arranging the things & items correctly in the room or scene. So whenever you’re planning for real estate photography, you need to set a composition properly that looks attractive and catches the buyer’s attention. These compositions help to capture well-structured photos that look more professional and attractive.
Context
Context is also important in real estate photography. In simple words, it’s all about positioning the items and what’s the purpose behind them. As a photographer, you need to be very clear about why you’re showing these items in your photos and what’s the best position.
These are four things that a photographer always keeps in mind to capture professional-level real estate photos.
Is it really worth it?
Professional real estate photography is valuable and its demand is growing because high-quality photos are now the top choice for home buyers. Online listings with real estate photos sell homes 32% faster, as reported by VHT Studios. This demonstrates that buyers often rely on quality property photos to decide whether to visit or buy a home.
How Long Does Real Estate Photography Take?
Real Estate Photography depends on so many factors, including:
- Number of photos required by the seller
- Depends on the size of the property
- Interior design and space
- Shooting location
- Property’s condition
Sometimes these factors define the time required for real estate photography. Also, you need to be flexible because bad weather, hard-to-shoot location, and limited-time can affect the speed of your photography. So always consider these factors to figure out the time required for a particular property’s photoshoot.
Conclusion
Real estate photography is a professional career with growing demand. If you’re planning to become an experienced real estate photographer, now is the perfect time to start your journey with expert guidance. That’s why we’ve created this complete guide on real estate photography to help you become a professional in the field.
We hope this guide provides you with all the information you need to succeed in real estate photography and run a successful business. Now it’s your turn to take action, become a professional real estate photographer, and help sell more properties with your high-quality photos.
