Taking beautiful jewelry photos for ecommerce can help you sell more items online. Clear, bright,…
Step-by-Step Guide to Creating Flawless Jewelry Images
Taking photos of jewelry is a special skill that needs careful work, patience, and focus. If you are a photographer for a jewelry brand or selling your own pieces, getting the right photo matters a lot. Creating flawless jewelry images can help attract more customers and make your product look better. The goal is to show every small detail clearly while keeping the photo neat and professional. This guide will help you learn the steps and tips to take beautiful jewelry photos that will make your brand stand out.
1. Jewelry Placement Tools
A great jewelry photo starts with good placement. You need to position the jewelry in a way that shows its best features. To do this, you can use tools like stands, clamps, or hooks to keep the jewelry steady while taking pictures. If the jewelry moves or leans, it can ruin the photo and make it hard to see the details.
For rings, you can use a ring holder or a small stand shaped like a finger. This helps show off the design and gemstones clearly. For necklaces and bracelets, use adjustable stands or clamps to keep them in place. These tools are helpful, especially for delicate pieces that can easily move. For earrings, you can use ear-shaped props or foam pads with small holes to hold them at a nice angle.
These tools make it easier to focus on taking a good photo instead of fixing the jewelry every time it moves. They also let you try different angles and group items together in one photo. Using placement tools helps you take clear, steady, and eye-catching jewelry pictures that will stand out.
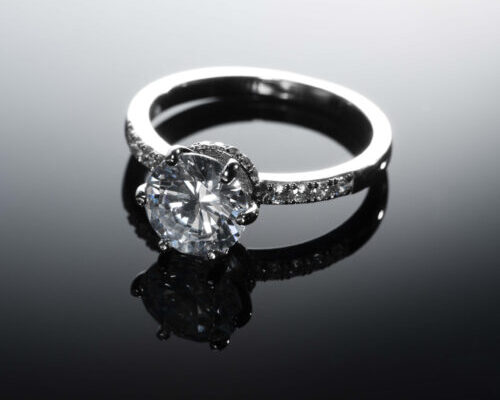
2. Reflective Surfaces
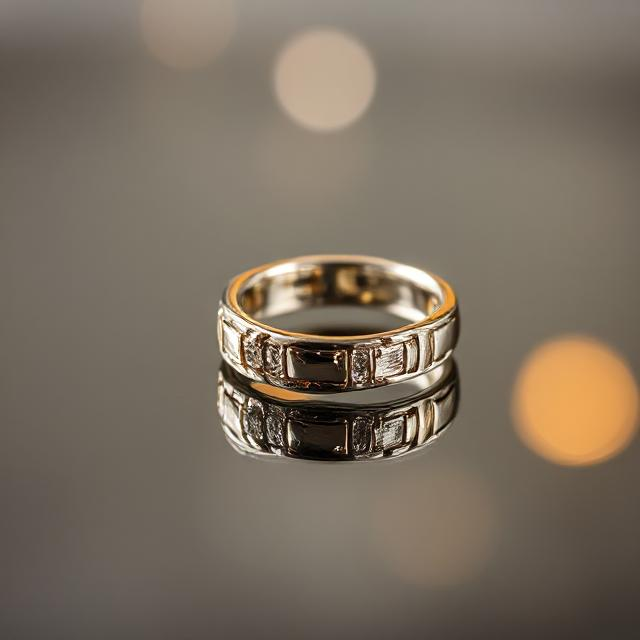
Using shiny surfaces in jewelry photography can make your photos look more attractive and eye-catching. Putting the jewelry on a mirror or glossy surface can make it look more classy and expensive. The reflection helps show the design better and highlights small details that people might miss. For example, placing a ring on a mirror can show off its shape and fine design clearly.
But be careful with reflections. If there’s too much shine, it can take the focus away from the jewelry. You can use a softer, shiny surface or change the angle to control the reflection. Also, make sure that nothing unwanted, like parts of the room or your camera, shows up in the reflection. Using a plain white or light-colored shiny surface can help keep the photo clean and simple.
Shiny surfaces can also make the jewelry look like it’s floating, especially for necklaces or bracelets. Just keep the setup simple so the jewelry stays the main focus. When done well, reflections can make your jewelry photos look stylish and professional.
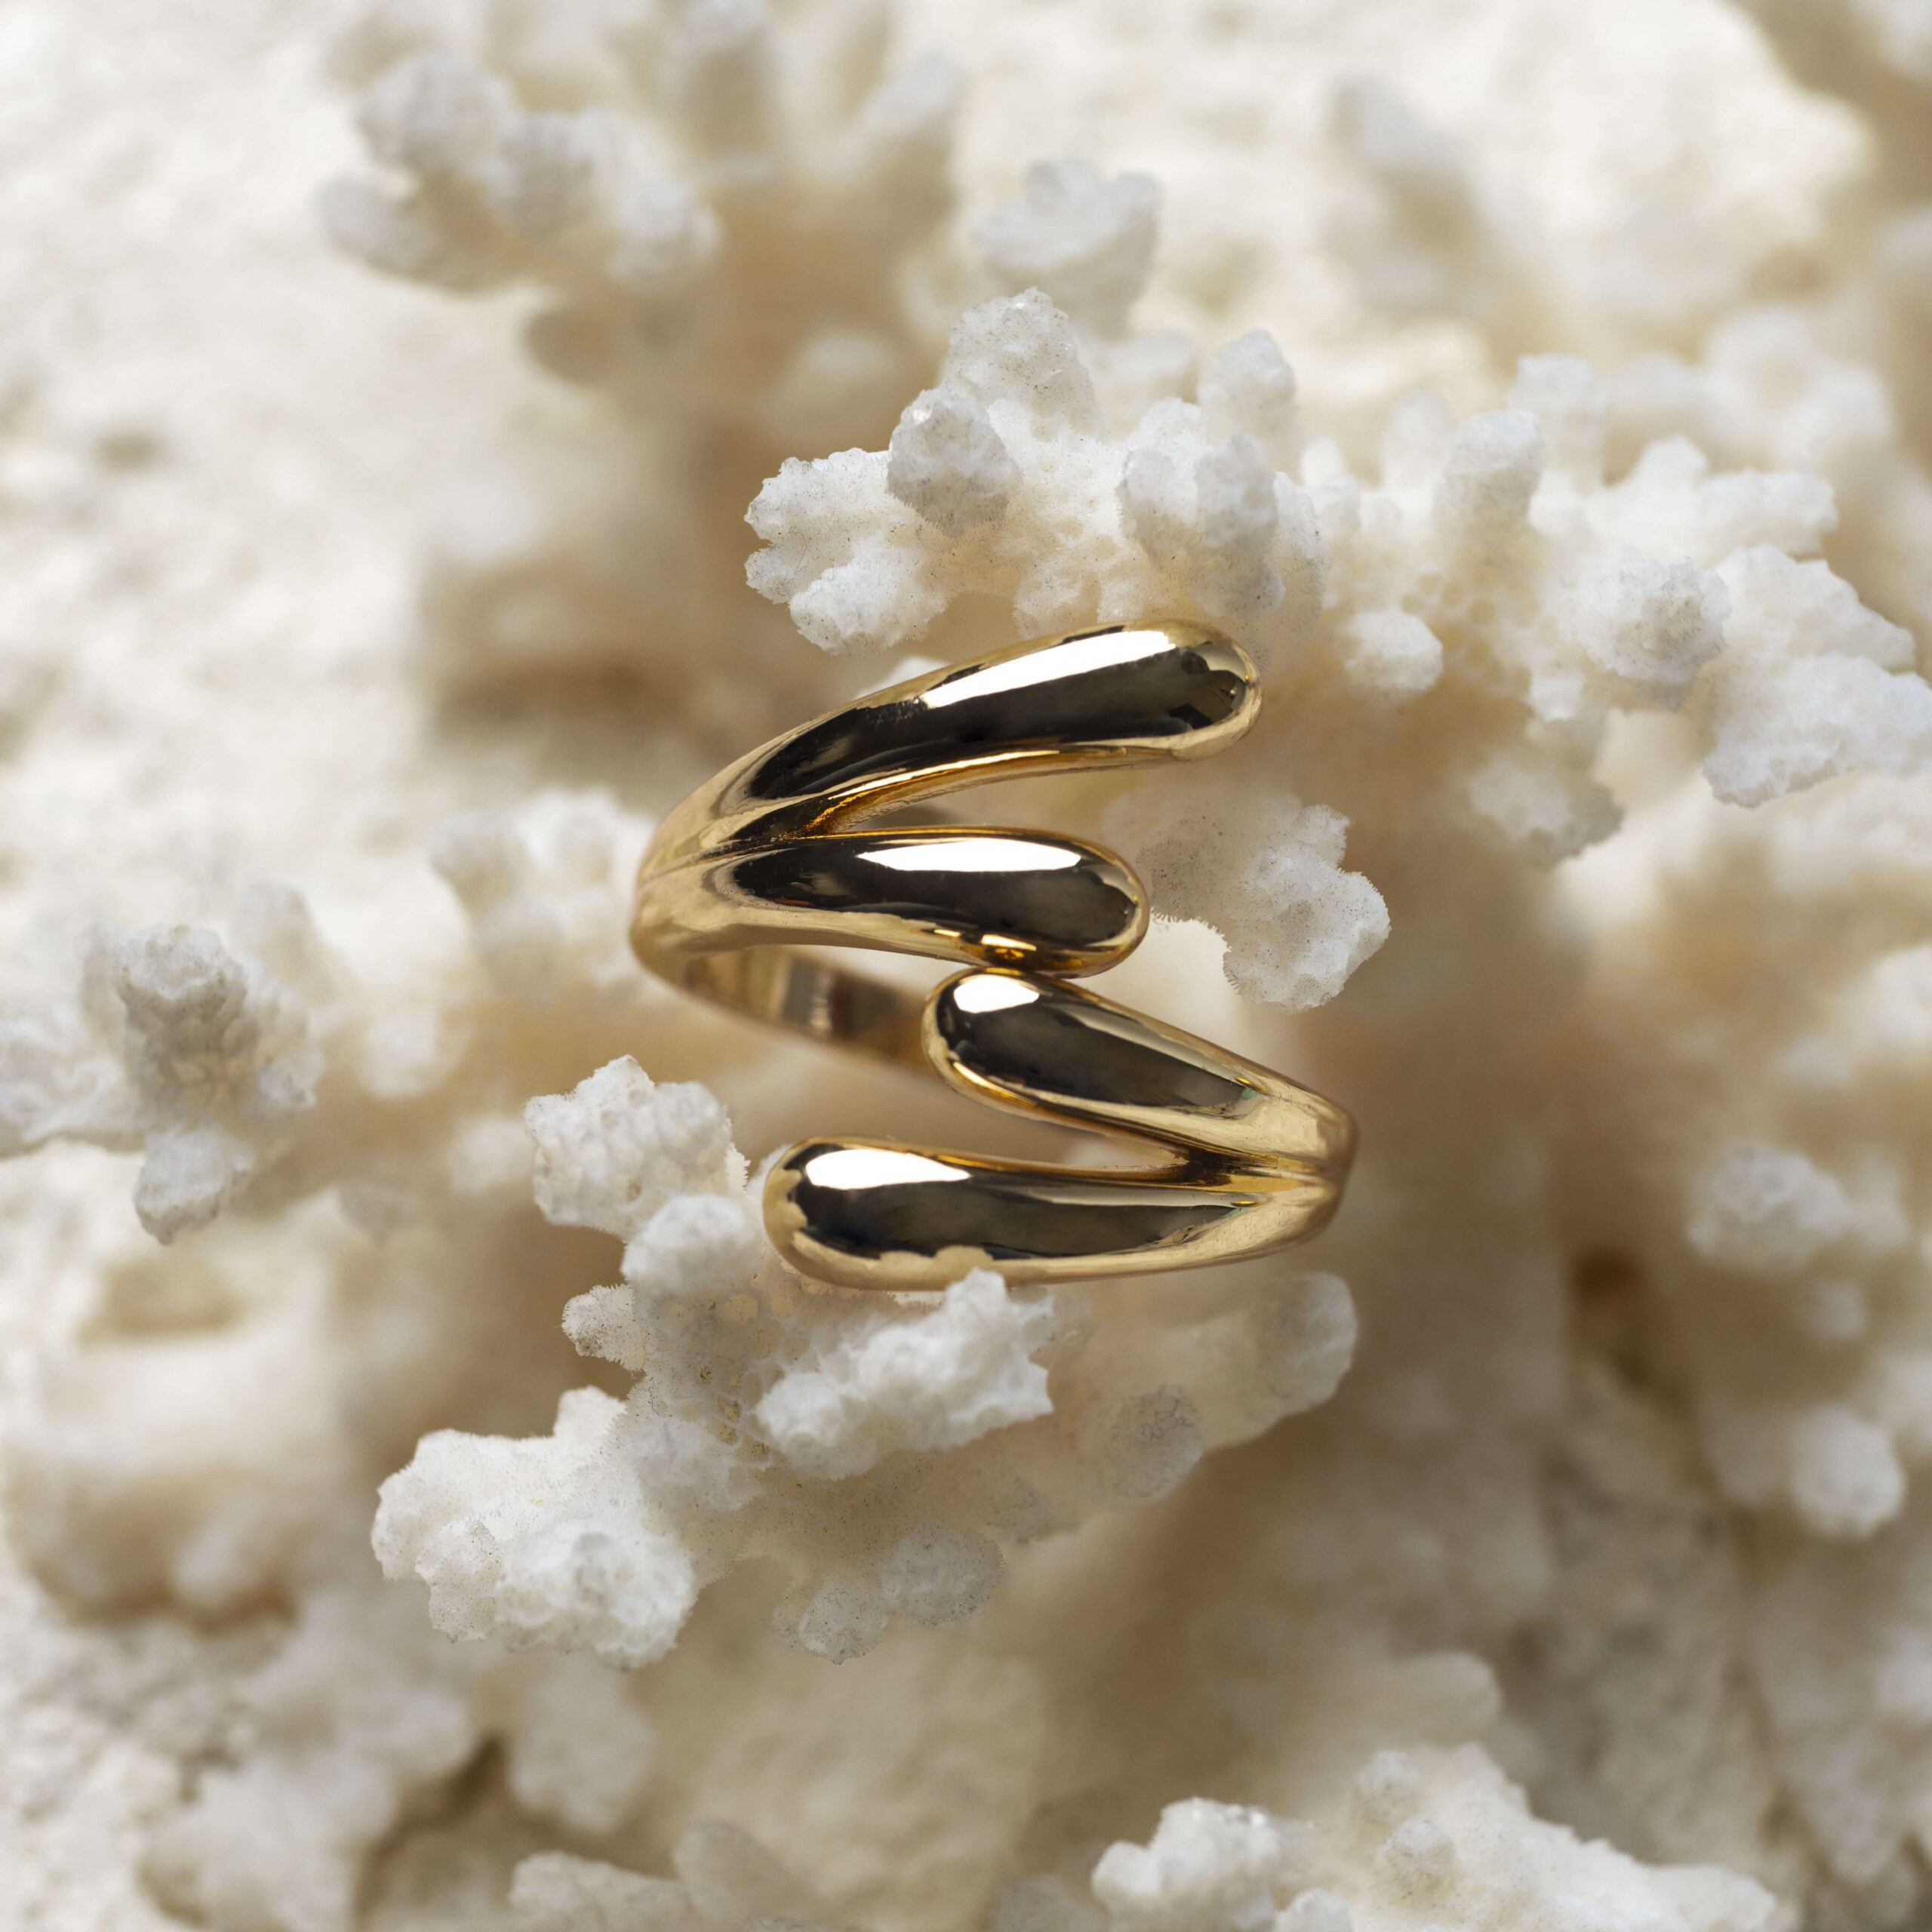
3. Close-Up Detail Shots

One of the most important parts of jewelry photography is showing the small details of the piece. Close-up shots are very helpful for showing textures, gemstones, and special design parts that make the jewelry stand out. A macro lens is often used for these photos. It can focus on very small things, like tiny engravings or fine patterns on metal. These close-up photos help people see the skill and effort put into the jewelry that may not be noticed in wide shots. They are great for showing the beauty and quality of the design.
In close-up shots, the depth of field is very important. A shallow depth of field makes the background blurry. This helps the jewelry stand out and gives the photo a professional look. You should focus on the best parts of the jewelry, like the shine of a gemstone, the sparkle of diamonds, or the smooth surface. Using a small aperture, like f/8 or f/11, helps make the whole piece sharp and clear so every detail is easy to see.
Taking close-up shots needs a steady hand or a tripod so the photo doesn’t turn out blurry. Jewelry is small and delicate, so even small movements can ruin the shot. Lighting is also very important in close-up photography. The light should be soft and spread out to avoid strong shadows or bright reflections on shiny parts. With the right camera settings, good lighting, and a careful setup, close-up shots can show the true beauty and details of jewelry.
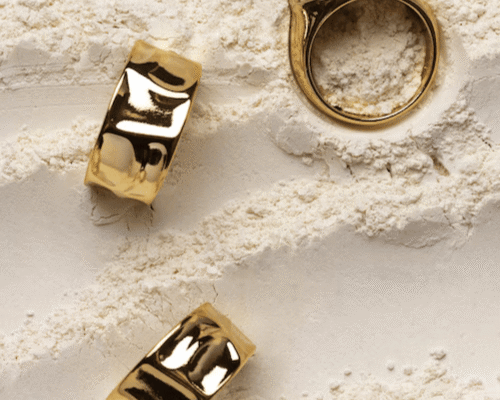
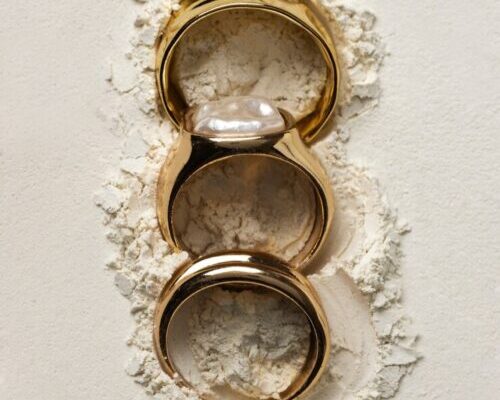
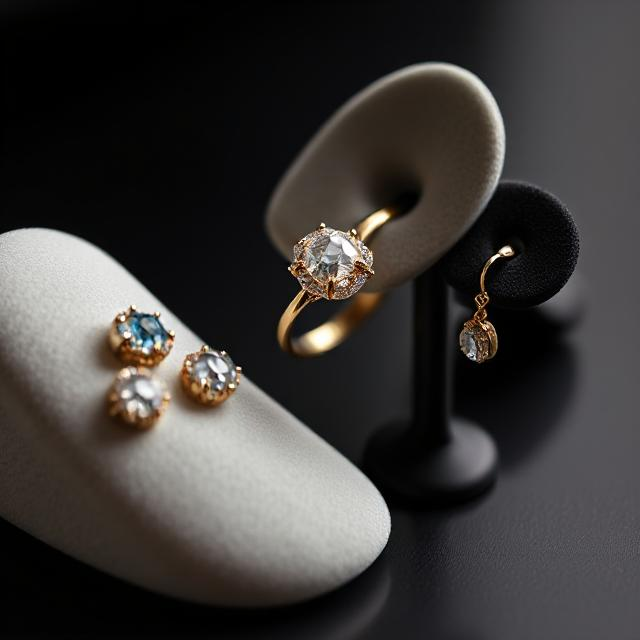
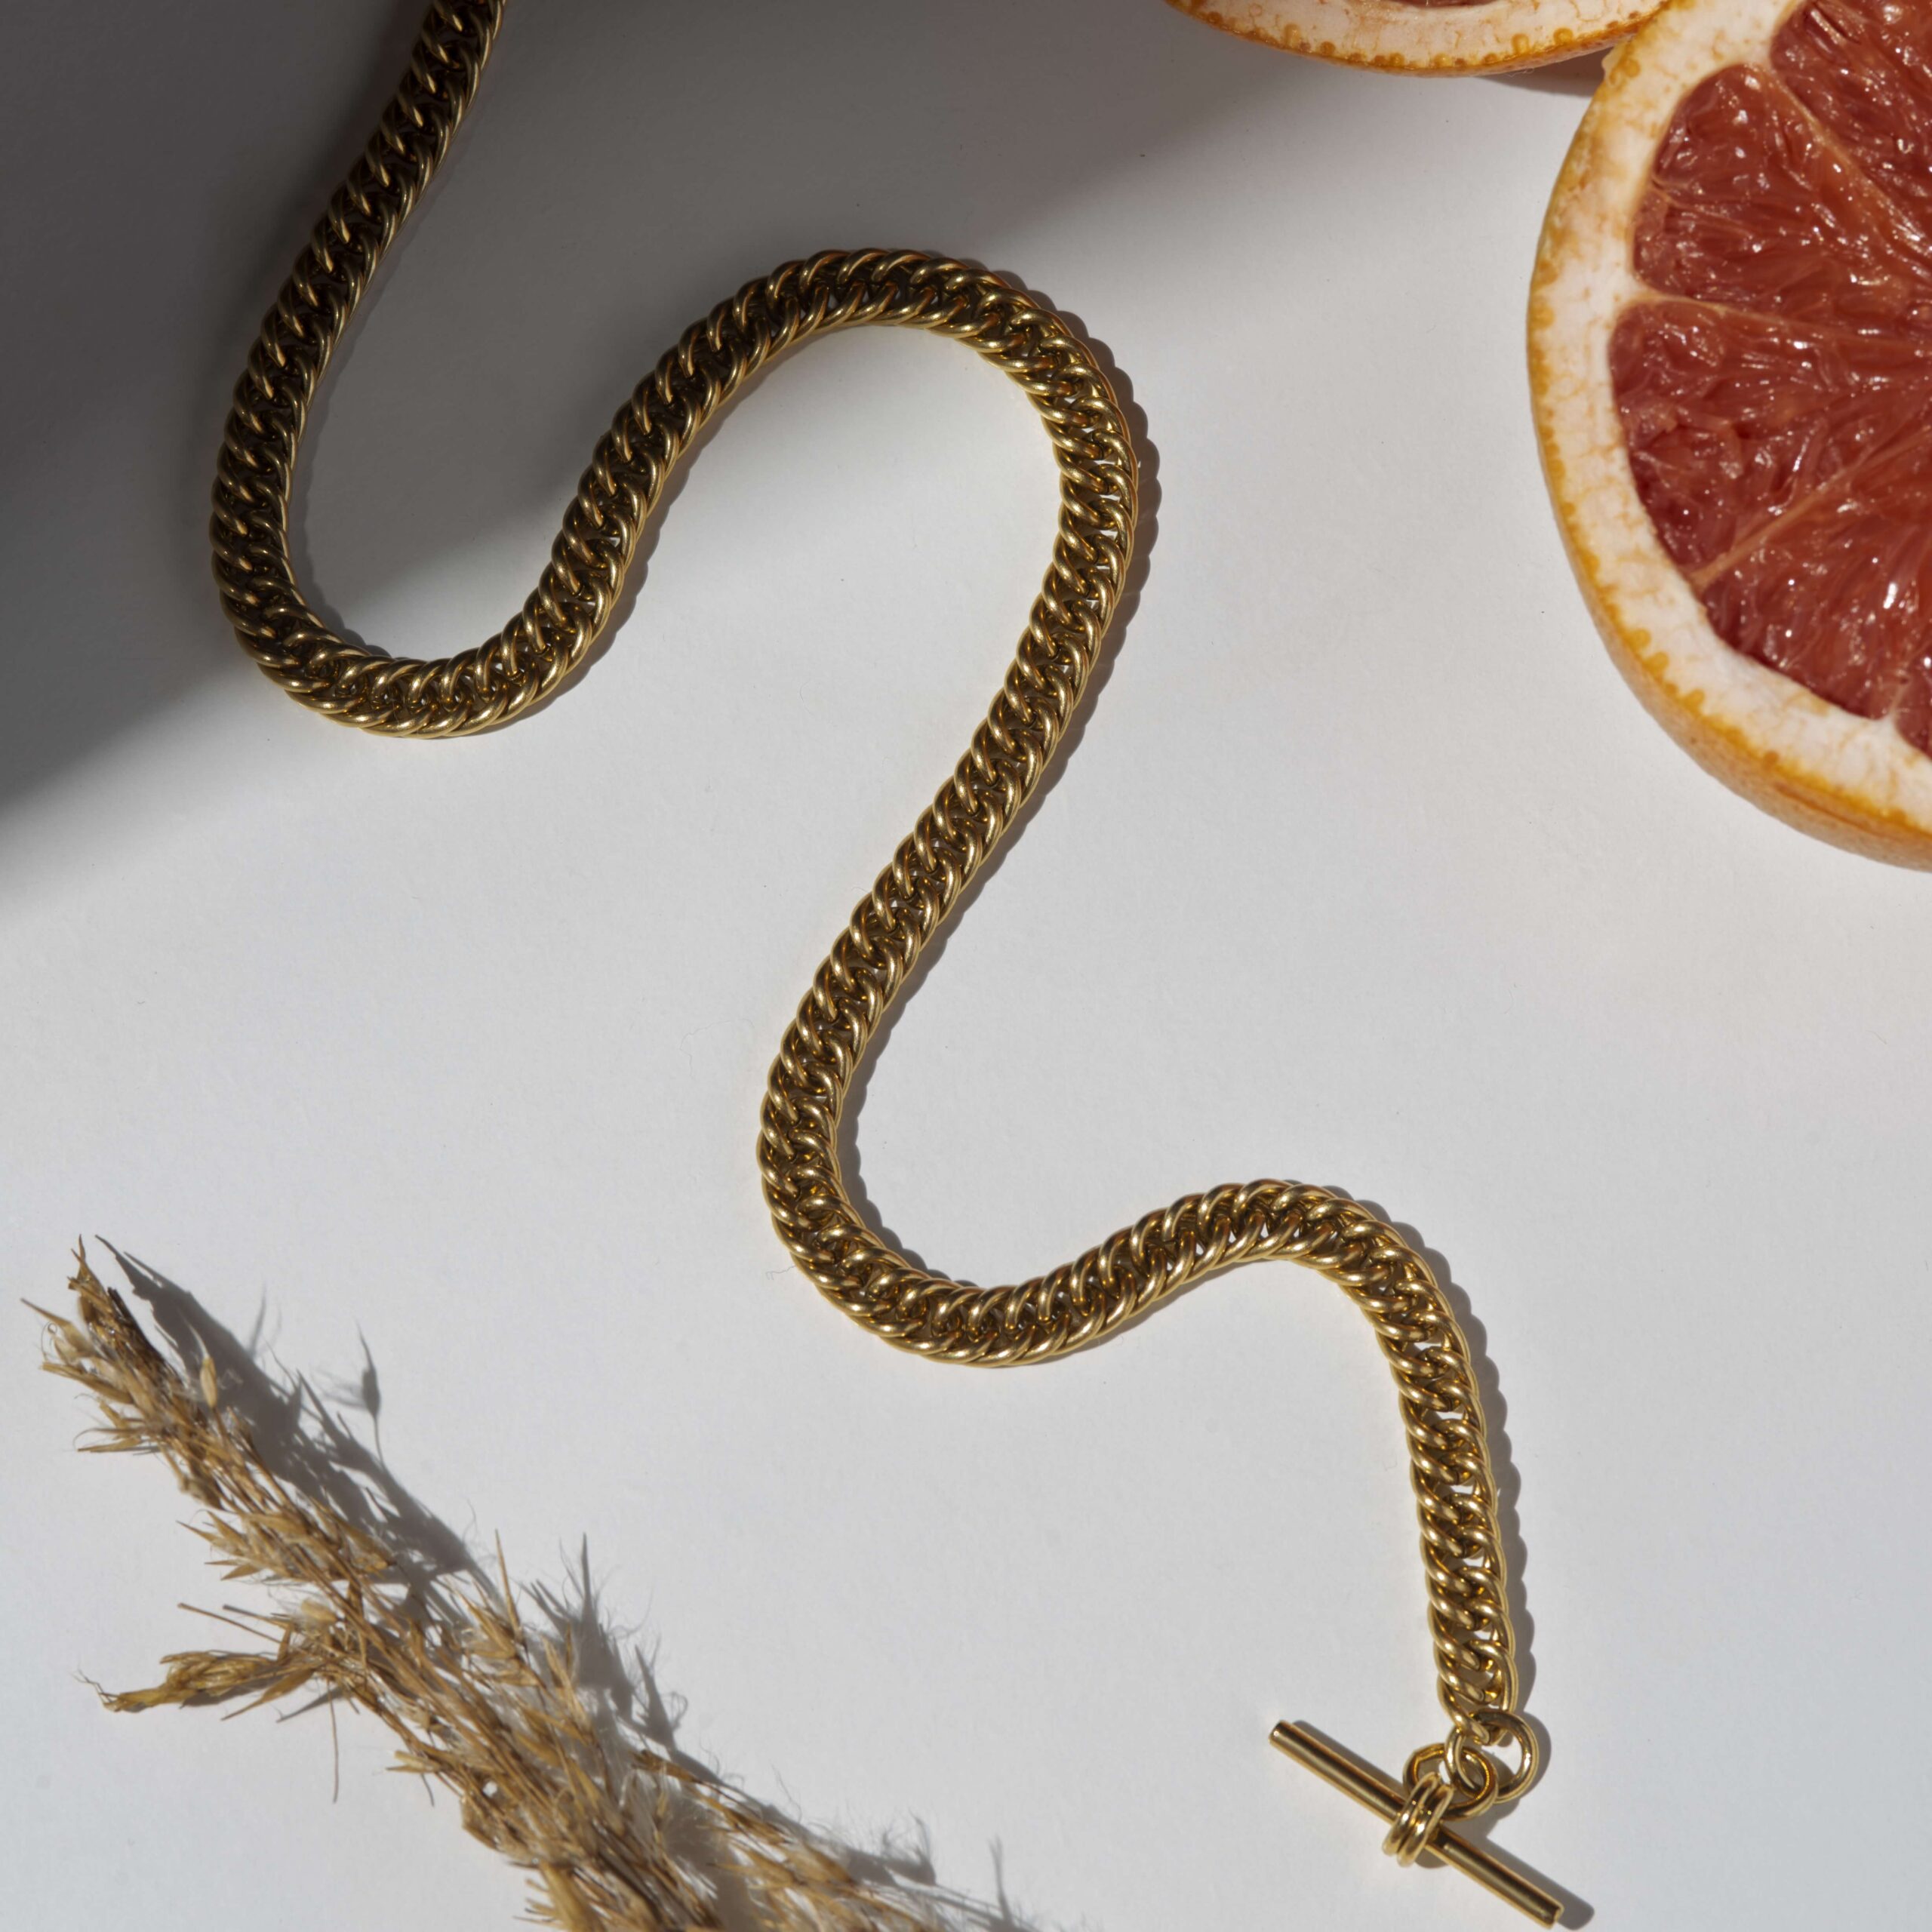
4. Using Props Creatively
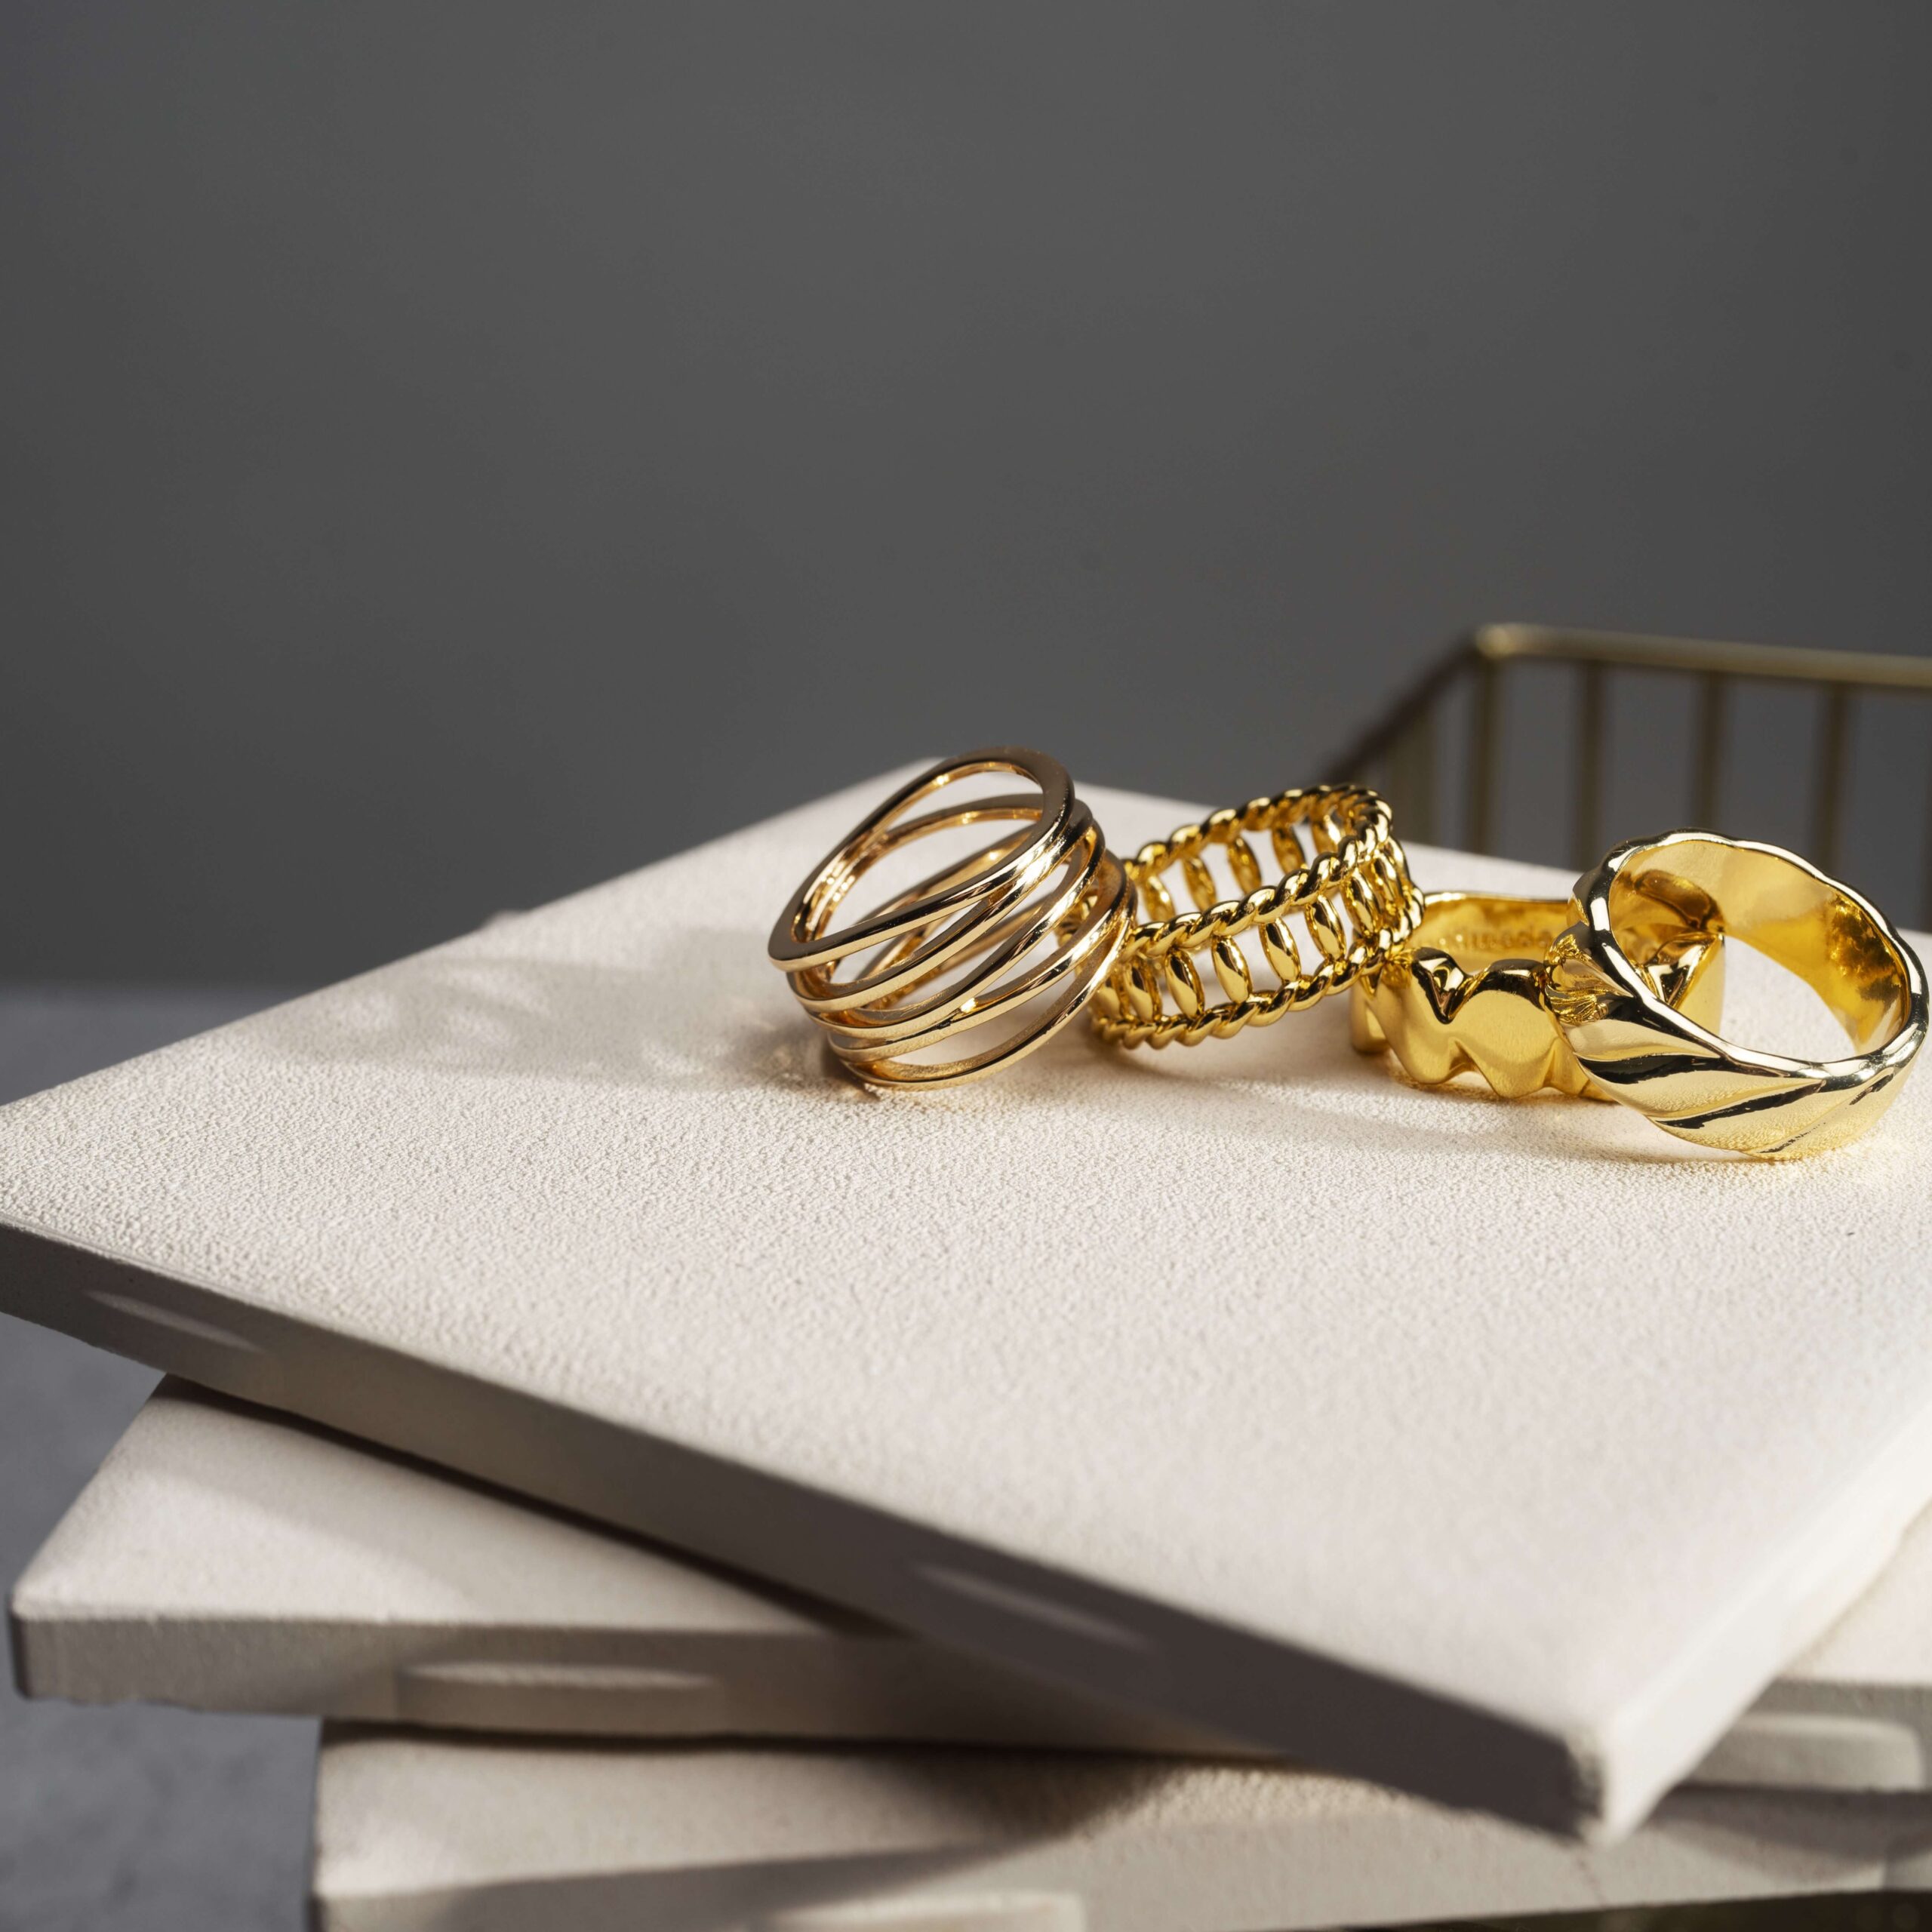
Props can be helpful in jewelry photography when used creatively. Creating flawless jewelry images involves more than just taking pictures of the jewelry. Adding props can set the mood and make the jewelry look better. For example, placing a ring in a velvet pouch or in a nice box can make it look more beautiful. Props don’t have to be expensive; simple items like cloth, books, or flowers can add style.
When choosing props, make sure they don’t distract from the jewelry. They should complement the jewelry, not take attention away from it. For example, plain-colored fabric or soft textures can make the jewelry stand out. A simple prop, like an open book or a hand display, can improve a ring photo without overpowering it.
Props can also help show the size of the jewelry. Creating flawless jewelry images means thinking about how props add to the overall look. For example, putting a bracelet on a wrist helps people imagine wearing it. Using natural elements like stone or wood can add texture. Just remember, the jewelry should always be the main focus.
5. Background Adjustments
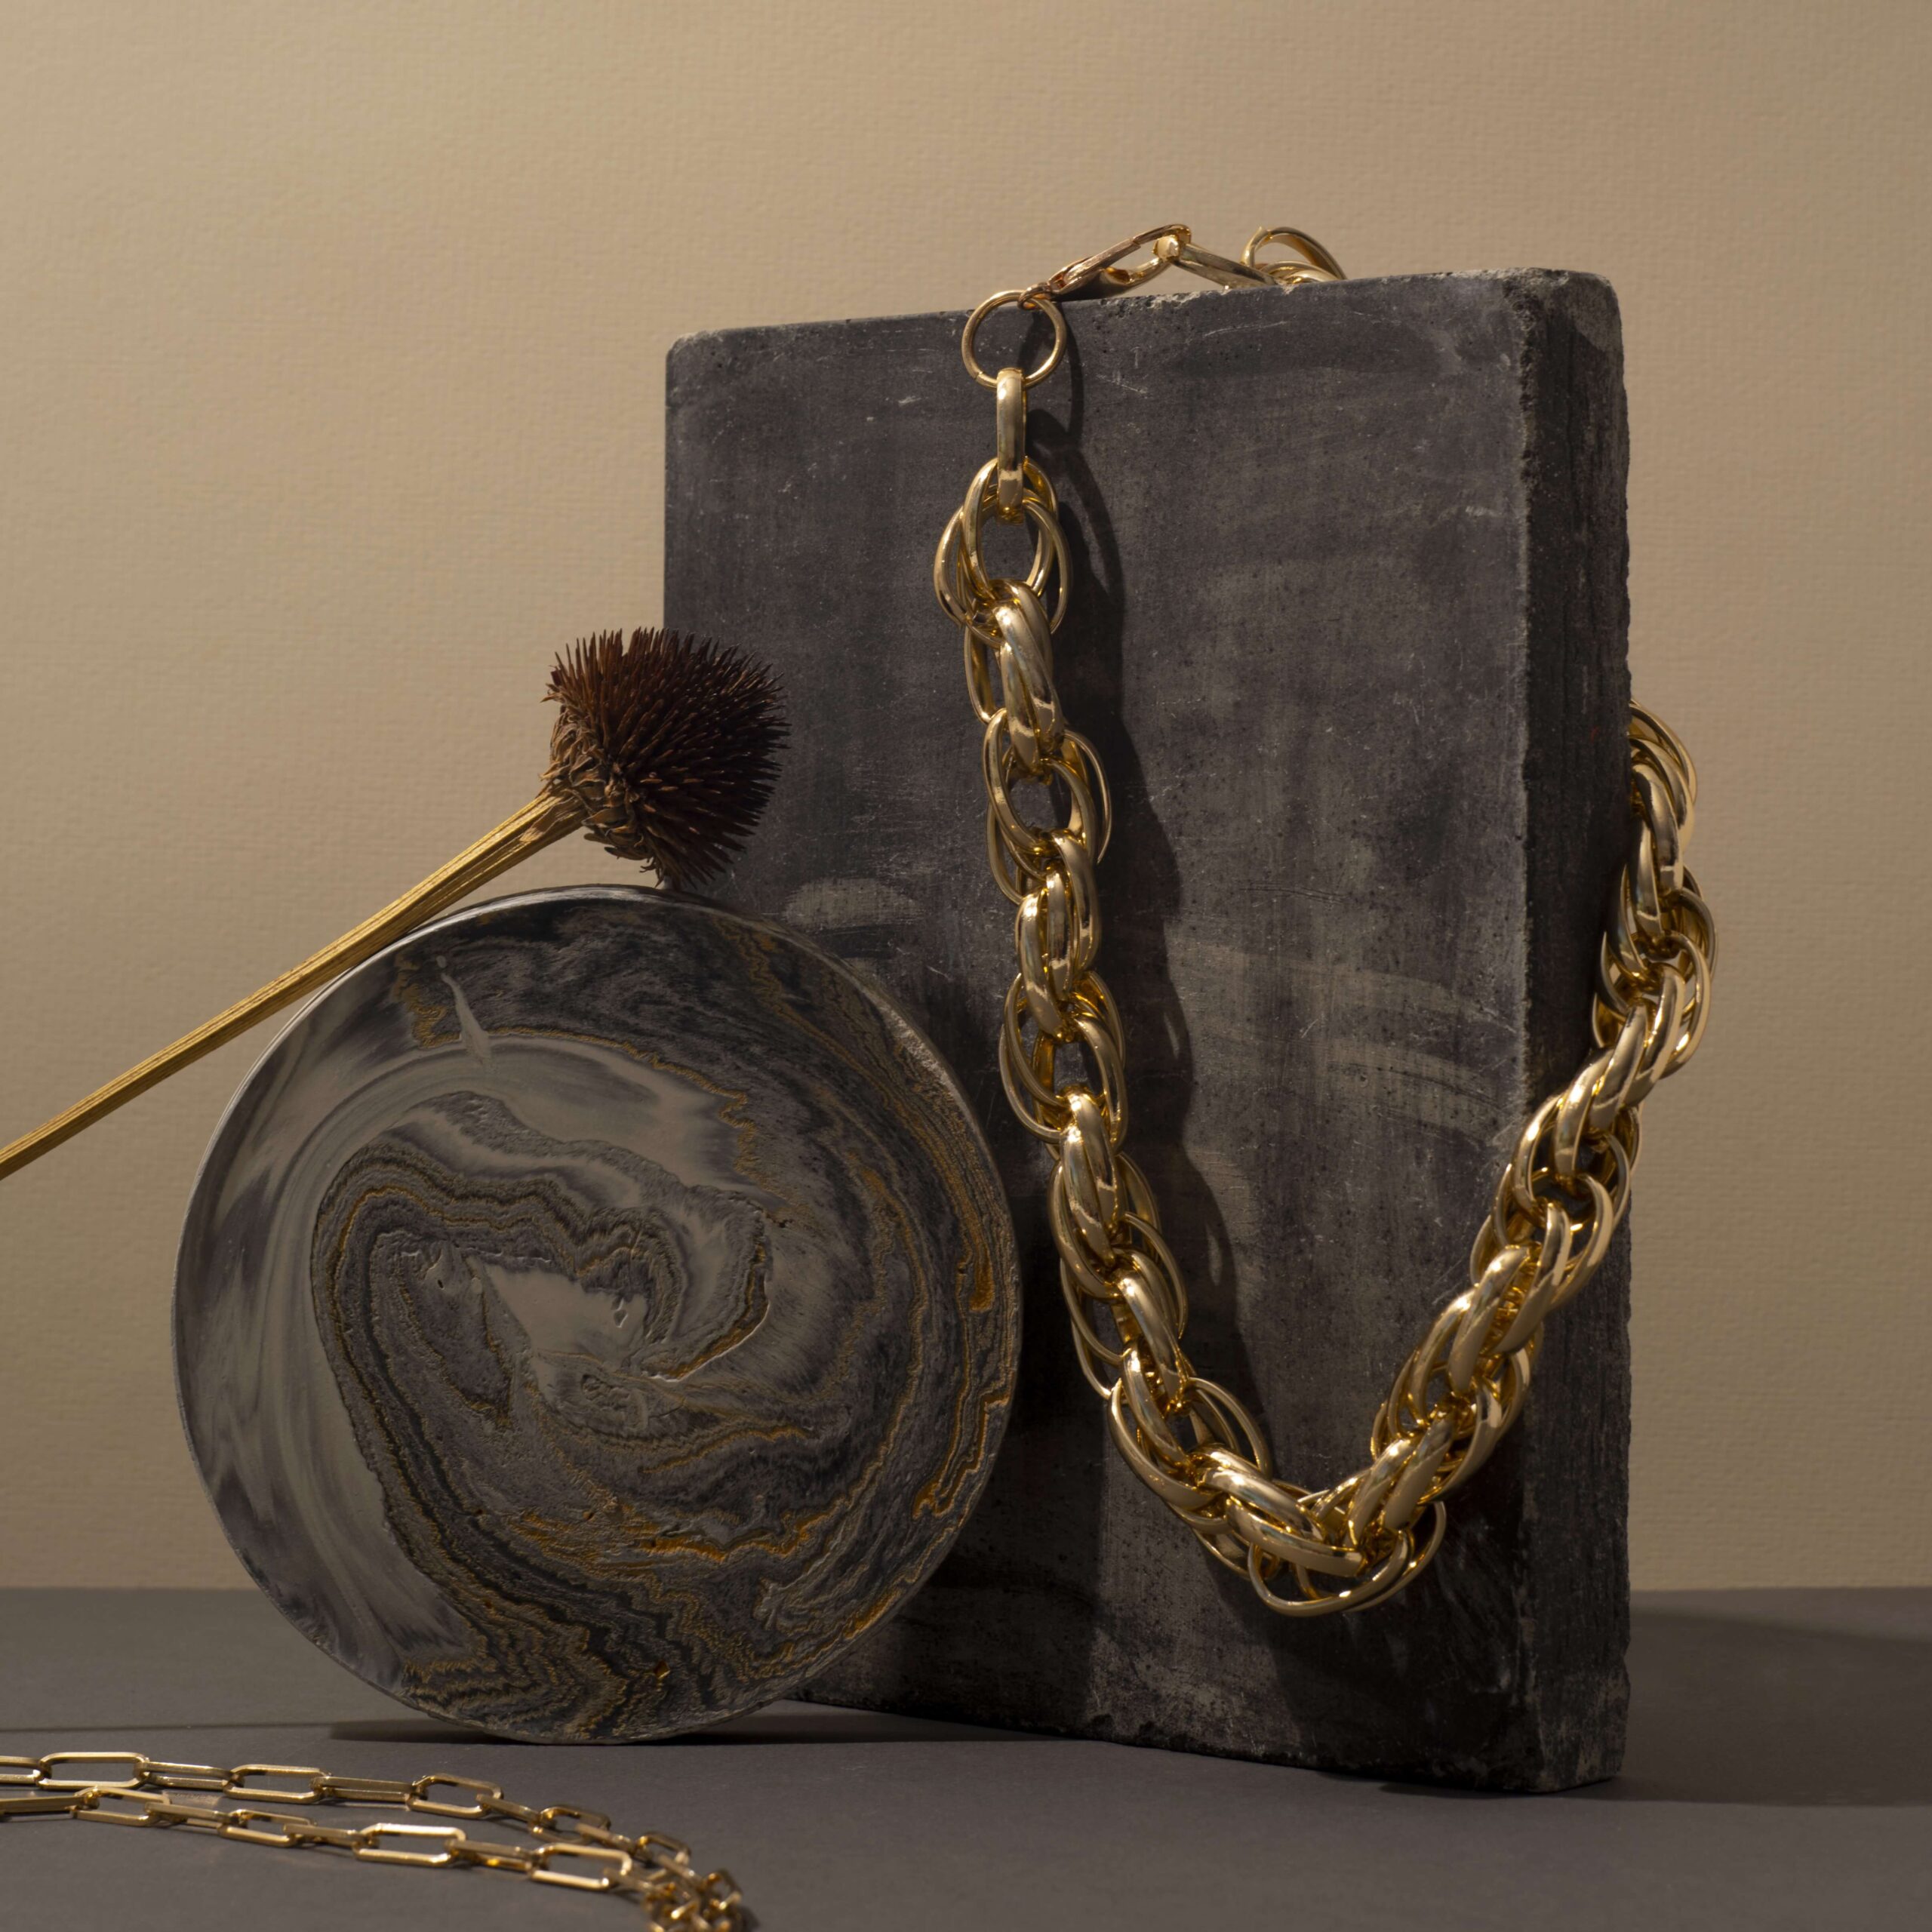
The background of your jewelry photo is important because it helps set the mood of the picture. A plain white background is popular because it looks clean and professional. But you can also try other backgrounds like marble, wood, or soft fabric to make the jewelry look warmer or more eye-catching. Just make sure the background is not too busy, so it doesn’t take attention away from the jewelry.
Lighting the background well also makes a big difference. A bright background helps the jewelry stand out and keeps the photo looking nice and even. Dark or detailed backgrounds can cause distractions or shadows. You can also use a soft blur or gradient background to gently guide the viewer’s eyes toward the jewelry.
Using a shallow depth of field (blurry background) can make the jewelry pop even more. To take a good photo of the jewelry, arrange it and the background properly. This way, the background will support the jewelry instead of distracting from it.
6. Dynamic Movement
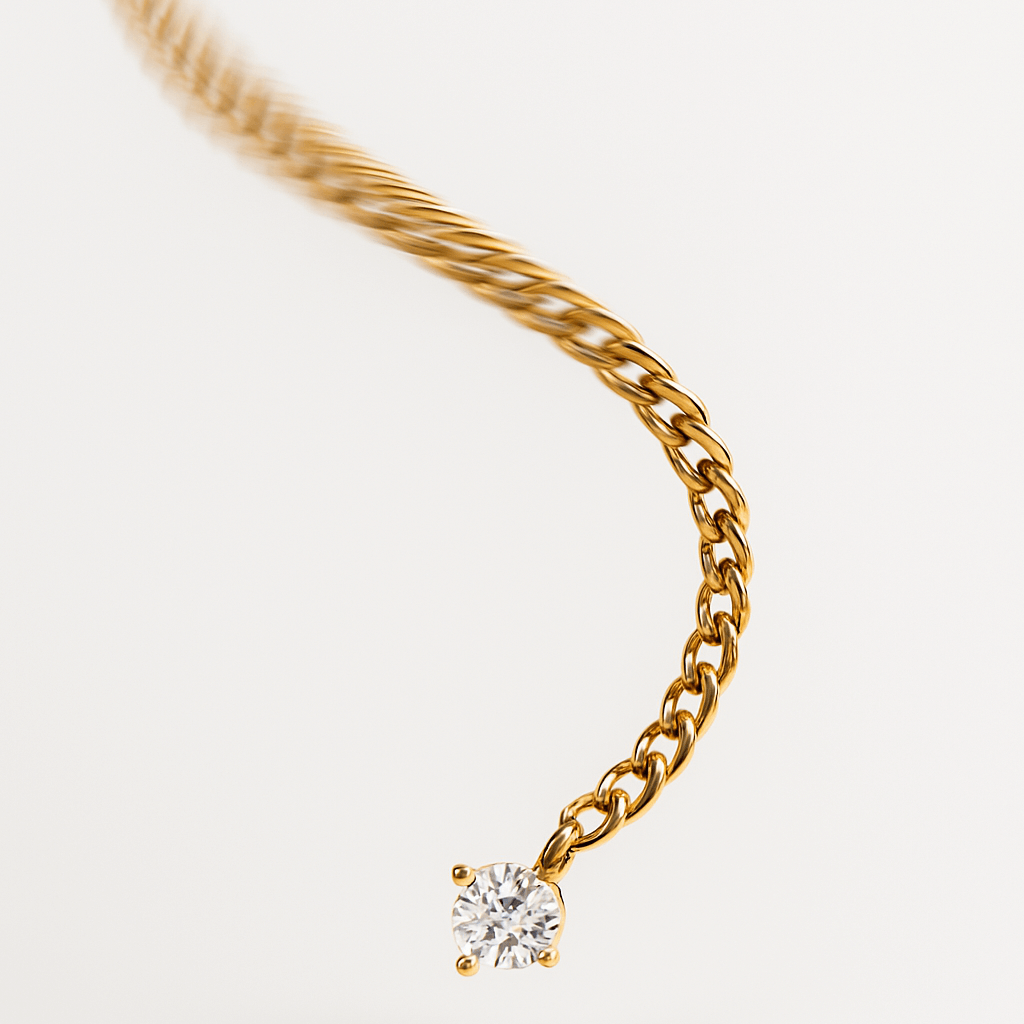 While jewelry photography often focuses on still life, adding dynamic movement can result in unique and eye-catching shots. Jewelry that features chains, pendants, or bracelets with movement can look more exciting and alive. For example, taking a picture of a necklace in motion can create a graceful effect. If the necklace is draped over a hand or twirling slightly, it adds depth and liveliness to the image.
Taking photos of moving subjects needs good timing and the right gear. This is especially true in low light or when using long exposure times. A tripod is important to avoid any unwanted motion blur, and a fast shutter speed will help freeze the movement. If you use a slow shutter speed, think about adding a blur effect on purpose. This can highlight the smoothness of the jewelry while keeping the important details clear. Experimenting with different movement styles can add creativity and a unique flair to your jewelry photos.
However, it’s important to maintain control over the movement so that it doesn’t overshadow the jewelry. The motion should highlight the jewelry’s features rather than distract from them. Using movement carefully helps you show the jewelry in a more artistic way. This keeps the jewelry as the main focus of the shot.
7. Macro Photography
Macro photography is great for showing small details in jewelry that you might not see otherwise. Using a macro lens helps you take close-up photos of rings, earrings, or small pendants. This way, you can clearly show details like gemstones, tiny engravings, and the metal’s texture. These close-up shots can really highlight the beauty and skill put into making the jewelry.
One challenge with macro photography is keeping the jewelry in sharp focus. Since you’re working with very small things, it’s best to use a tripod to keep your camera steady. The focus area will be very small, so you need to choose which part of the jewelry you want to be the clearest. You might need to adjust your camera settings to make sure the important parts stay sharp while still keeping a soft, blurred background.
Macro shots work especially well for detailed designs, like fine metalwork or tiny gems. They help people see the quality and detail up close, which shows the value of the piece. With careful use, macro photography can create beautiful and powerful images that show off the craftsmanship of the jewelry.
8. Natural Light Techniques
Natural light is one of the best ways to take soft and beautiful jewelry photos. Light from a window, like sunlight, gives a nice even glow that shows the details of the jewelry well. The best time to use natural light is in the early morning or late afternoon when the light is soft and warm. Try to avoid midday sunlight because it can be too strong and cause harsh shadows or shiny spots.
To make the light softer, you can use a thin curtain or a light diffuser to cover the window. This helps to spread the light evenly and reduce bright spots. You can use something white, like a piece of paper or a reflector. This will bounce light back onto the jewelry and fill in the dark areas.
Natural light is great if you want your jewelry photos to look soft, real, and classy. But natural light can change quickly, so watch the light during the shoot and make small changes if needed. If you set things up well, natural light can help you take beautiful and true-to-life photos of your jewelry.
Conclusion
Creating flawless jewelry images is a combination of technical knowledge, creativity, and attention to detail. If you use props, change backgrounds, or use macro lenses, each step is important for great jewelry photos. By using placement tools, reflective surfaces, and the lively nature of jewelry, you can make great images. These images will show off the skill and beauty of each piece. With the right tools and methods, your jewelry photos can shine. This will attract customers and show off your designs well.
Read Next: Jewelry Photos Editing for Transform and Perfect Your Images
Related Posts