
Creating Perfect Headshots with One Flash
Creating professional headshots does not always require a complex studio rig. In fact, you can get professional results using a single off-camera flash and a few basic modifiers. To start, here are some tips for creating perfect headshots with just one light.
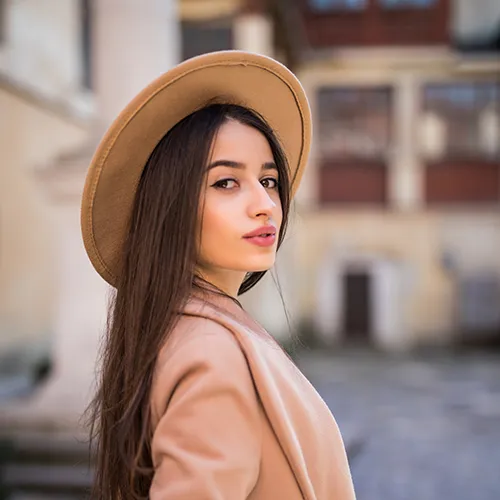
Tips for creating perfect headshots with just one light
The Core Setup
First and foremost, consider your positioning. Place your light at a 45-degree angle to the subject and slightly above eye level. As a result, this mimics natural sunlight and creates a flattering shadow that defines the jawline. Additionally, focus on modification for creating perfect headshots. Specifically, avoid bare flash and use a medium-sized soft box or an umbrella to spread the light. Consequently, this softens the transition between light and shadow on the skin. Furthermore, pay attention to distance. Basically, the closer the light source is to the person, the softer the light will be. Therefore, aim to keep your soft box within 3 to 5 feet of the subject.
Controlling Shadows While Creating Perfect Headshots
Naturally, one light creates shadows on the “dark side” of the face. However, you can manage this depending on the look you want:
|
Style |
Technique |
|
Dramatic (Rembrandt) |
For instance, leave the shadow side dark, looking for the classic small triangle of light on the cheek. |
|
Clean & Professional |
Alternatively, place a white foam board or reflector on the side opposite the flash to bounce light back into the shadows. |
|
High Contrast |
On the other hand, use a black “flag” or dark board to deepen the shadows for a moody, artistic feel. |
Technical Tips for Creating Perfect Headshots
Moving on to the technical side, here are three steps to follow:
- Shutter Speed: Keep this at or below your camera’s sync speed. Usually, this is 1/200 or 1/250.
- Aperture: An f-stop between f/4 and f/8 is ideal. In this way, it keeps the entire face in focus while slightly blurring the background.
- Background: To get a pure black background, move the subject and light away from the wall. Conversely, to get a gray background from a white wall, keep the subject close to the wall but pull the light further away.
CONCLUSION
Building professional headshots does not require a room full of expensive gear or a complex layout. By focusing on your light placement and using a simple reflector, you can produce clean results that look like they came from a high-end studio. These techniques work for portraits, product shots, or even quick social media updates when time is short. Most people find that a single light source helps them focus more on the person in front of the lens rather than the equipment. It is often the small adjustments in distance and angle that make the biggest difference in your final image.
I would love to hear about your own experiences with using a basic setup like this. What is the one piece of gear you always bring to a shoot to make things easier? Share your best portrait tips or ask a question in the comments so we can all learn together.