Taking great photos of jewelry doesn’t have to be complicated. With the right steps, you…
9 Easy Guides to Improve Jewelry Retouching
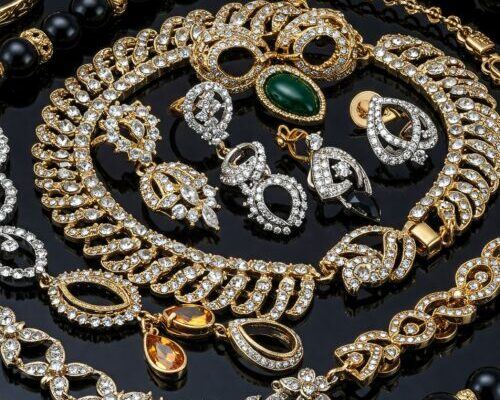
Jewelry retouching is an important skill for photographers and editors who want to showcase their products in the best light. Proper editing techniques improve the beauty of the jewelry, making it look as beautiful as possible to potential customers. If it’s for a product catalog, e-commerce website, or social media, retouching jewelry photos helps highlight every fine detail, from the sparkle of gemstones to the lustrous shine of metals.
In this guide, we’ll walk you through guides to improve jewelry retouching with nine easy steps, covering important techniques like color correction, sharpening, removing imperfections, improving reflections, and more. With these tips, you’ll be able to improve your jewelry images and ensure that they draw the attention of your audience.
1. Perfecting Color Correction
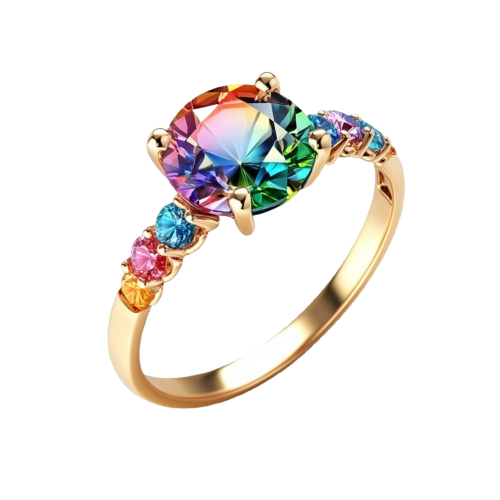
Color correction is key in jewelry retouching to make sure the colors of metals and gemstones look accurate. Photos can sometimes show the wrong colors due to lighting or camera settings. To fix this, use the white balance tool to adjust the image’s overall temperature, making sure the whites look natural without a blue or yellow tint. You can also adjust saturation and vibrancy to make colored stones like rubies or emeralds look as bright as they do in real life.
Next, correct any color cast in the image. Jewelry can appear too warm or cool depending on the light. Use tools like selective color adjustment in Photoshop to fine-tune specific colors, ensuring the jewelry looks natural. For example, if the gold looks too red or yellow, adjust it to balance the warmth. Gemstones like diamonds or sapphires may need slight adjustments to improve their color without making them look too bright.
Lastly, keep the overall look in mind. When adjusting colors, ensure the jewelry doesn’t blend in too much with the background or appear too bright. Aim for a natural, balanced appearance where the jewelry shines without over-manipulating the colors. With good color correction, your jewelry images will look realistic and professional.
2. Sharpening for Detail
Sharpening is a key technique to highlight details like engravings, gemstones, and metal settings in jewelry photos. However, it’s important to sharpen carefully, as too much sharpening can cause noise or halos, making the image look worse. Following guides to improve jewelry retouching can help ensure precision in this step.
Start by using the high-pass filter to sharpen only specific areas, like the edges of gemstones or the details of the metalwork. Using a soft brush, apply sharpness to the parts that matter most, like the prongs or engravings. This prevents sharpening the entire image and creating unnatural effects.
It’s also important to keep the image balanced. If there are detailed textures, zoom in and adjust carefully to bring out the metal texture or gemstone facets. Always check at 100% zoom to make sure the sharpening looks even and doesn’t add any unwanted flaws. With good sharpening, your jewelry will look clear, detailed, and crisp.
3. Removing Imperfections and Dust
Removing imperfections like dust, fingerprints, and scratches is key in jewelry retouching. These small flaws can distract from the jewelry’s beauty, especially in close-up shots.
Start by using the clone stamp or healing brush tool to remove dust and fingerprints. These tools let you copy clean areas of the image and cover up the imperfections. Zoom in to 100% to make sure the edits look perfect and don’t leave visible marks. If you’re editing shiny jewelry, be careful not to disturb the reflections while cleaning.
Minor scratches on metal can also affect the shine. Use a soft brush to gently fix small scratches, blending them into the surrounding area. Be gentle to avoid making the jewelry look fake. After removing the imperfections, double-check that the image looks smooth and natural, with the jewelry as the main focus.
4. Improving Reflections and Highlights
 Reflections and highlights play a significant role in jewelry photography. They help add life to the image by showcasing the reflective properties of metals, gems, and other materials. Properly managing reflections and highlights can improve the sparkle and shine of your jewelry, making it appear more appealing. However, too much reflection can lead to distracting glares or overly bright spots that hide the details of the jewelry.
When editing reflections, it’s important to maintain a balance. Use the dodge tool to improve reflections in certain areas, such as the facets of a diamond or the shiny surface of a polished metal. This helps add depth and dimension to the jewelry. However, avoid overdoing it, as too much brightness can detract from the overall look. Be mindful of the angle and direction of the reflections, ensuring they follow the natural flow of the light in the original image.
Highlight management is just as important as managing reflections. Use the highlights and shadow sliders in your editing software to bring out the soft highlights on the jewelry. If you notice certain areas of the jewelry are too dark or don’t sparkle enough, gently adjust the highlight levels to make them pop. This can help boost the visual appeal of gemstones like diamonds, making their facets stand out and shimmer. By carefully adjusting reflections and highlights, you can ensure that your jewelry photos have that perfect balance of shine and detail.
5. Smoothening Backgrounds
The background in jewelry photos is important because it can affect how the jewelry stands out. A messy or distracting background can take attention away from the piece, so it’s best to keep it simple and clean. Smoothing the background is an easy way to make the jewelry look more professional.
Start by removing any distractions using tools like the clone stamp or content-aware fill. After that, apply a slight blur to the background to make it look smooth and out of focus. This helps the jewelry stand out and creates a nice contrast.
If the background is more complicated, like a textured surface, you can replace it with a solid color or gradient. Adjust the brightness and color of the background to match the jewelry, so it doesn’t distract from the piece. This will give you a clean, professional-looking photo.
6. Working with Shadows
Shadows are important in jewelry photography because they add depth and make the jewelry look more three-dimensional. In jewelry retouching, you want to bring out natural shadows without making them too harsh or fake.
Start by looking at the natural shadows in your photo. If they’re too dark, use the dodge and burn tools to adjust them. Lighten areas that are too dark and darken areas that need more depth, like the underside of a ring. Use soft brushes for smooth transitions between light and shadow to keep it realistic.
If your photo looks flat and lacks shadows, you can add some using a soft brush with low opacity. Make sure the shadows match the light source in the image. Adjusting shadows this way can make your jewelry photos look more realistic and interesting.
7. Brightening Gemstones and Metals
Gemstones and metals are the main focus in jewelry photos, so it’s important to make them shine. Brightening gemstones can highlight their sparkle, while brightening metals can show their shine. But be careful not to overdo it, as too much brightness can hide details.
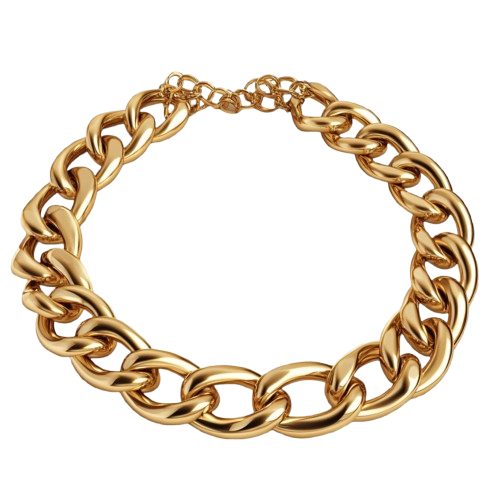
To brighten gemstones like diamonds, use the dodge tool to lighten the highlights on the facets. This helps bring out their sparkle without making them too bright. For metals like gold, silver, or platinum, adjust the brightness on areas where the metal catches the light, like the edges of rings or necklaces. Don’t make the whole piece too bright; focus on the highlights to keep the details clear.
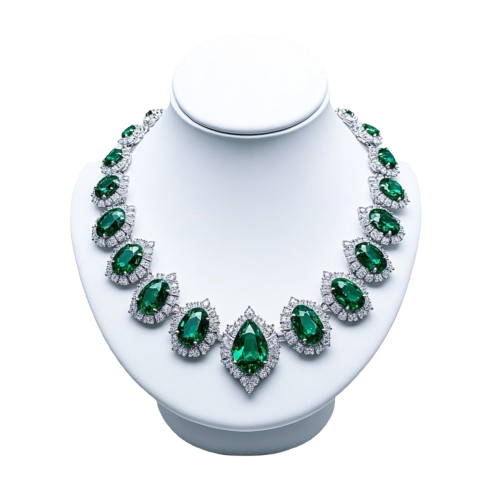
If you’re working with colored gemstones, like rubies or emeralds, you can adjust their color slightly to make them look more vibrant. Use color adjustments to highlight the gemstone’s natural beauty without changing its true color. By carefully brightening gemstones and metals, you can make your jewelry photos shine.
8. Balancing Contrast and Exposure
Contrast and exposure are key to a great jewelry photo. Getting the right balance of contrast helps the jewelry stand out, while good exposure makes sure the details are clear in both the jewelry and the background.
Start by adjusting the exposure to make sure the image isn’t too bright or too dark. Use the exposure slider to make small changes, but avoid making the jewelry too bright, as this can lose detail. After that, adjust the contrast. Increasing contrast will make the jewelry stand out more, while lowering it can create a softer look. The right balance will make the jewelry look its best.
Each jewelry piece is different, so the right settings might change. For example, a diamond might need higher contrast to show its sparkle, while a pearl necklace may look better with a softer exposure. Try adjusting both to find the best look for each piece.
9. Final Touches
Once you’ve finished the retouching, it’s time for the final touches. Start by cropping the image to make sure the jewelry is centered and has enough space around it. This helps to highlight the piece.
Next, zoom in to 100% and check for any last-minute issues like dust spots, blurry areas, or uneven lighting. If you find anything, use the healing brush or clone stamp to fix it. Adjust the brightness, contrast, and saturation to make the image look good without overdoing it. When you’re happy with the image, save it in the right format for your use, either for print or online.
Lastly, make sure the lighting, shadows, and highlights are balanced, and that the jewelry stays the focus. If needed, adjust the background so it doesn’t take attention away from the jewelry. Double-check that the jewelry’s details are sharp and clear. Once everything is perfect, export the image in the right resolution and format for where it will be used, like on a website or for social media.
Conclusion
Jewelry retouching requires a combination of technical skill and creative artistry. By following these nine easy guides, you can improve your jewelry photos and make them stand out. From perfecting color correction to applying the final touches, each step plays an important role in producing high-quality images that showcase the beauty of the jewelry. With practice and attention to detail, you’ll be able to create beautiful images that draw your audience’s attention and highlight the fine craftsmanship of every piece.
Read Next: Guide to Professional Jewelry Photo Retouching Steps
Related Posts