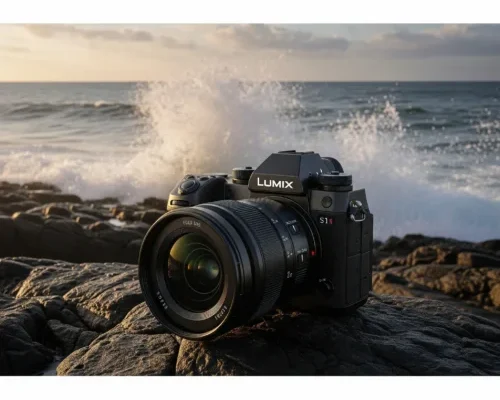
The Lumix S1R II Hybrid Camera is a true masterpiece for those who demand versatility…
Jewelry Photography at Home for Great Results
Have you ever been in amazed of those beautiful jewelry photography at home shots that seem to photograph every sparkle and detail perfectly? Focusing on the jewelry is the important part to creating high-quality photos that draw customers, even if you’re a jewelry maker showcasing your work or a seller growing your online presence. Jewelry photography at home can make a difference in sales when you properly focus on the jewelry. This overview focuses on the best methods for producing great jewelry photos that showcase your pieces effectively.
1. Camera and Lens for Jewelry Photography at Home
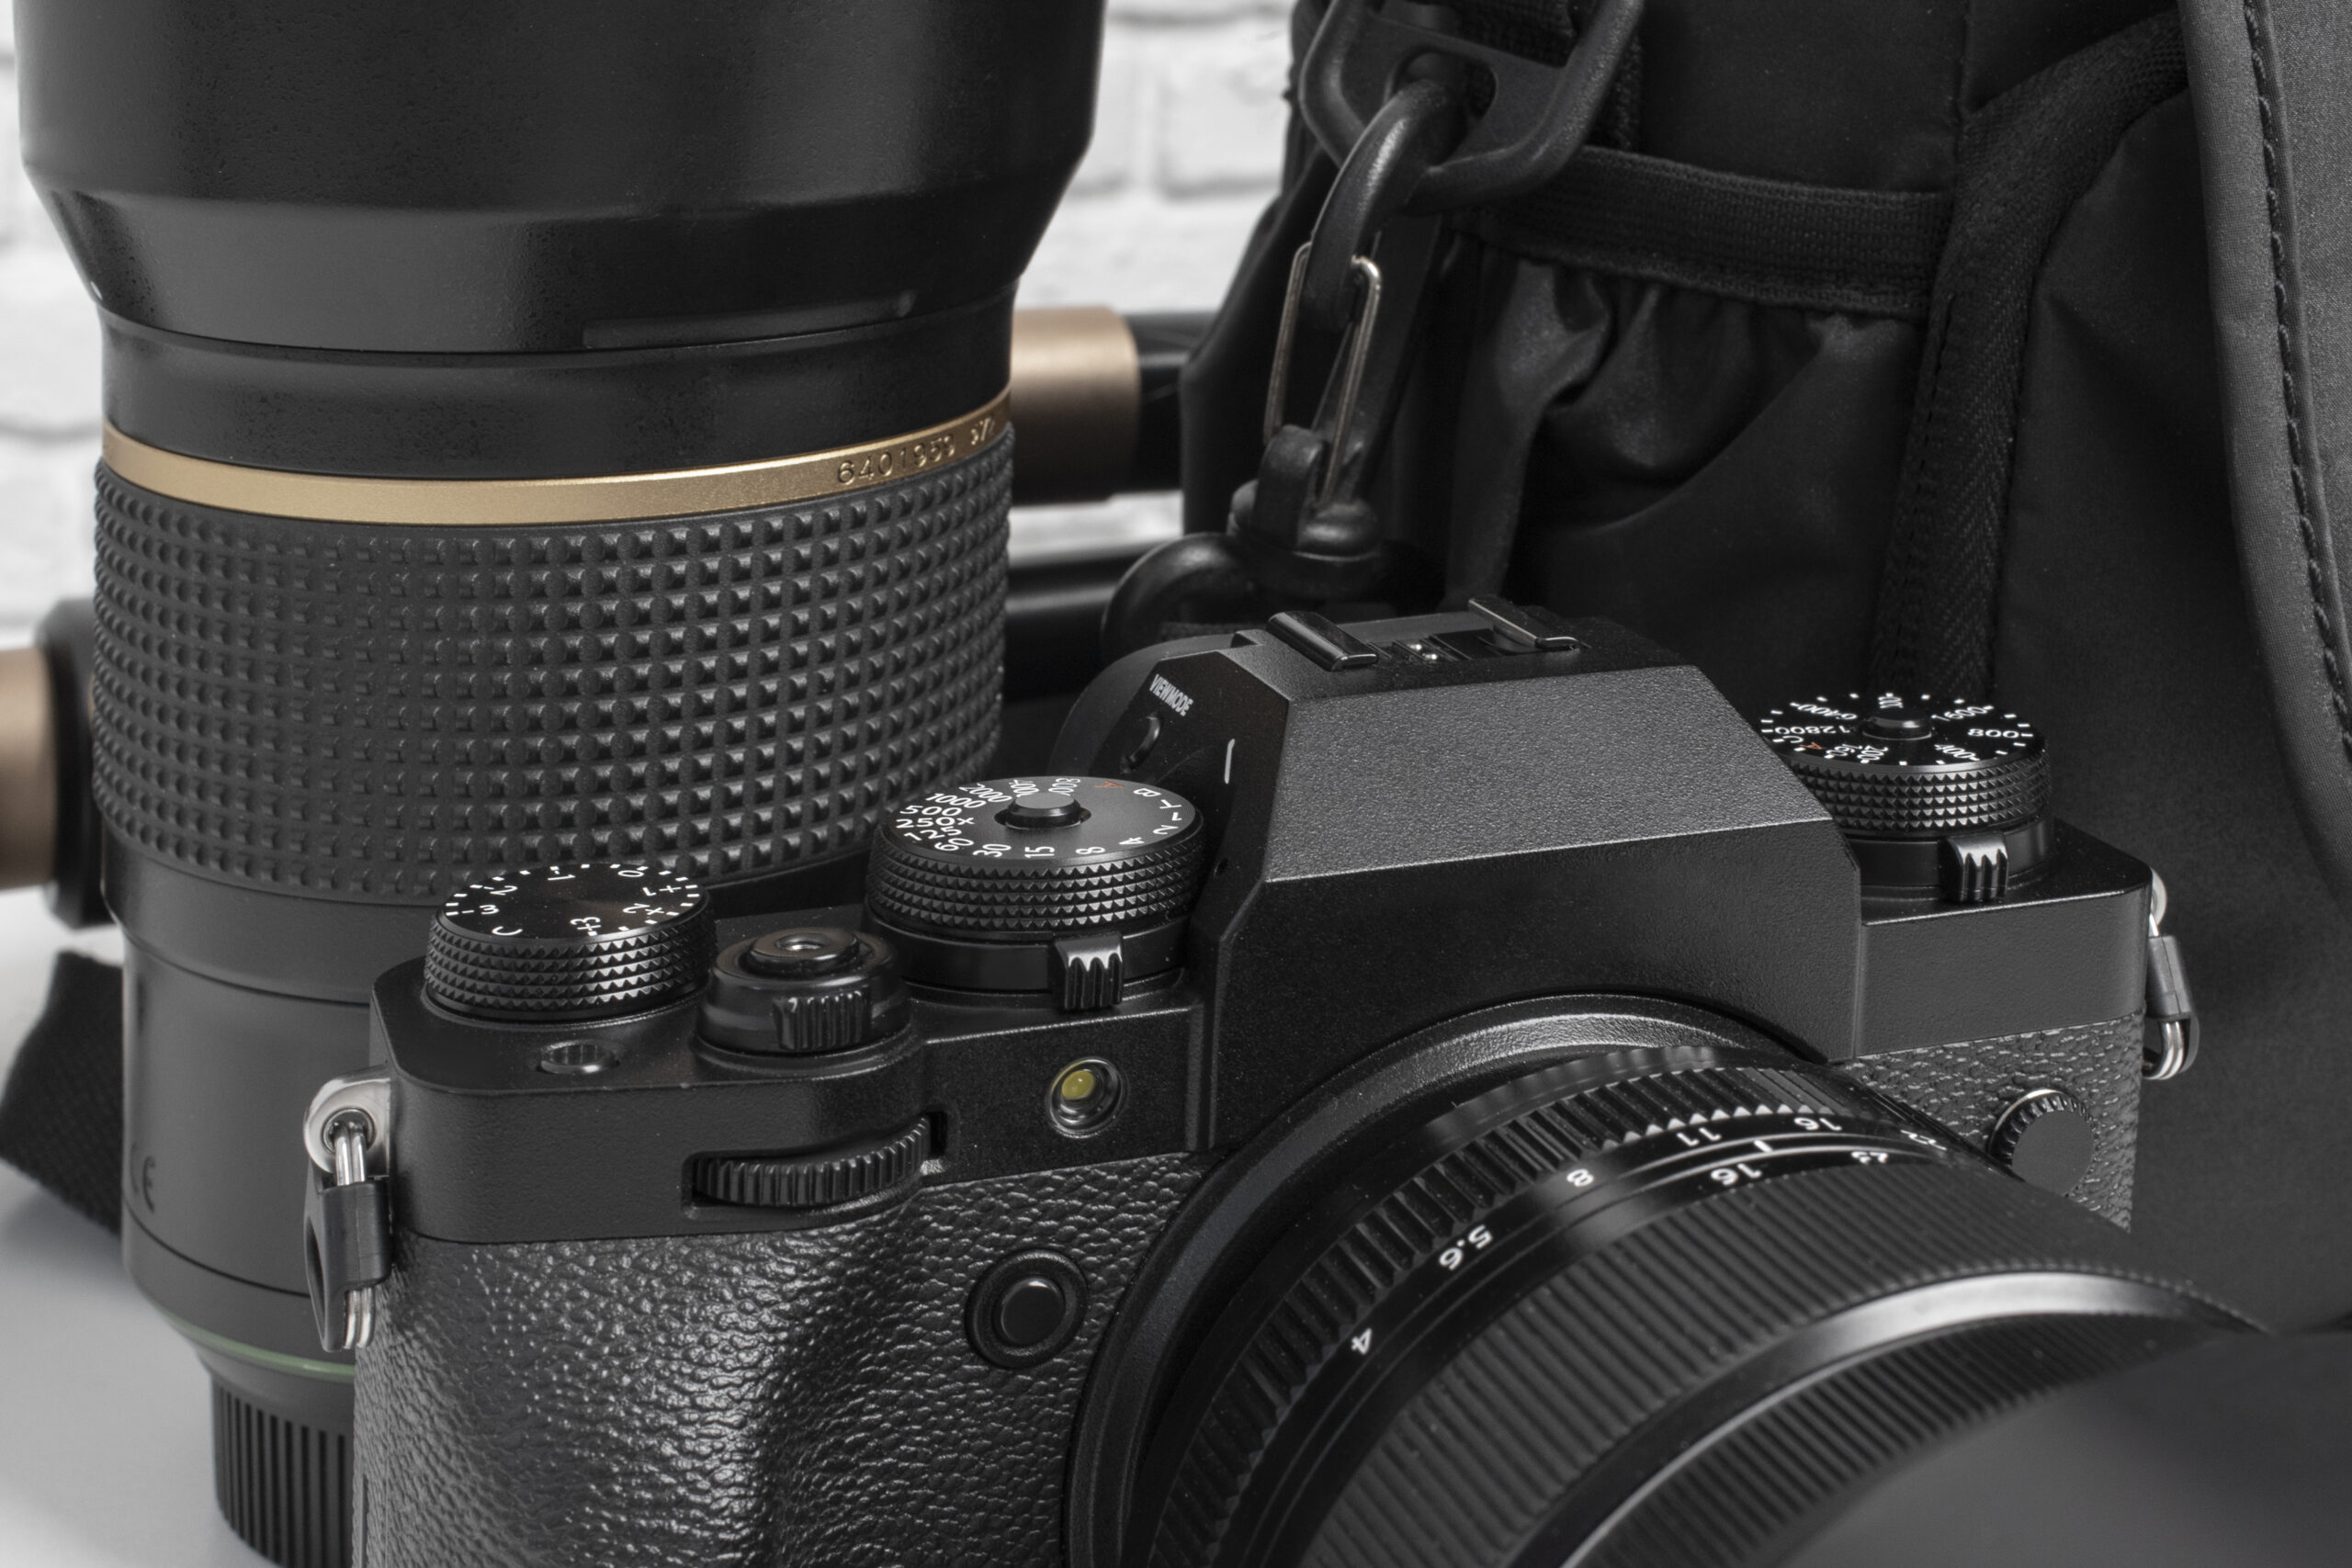 Good jewelry photos start with the right equipment. While professionals use expensive gear, you can still get great results with simple tools. The important thing is learning how to make the most of what you have.
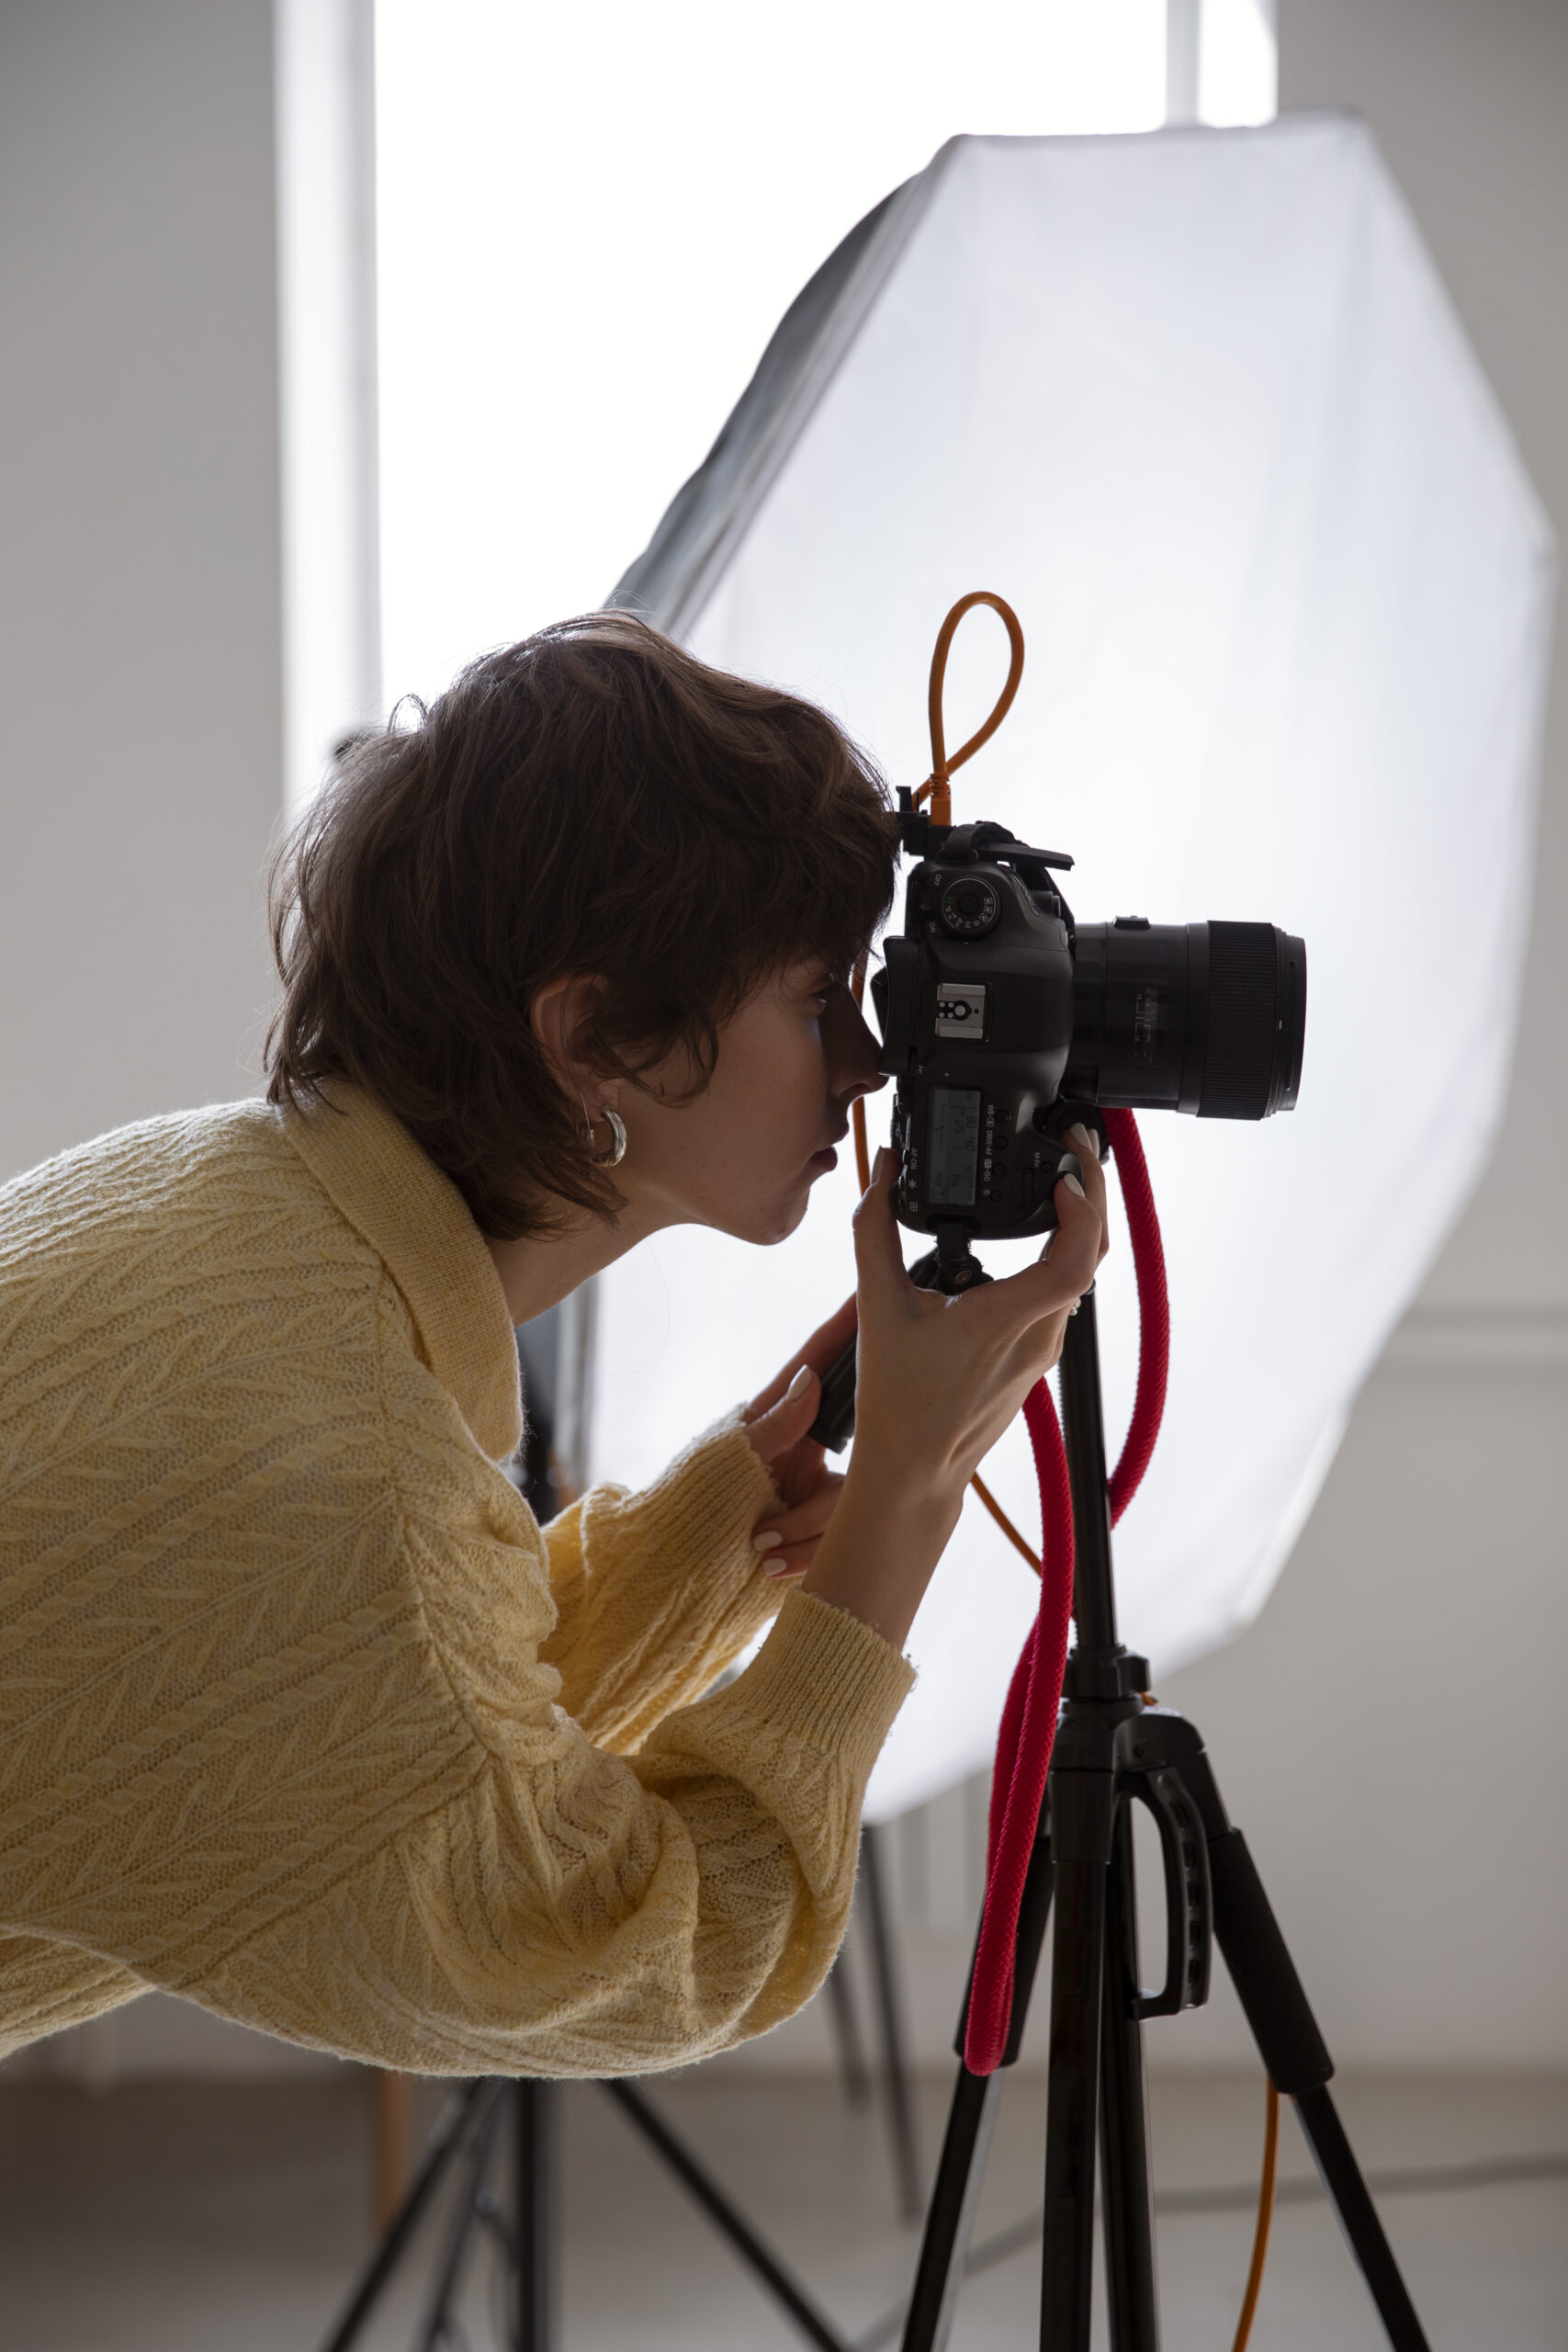
For those ready to invest in professional equipment, a DSLR or mirrorless camera with a macro lens opens up a world of possibilities. A macro lens is great for showing small details and fine work in jewelry. Choose a lens with at least a 1:1 magnification ratio to take clear, life-sized photos of tiny features.
However, if you’re working with a smartphone, don’t feel disadvantaged. Modern phones can take impressive macro shots, especially when equipped with clip-on macro lenses that cost just a fraction of professional equipment. Many recent smartphone models include dedicated macro modes that can produce brilliant results when used correctly.
Must-have accessories for any setup include
A strong tripod helps keep the camera steady, making jewelry photos clear and sharp. A white balance card helps achieve accurate color representation, making sure the jewelry’s true tones are photographed. To keep jewelry looking clean, use a soft cloth and an air blower to remove dust and fingerprints before taking photos. A remote shutter or wireless trigger helps avoid camera shake for clearer images. Light modifiers like diffusers and reflectors control shadows and improve lighting, making jewelry shine.
2. Background Setup for Jewelry Photography at Home
Your background choice can make or break your jewelry photographs. Think of it as creating a stage where your pieces can shine without competition. The right background makes jewelry stand out and look more appealing for your jewelry photography at home but also helps establish your brand’s visual identity.
Popular background options include
- White or Light Grey. Clean and professional, perfect for product listings and e-commerce. This is the industry standard for a reason as it provides a neutral base that allows the jewelry to stand out.
- Black Velvet. Ideal for high-contrast shots, especially with silver and diamond jewelry. The deep, non-reflective surface makes metals and gems pop.
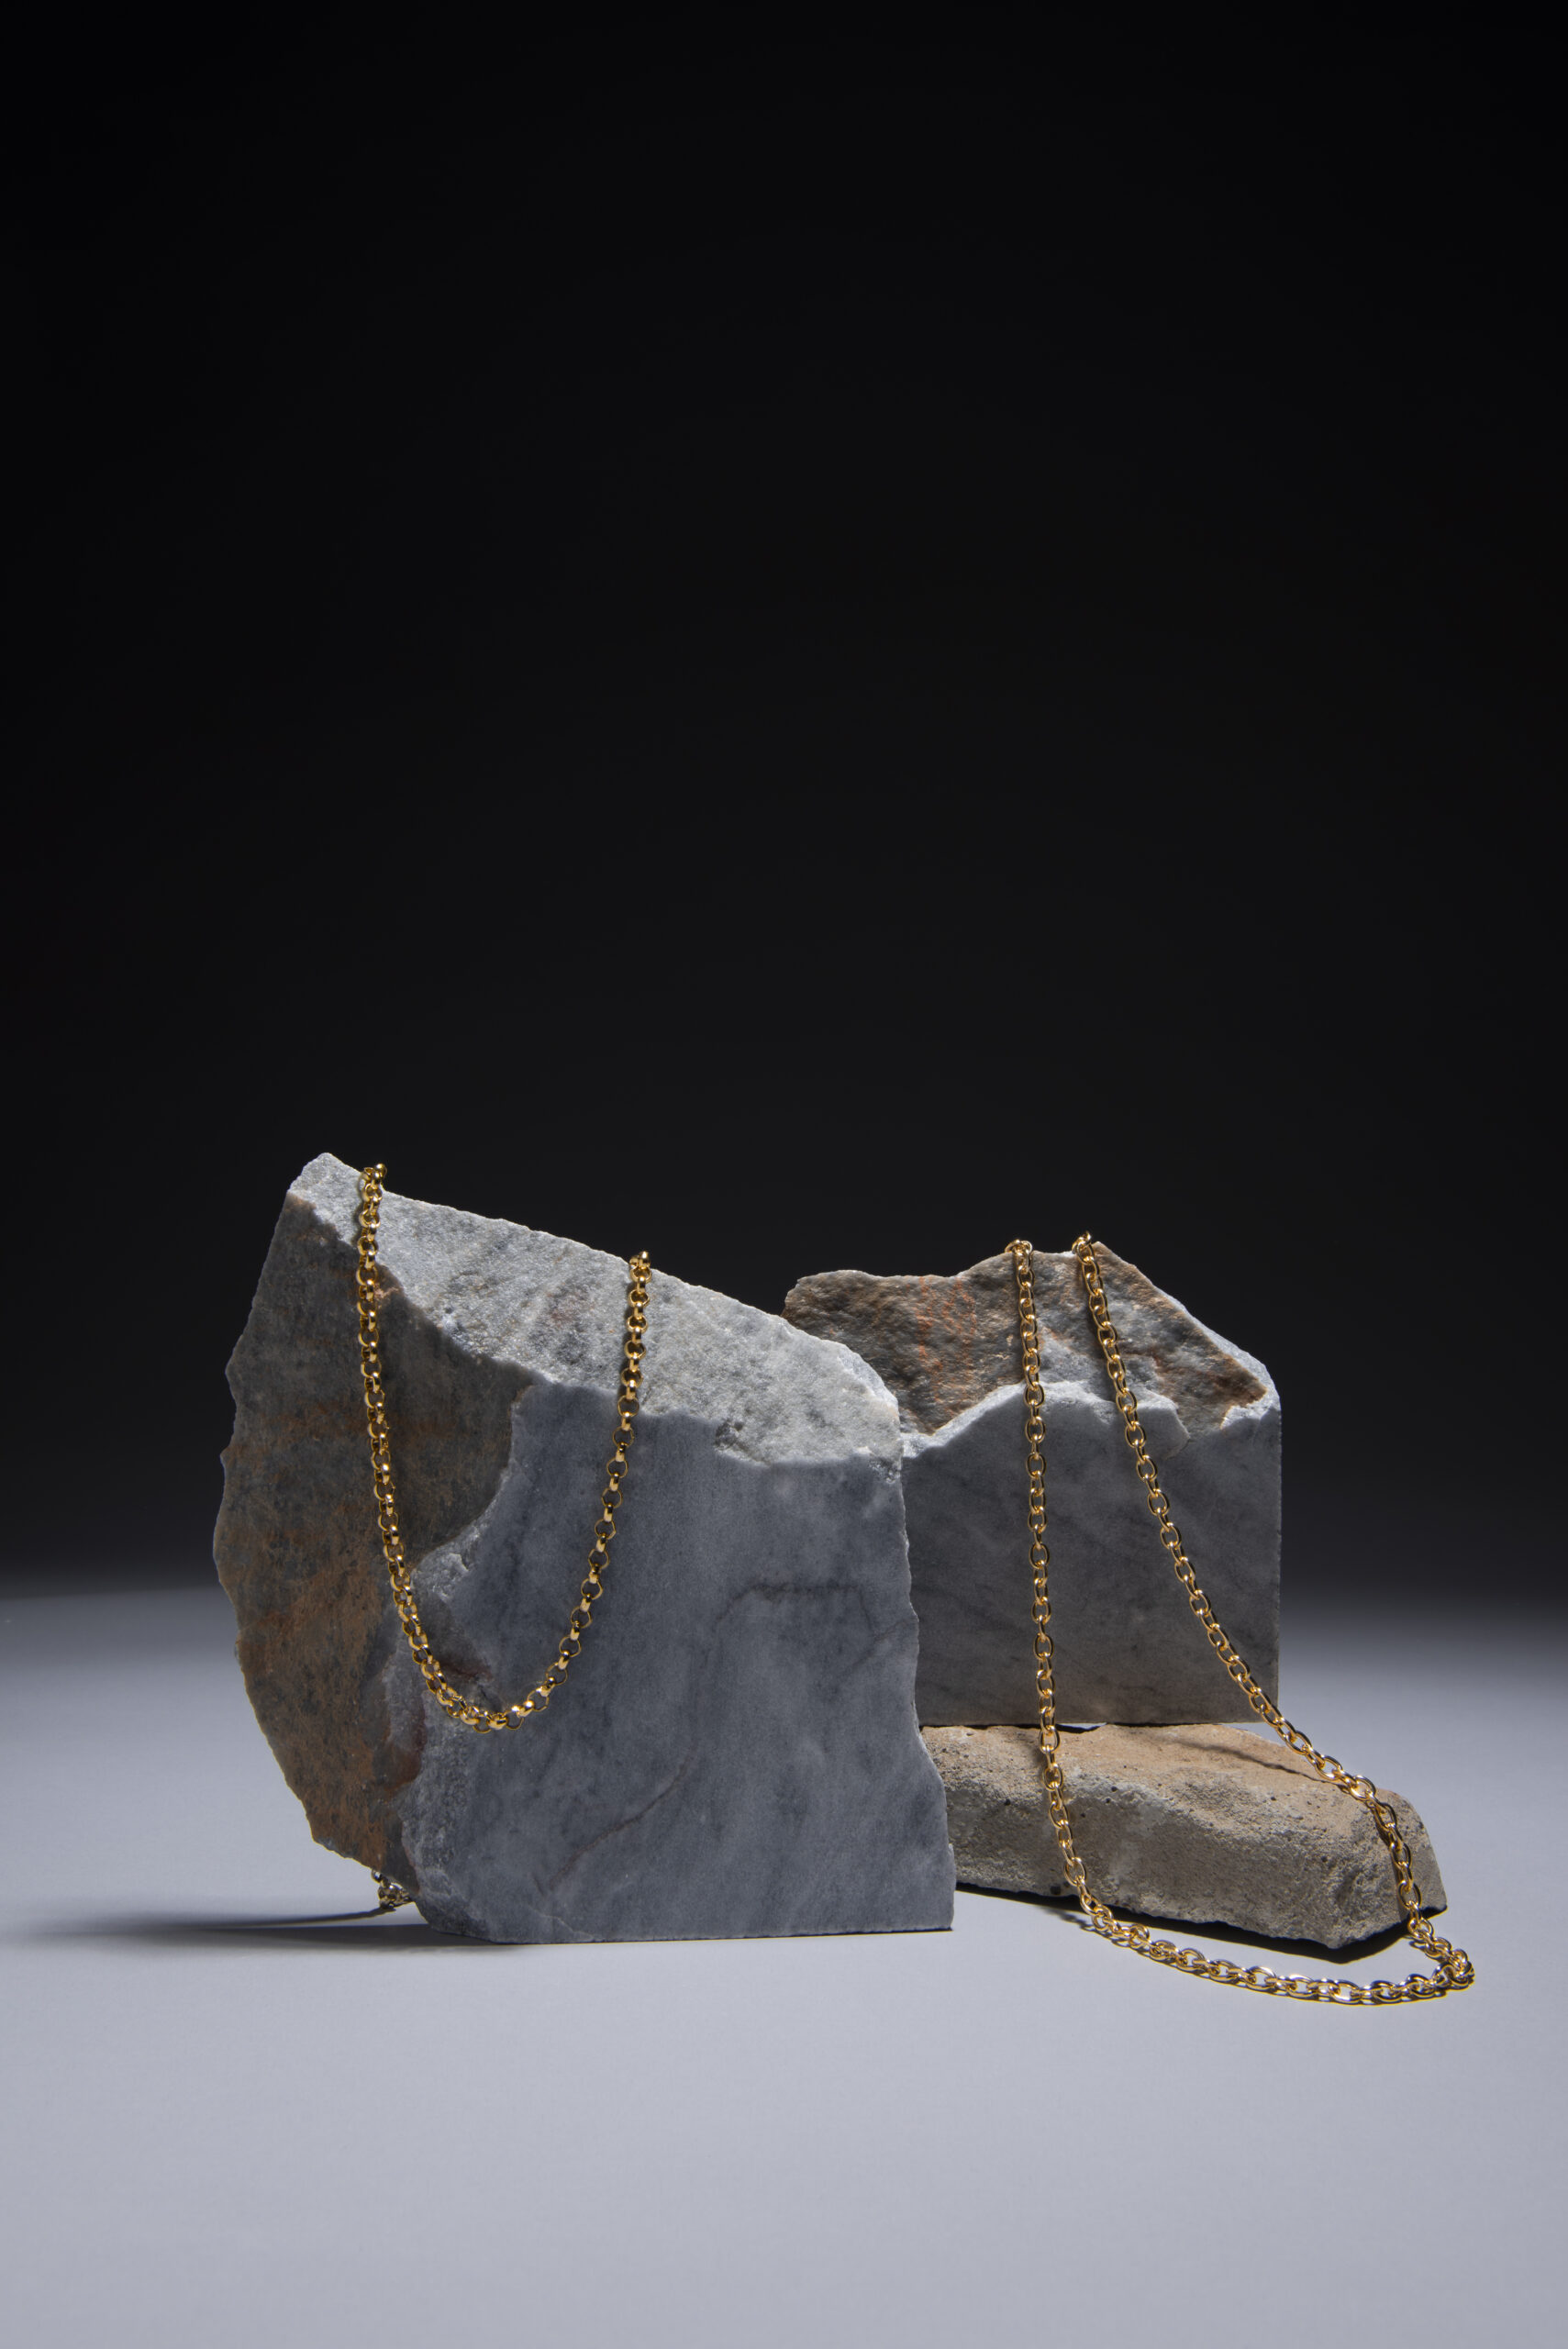
- Marble or Textured Surfaces. Adds elegance and depth to lifestyle shots. Natural stone textures feel luxurious.
- Acrylic Sheets. Provides reflections that add a luxury touch. These can create interesting mirror effects and add depth to your images.
An acrylic display or lightbox can make your photos look more professional with little effort. A good lightbox provides both a clean background and controlled lighting environment. For those on a budget, a DIY solution using white foam board or paper can work surprisingly well.
The key is maintaining simplicity while ensuring your background showcases rather than competes with your jewelry. Avoid backgrounds with patterns or colors that might distract from the piece itself. The background should match the jewelry, not take attention away from it.
3. How to Focus on the Jewelry with Proper Lighting
Lighting is where the magic happens in jewelry photography. Natural light remains one of your most powerful allies, offering soft, flattering illumination that 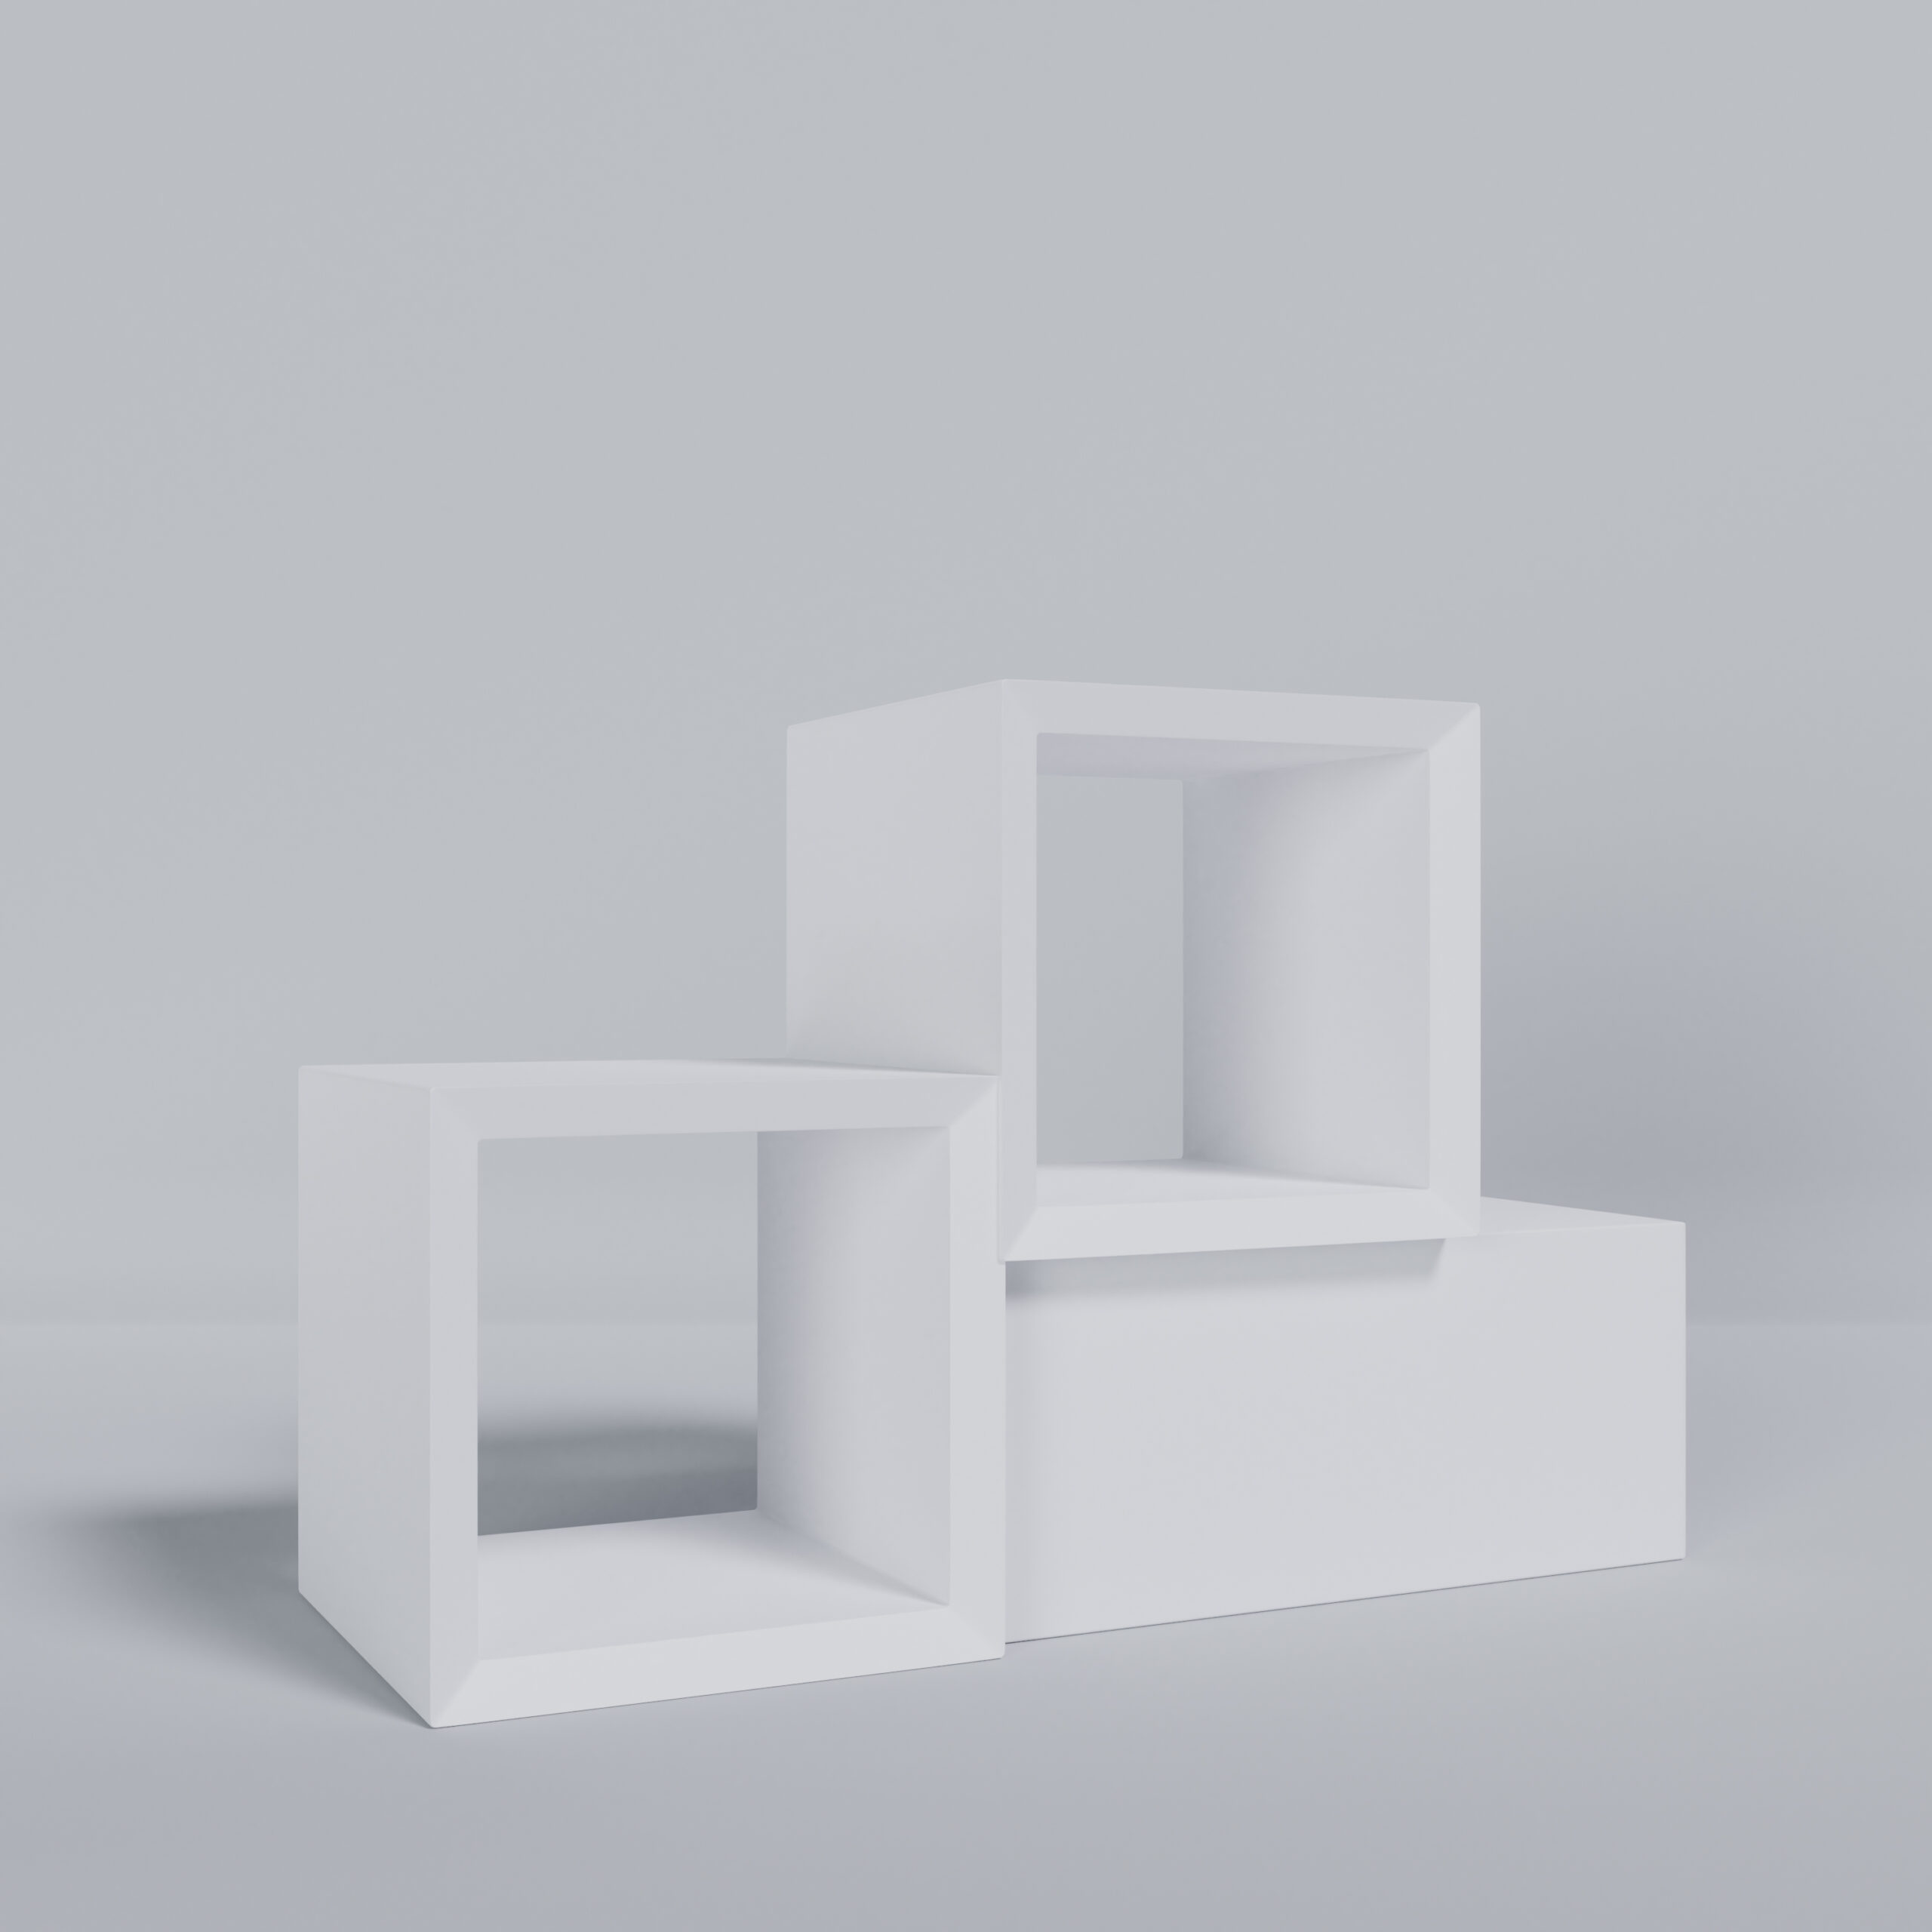 brings out the best in your pieces. When focusing on the jewelry, perfecting lighting takes practice and understanding of how different light sources affect your jewelry.
Here’s how to perfect your lighting setup
Positioning your setup near a north-facing window is ideal, as it provides consistent natural light throughout the day, ensuring even illumination for professional jewelry photos. To soften harsh sunlight and create a gentle glow, use a white curtain or paper as a diffuser. For greater control over lighting conditions, consider investing in LED lights or softboxes, which provide consistent results regardless of time or weather. Additionally, experimenting with different lighting angles helps take the best sparkle, minimize unwanted reflections, and increase the focus on the jewelry, making each piece stand out beautifully.
Advanced lighting tips for professional results
- To focus on the jewelry properly, use a light tent or softbox for even, diffused lighting that wraps around your jewelry
- Shoot during golden hours (early morning or late afternoon) for the softest natural light
- Position your main light source at a 45-degree angle to avoid harsh reflections
- Use reflectors or white foam boards to bounce light and reduce shad
- Consider using multiple light sources for complex pieces
- Experiment with backlighting to create dramatic effects with transparent gems
4. How to Focus on the Jewelry for Perfect Positioning
Getting your jewelry to look perfect requires some creative problem-solving behind the scenes. Professional photographers use various tricks to position pieces just right, and learning these techniques can advance your photography to the next level.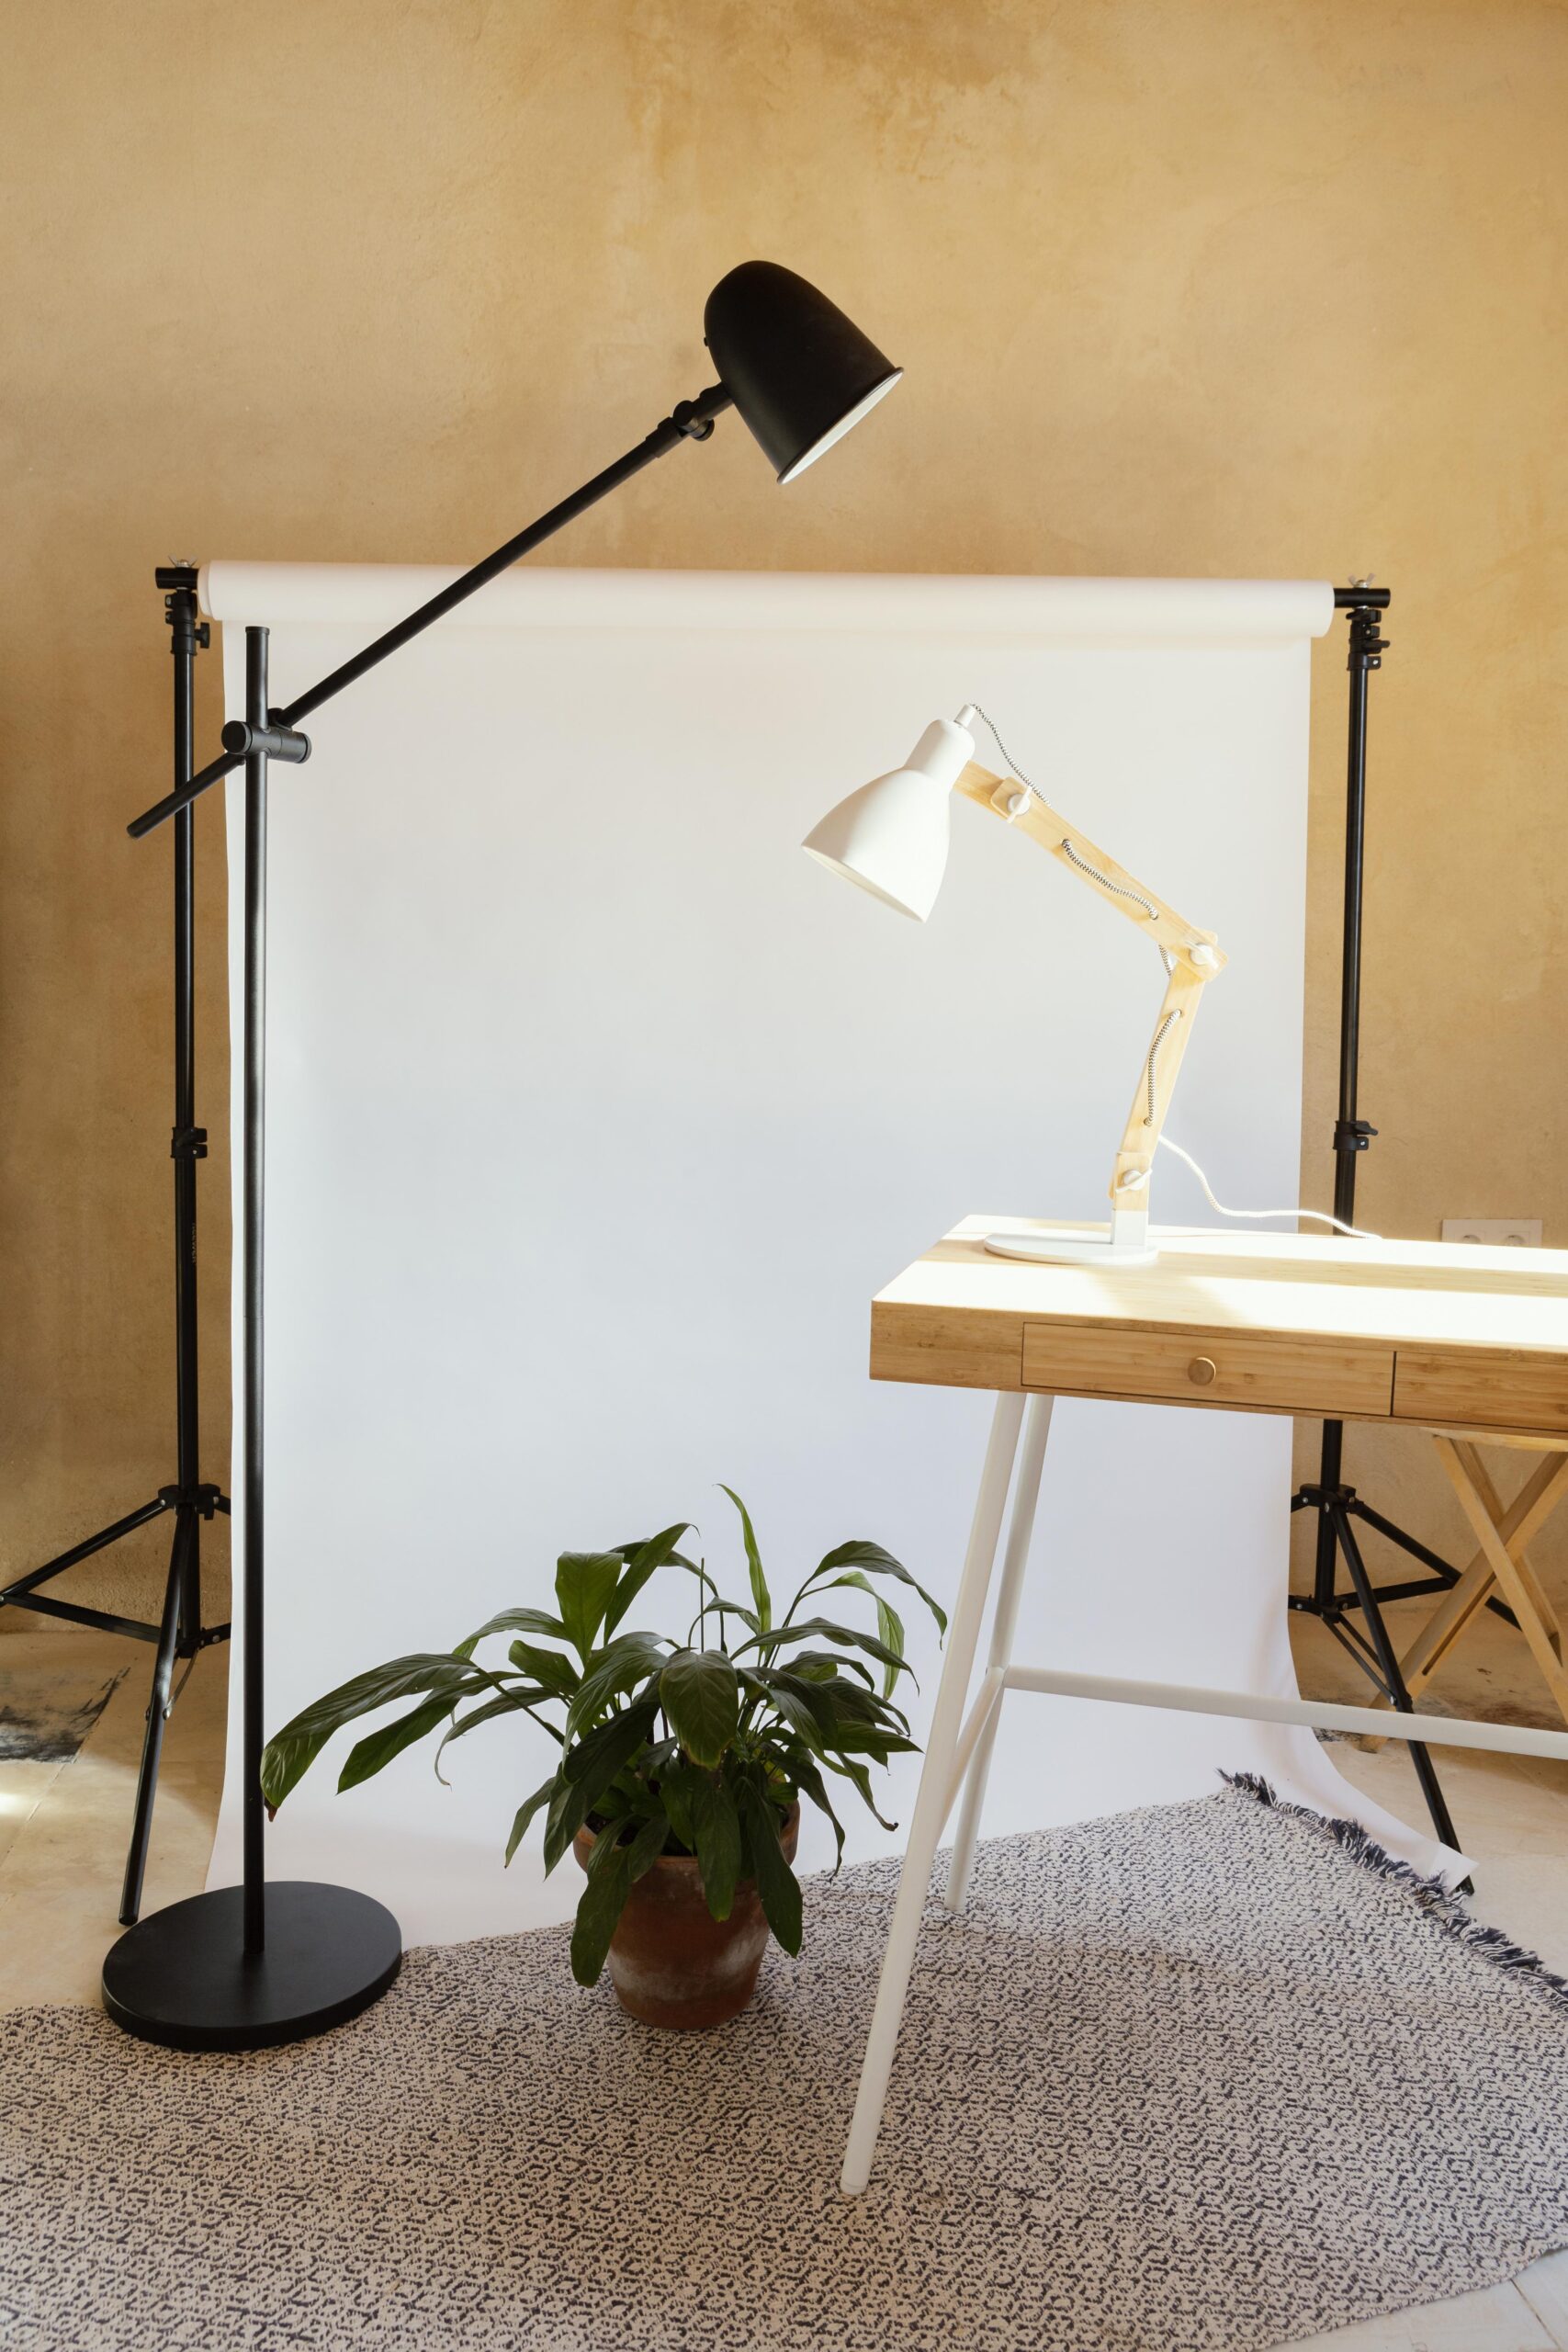
Important positioning techniques
To achieve professional jewelry photos, use museum wax or putty to hold rings upright securely without being visible in the shot. For a creative floating effect, employ clear fishing line to suspend necklaces and earrings, making them appear weightless. Placing a white card beneath gemstones add to their sparkle by reflecting light back into the stones. Additionally, photographing at a slight angle adds depth to the composition while minimizing unwanted reflections. For added stability and precision, use prop stands designed specifically for jewelry photography, ensuring each piece is displayed beautifully and professionally.
Consider the natural flow and design of each piece
- Rings should sit perfectly straight unless intentionally angled for effect
- Necklaces should drape naturally, following elegant curves
- Earrings should hang evenly and face the camera at flattering angles
- Bracelets should maintain their shape while showing any special features
- Sometimes a slight adjustment of just a few degrees can make the difference between a good shot and a great one
5. Use Props and Styling Wisely
While props can add context and interest to your photos, restraint is to be taken note also. The goal is to boost your jewelry’s presentation without overshadowing it. Think of props as supporting actors in a play, just like them, they should strengthen the betterment the story without stealing the spotlight.
Effective prop selection guidelines
Choose simple, elegant props like ring holders or small mirrors that improve your jewelry without drawing attention away from it. Incorporate natural elements to add organic texture while maintaining a balanced composition. Using subtle textures such as silk fabric or marble surfaces can create depth and visual interest without overpowering the jewelry. For themed shoots, thoughtfully incorporate seasonal elements to add a creative touch. However, always remember that the jewelry should remain the focal point props should serve as subtle enhancements rather than distractions.
Avoid common styling mistakes
- Using too many props in a single shot
- Selecting props that compete with the jewelry for attention
- Including props that don’t match your brand’s aesthetic
- Over-styling simple pieces that would shine better on their own
6. Adjust Camera Settings for Clarity
Even the most beautiful setup won’t yield great results without the right camera settings. Understanding and controlling your camera’s settings is beneficial for photographing jewelry at its best.
Important camera settings for jewelry photography
- Aperture: Use f/8 to f/16 for proper depth of field and overall sharpness. This makes sure the entire piece is in focus.
- ISO: Keep it low (100-200) to minimize digital noise and maintain image quality
- Shutter Speed: Use slower speeds with a tripod for crystal-clear images
- White Balance: Adjust according to your lighting conditions for accurate color reproduction
- Use a remote shutter release or self-timer to eliminate camera movement
Advanced settings considerations
For sharp and detailed jewelry photos, adjust focus carefully to keep the entire piece sharp and clear. When photographing highly reflective surfaces, use spot metering to achieve accurate exposure and prevent highlights from being blown out. In challenging lighting situations, consider bracketing exposures to record multiple shots at different settings, allowing for the best possible balance of light and shadow. Additionally, enabling your camera’s electronic first curtain shutter helps minimize vibration, ensuring crisp, high-quality jewelry photos.
7. Edit for a Professional Finish
 Think of editing as the final step in bringing out your jewelry’s natural beauty. Good editing expands what’s already there without creating artificial effects.
Advanced editing techniques
To achieve professional-quality jewelry photos, use selective adjustments to brighten specific areas, bringing out fine details without over-editing. Creating focus stacks secures maximum depth of field, keeping detailed pieces sharp from edge to edge. Developing presets helps maintain consistency across multiple images, streamlining the editing process. For flawless metal surfaces, consider frequency separation, a technique that smooths imperfections while preserving texture. Regardless of using Adobe Lightroom and Photoshop or more accessible alternatives, professional editing software is essential for refining images and achieving a polished, high-end look.
8. Maintain Consistency
 Creating a recognizable style isn’t just about individual beautiful shots, it’s about creating a consistent visual brand that your customers can instantly recognize.
Keys to maintaining consistency
- Develop a consistent approach to backgrounds, lighting, and editing
- Save your editing settings as presets to guarantee uniformity
- Build trust with your audience through consistent visual presentation
- Maintain this consistency across all platforms like social media, website, and marketing materials Create style guides for your brand’s photography
Each shoot is an opportunity to learn and refine your technique. With patience, practice, and attention to detail, you’ll develop the skills to create great images that showcase your jewelry in its best light. Start with these fundamentals, experiment to find what works best for your style and pieces, and watch as your photography transforms from good to extraordinary. The key is to remain consistent in your approach while continually pushing yourself to improve and innovate within your established style guidelines.
Your Journey Forward
As we conclude this guide, remember that exceptional jewelry photography at home is both an art and a science. The technical skills you’ve learned here from camera settings to lighting techniques form the foundation, but it’s your creative vision that will truly set your work apart. Every impressive jewelry photograph you’ve ever admired started with these same basic principles.
Learning jewelry photography is a continuous process that calls for perseverance, focus, and trial and error. Begin by being proficient in one area at a time, such as compositions, angles, and lighting design. Concentrate on expanding your toolkit to suit your unique wants and style. Potential buyers frequently form their first opinion of your jewelry based on its photography in today’s digital marketplace. Keep asking questions, experiment, and learn from other photographers. To create images that successfully showcase your jewelry, follow these tips. Use these guidelines to achieve jewelry photography at home and always focus on the jewelry for the best results.
Read Next: Discover 6 Best Sony Cameras to Boost Your Photography Skills
Related Posts