Taking great photos of jewelry doesn’t have to be complicated. With the right steps, you…
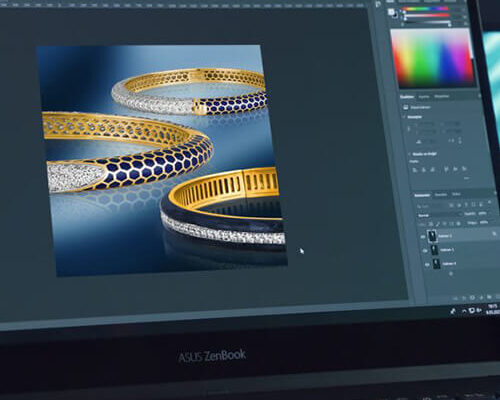
Reflection Removal to Enhance Stunning Jewelry Photos
As a jewelry photographer, one needs to take breathtaking shots of the sparkling gems and detailed metalwork to let their real beauty shine through. However, there are usually some unwanted reflections and glare in an otherwise picture-perfect shot.
The following article will walk you through some tips and techniques on how to remove reflection using Photoshop. You will also learn how to make boring edits automatically. This will lighten your workload and give you professional results.
Mastering Reflection Removal in Photoshop
 Mastering reflection removal in Photoshop involves a great deal of patience and precision. This tutorial will guide you through some basic and advanced ways to remove reflections from jewelry images in Photoshop. Whether you are a professional photographer or a beginner, you will learn helpful tips and techniques. These will help you create images without reflections.
Understanding how light works and interacts with jewelry can help you manage even the toughest reflection issues. Understanding these concepts will help you grasp reflection removal. This includes the importance of space and common types of reflection in jewelry photography.
A Step-by-Step Guide
Open your jewelry photo in Photoshop. Select the “Clone Stamp Tool” from the toolbar. Press the bracket keys to increase/decrease the size of the brush and Shift+ bracket keys for brush hardness. Based on the image details, begin painting over the reflection area in small sections. Gradually build up the corrections. By using the “Alt” key to sample different areas, the transitions can be smooth. This means the cloned sections will blend well with the rest of the image.
Working with Layer Blending Modes
To do more advanced reflection removal, refine your edits by using layer blending modes. You can start by adding a new layer for the area of reflection. Set the blending mode of this layer to “Multiply.” This way, you can paint over the reflection without losing any image details. This gives you greater control and can be more precise. Experiment with different blending modes. This will help you find the right fit for your image and achieve your desired effect.
Understanding the Importance of Reflection Removal in Jewelry Photography
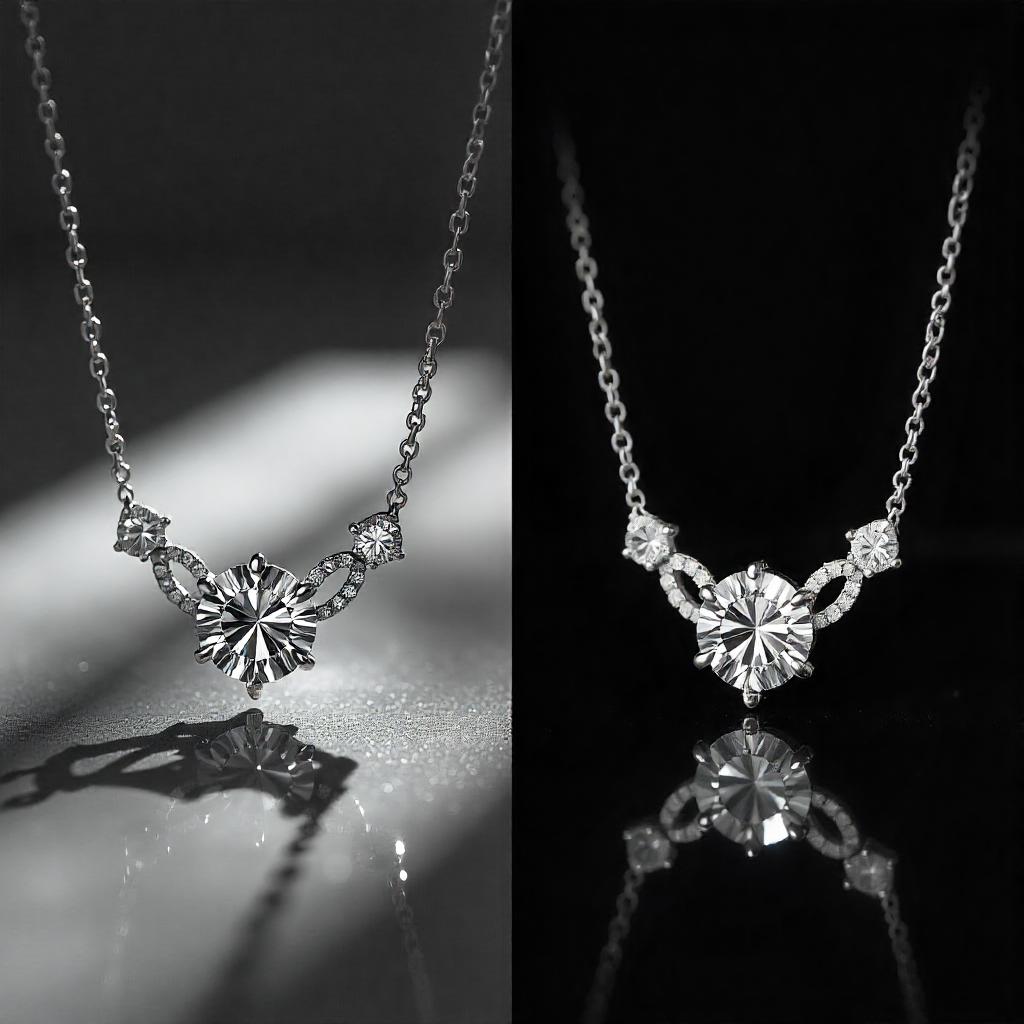 Reflections can completely kill the effect of a jewelry photo with distractions and making it appear uninteresting. The most important thing to remember in jewelry photography is that each piece should look attractive and well-made. The reflections hide the details, textures, and colors, which kill this very purpose.
Removing the reflections lets the jewelry show off its fine details and bright colors. This makes it more interesting and appealing to look at. A busy or messy reflection can create a chaotic mood in a photo. This can disturb the balance. In contrast, a clean picture without reflections can show calm and elegance.
The reason is simple: reflections hide important details like engravings or small design elements. These details are key to showing the full value of the jewelry. When you remove these reflections, your photos become clearer and more informative. This helps show each piece in its best light.
The Impact of Reflections on Jewelry Photography
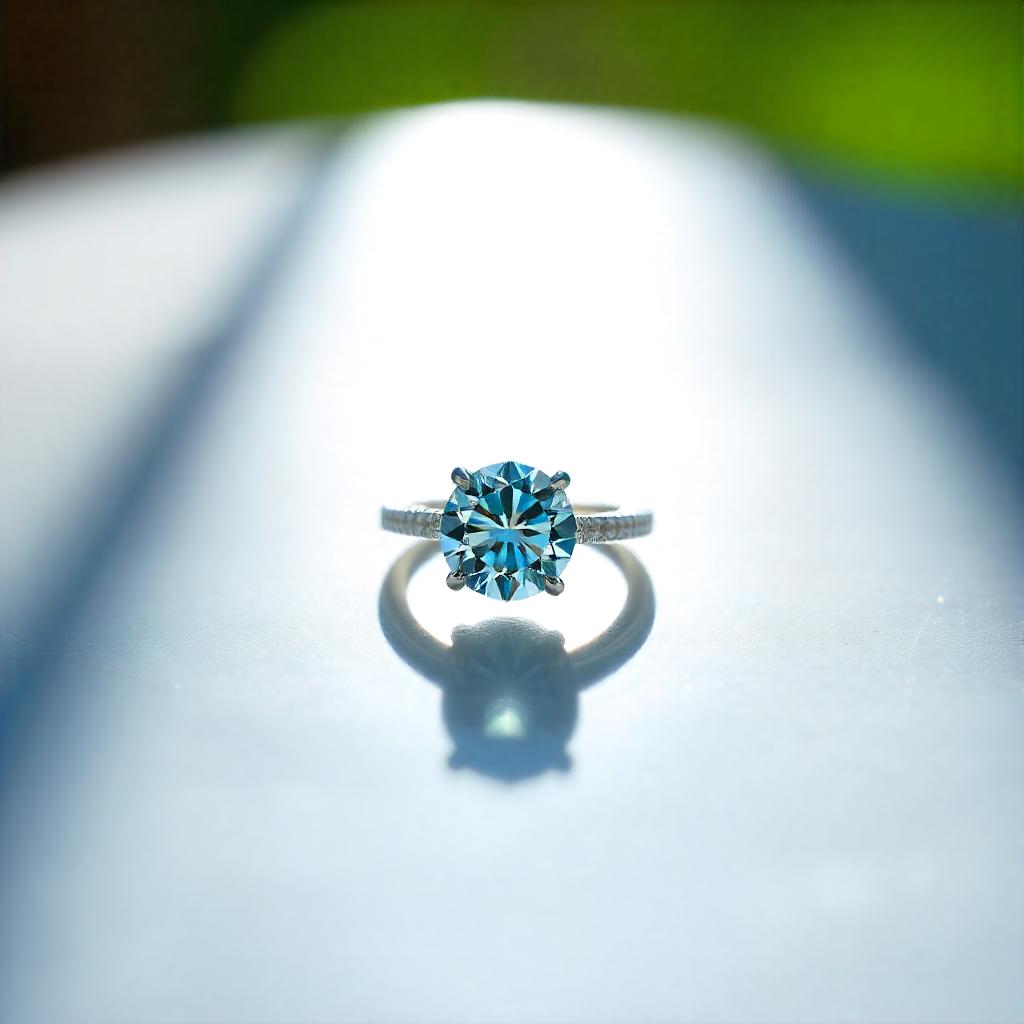 Reflections are one of the biggest problems in jewelry photography. The tiniest glint can ruin a perfect picture. When shooting jewelry, you must arrange light sources, angles, and positioning consciously to minimize reflections. Removing reflections is a key step in overcoming these challenges. This will help you take great pictures that show how beautiful and detailed the jewelry is. Understanding and addressing reflections improves your ability to create flawless, professional-quality jewelry photos.
The reflections blur the true color and clarity of the jewelry, misrepresenting its critical features. This can be a real challenge for online listings or ads. A good presentation is needed to gain the customer’s trust. The better you control and remove reflections, the more honest and appealing the photos will be. This makes the jewelry more marketable and enjoyable for the viewer.
The Benefits of Reflection-Free Images
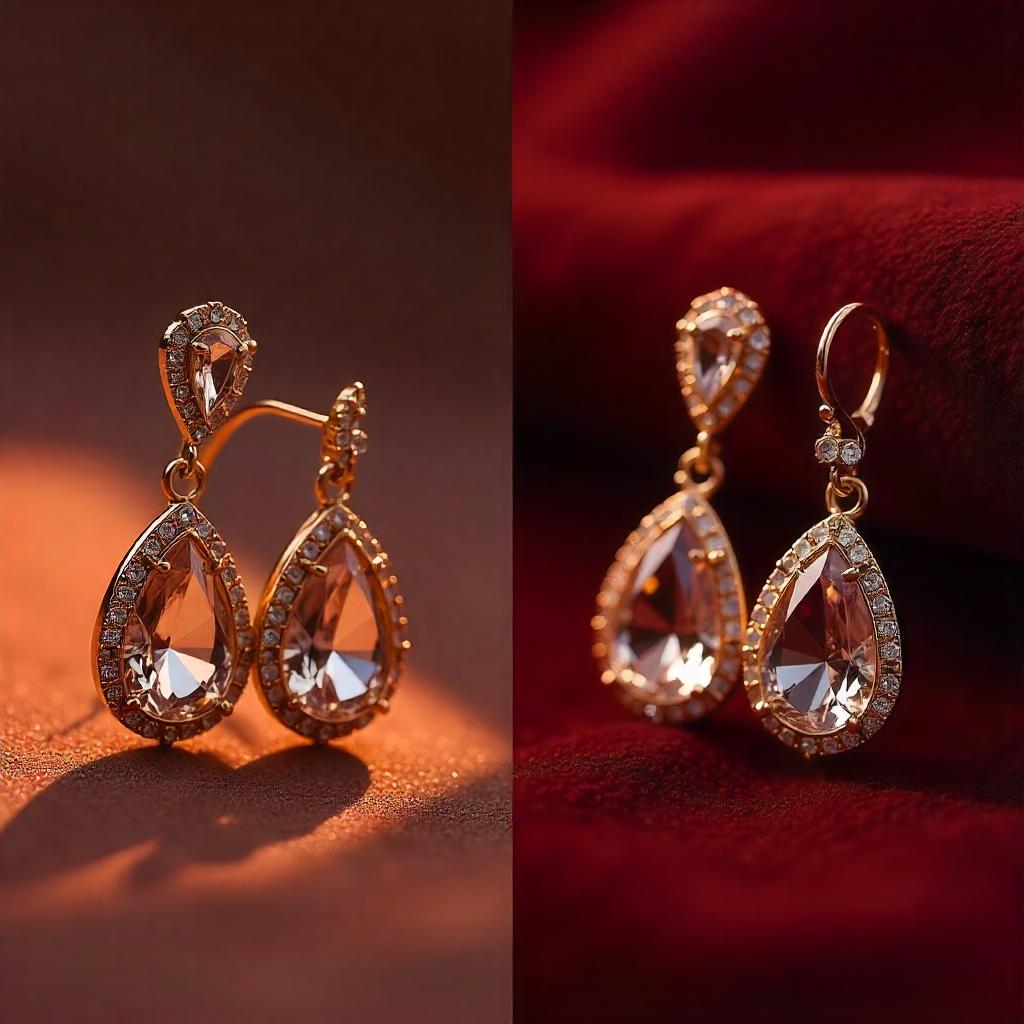 A reflection-free image has many benefits. It allows viewers to see the fine details of the jewelry clearly. This makes the image look more professional. As a result, it can be presented to potential customers more easily. This also lets the true colors and textures of the jewelry stand out. This makes it look more appealing to potential customers.
Achieving Reflection-Free Images
The two most important elements in accomplishing reflection-free images are removing unwanted reflections and glare. Using reflection removal techniques in Photoshop will help you create stunning images that highlight the beauty of your jewelry. This ability to remove unwanted reflections can improve your photography skills. It can help you create stunning results for both commercial and artistic purposes.
Setting Up Your Workspace for Reflection Removal Success
The key to effective reflection removal comes down to how you set up your workspace. Organize your workspace with the right tools. This will help you work comfortably and easily. As a result, you will achieve great results. In this section, we will examine what makes a good workspace. We will cover software, hardware, and everything else in between.
Essential Software
Essential software to use in removing reflections in Photoshop includes a few. First, you need the latest version of Adobe Photoshop with more advanced features and tools necessary for image editing. Second, you might think about adding software. This can be in the form of plugins or scripts. These tools will improve your reflection removal experience. Once you invest in the right software, then you can streamline your process and ensure professional results.
 Hardware Essentials
In addition to the software, you will need some hardware. This hardware will help you set everything up for successful reflection removal. First, you will have a high-quality monitor with the right display of colors, which is important during editing. You will have a comfortable keyboard and mouse. They will help you work easily and efficiently, reducing fatigue. In the end, you will have a good and reliable computer. It will be fast enough and have enough storage. This will let you work on large files and complex projects.
Organizing Your Workspace
Organization of the working space is very important about the success of reflection removal. Set up your files, tools, and software to ensure efficiency and effectiveness in work for amazing results with ease. Create project folders and organize your files to have them at your fingertips. Employ shortcuts and keyboard shortcuts that expedite your workflow. Take breaks frequently to avoid fatigue and to keep focused.
Identifying Common Reflection Types in Jewelry Photos
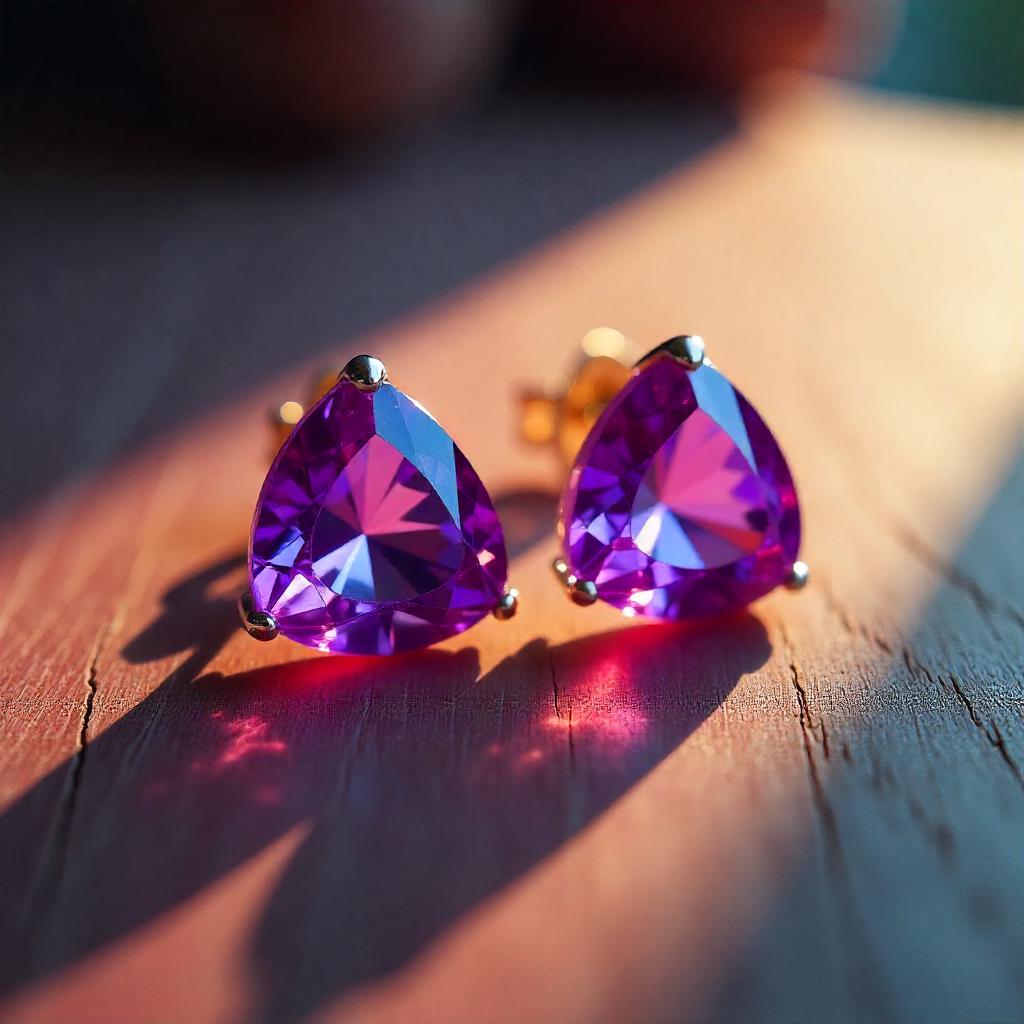 The key to effective reflection removal in jewelry photography is to know the common types of reflections. Understanding these types of reflection and how to handle each one can help you create amazing images. These images will showcase the beauty of your subjects. In the next section, we will discuss the most common types. We will start with surface reflections and move to internal reflections and more.
Surface Reflections
The most common type of reflections in jewelry photography is surface reflections. This happens when light bounces off the jewelry’s surface. These can sometimes be the most difficult to eradicate because they sometimes can lead to unwanted glares and distractions. To remove surface reflections, use the clone stamp tool. Paint over the reflection area to add details and improve accuracy.
Internal Reflections
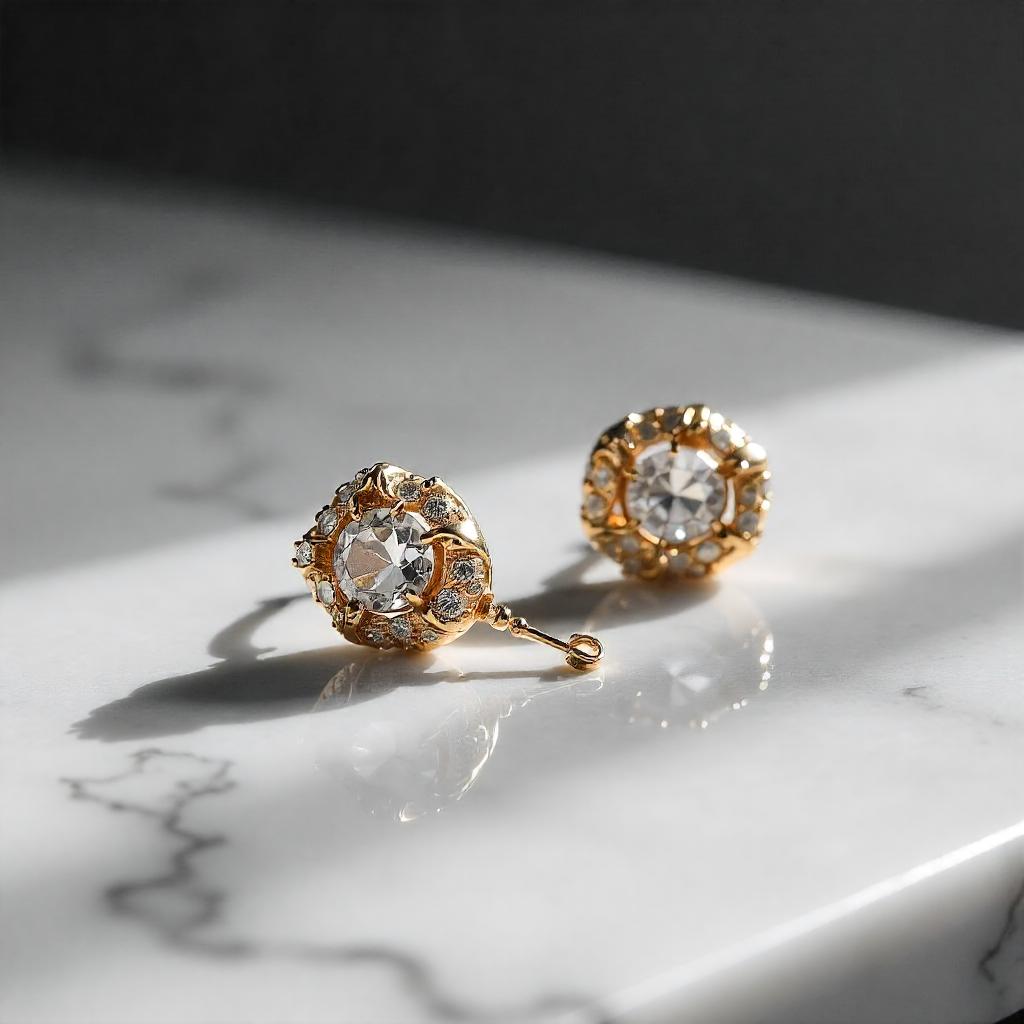 The reflections can also be internal, where the light reflects from inside the jewelry on the cut and polish of a gemstone. Internal reflections can be anything from subtle highlights to a bold, catching glint of light. To remove internal reflections, choose the clone stamp tool. Then, paint over the area with the reflection. Build up your details and make refinements. Experiment with modes and layer styles until the desired effect has been achieved.
Lens Reflections
Lens reflection is caused when light reflects off your camera’s lens. This adds glare that can cause distractions in a picture. Remove lens reflection with the clone stamp tool. Paint over the reflection area carefully, adding detail and accuracy. Also, try different blending modes and layer styles to achieve the desired effect.
Using the Clone Stamp Tool for Basic Reflection Removal
The Clone Stamp Tool offers one of the strong and most versatile methods of removing reflections in jewelry photos. Using the Clone Stamp Tool can be a piece of cake whether in basic or complex mode. Here is a small set of tips for the Clone Stamp Tool:
- Start by choosing a size that is about as big as the reflection, or at least close in size. This is because a bigger brush size will remove larger reflections while a smaller one will remove smaller ones.
- Then set your brush to “Normal” mode, which will allow you to sample the area around it and apply it to the reflection.
- Now, softly sweep the reflection away using smooth strokes. Be gentle; tugging too hard in one direction will give way to a noticeable “clone” effect.
- This will give texture and detail to the removed area by selecting the mode of the brush to be “Soft” or “Hard”.
Painting with the Clone Stamp Tool
To remove reflections using the clone stamp tool, paint over the reflection area using the tool. Gradually paint small sections, adding details and precision. Use the “Alt” key to switch between the clone stamp tool and a brush-like tool that will help in seamless transitions.
Advanced Techniques
Practice any type of mixing mode and layer styles for smoother transitions and high-quality removal of reflections. Use the “Multiply” blending mode to create a transparent layer. This will keep the details of the original image. Apply different layer styles: “Soft Light” or “Overlay,” for example, which could work by fitting the appropriate effect.
Advanced Techniques for Removing Complex Reflections
Advanced techniques for complex reflections removal in jewelry photography require an in-depth understanding of image editing. The advanced technique will deliver stunning images showcasing the beauty of your jewelry subjects. The next section talks about advanced ways to remove complex reflections. It also covers using layer masks to try different blending modes.
 Using Layer Masks
Layer masks are one of the powerful tools that will help in removing complex reflections. By creating a layer mask, you can edit the reflection area. This helps achieve smooth transitions and removes reflections effectively. Employ the “Layer Mask” tool by just masking your reflection area then paint over the mask with either clone stamp tool or brush.
Blending Modes
Blending mode plays an important role in advanced reflection removal. Playing with blending modes until you get the desired effect will enable you to obtain impressive images. Using the “Multiply” blending mode, you will create a transparent layer. This layer will preserve all the details of the original image. You may also play around with other layer styles, like “Soft Light” or “Overlay,” to achieve your intended effect.
Select and Mask
The powerful tool called Select and Mask can give advanced reflection removal. You will do the selection in the reflection area using Select and Mask. Advanced removal of reflection will give seamless transitions. Now, employ the “Select and Mask” tool, then paint over the selection with clone stamp tool or brush.
Time-Saving Tips for Efficient Reflection Removal in Photoshop
Saving time and removing reflections in Photoshop is key to creating beautiful images quickly. By understanding such tips, you’ll be familiar with how to make your process shorter and professional-looking easily. Timesaving Tips for Easy Reflection Removal – from using shortcuts to trying out layer styles, this section will cover everything.
 Using Shortcuts
Shortcuts are one of the key ingredients in efficiently removing reflections. Learn to master the shortcuts, and you will have not only saved time, but your pictures will look great. Use keyboard shortcuts like “Ctrl + Z” to undo or “Ctrl + C” to copy to save time by reducing errors.
Experimenting with Layer Styles
Experimenting with the style of a layer is the key to effective removal of reflection. By experimenting with different layer styles, you can achieve the effect you want. This helps you create stunning pictures quickly.
Conclusion
By mastering reflection removal in Photoshop, you can create beautiful jewelry photos without reflections. This will highlight the beauty and craftsmanship of each piece. Whether you are a professional photographer or a hobbyist, this article will help you improve your jewelry photography. The techniques and tools discussed here will elevate your skills.
Remember to stay focused, patient, and creative, and to continuously practice and refine your skills. With time and practice, you can create clear, reflection-free images that highlight your jewelry photography skills.
Read Next: 12 Photo Editing Services for your Jewelry Photography


