Building a versatile summer dresses wardrobe is the key to feeling confident and stylish all…
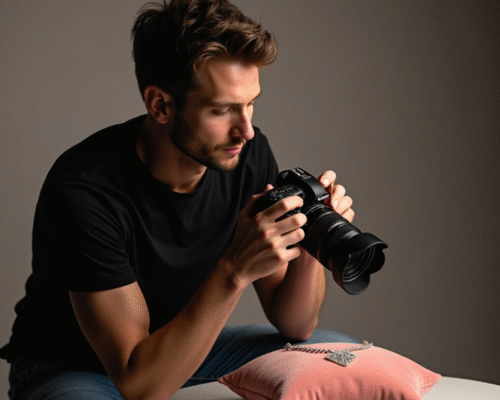
Take Beautiful Jewelry Photos with Confidence
Taking beautiful jewelry photos with confidence can make a big difference in showing off your pieces. With the right tools and simple tips, you can make your jewelry look its best. This guide will walk you through easy steps to take clear and sharp photos that highlight the details of your jewelry.
From choosing the right lighting to setting up your shot, you will learn how to create the perfect image every time. No need for fancy equipment or professional skills. Just follow these simple tricks and start taking beautiful jewelry photos today.
Choose the Right Lighting
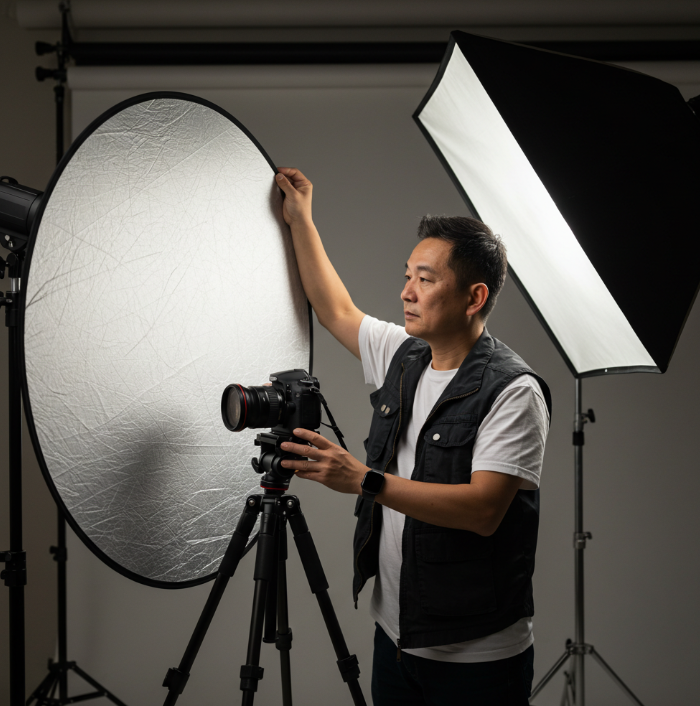 Lighting plays a big role when photographing jewelry. Natural light is a great option because it makes the colors and textures pop. Try to shoot near a window where soft sunlight can shine through. Avoid direct sunlight because it can create harsh shadows and bright spots on your jewelry. Soft light that won’t cause any unpleasant reflections; a cloudy day is ideal for ensuring your jewelry looks its best.
If you’re indoors and don’t have enough natural light, you can use lamps or desk lights to help brighten up the scene. Just be careful with the light’s position and color. The light should be bright enough to highlight the details but not too strong to create sharp shadows. Soft lighting helps show your jewelry’s true look and creates beautiful photos without distractions.
In some cases, a ring light or a softbox can be helpful. These tools provide soft, even light that reduces shadows and lets you see the jewelry clearly. When photographing shiny jewelry, angle the light to avoid reflections that hide its beauty. Good lighting brings out the colors and details, making the photo more appealing.
Use the Best Camera Settings
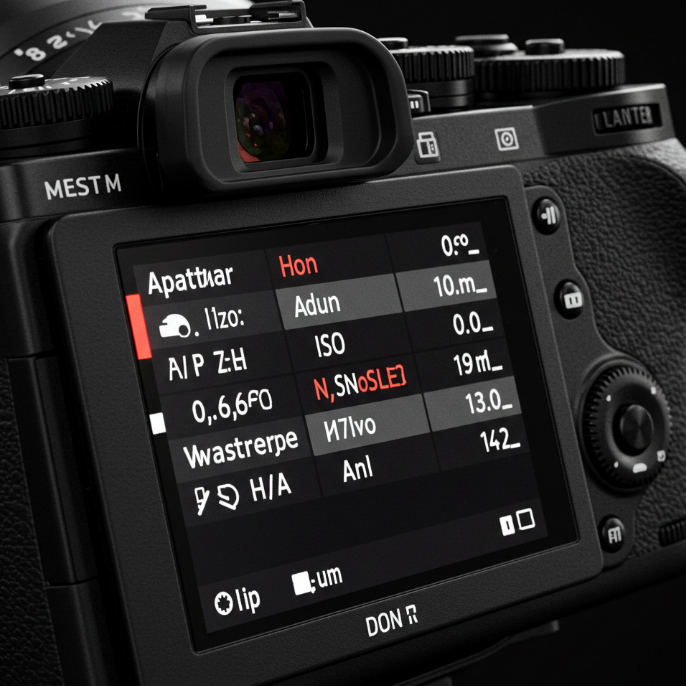 Your camera settings will greatly affect how your jewelry photos turn out. The first thing to check is the ISO setting. A low ISO, like 100 or 200, will give you clear, sharp images without noise. Higher ISO settings can make the photo look grainy, so try to keep it as low as possible unless you’re in low-light conditions.
Next, adjust your aperture. A wider aperture (lower f-number) will blur the background, making the jewelry stand out more. A smaller aperture with a higher f-number keeps more of the scene in focus, but it might not highlight the jewelry as well. Experiment with both to see which gives the best result for your shot.
The shutter speed is also important. If you’re using a tripod, you can use a slower shutter speed. This lets more light in and helps you avoid blurry photos. If you’re hand-holding your camera, a faster shutter speed will prevent motion blur. A good starting point is 1/125 or 1/200, but always adjust based on the lighting and situation.
Set Up Your Jewelry Properly
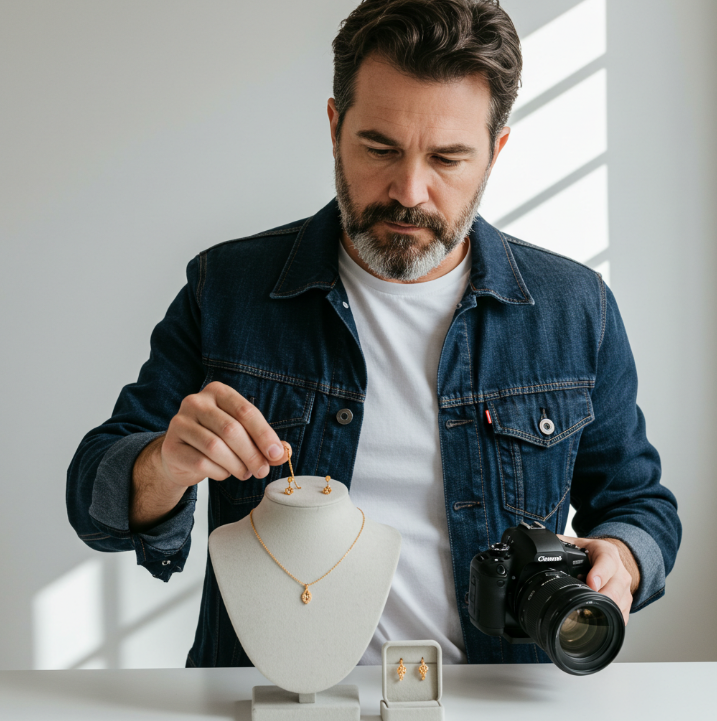 Setting up your jewelry for the shoot is as important as choosing the right lighting and camera settings. Start by cleaning your pieces to remove any dust, fingerprints, or smudges. Dirty jewelry can show up clearly in photos, making it look less appealing. Use a soft cloth or jewelry cleaner to make sure the pieces are spotless.
Next, think about the positioning of your jewelry. Lay it out in a way that highlights its best features. For rings, a nice trick is to place them slightly tilted to catch the light. For necklaces or bracelets, consider using a jewelry stand or a flat surface to display them neatly. The way you position the piece will affect how it looks in the photo, so take some time to arrange it thoughtfully.
Sometimes, it can help to use props like a simple fabric background or a stand to keep the jewelry in place. You can even add a few small items that match the jewelry’s style to give the shot a bit of context. Just remember to keep the focus on the jewelry, as too many props can make the photo look cluttered.
Focus on Details
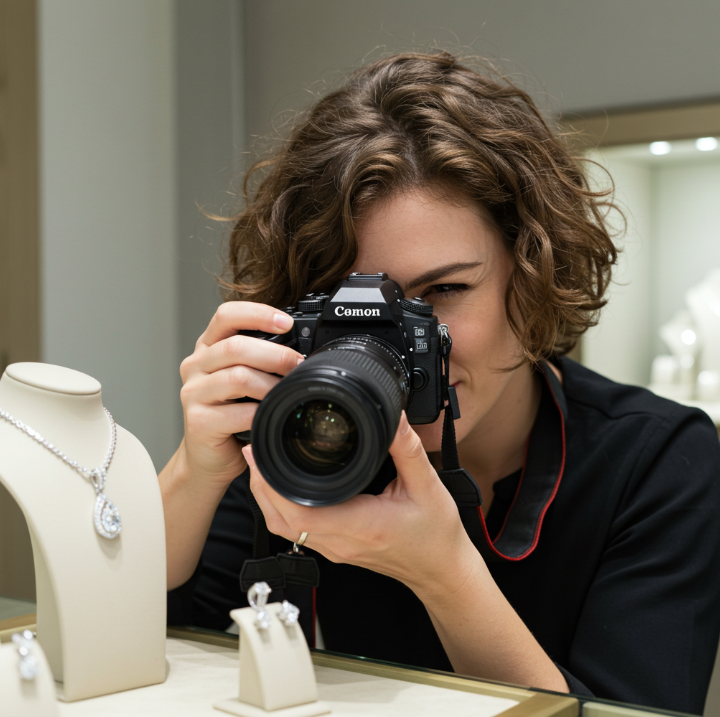 Details are key when photographing jewelry. Your goal is to show off the unique features of each piece, so it’s important to focus on what makes it special. For example, if you’re shooting a ring with intricate designs, zoom in to highlight those details. Don’t be afraid to take a close-up shot to show the craftsmanship of the piece.
When focusing on details, try to avoid blurry images. Use your camera’s manual focus or tap to focus on the part of the jewelry you want to highlight. If you’re using a smartphone, many cameras have focus options to help you lock in on the key features. Make sure the most important parts of the jewelry are sharp and clear.
Also, keep in mind that sometimes less is more. Focusing on one key detail can make the photo more striking. A close-up of a gemstone or the clasp of a bracelet can give the viewer a clear view of the jewelry’s quality. It’s all about drawing attention to the right spots.
Experiment with Angles
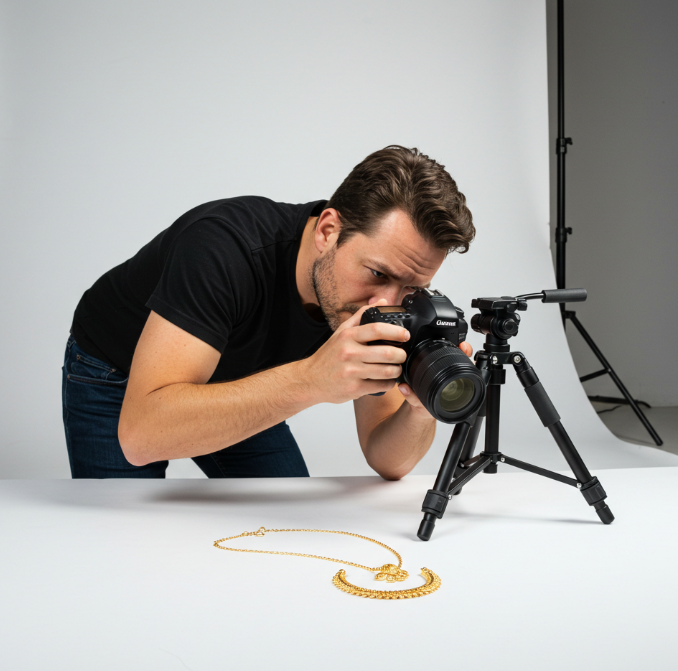 Angles are important in jewelry photography because they can completely change the way the piece is perceived. Try shooting from different angles to find the one that best highlights the jewelry. Photographing a ring from above might give a good view of the stone, but shooting from the side can showcase the band’s design.
When shooting necklaces or bracelets, think about the angles that will show the piece’s full length and design. Tilting the piece slightly can give you a more dynamic shot and show off the details from a new perspective. Experiment with both wide and close-up shots to get a variety of looks for your jewelry.
Don’t be afraid to move your camera around or adjust the jewelry itself to get the best angle. A slight shift in the angle can make a big difference in the final result. Play with the positioning to create a more interesting and visually appealing photo.
Avoid Distractions in the Background
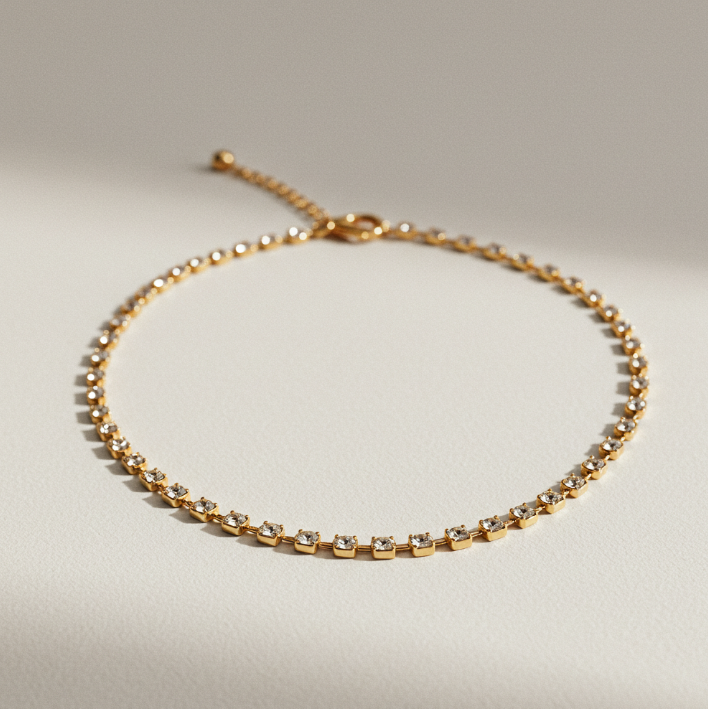 The background of your photo can either complement your jewelry or distract from it. To keep the focus on the jewelry, choose a simple background that doesn’t take away attention. A plain, neutral-colored surface or fabric works well because it doesn’t compete with the jewelry’s details. White, gray, or soft colors usually work best for this.
If you’re using props or other items in the background, make sure they don’t overpower the jewelry. Small, simple items that match the theme of the jewelry can help, but avoid clutter. Too many objects can make the photo feel busy and distract from the main subject. The simpler the background, the better the jewelry will stand out.
One helpful tip is to blur the background by using a wide aperture. This effect, called “bokeh,” can make the background look soft and out of focus, drawing all the attention to the jewelry. It’s a great technique to make your piece look even more polished and professional.
Edit Your Image for Beautiful Jewelry Photos
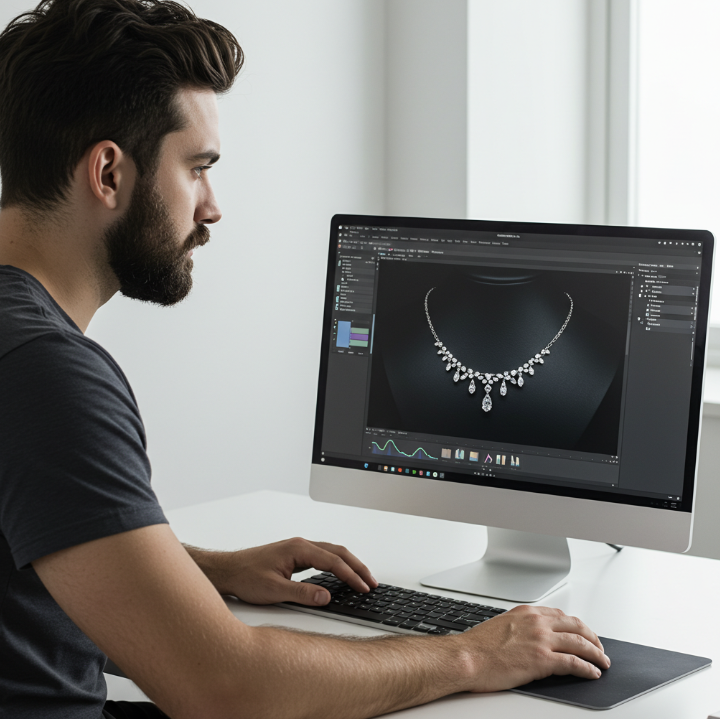 Editing your photos after the shoot can bring them to the next level. Start by adjusting the exposure to make sure the photo is bright enough without losing details. In increasing the exposure, be careful not to overdo it, as it can wash out the details of the jewelry.
Next, focus on colors. Adjust the white balance to make sure the jewelry’s colors look true to life. Jewelry reflects light differently, so fixing color issues during editing makes your photos look more natural.
Finally, don’t forget to sharpen your image. Adding a little bit of sharpness will help bring out the fine details, especially for small items like rings or earrings. However, be cautious not to over-sharpen, as it can create unwanted noise or harsh edges. Editing can make your jewelry photos look more polished and ready to share.
Keep Your Gear Clean
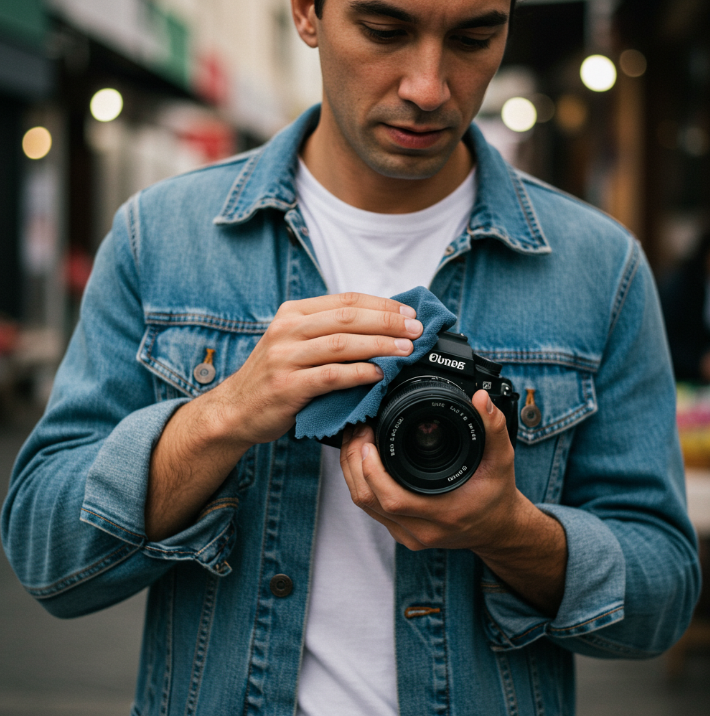 Keeping your camera gear clean is important to get clear and sharp jewelry photos. Dust and smudges on your camera lens can lower image quality; clean it regularly with a soft microfiber cloth. You should also clean your camera body to remove any dirt or debris that could get in the way of your shots.
The same goes for your jewelry. Dust, fingerprints, and oils from your hands can all make the jewelry look less appealing in photos. Before you start shooting, take a moment to clean the pieces using a jewelry cloth or mild cleaner. This will remove any smudges and ensure the jewelry looks its best.
Additionally, if you’re using tripods or other equipment, make sure they’re also clean and free from any dust or dirt. A clean setup means clearer, more professional-looking photos. The cleaner your gear, the better your photos will turn out.
Conclusion
Taking beautiful jewelry photos with confidence is all about knowing the right techniques and using simple tools. By focusing on lighting, angles, and small details, you can create great images that show off your jewelry in the best way. Practice makes perfect, so keep experimenting with different setups and see what works for you.
Remember that you don’t need expensive gear to take amazing photos. You can start taking beautiful jewelry photos that highlight every detail with just a little patience and attention. Keep learning and improving, and soon you’ll feel confident with every shot.
Read Next: Perfecting Studio Headshots for Extraordinary Results

