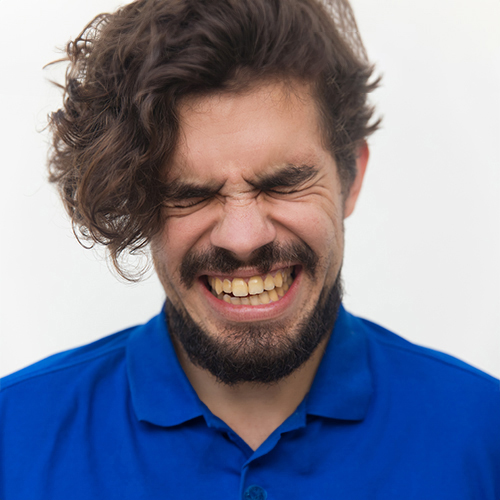
Teeth Whitening in Photoshop
Teeth whitening is a service that offers teeth whitening services in the form of Adobe photoshop. They offer their services to people who are not satisfied with their natural teeth and want to have a whiter smile. This Service provide a way to make teeth whiter while editing images. There are two ways in which this can be done: Using the eyedropper tool and using the brush tool. To use the eyedropper tool, you would take a sample of your teeth and paste it into the document. Once this is done, you would make adjustments with Hue/Saturation. The second method is to use the brush tool to paint over your teeth, then finish up with a layer mask and using Hue/Saturation on whatever part you want to change color.
Benefits of Teeth Whitening
Whitening your teeth can make you feel more confident about your smile, and it can increase the appeal of food photos. Photographers and editors often have to remove the impression of tooth stains for a variety of reasons. With the services of the Photo Editing Company, there is no need to remove the stain manually, which saves time and money.

Teeth Image Adjustment
Teeth image adjustment has been used in photography as well as in advertising and graphics design industry. Many companies are utilizing these services because it speeds up the process of adjusting images, helps to scale the process and produces better results when compared to traditional editing methods. It saves your time, capture perfect shots and make your photos perfect for any given environment.
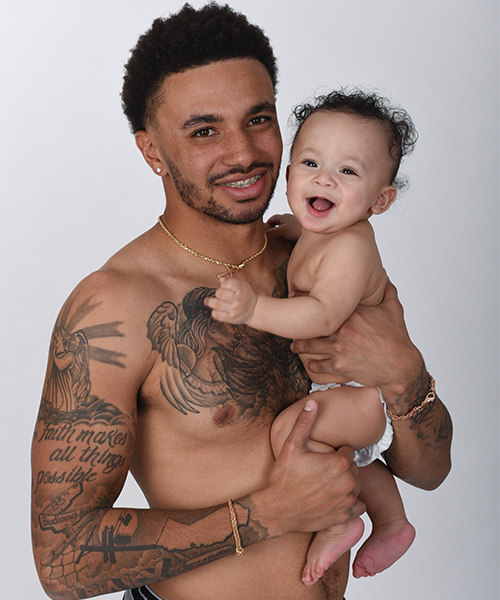
Basic steps for removing tooth stains from a photo in Adobe Photoshop:
- Open the photo
- Crop the parts that do not need to be seen
- Make sure that the photo is on a blank layer
- Make sure that all layer blending options are set to “Screen”
- Invert the colors of your photo by going to Image > Adjustments > Invert Colors
- Apply a second adjustment layer by clicking on Adjustment Layer > Hue/Saturation.
- Set hue saturation value of this second adjustment layer to “89”
- Use a third adjustment layer by clicking on Adjustment Layer > Levels.
Frequently Asked Questions
1. How do I Get Started?
Simply click on this link Trial Photo Editing and upload your raw images. For example, once we receive your images we will send a confirmation email. After that we can then provide you a quotation and ask for approval.
2. What is your turn around time in photo editing?
The turn around of our photo editing is 4 – 24 hours depending on the volume and difficulty of your images. You can also setup your own turn around time by applying in our partnership program. Becoming our partner gives you a fix delivery time on your images and you can also request for rush editing.
3. How much does Photo Editing Cost?
The cost of editing an image is $ .50 cents to $ 5 base of the time spent or difficulty of a picture. Clients who have daily or weekly images may avail special rate discounts. All customers however will have to send a raw image to get a quotation.
4. I Have Questions
Simply fill out the form in the Contact Us and we will answer all your questions.
Why Choose Photo Editing Company?
Photo editing company can help you achieve the desired photo without costing you a fortune is fashion portrait enhancement services like photoshop retouching and color correction and so on. These services are designed especially for people who wanted their photos to have a good quality that makes them stand out among others. Here are our other services that you can benefits from.

Benefits of having a Professional Photo Retoucher
1.Time Efficiency: Hiring an expert photo retouching service saves time, allowing you to focus on other aspects of your business or creative work.
2. Consistent Quality: Professionals ensure consistent and high-quality results across all edited images, maintaining a cohesive visual style.
3. Customization: Photo retouching experts provide a tailored approach, addressing specific requirements and preferences for each project.
4. Cost-Effective Solutions: Despite initial costs, hiring a photo retouching service expert can be cost-effective in the long run, as it saves time and ensures superior results.
5. Enhanced Visual Appeal: Professional retouching enhances the visual appeal of images, making them stand out and leave a lasting impression.