To take good pictures of jewelry, you need to be exact, patient, and have the…
The Ultimate Guide to Jewelry Photography
What is Jewelry Photography?
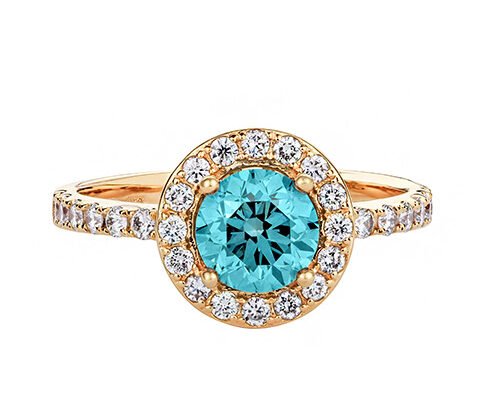
Have you ever looked at a photo of a jewelry piece and said, “Wow, that’s so pretty! I need to have this!” Well, that’s the magic of jewelry photography. It’s a specific branch of product photography that focuses on displaying, shooting, and editing all kinds of expensive jewelries. Continue reading below as we teach you how to take chic bling photos.
Types of Jewelry Photography
Before we go to the nit and grit of how to shoot jewelry, you should know that there are two types of jewelry photography. Each type requires different methodologies.
Editorial Photography
Editorial photography utilizes jewelry in ads, and it promotes creative freedom more than the other type. Typically, a model wears a specific jewelry piece, and they’re in an official set rather than a plain backdrop. As mentioned, you can see this type of photography in advertisements and commercials.
Product and E-Commerce Photography
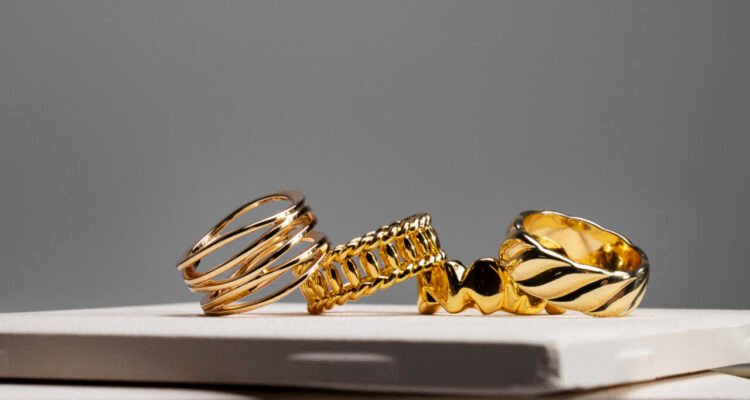
This type of jewelry photography also focuses on the accessory. The only difference is no model is wearing the jewelry. So, what you’ll see is the jewelry alone. You can see the photos of this type of photography in jewelry or other product catalogs. And unlike editorial photography, the jewelry accessories are shot on a simple background.
How to Photograph Jewelry
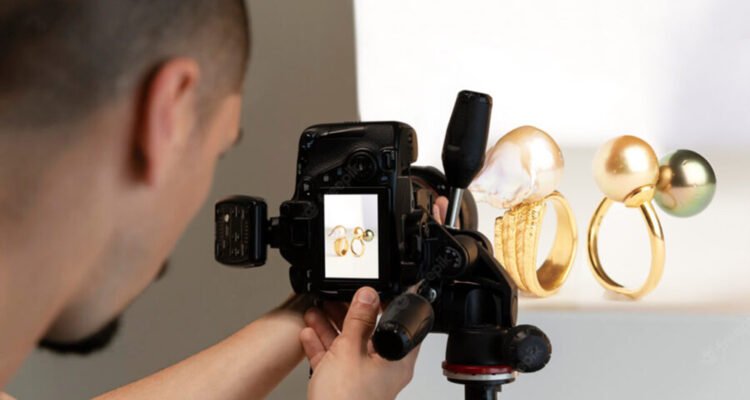
Use the Right Equipment for Setup
When it comes to photographing products, having the right equipment can do wonders. However, you don’t need expensive equipment to take stunning images. You may ask — what is the best color to display jewelry? Any large white or black sheet can serve as a neutral backdrop, helping your audience focus on the jewelry product alone.
You also need a light source. You can go for natural lighting from a window, or you can invest in lighting equipment, such as a ring light. Lastly, a sturdy table and tripod are a must for product photography.
Shoot with a Macro Lens
What is the best lens for jewelry photography? The answer is a macro lens. Why? Because of two things: first, jewelries are small accessories, and second, you need to capture every detail of it. A macro lens can help you capture the two with ease. It lets you get up close to your subject, enabling you to capture those small intricate details that make up the piece.
Photograph Using a Tripod
Tripods are a necessity for all types of photography, and the same goes for jewelry photography. That said, you don’t want any shaky photos. Shaky or blurred images can instantly ruin your pictures, and it can happen when you’re shooting handheld. As mentioned above, you need to capture all details of the jewelry piece. And you can’t achieve that with a blurred image. With a tripod, you can avoid this issue. Tripods help you capture sharp and highly detailed images.
Get Your Aperture Setting Right
In case it’s not yet clear, jewelry is all about details, details, and details. So, when it comes to your camera settings, having the right aperture is vital. What aperture is the best for jewelry photography? Well, it depends on the accessory. Having a shallow depth of field from a range of f1.4 to f2.8 can help you keep the “main” area of the jewelry in focus while the rest of it blurs away in the background. You can also select a deeper depth of field with an aperture range of f8 to f11 to keep the entire product in focus.
Clean or Polish the Jewelry
Of course, the jewelry product you’re shooting must be free from any smudges or dirt. Polishing it can help it become all sparkly and stunning to look at even without any hardcore editing. Plus, it’ll look expensive and elegant and can save you from a lot of headaches during the post-production process.
Keep It Simple
Simplicity is beauty in the world of jewelry photography. You don’t need any fancy background or props to make it better. Doing so excessively can draw the viewer away from the main subject — the jewelry piece. That’s why most product photographers would recommend a simple and clean white or black background. On top of that, you also don’t need a large setup. As stated earlier, all you need is a table, white or black sheet, and a good light source.
Editing Jewelry Photos
Make Your Jewelry Images Luxurious
Jewelries are meant to appear luxurious. They’re designed for those that can afford them. Hence, when editing jewelry photos, you need to make them look glamorous and elegant. Basically, make them look expensive. You can start by making it much brighter and contrasty. Another tip is to make it sharper and crisp. All these techniques might seem basic, but it can create stunning outputs if you get them right.
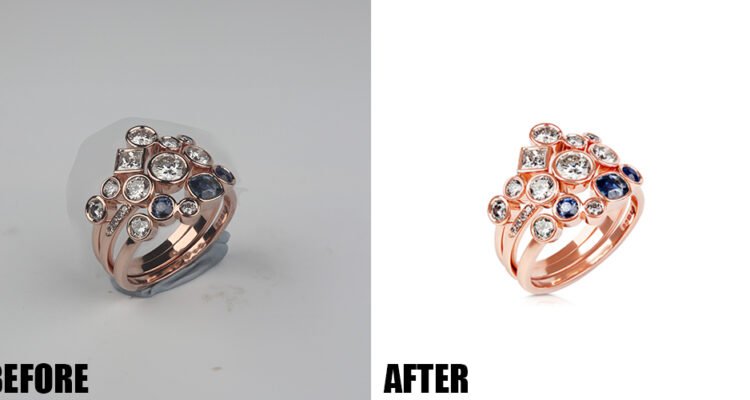
Remove Imperfections
Jewelry photographers don’t usually notice subtle imperfections during the shoot. You can only find bumps, scratches, smudges, and other noises once you import the images to your laptop and transfer them to your editing software. That’s why editing software like Adobe Photoshop and Illustrator exists. They can save you from reshooting everything and ensuring that your jewelry images are all flawless.
Color Correct Your Images
Color correcting is a post-production method that aims to make the subject appear more realistic and natural. So, when you adjust the jewelry accessory colors, keep it as accurate as you can. However, if any parts of the jewelry need to stand out, you can make those colors more saturated and vibrant. This helps consumers to focus on that specific part. Don’t overdo the saturation, though, as it can also decrease the quality of your subject.
Jewelry is a tricky subject to photograph. You need to get everything close to perfection to get the best results. With the proper guidance and right determination, you can capture the most luxurious jewelry photos that can wow your clients. Just remember the tips and tricks that we’ve discussed in this guide and start producing stunning jewelry photos now!
Related Posts
This Post Has 0 Comments