Building a versatile summer dresses wardrobe is the key to feeling confident and stylish all…
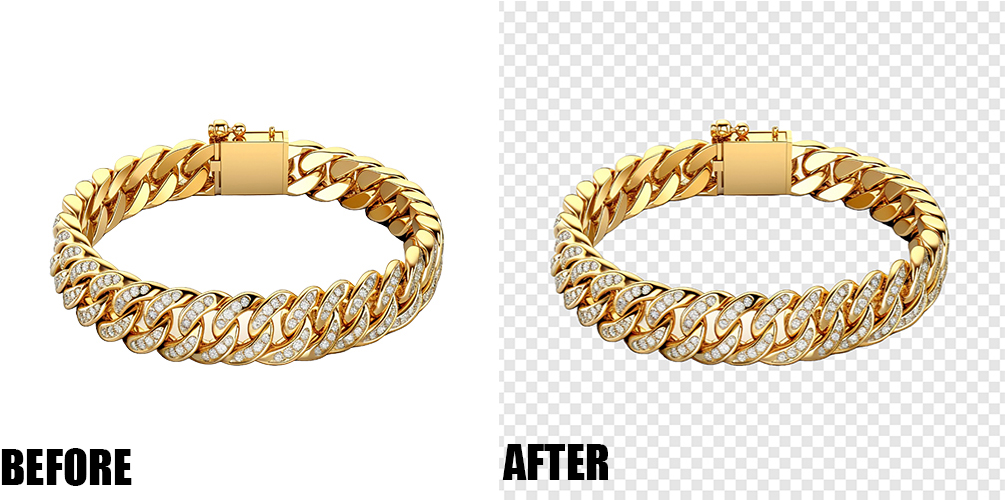
How to Remove Background using Photoshop
When it comes to removing the background from an image using Adobe Photoshop, there are multiple approaches you can take, each suited to the complexity of the image at hand. Let me walk you through a few commonly used methods that can help you achieve the desired result. By understanding these techniques, you’ll be equipped with the knowledge to tackle any background removal challenge with confidence and precision.
Method 1: Using the Quick Selection Tool
- Open Your Image in Photoshop:
- Open Photoshop and load the image you want to edit by navigating to
File > Openand selecting your image file.
- Open Photoshop and load the image you want to edit by navigating to
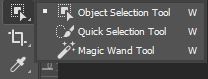
- Select the Quick Selection Tool:
- In the toolbar on the left, select the Quick Selection Tool (W). It might be nested under the Magic Wand Tool.
- Select the Background:
- Click and drag to select the background you want to remove. Adjust the brush size using the
[ ]keys if necessary. The selection will automatically try to follow the edges.
- Click and drag to select the background you want to remove. Adjust the brush size using the
- Refine the Selection:
- Click on the
Select and Maskbutton in the options bar at the top. This will open the Select and Mask workspace. - Use tools like the Refine Edge Brush Tool to fine-tune your selection. Adjust settings like
Smooth,Feather,Contrast, andShift Edgeto refine the selection. - Choose
Output To: Layer Maskin the Output Settings.
- Click on the
- Remove the Background:
- Click
OKto apply the changes. The background will be removed, and you will see a checkerboard pattern indicating transparency.
- Click
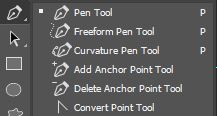
Method 2:Using the Pen Tool
- Open Your Image in Photoshop:
- Open your image as described above.
- Select the Pen Tool:
- In the toolbar, select the Pen Tool (P).
- Create a Path Around the Object:
- Carefully click to create anchor points around the object you want to keep. To create curves, click and drag to adjust the handles.
- Complete the Path:
- Once you have outlined the object, right-click and choose
Make Selection. Set theFeather Radiusto 0 or a small value like 0.5 for smoother edges, and clickOK.
- Once you have outlined the object, right-click and choose
- Create a Layer Mask:
- With the selection active, click the
Add Layer Maskbutton at the bottom of the Layers panel. This will mask out the background, leaving only the selected object.
- With the selection active, click the
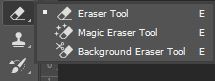
Method 3: Using the Background Eraser Tool
- Open Your Image in Photoshop:
- Load your image as described earlier.
- Select the Background Eraser Tool:
- In the toolbar, select the Background Eraser Tool (E). It might be nested under the Eraser Tool.
- Adjust the Tool Settings:
- In the options bar, adjust the brush size and set the
SamplingtoContinuous,LimitstoFind Edges, andToleranceto a value between 20-30%.
- In the options bar, adjust the brush size and set the
- Erase the Background:
- Click and drag the brush over the background you want to remove. The tool will erase the background while preserving the edges of the foreground object.
Method 4: Using Select Subject and Select and Mask

- Open Your Image in Photoshop:
- Load your image as previously described.
- Select the Subject:
- Go to
Select > Subject. Photoshop will automatically try to select the main subject of the image.
- Go to
- Refine the Selection:
- Go to
Select > Select and Mask. Use the tools available to refine the selection as needed. - Adjust settings like
Smooth,Feather,Contrast, andShift Edgefor a better result. - Choose
Output To: Layer Maskin the Output Settings.
- Go to
- Remove the Background:
- Click
OKto apply the changes and remove the background.
- Click
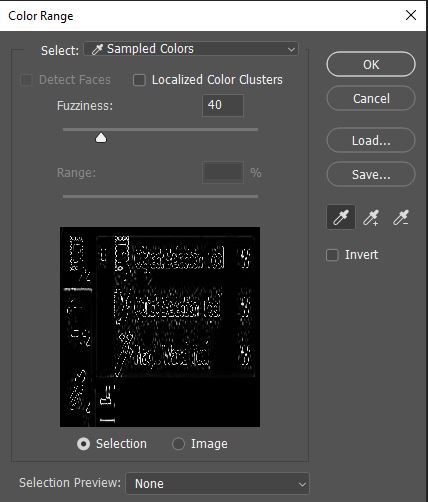
Method 5: Color Range Selection
- Open Your Image in Photoshop:
Begin by opening your image in Photoshop as described earlier. Select the Color Range Option: Navigate to Select > Color Range. This tool allows you to select pixels based on their color values. - Adjust the Eyedropper Tool:
Use the Eyedropper tool in the Color Range dialog box to sample the colors you want to include in your selection. Adjust the Fuzziness slider to expand or narrow the range of selected colors. - Refine Selection:
After making your initial selection, refine it using the Add to Sample Eyedropper tool to include more colors or the Subtract from Sample Eyedropper tool to remove unwanted colors. - Create a Layer Mask:
Once you’re satisfied with your selection, click OK to apply it. Then, click the Add Layer Mask button at the bottom of the Layers panel to mask out the background.
Method 6: Channel Masking

- Open Your Image in Photoshop:
Open your image as usual in Photoshop. - Access the Channels Panel:
Go to the Channels panel, typically found next to the Layers panel. Each channel represents the image’s grayscale information for the red, green, and blue color channels.
Identify the Channel with the Most Contrast:
Look for the channel that provides the most contrast between the subject and the background. Often, the Blue channel tends to have the highest contrast. - Duplicate the Channel:
Drag the chosen channel down to the New Channel icon at the bottom of the panel to duplicate it. Create a Selection: With the duplicated channel selected, use tools like Levels or Curves to further enhance the contrast between the subject and the background. Load the Channel as a Selection: Ctrl-click (or Command-click on Mac) the duplicated channel’s thumbnail to load it as a selection. - Create a Layer Mask:
Return to the Layers panel and click the Add Layer Mask button to apply the selection as a mask, effectively removing the background. - Experiment with Blending Modes:
After removing the background, experiment with different blending modes for your subject layer to seamlessly integrate it into new backgrounds or compositions. Remember to Save Your Work:
Once you’ve successfully removed the background, remember to save your file in a format that supports transparency, such as PNG, to preserve the transparent areas. These additional methods and tips should provide you with a comprehensive toolkit for effectively removing backgrounds from your images using Adobe Photoshop.
Tips for Better Results
- Zoom In: Zoom in on the image to make more precise selections.
- Use Multiple Tools: Sometimes combining tools (e.g., Quick Selection followed by the Refine Edge Brush) yields the best results.
- Feathering: Adding a slight feather to your selection can make the edges softer and more natural-looking.
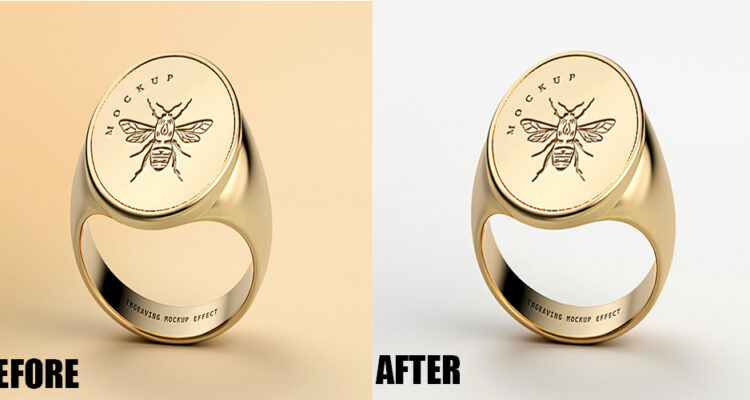
By following these methods, you can effectively remove backgrounds from your images in Photoshop, allowing for greater flexibility in your design projects. This is especially useful if you are working with a photo editing company, as it enables you to seamlessly edit and manipulate images without any distracting backgrounds.
Related Posts