Building a versatile summer dresses wardrobe is the key to feeling confident and stylish all…

Camera Settings for Perfect Silhouette Photography
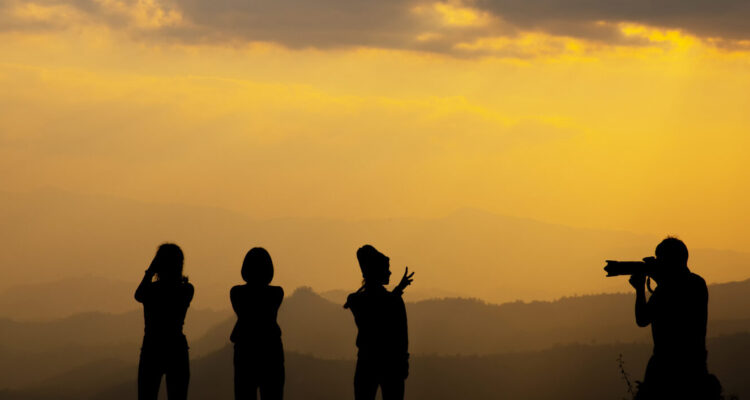
Silhouette photography captures the outline of a subject, often a person, against a bright or colorful background. It’s a popular technique. The result is a striking image with a high level of contrast between the subject and the background. In this article, we will explore the camera settings and techniques required to achieve perfect silhouette images. We will teach you the key parts of silhouette photography. This includes exposure, ISO, composition, and post-processing. Our goal is to help you improve your skills.
Understanding Silhouette Photography: A Beginner’s Guide

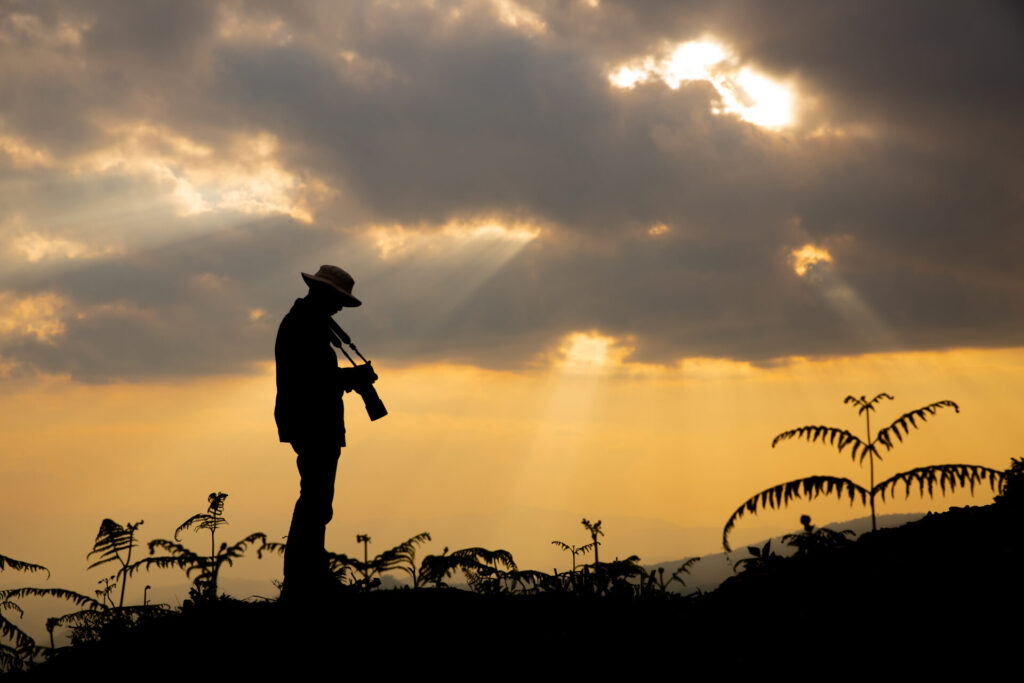
Before we dive into the technical aspects of silhouette photography, it’s essential to understand the basics of the genre. Silhouette photography focuses on showing the shape of a subject against a bright or colorful background. The subject should be in front of this light. You can create this effect by using a light behind the subject or a bright background like a sunset or city view. Place the subject so it stands out clearly against the background, without any distracting objects in front.
A main challenge in silhouette photography is creating strong contrast between the subject and the background. This can be achieved by using a wide aperture, such as f/1.4 or f/2.8, which will create a shallow depth of field. This means that the subject will be in sharp focus, while the background will be blurred. Changing the exposure settings can help balance the brightness of the subject and background, improving the overall contrast.
Camera Settings for Silhouette Magic: Exposure and ISO

For silhouette photos, the most important camera settings to focus on are exposure and ISO. The exposure setting should be adjusted to balance the brightness of the subject and the background. You can change the exposure on your camera. Use the exposure compensation feature. It allows adjustments of up to ±3 stops. If the background is too bright, you may need to underexpose the image by -1 to -2 stops. On the other hand, if the subject is too dark, you may need to overexpose the image by +1 to +2 stops.
ISO is another important factor to consider when capturing silhouette images. A lower ISO, such as ISO 100, will result in less noise and a cleaner image. If the subject is very dark, you might need to increase the ISO to 800 or 1600 to get the detail you want. Find a good balance between noise and image quality when selecting the ISO setting for your silhouette photos.
Adjust the white balance along with the exposure and ISO. This ensures that the colors of the subject and background are captured accurately. You can change the white balance to fit the lighting, like daylight, fluorescent, or incandescent lights. This will help to ensure that the colors of the subject and the background are accurately rendered in the final image.
Silhouette Composition: Tips and Tricks
Composition is important in silhouette photography because it greatly affects the image’s overall impact. When making a silhouette image, keep the rule of thirds in mind. This rule involves dividing the image into three equal parts, both horizontally and vertically. The subject should be positioned along one of these lines, rather than in the center of the frame. This will create a more balanced and dynamic composition.
Another important aspect of composition is to consider the leading lines and framing elements in the scene. Leading lines guide the viewer’s focus to the subject. Framing elements, such as trees or arches, add depth and dimension to the image. Place the subject so it stands out clearly against the background, avoiding any distracting objects in the front.
When it comes to framing the subject, it’s essential to consider the negative space around the subject. Negative space refers to the empty area between the subject and the edges of the frame. This can help to create a sense of simplicity and elegance, as well as drawing attention to the subject. By considering the composition of the scene, you can create a silhouette image that is visually striking and engaging.
Choosing the Right Lens for Silhouettes: Focal Length and Aperture
 When choosing a lens for silhouette photography, focus on two key factors: focal length and aperture. These are the most important aspects to consider. A wide-angle lens, such as a 24mm or 35mm lens, can help to capture the entire scene, including the subject and the background. This can be particularly useful when capturing landscapes or cityscapes. A telephoto lens, like a 70mm or 135mm, can make objects appear closer together and add depth to your photos.
In addition to focal length, aperture is another important factor to consider when choosing a lens for silhouette photography. A large aperture like f/1.4 or f/2.8 creates a blurry background, making the subject stand out more clearly. This can be particularly useful when capturing portraits or close-up shots. For scenes with depth, like landscapes or cityscapes, using a smaller aperture like f/5.6 or f/8 is better.
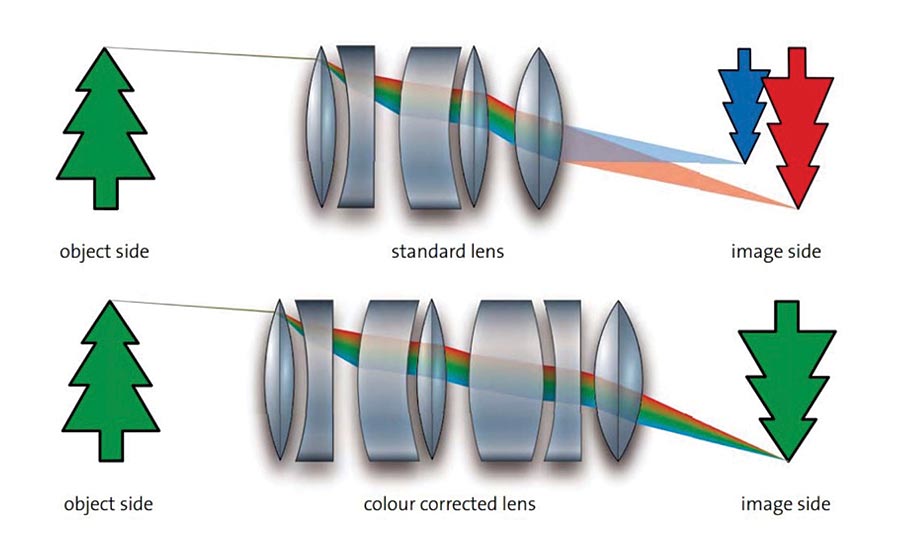
When choosing a lens for silhouette photography, it’s also essential to consider the level of distortion and chromatic aberration. Wide-angle lenses can be prone to distortion, which can cause straight lines to appear curved. Telephoto lenses can be prone to chromatic aberration, which can cause colors to appear fringed or distorted. Choose a lens with low distortion and color issues to make sure your silhouette images are clear and well-defined.
Capturing Silhouette Portraits: Camera Settings and Lighting Techniques
When it comes to capturing silhouette portraits, camera settings and lighting techniques are crucial. A large aperture like f/1.4 or f/2.8 creates a blurry background, making the subject stand out more clearly. This can be achieved by using a prime lens or a zoom lens with a wide aperture setting.
In addition to camera settings, lighting techniques are also essential when capturing silhouette portraits. Backlighting can create a dramatic effect, by casting a shadow behind the subject and emphasizing the outline. This can be achieved by using a single light source, such as a flash or a lamp, positioned behind the subject. Alternatively, you can use a combination of light sources to create a more subtle effect.
When capturing silhouette portraits, it’s also essential to consider the subject’s pose and expression. A subtle pose and a relaxed expression can help to create a sense of intimacy and vulnerability. Use a wide-angle lens and a shallow depth of field to show the subject’s personality and create a bold silhouette portrait.
Silhouette Photography for Landscapes: Tips for Capturing Stunning Scenes
When it comes to capturing silhouette landscapes, tips and tricks are essential for capturing stunning scenes. The first tip is to use a wide-angle lens, such as a 24mm or 35mm lens, to capture the entire scene. This can help to create a sense of depth and dimensionality, as well as emphasize the subject.
Another important tip is to use a low ISO, such as ISO 100, to capture the scene. This can help to reduce noise and ensure that the image is sharp and well-defined. In addition, you should adjust the exposure setting to balance the brightness of the subject and the background. You can change the exposure on your camera. Use the exposure compensation feature. It allows adjustments of up to ±3 stops.
When capturing silhouette landscapes, it’s also essential to consider the composition of the scene. Use lines and frames, like trees or arches, to add depth and dimension to your images. Using a wide-angle lens and low ISO helps you take beautiful silhouette photos that highlight the subject and add drama to the scene.
Using the Golden Hour for Silhouette Photography: A Guide to Timing and Lighting
When it comes to capturing silhouette images, timing and lighting are crucial. The golden hour is the time right after sunrise or right before sunset. It is great for taking silhouette photos. During this time, the light is soft and warm, with long shadows and a range of colors. This can create a dramatic and striking effect, as well as emphasize the subject.
Arrive at your location at least 30 minutes before the golden hour to take silhouette images. This will give you time to set up your equipment and composition, as well as adjust to the changing light. During the golden hour, you should use a wide-angle lens and a low ISO to capture the scene. Adjust the exposure to balance the brightness of the subject and the background. Use a shallow depth of field. This will create a more intimate and dramatic effect.
In addition to timing and lighting, it’s also essential to consider the composition of the scene. Use lines and frames to add depth, and try a low angle to highlight the subject. Use a wide-angle lens and low ISO to take beautiful silhouette photos at golden hour.
Post-Processing Techniques for Enhancing Silhouette Images: Editing and Retouching
When it comes to post-processing silhouette images, editing and retouching are crucial. The first step is to adjust the exposure and contrast settings to emphasize the subject and create a sense of drama. You can use the curves tool in your editing software to change the brightness and contrast of the image.
Mastering silhouette photography is all about blending technique with creativity. To create dramatic images, outline your subject against a bright background. Adjust the exposure and ISO settings. Use careful composition to achieve strong contrast. Choosing the right lens and aperture further refines your results, whether you’re shooting portraits, landscapes, or anything in between.
Read More: Composition in Photography: Tips for Capturing Stunning Shots


